Although it’s been a minute since we have updated this blog, we have been busy getting the property ready for an Airbnb.
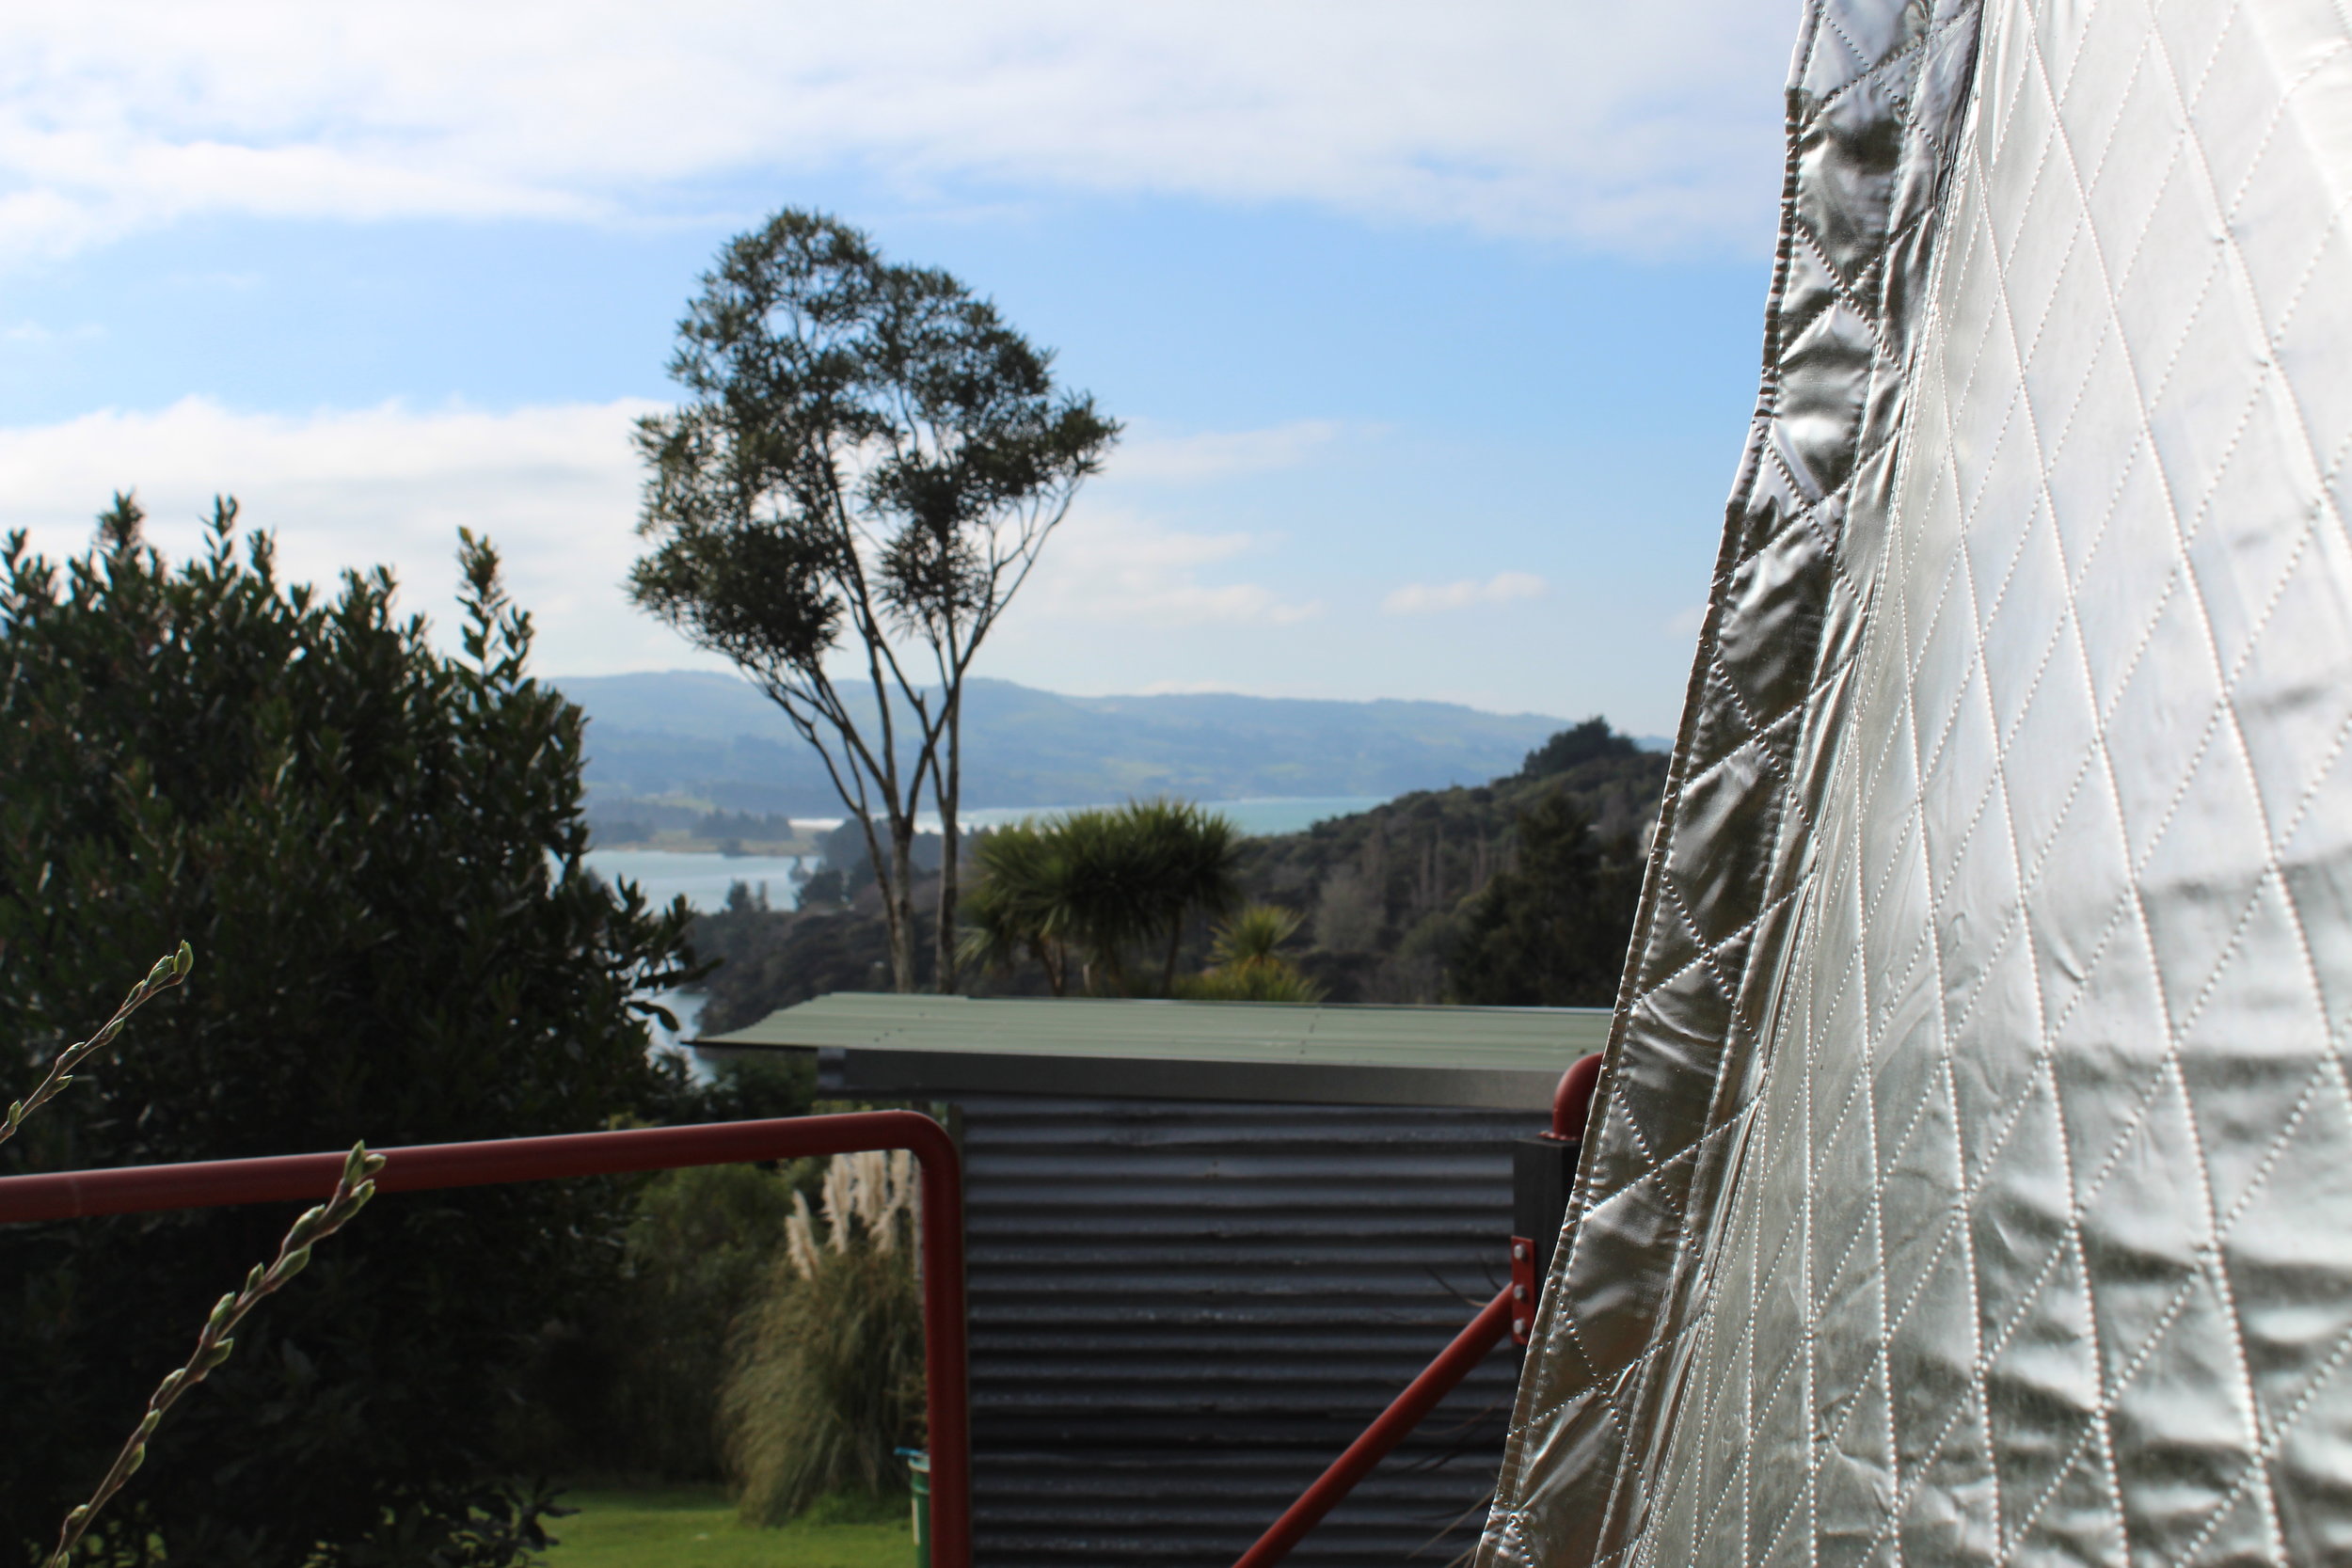
And it all began with a Shiftpod!
It took forever to get to New Zealand but while it was being sent from the states, we were busy working on the deck that it would go on.

After cementing the posts in the ground we then secured the steel.

This was a big winter project!

We choose the build the deck behind the tiny house because it gets lots of sunshine. You can’t hear anything from the front of the tiny house and visa versa!


We dragged the old shed down the hill to house the lawn mover and then we started to level the ground in preparation for the cement.

The frame was just made of scraps and the rebar was free!

The cement truck came over the weekend and poured the floor for us.

You can see the plumbing and shower pan in this photo. Important aspects of a bathroom!

This is the view of our new bathroom in progress from the finished deck.
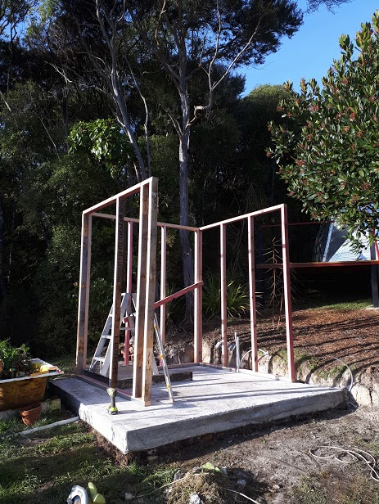
After the cement dried the free timber frames went up easily.

The design was nothing complicated, but we made sure the shower area was going to have the best view!

The view is everything!

The building paper went on quickly and then we had to source the cladding.

We headed down to Invercargill for corrugated iron and decided to use it for both the interior and exterior of the bathroom.

We loved the rustic look so we decided not to paint over it!

Doors and windows went in easily and then before we knew it- IT WAS DONE !
Check out the final product here!
Thanks for reading!
-Pat and Cori