Viewing entries tagged
corrugated iron

Raising the Roof!

3 Comments

Raising the Roof!

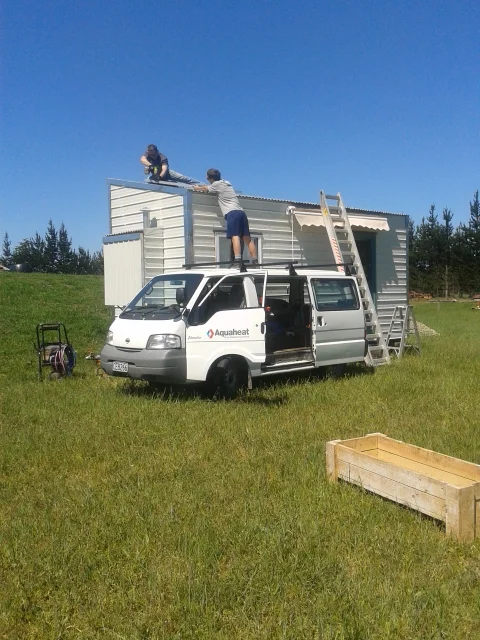
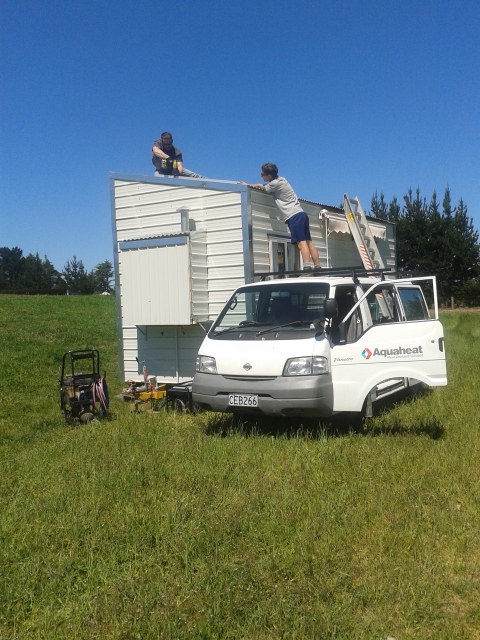
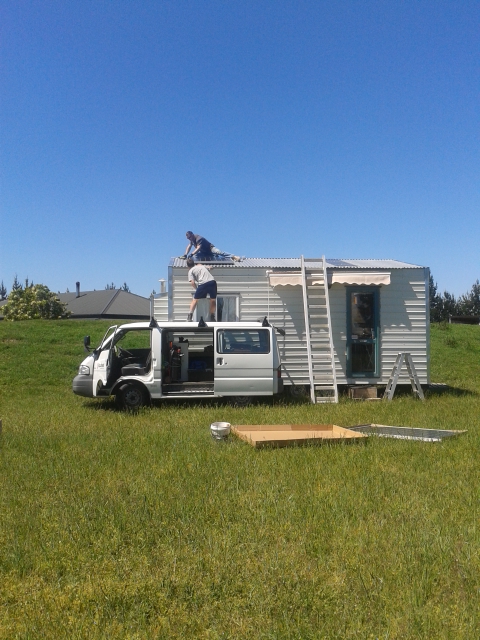
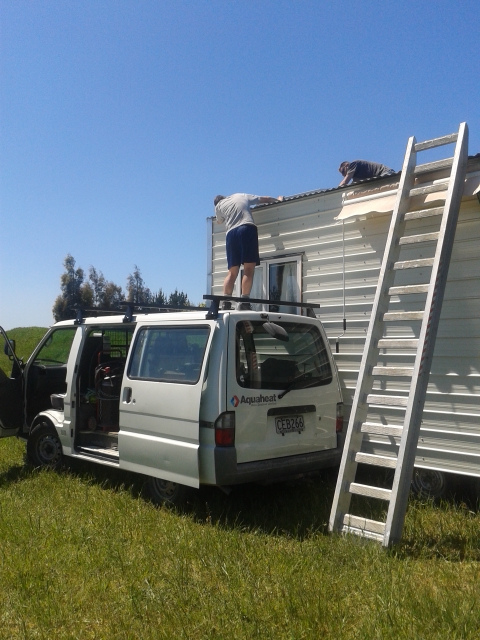
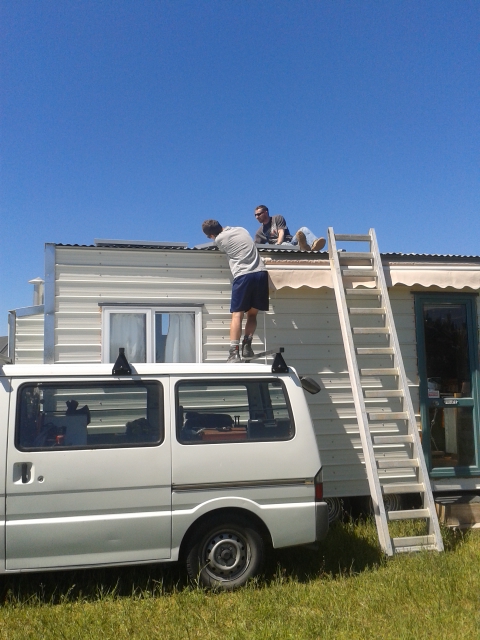
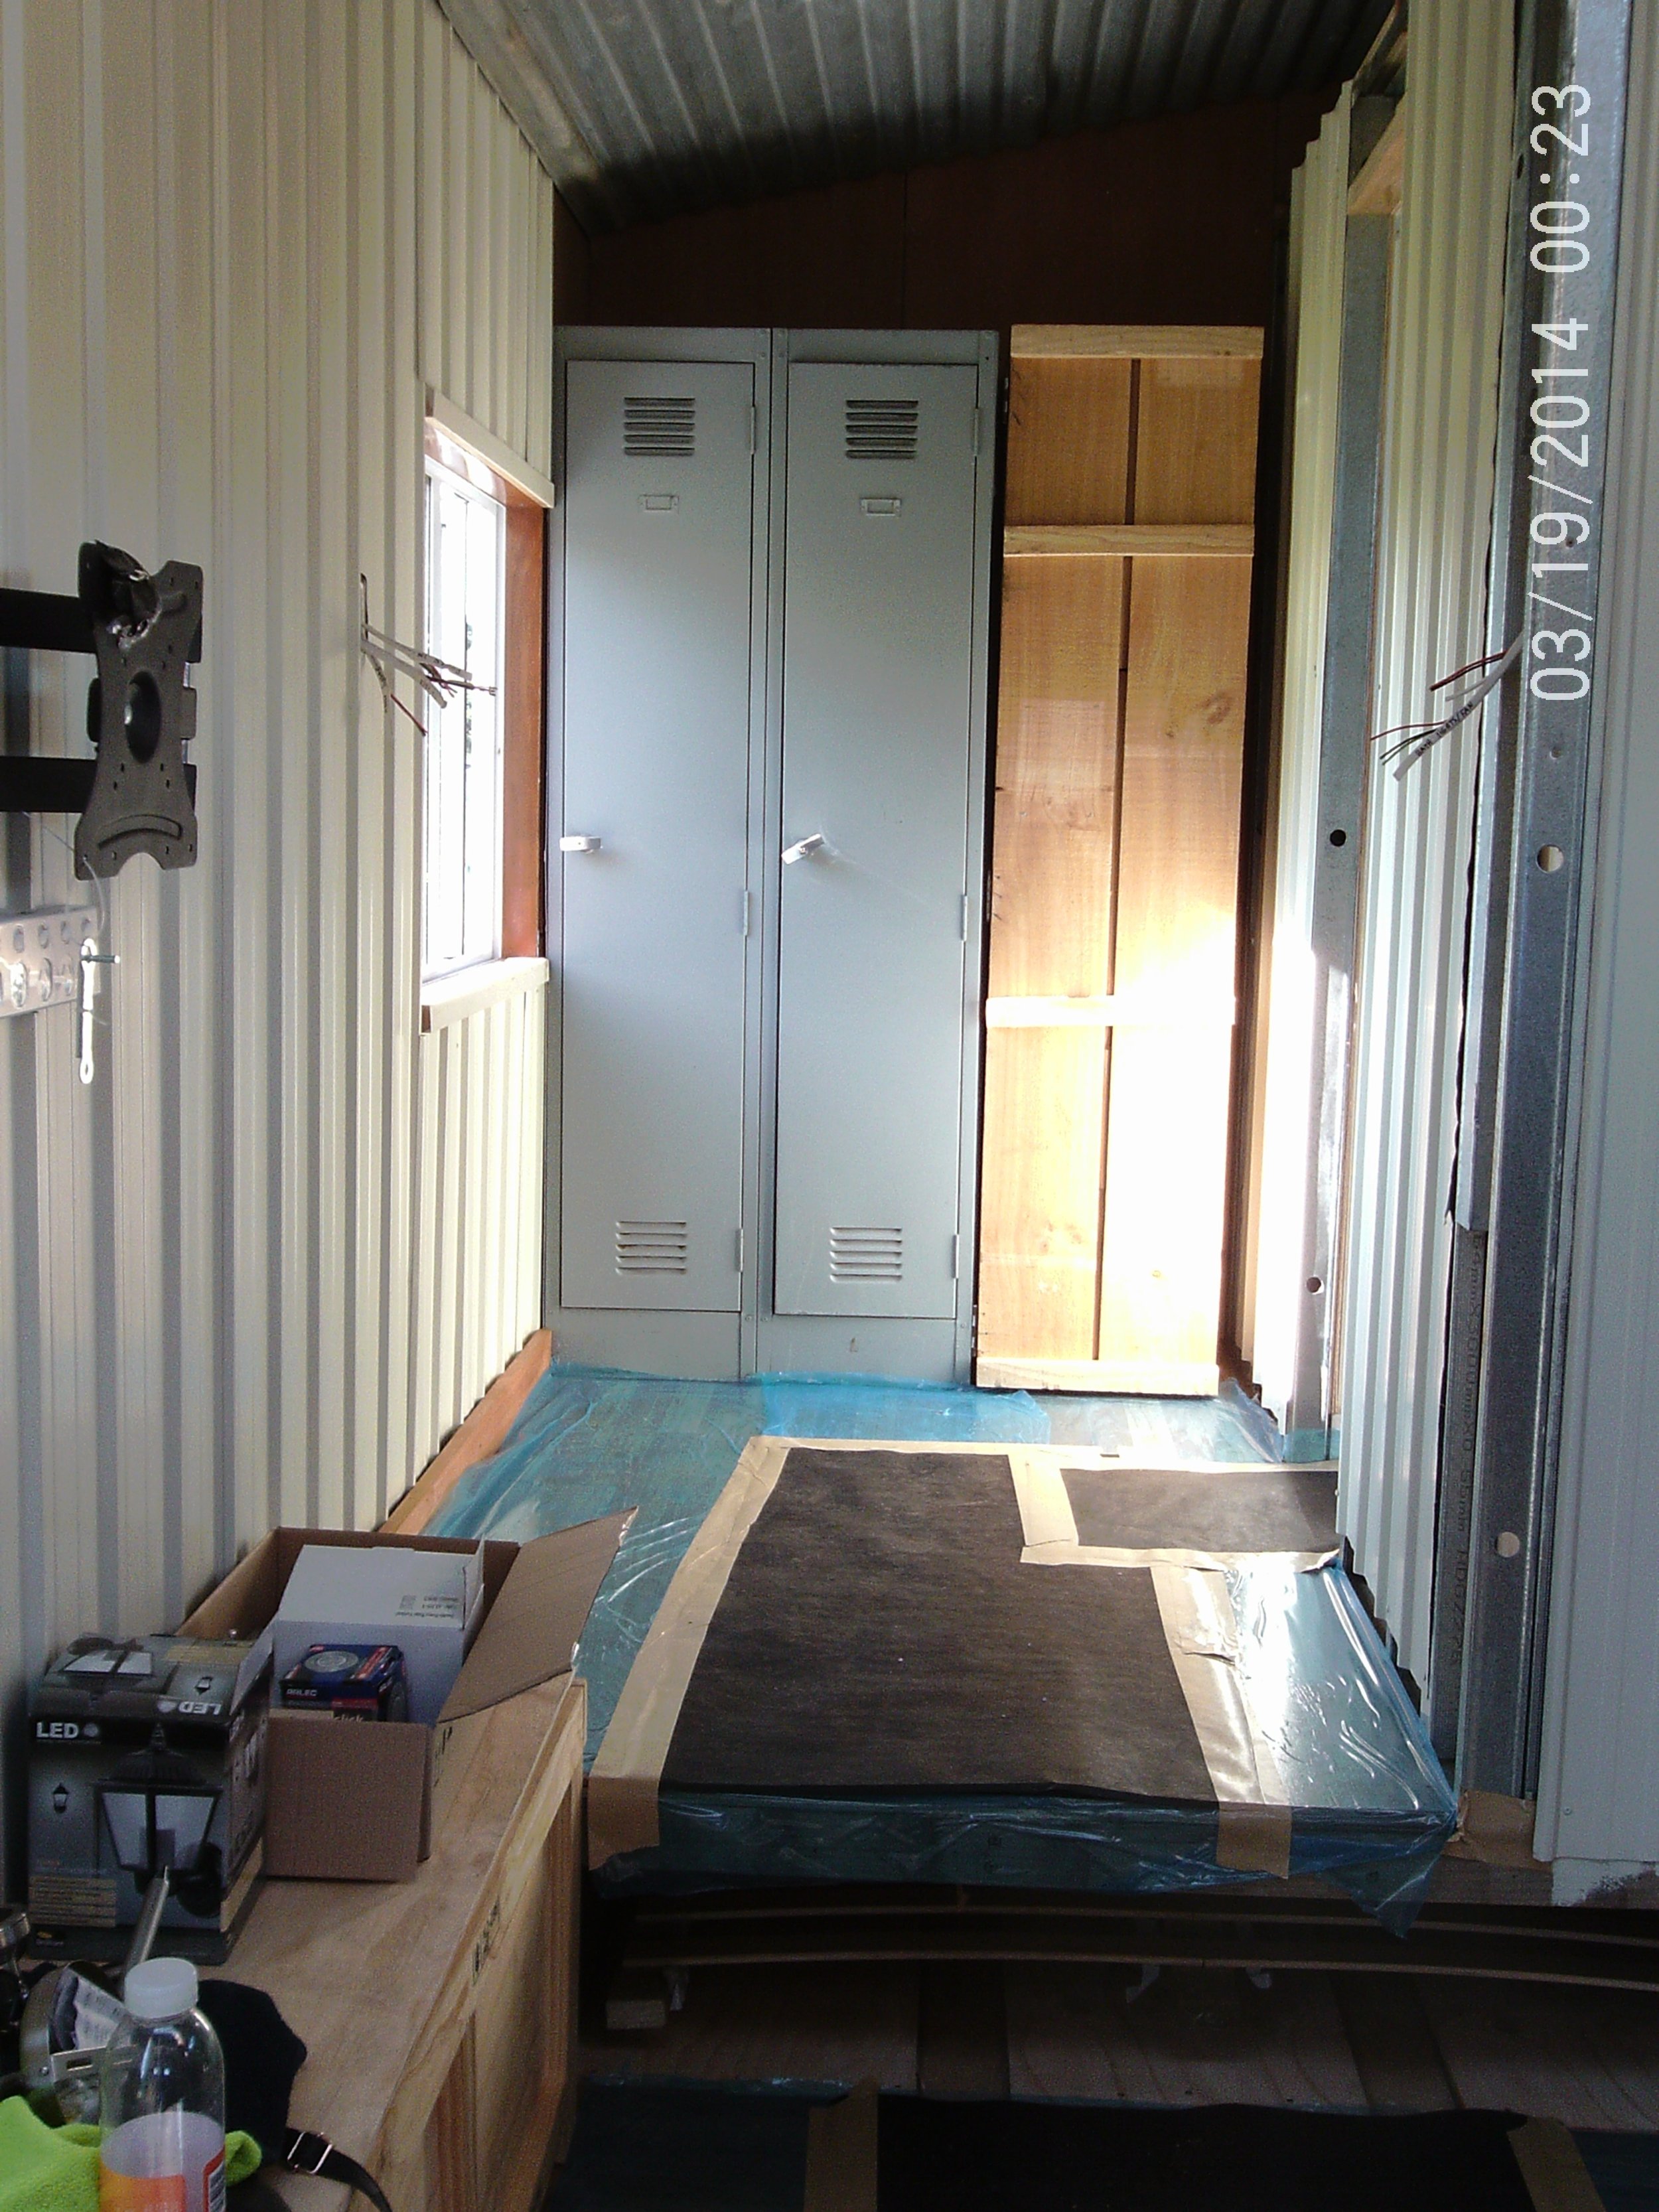
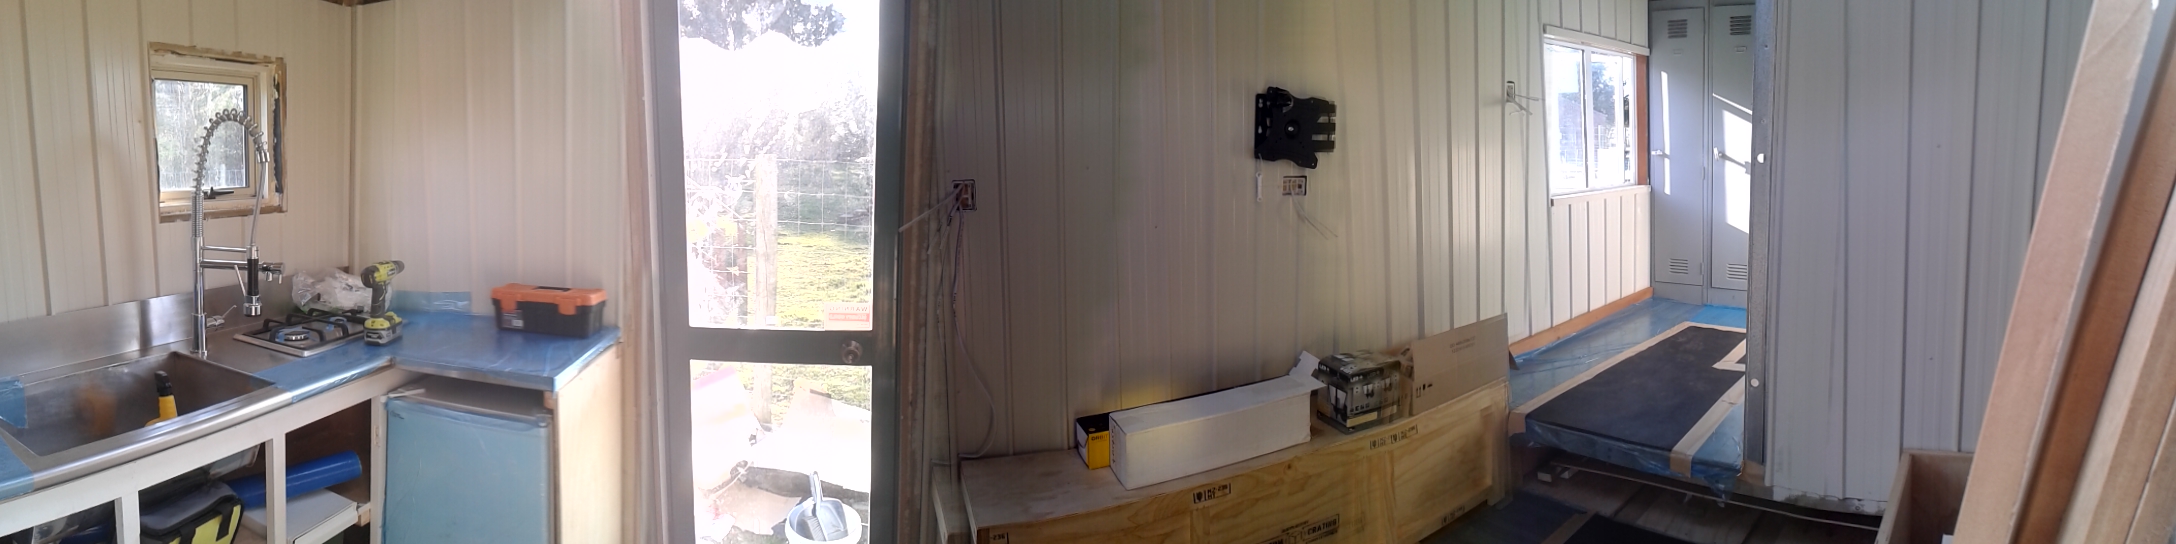
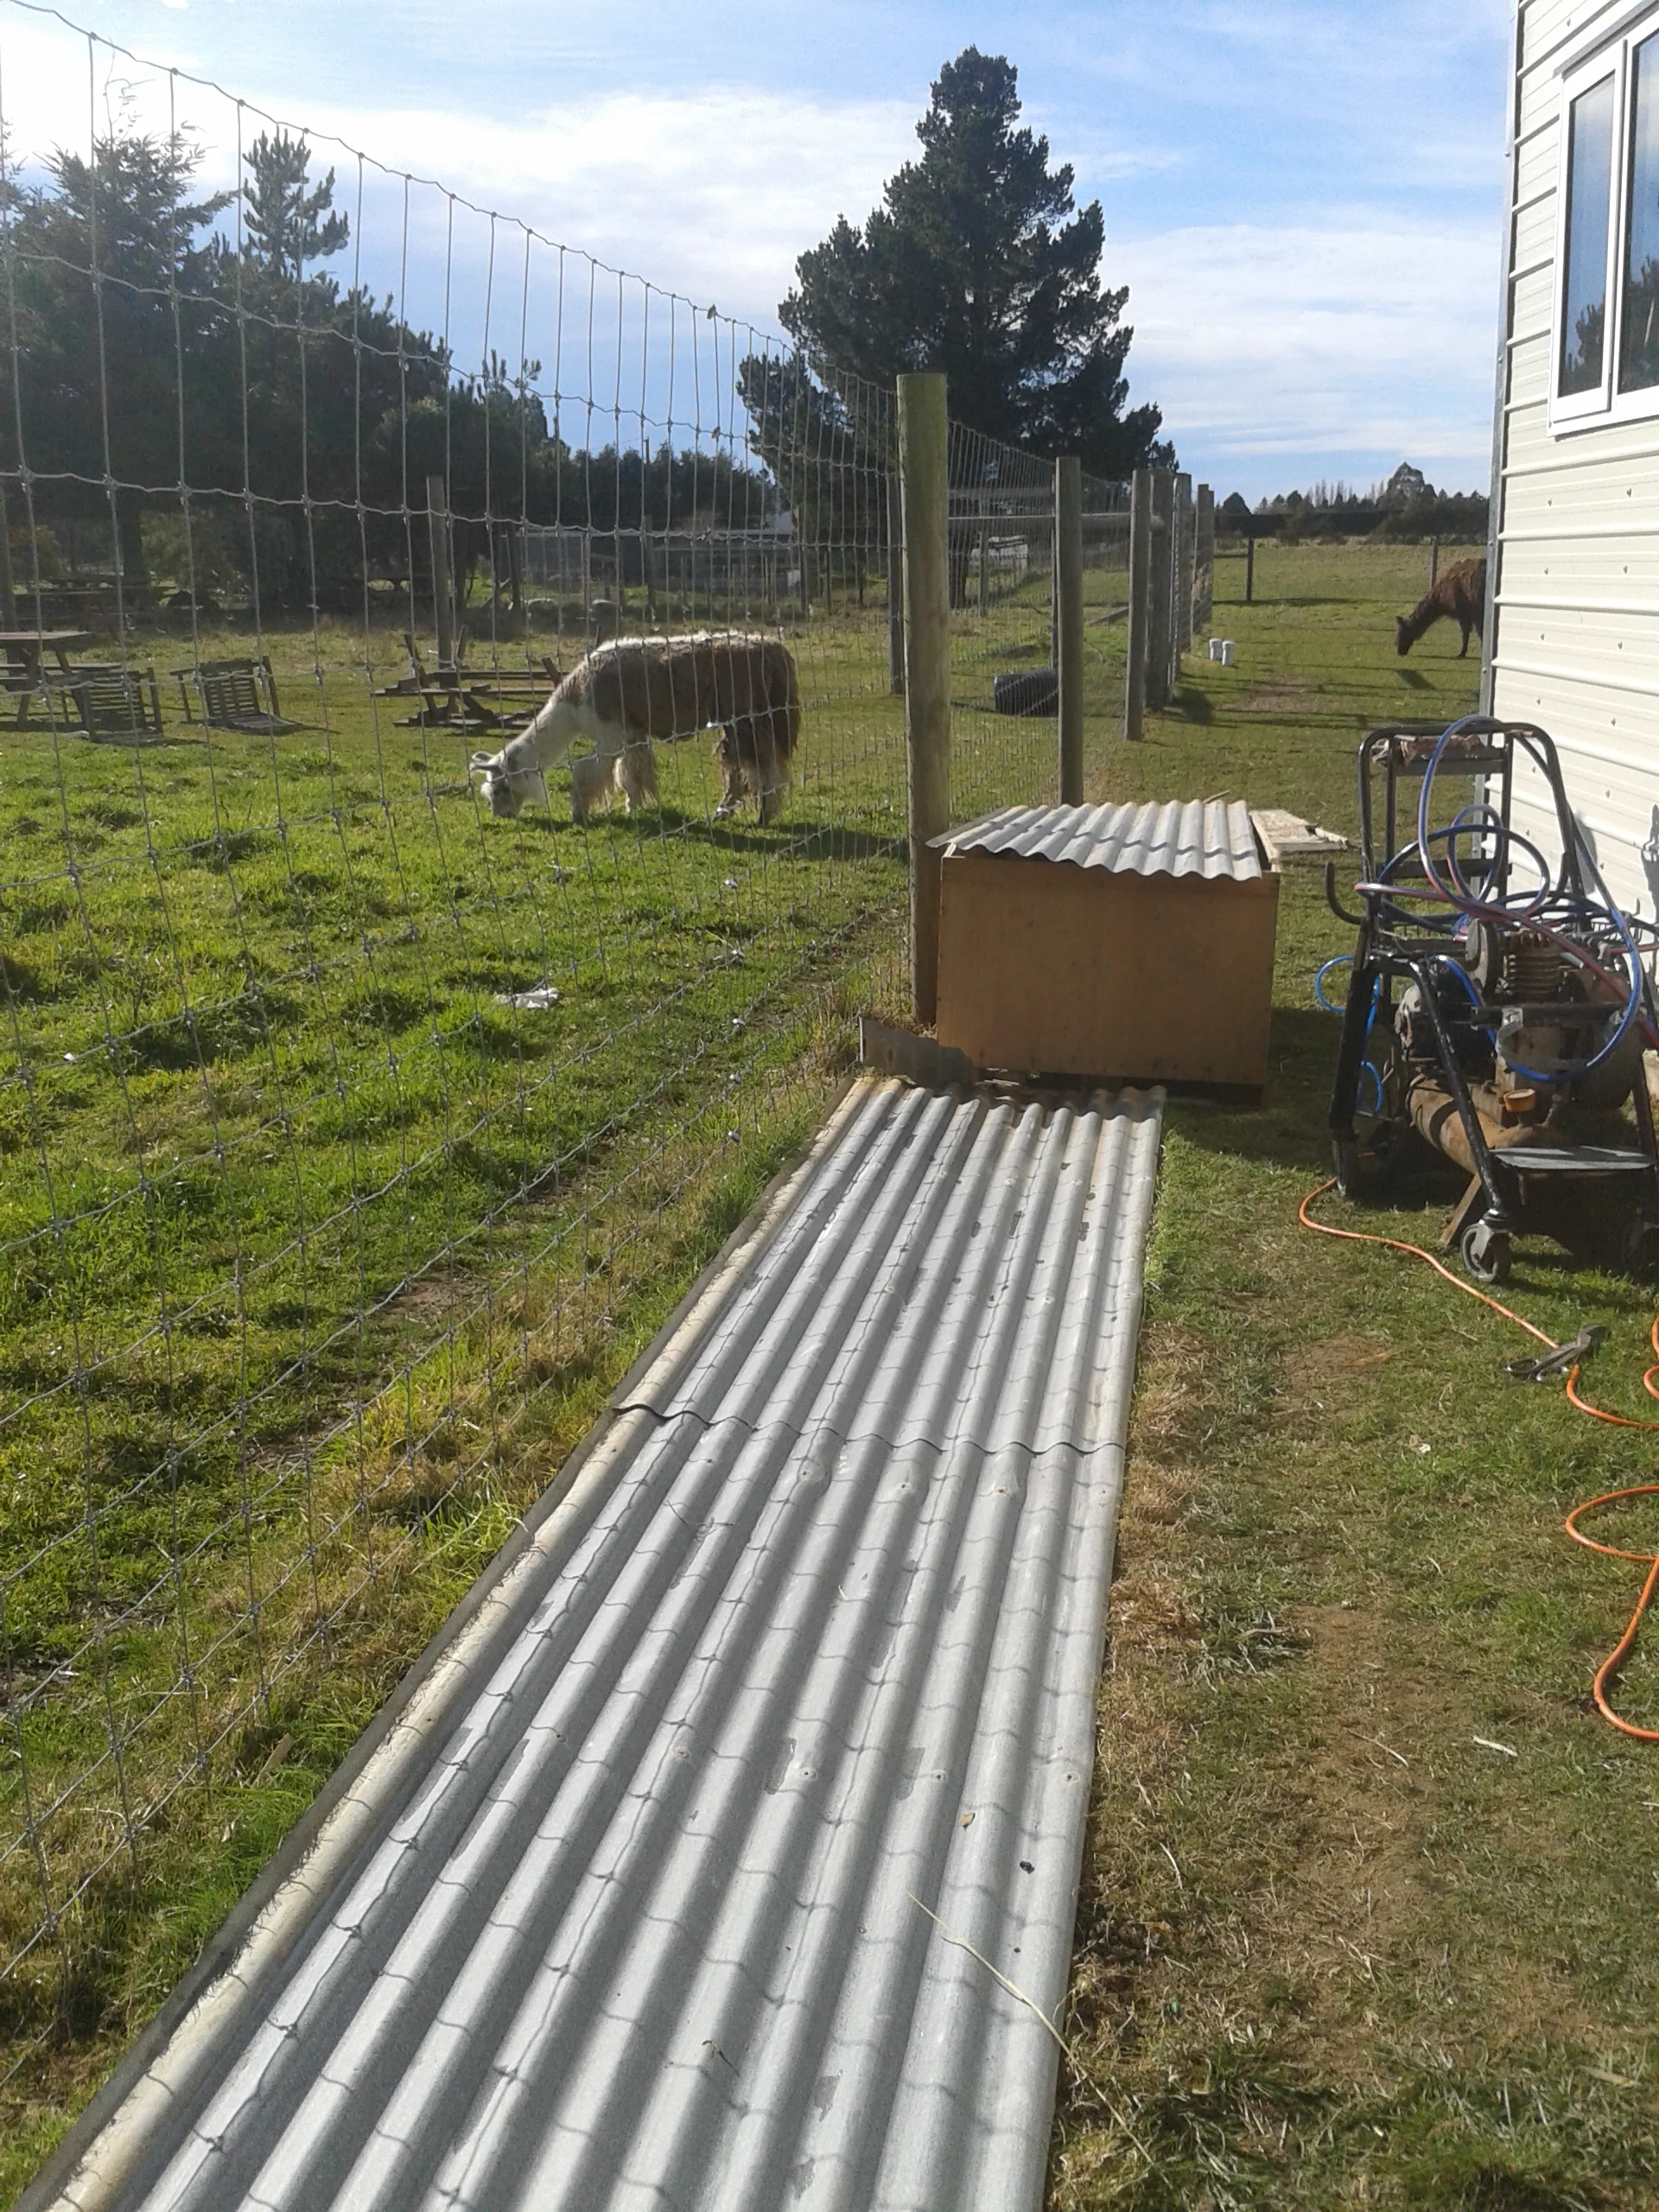
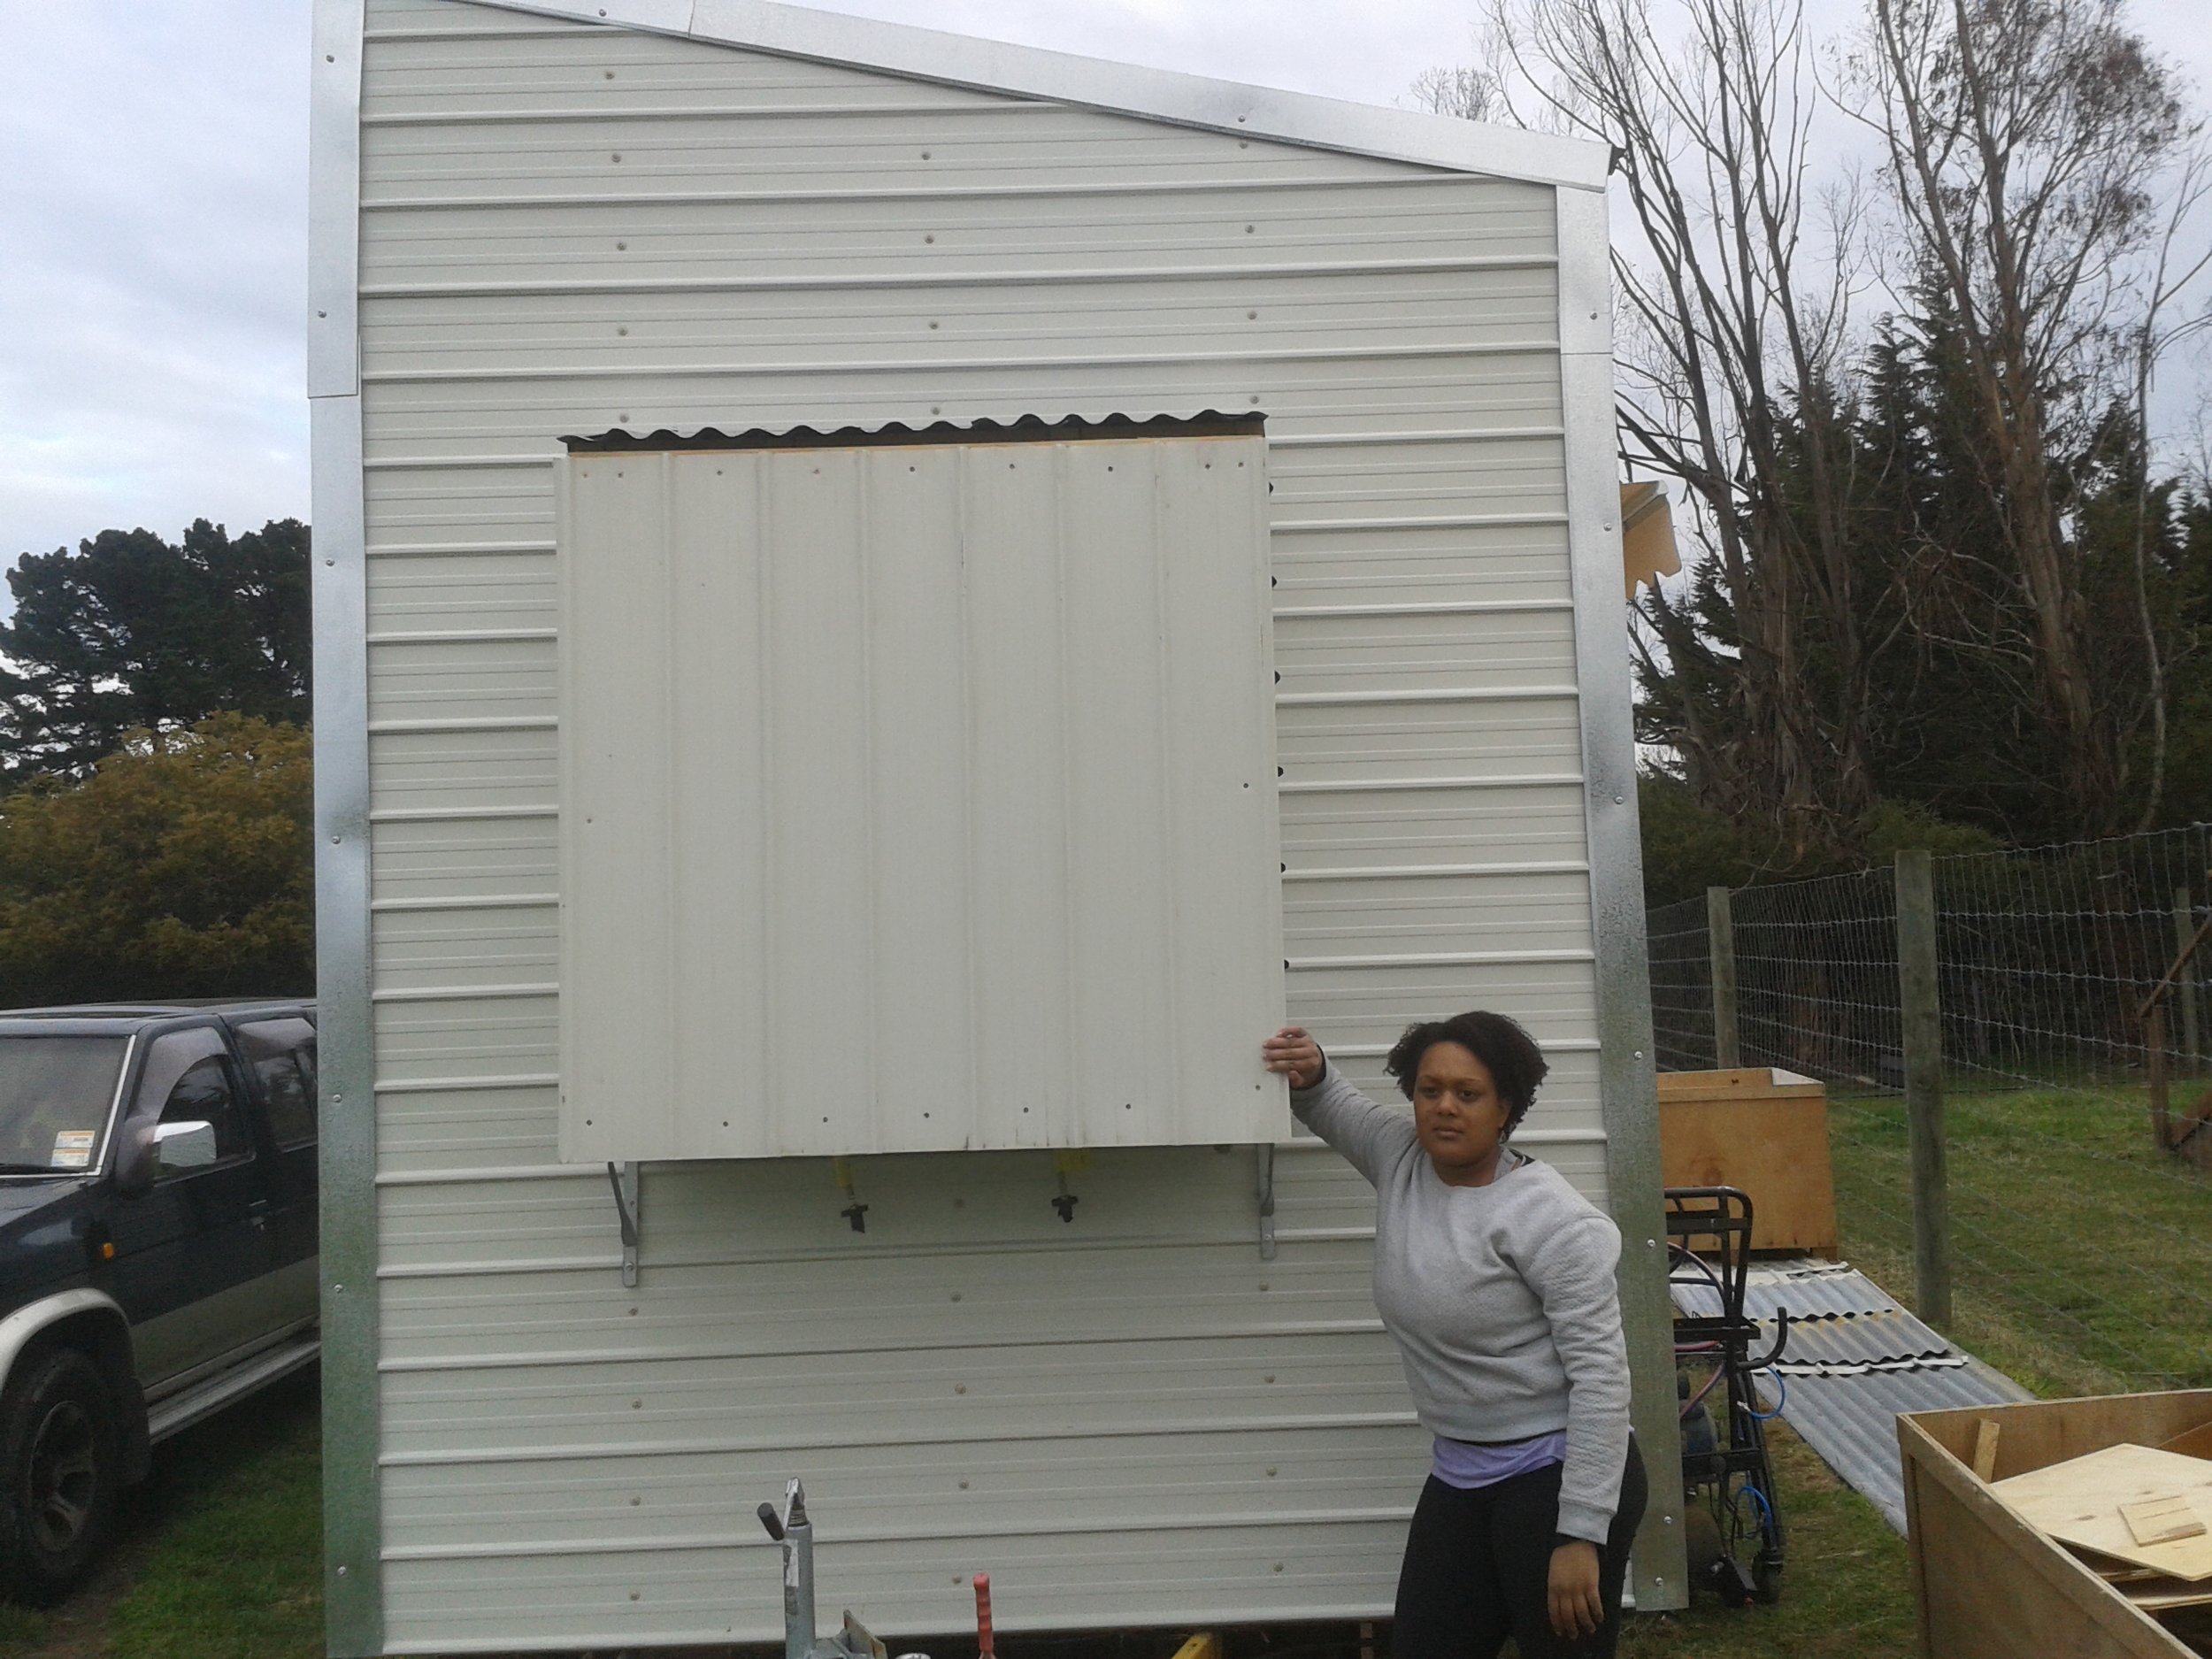
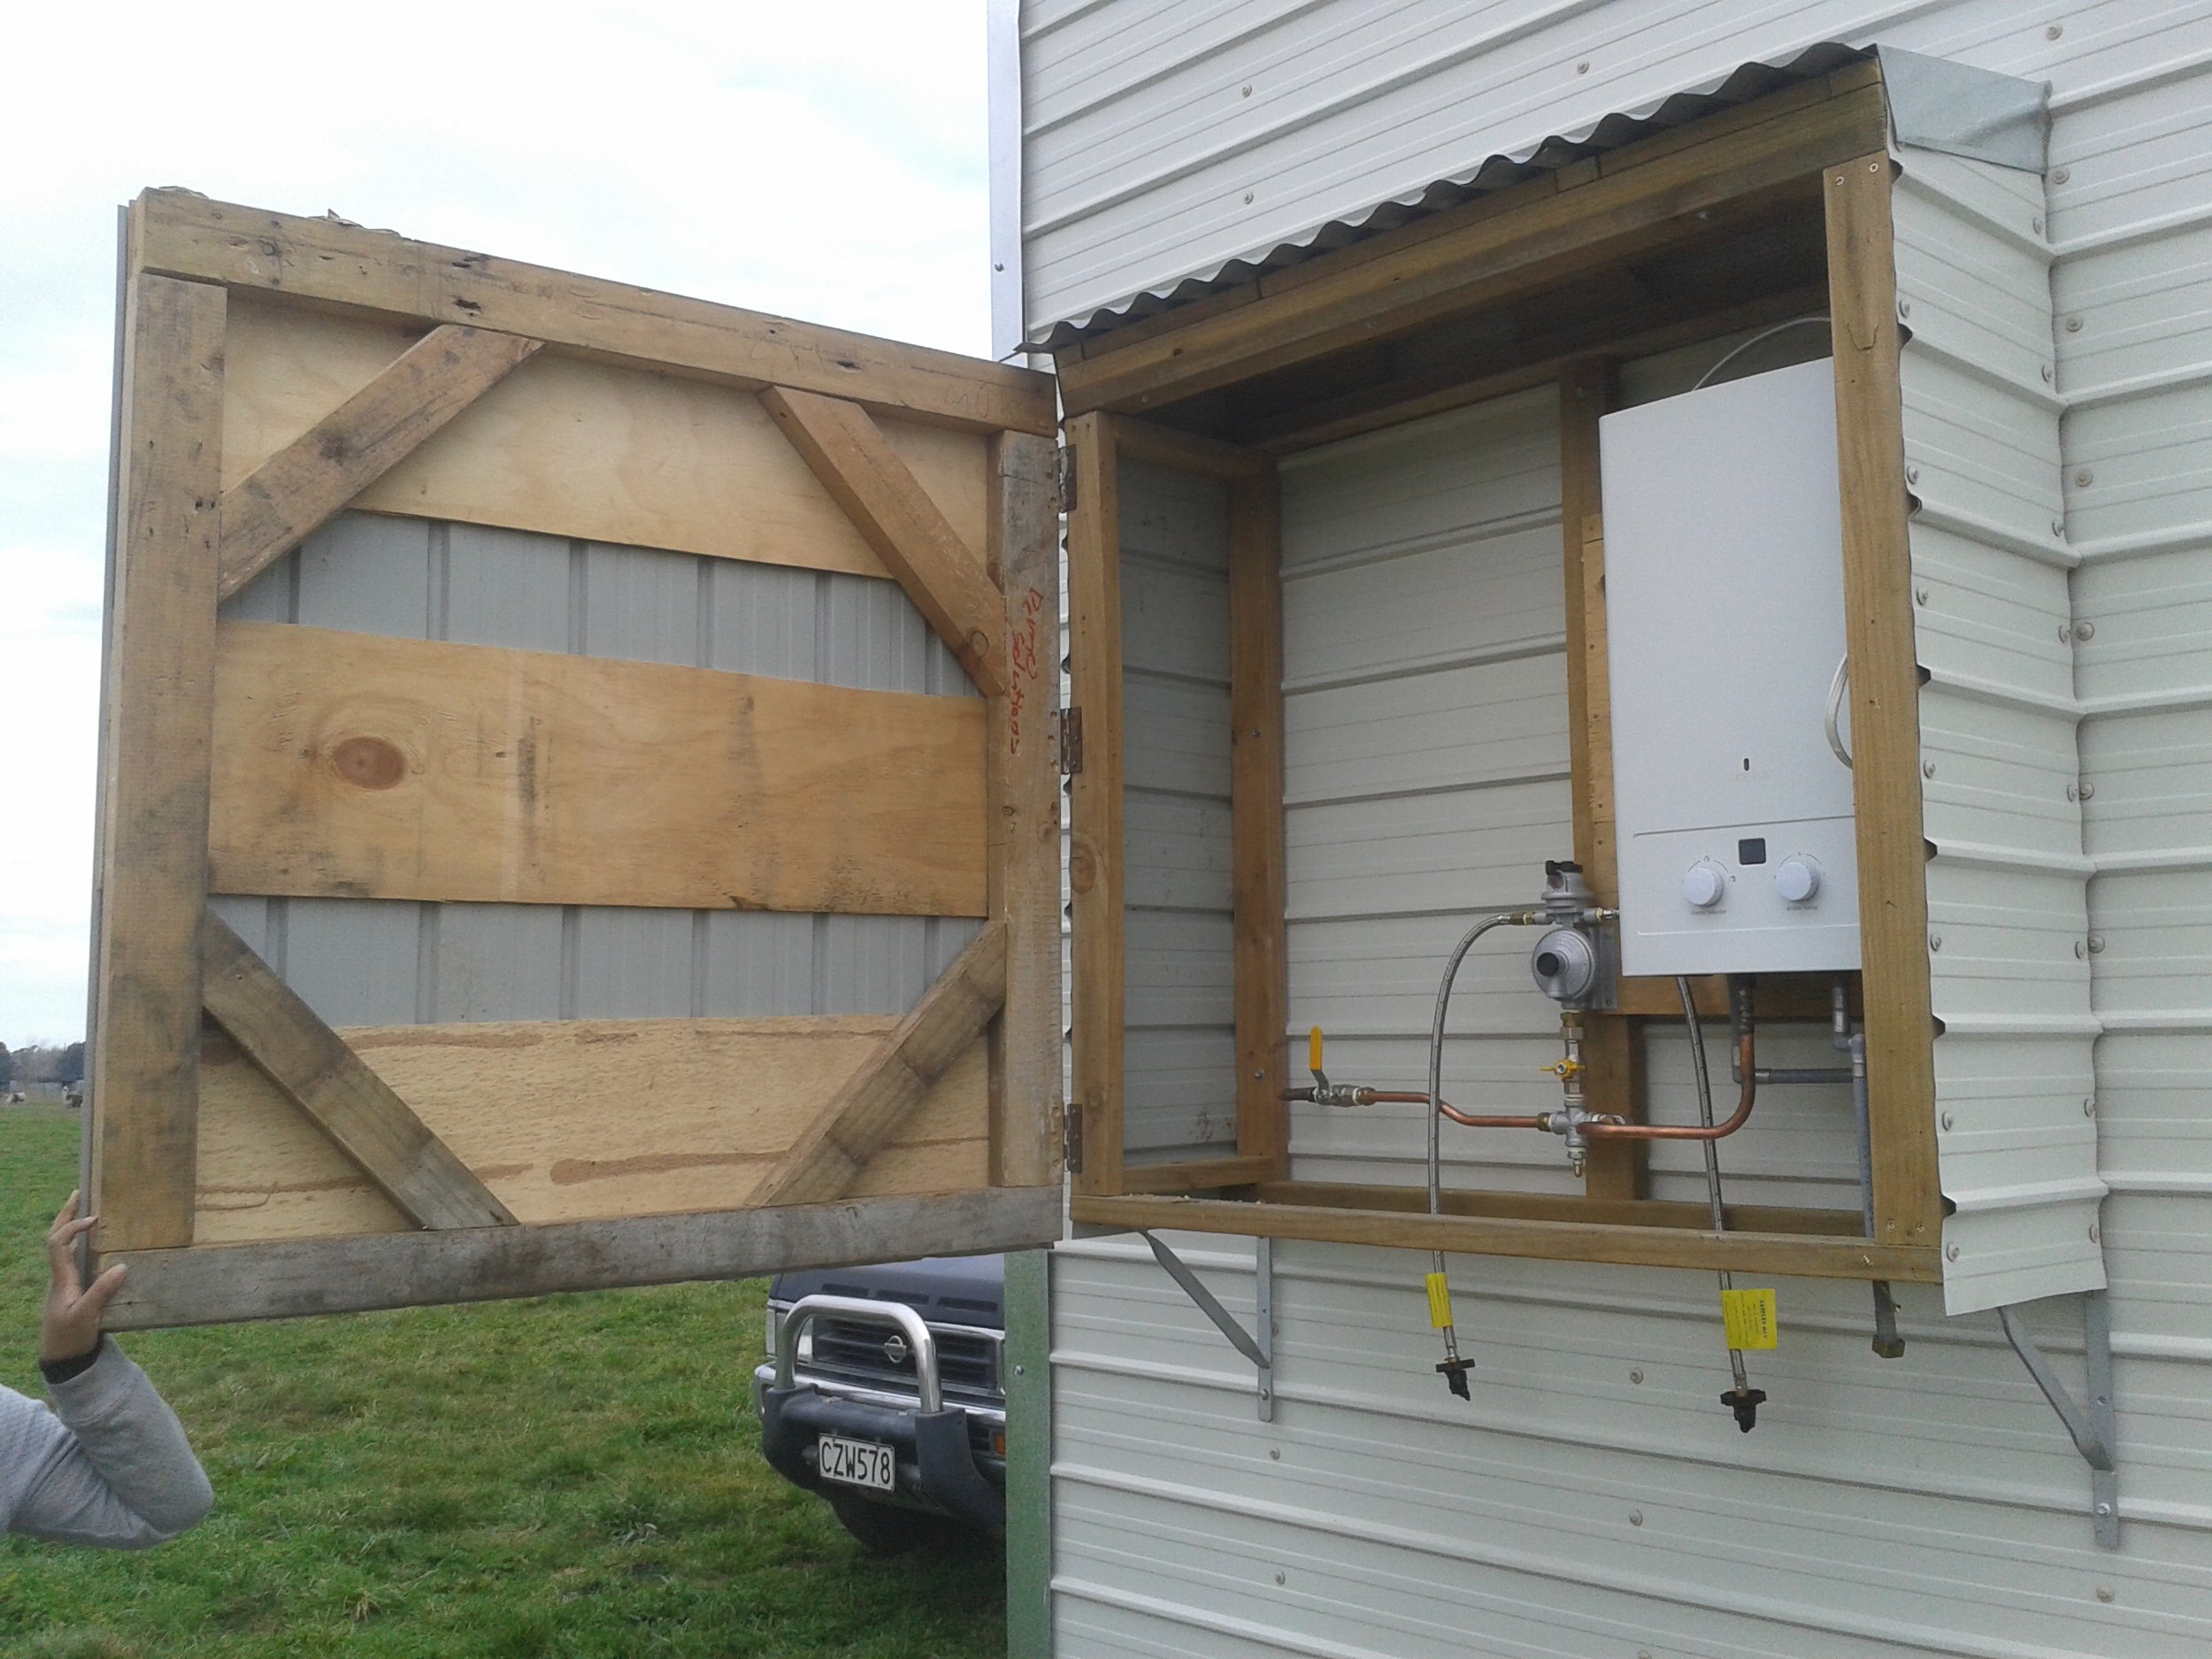
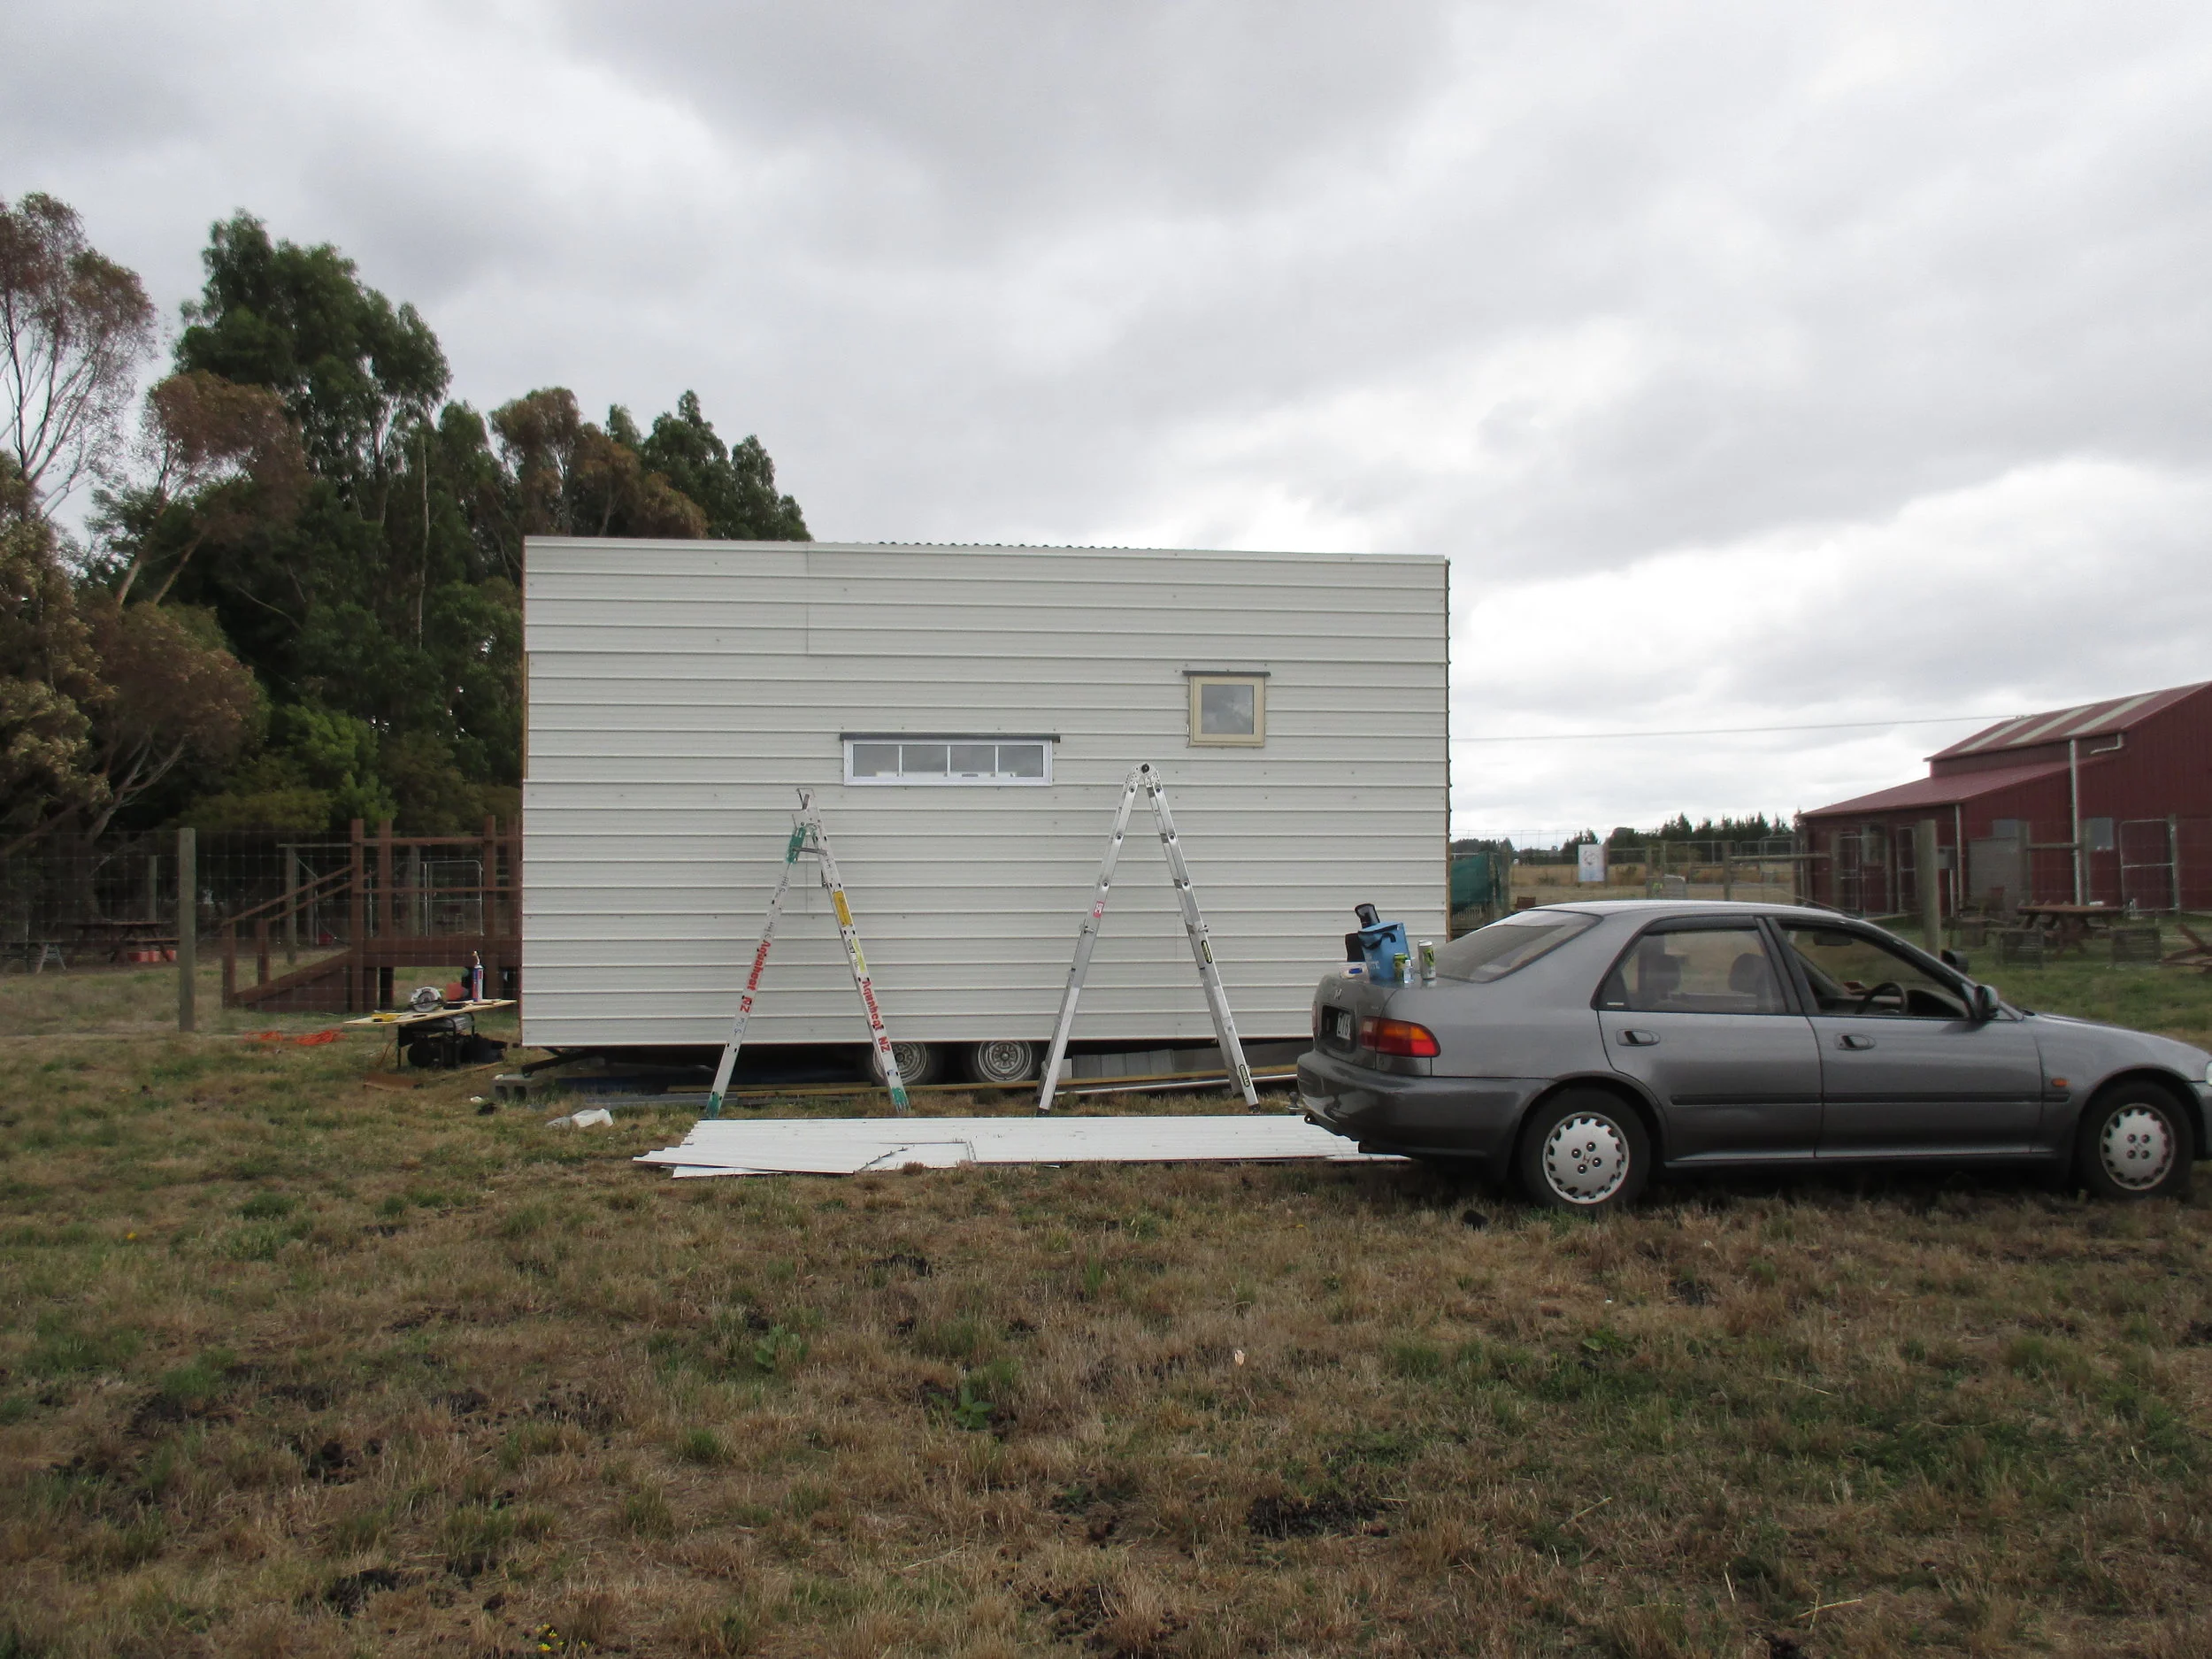
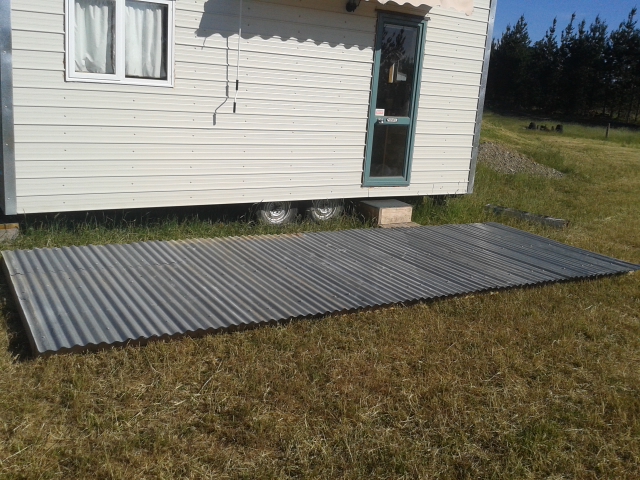
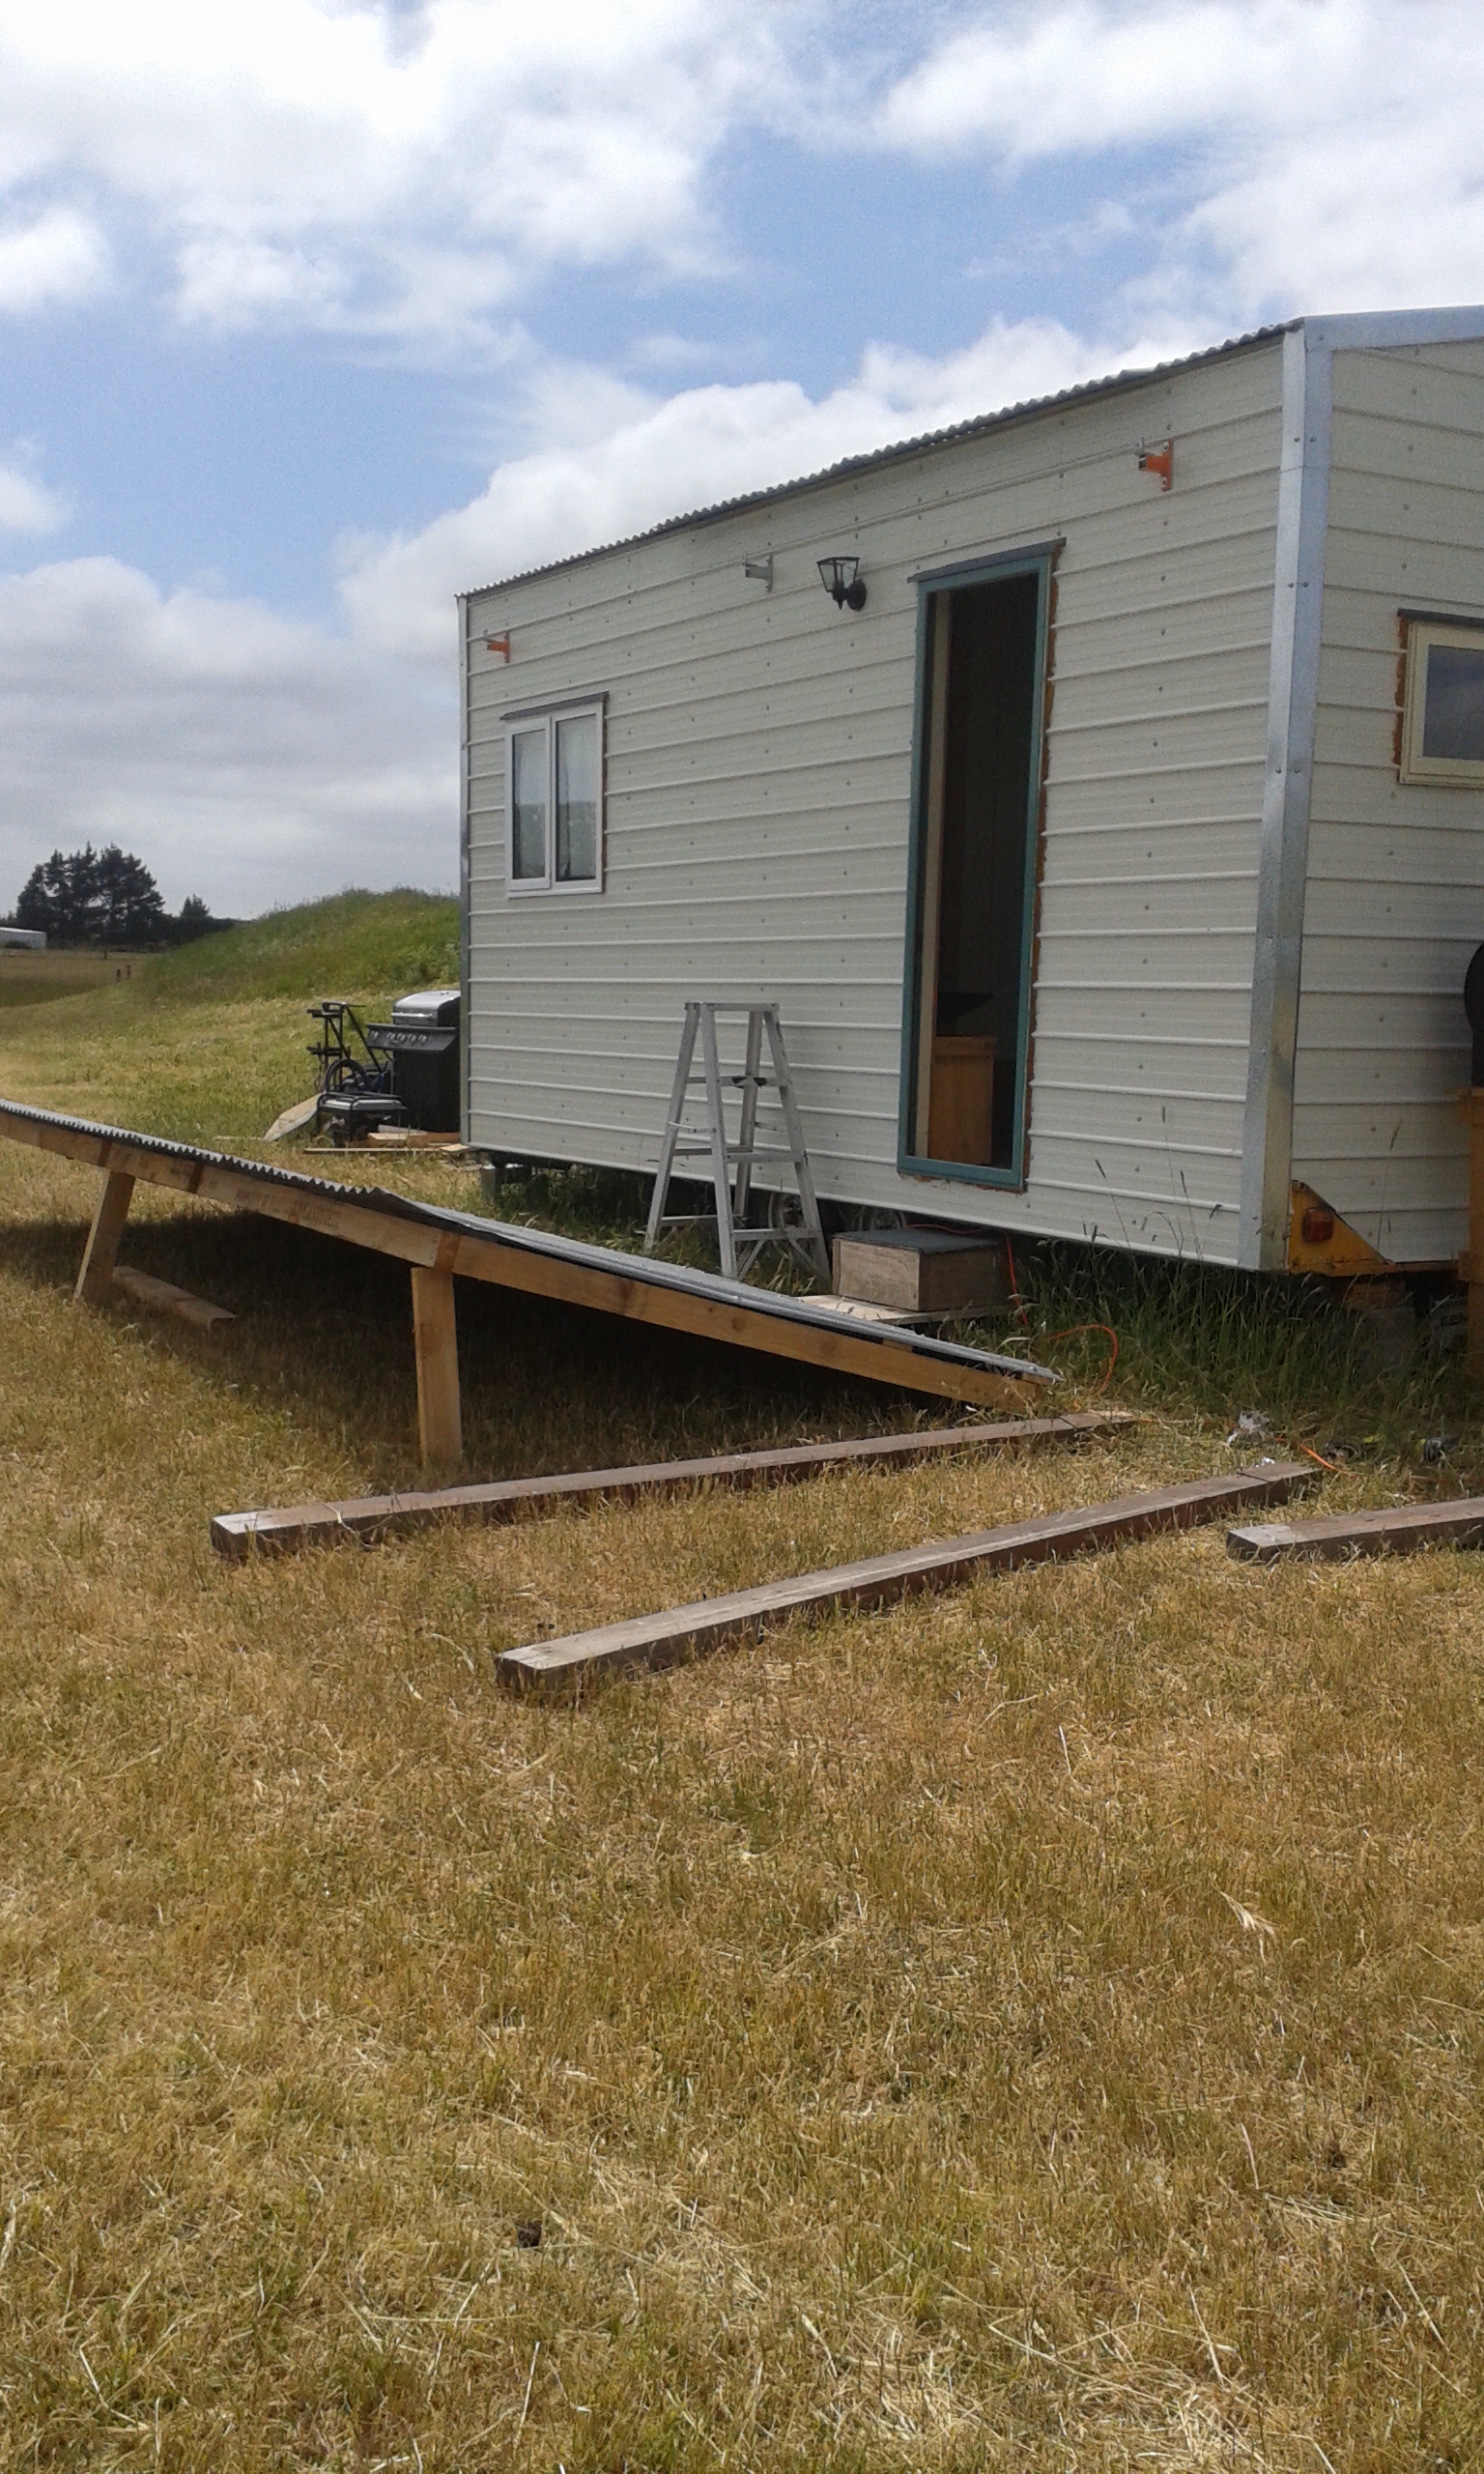
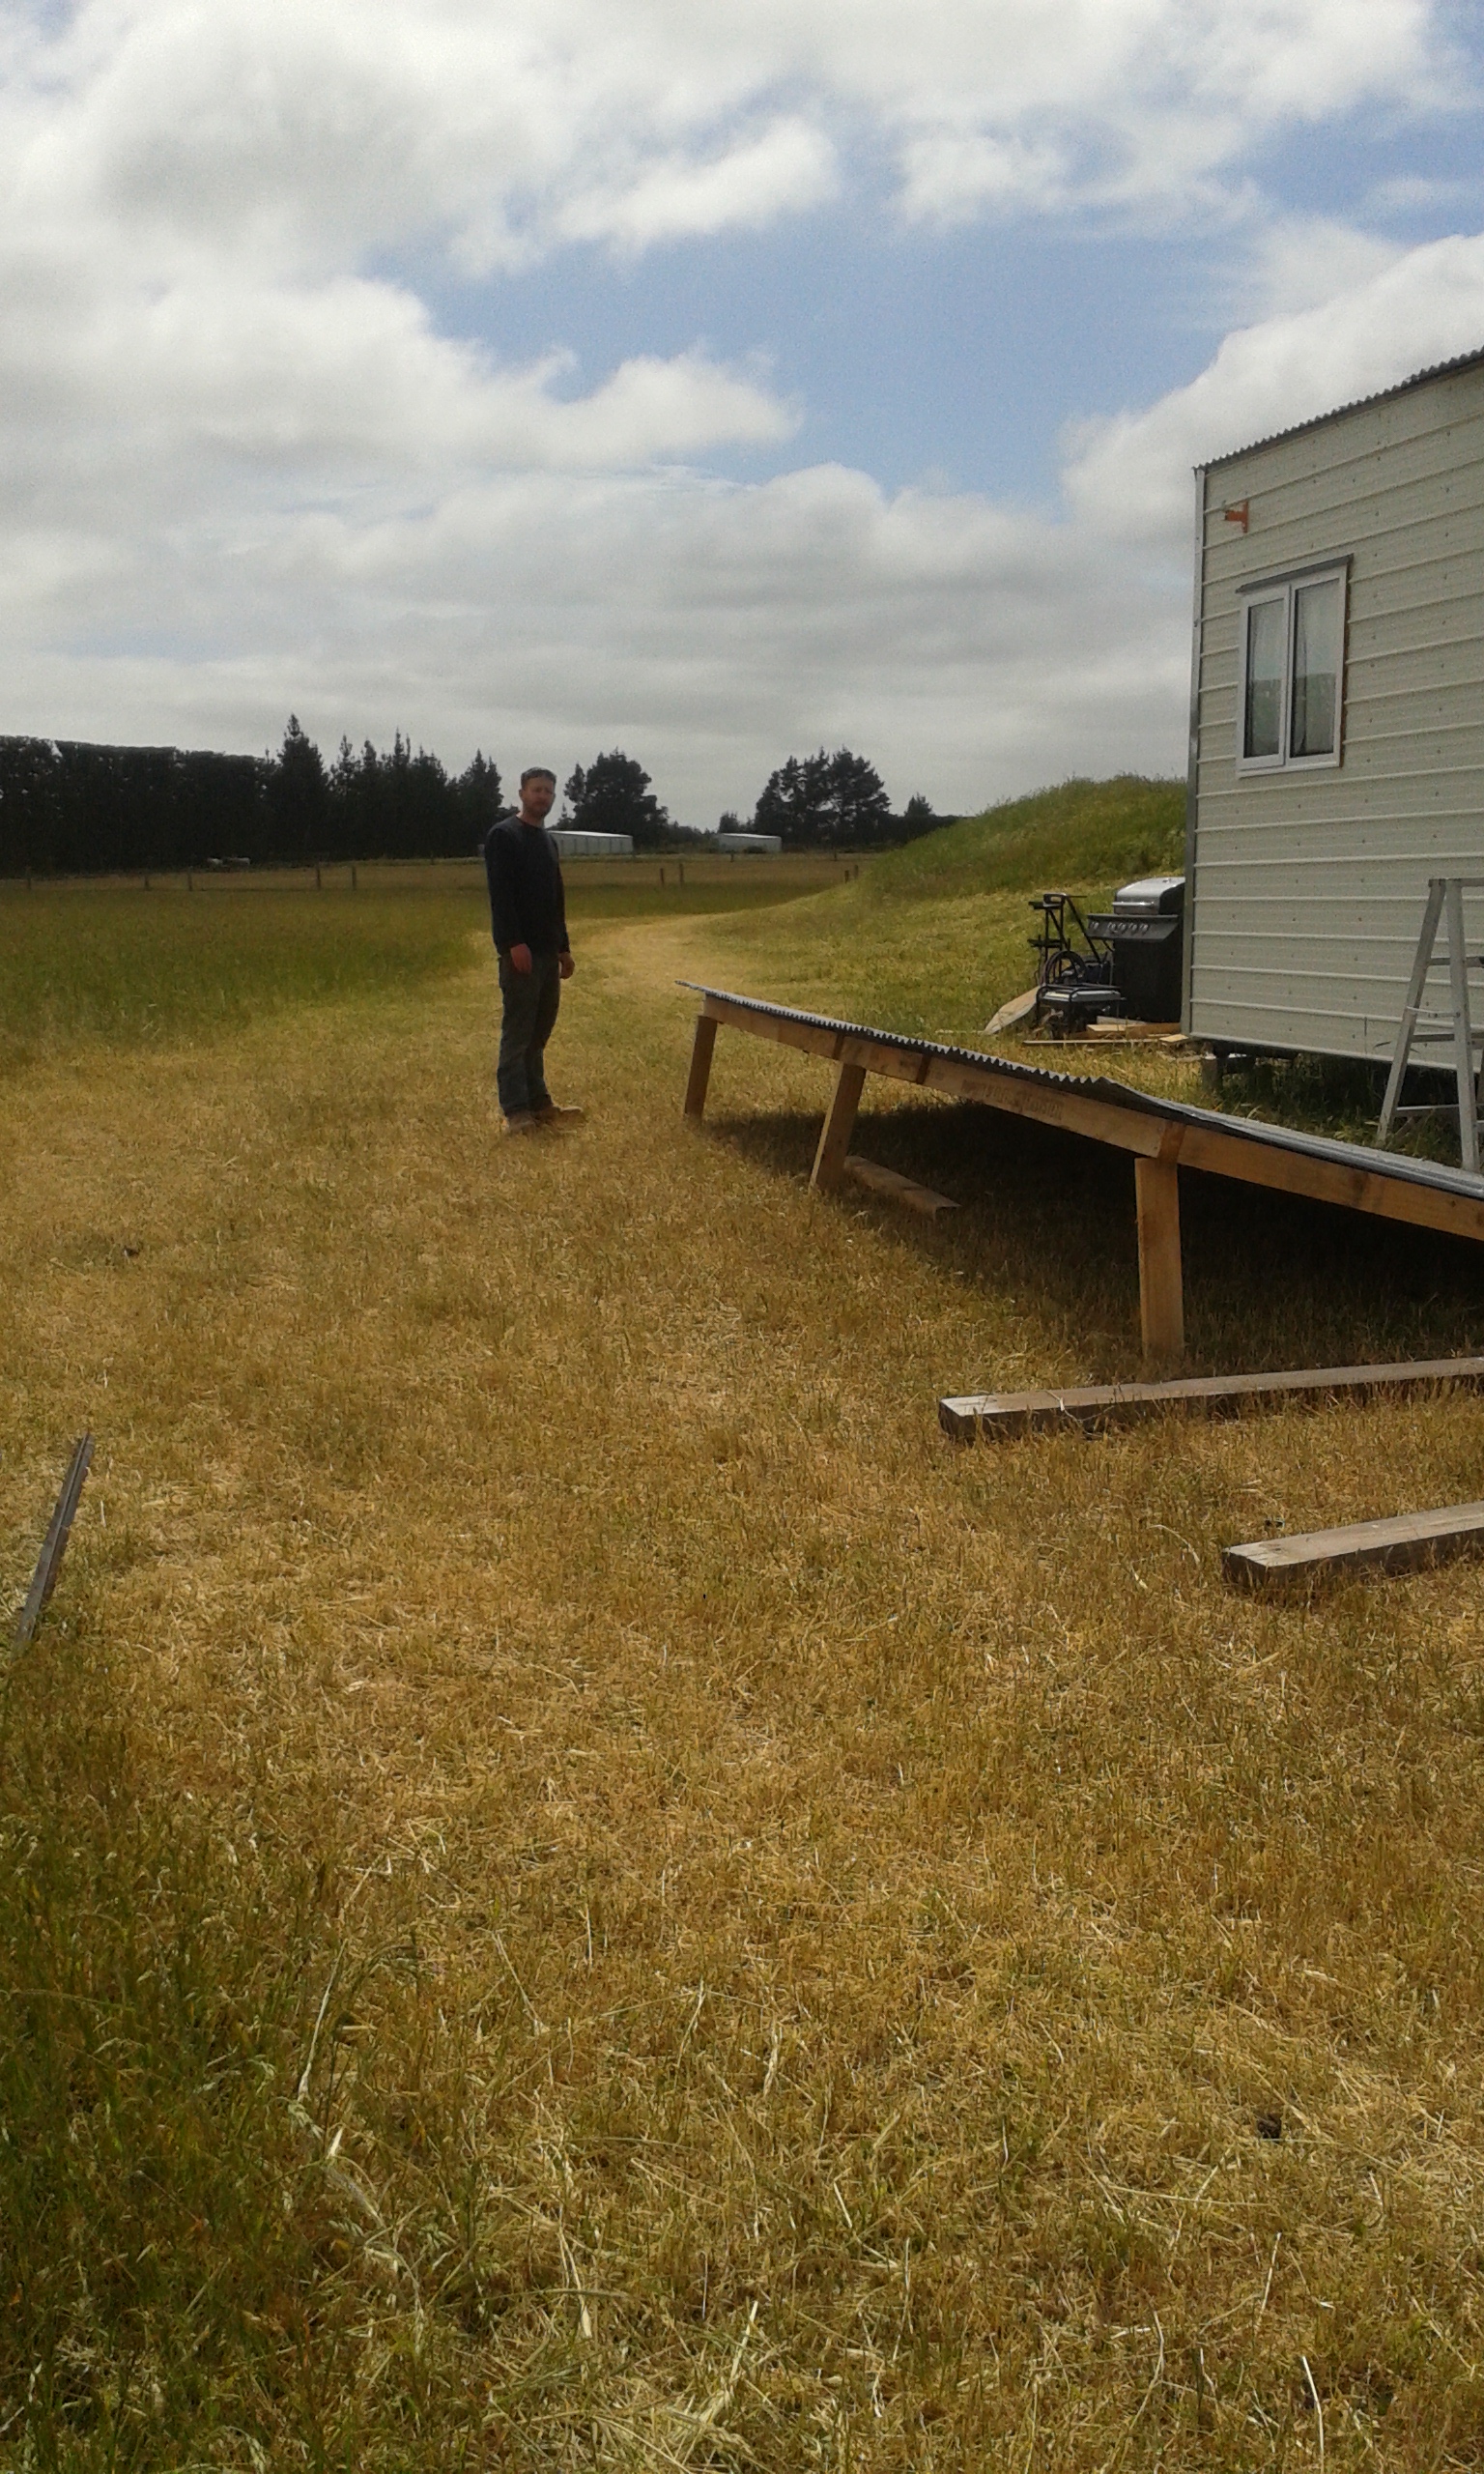
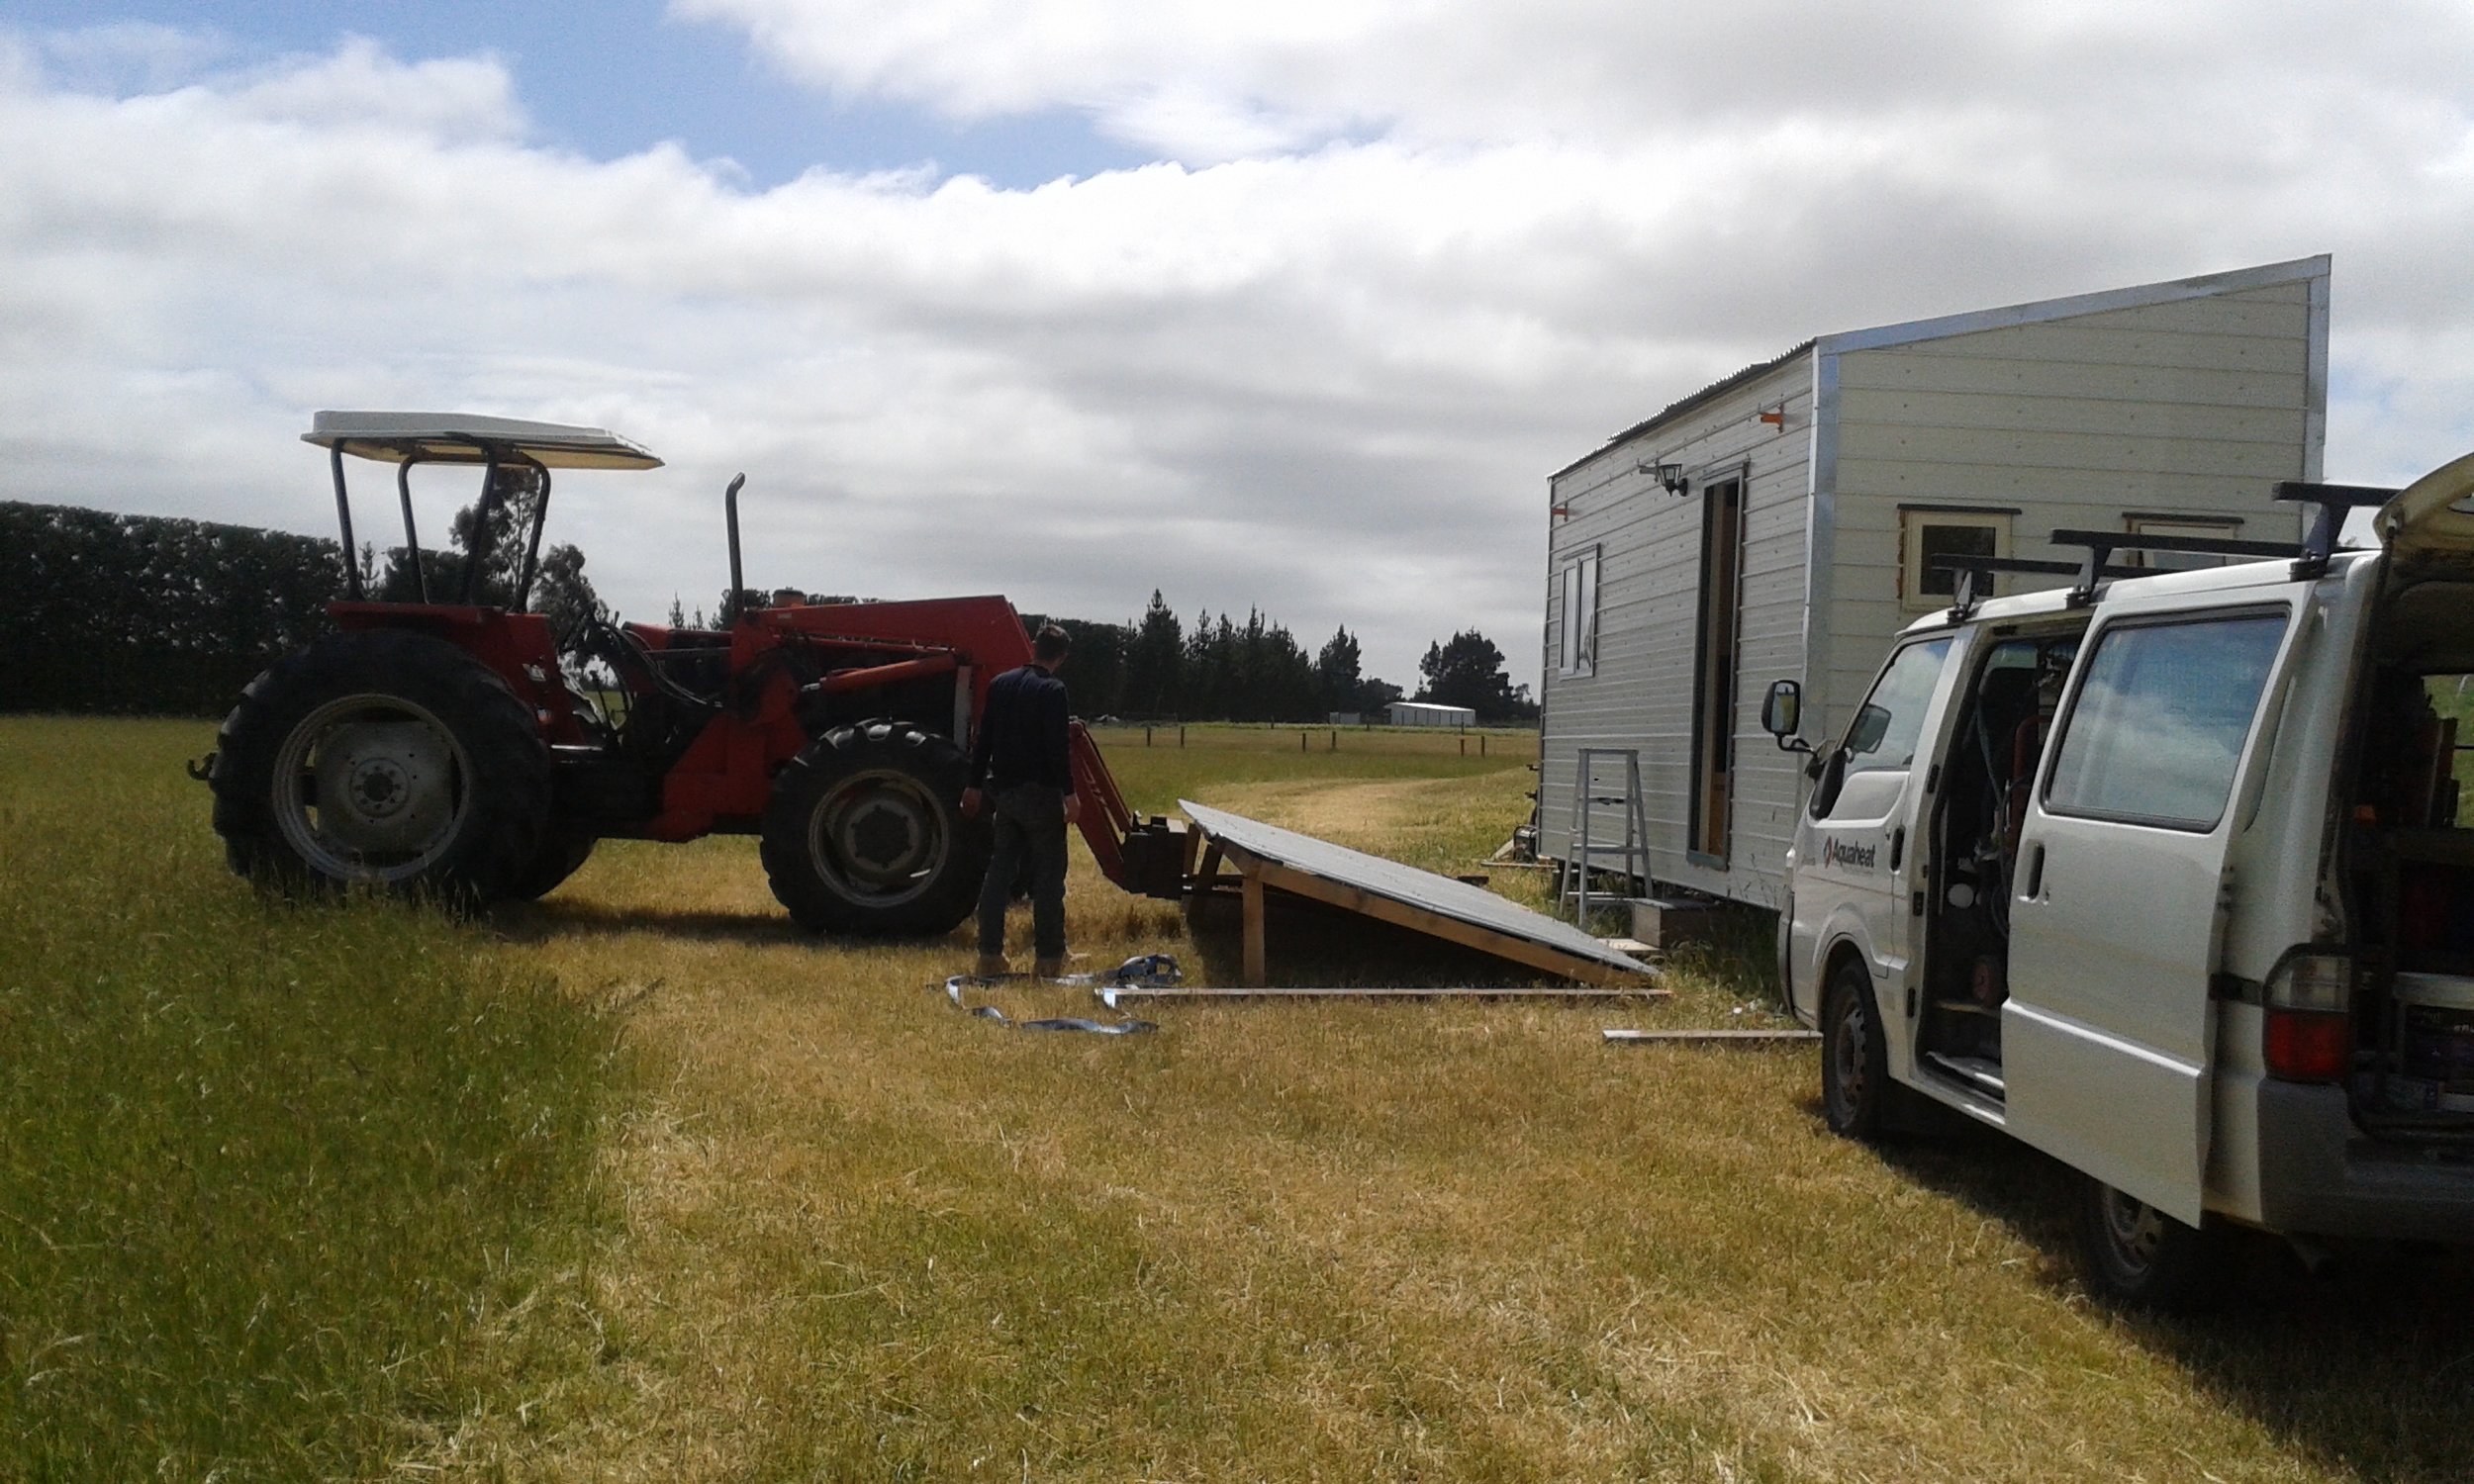
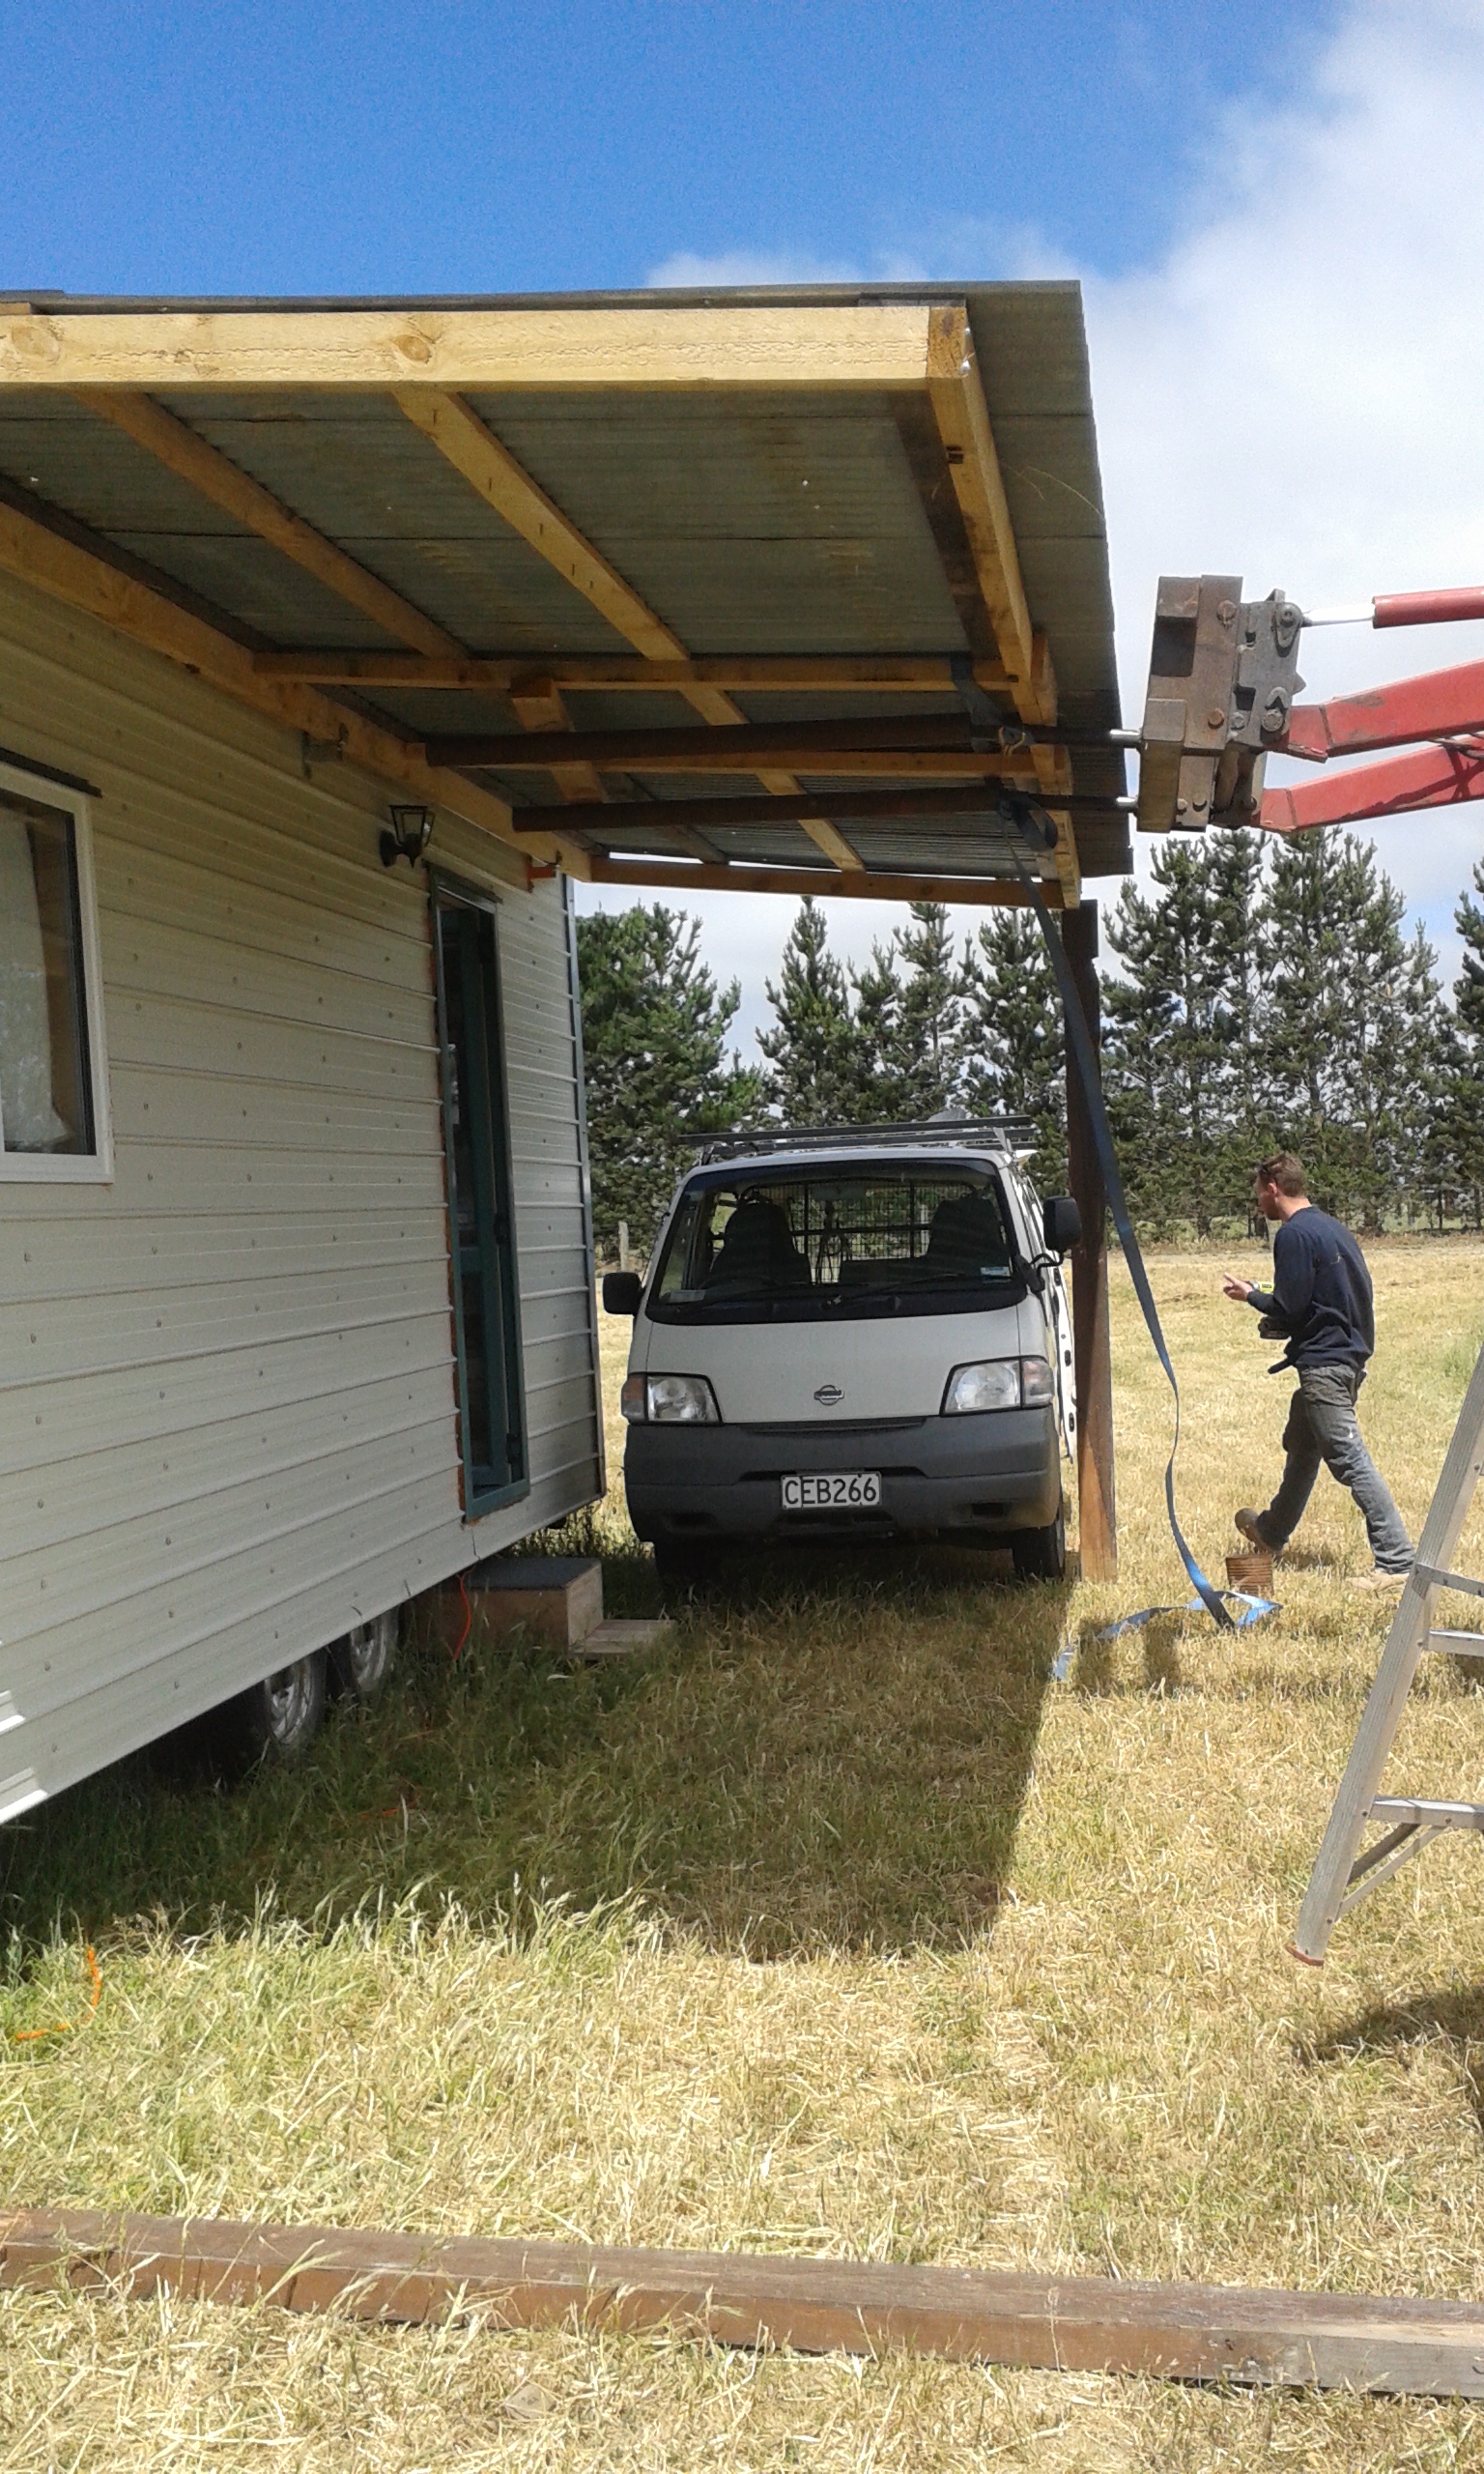
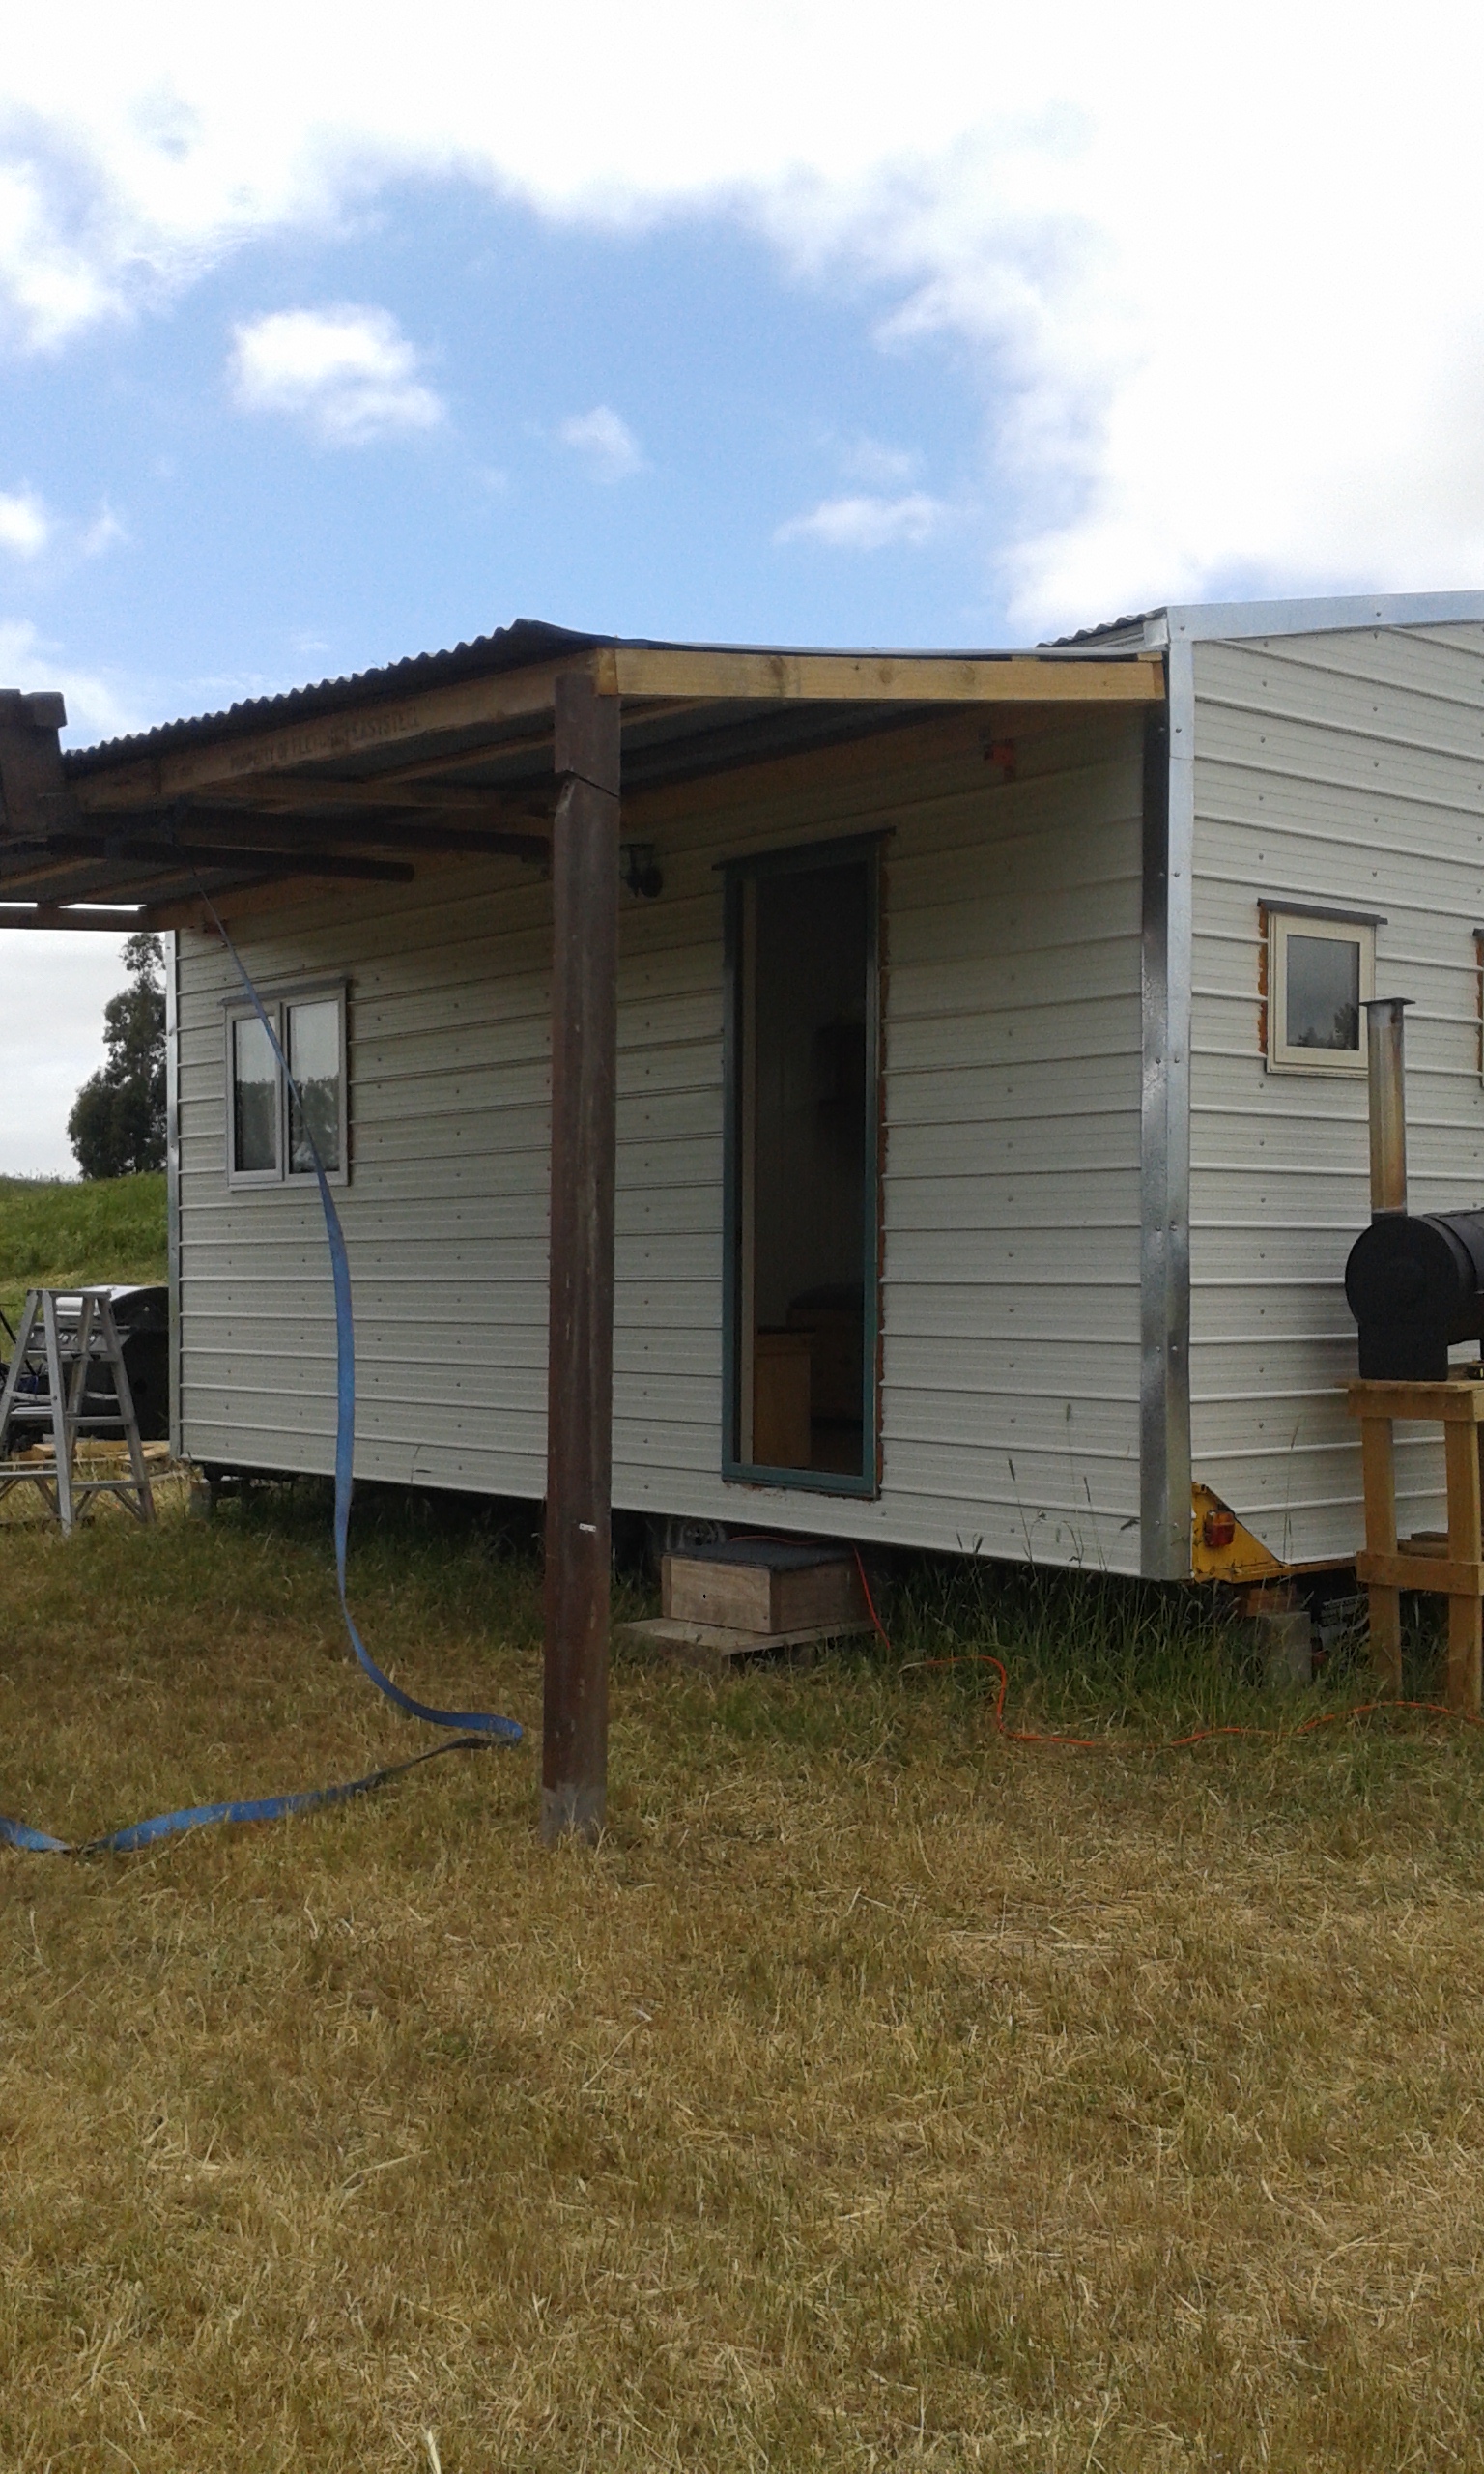
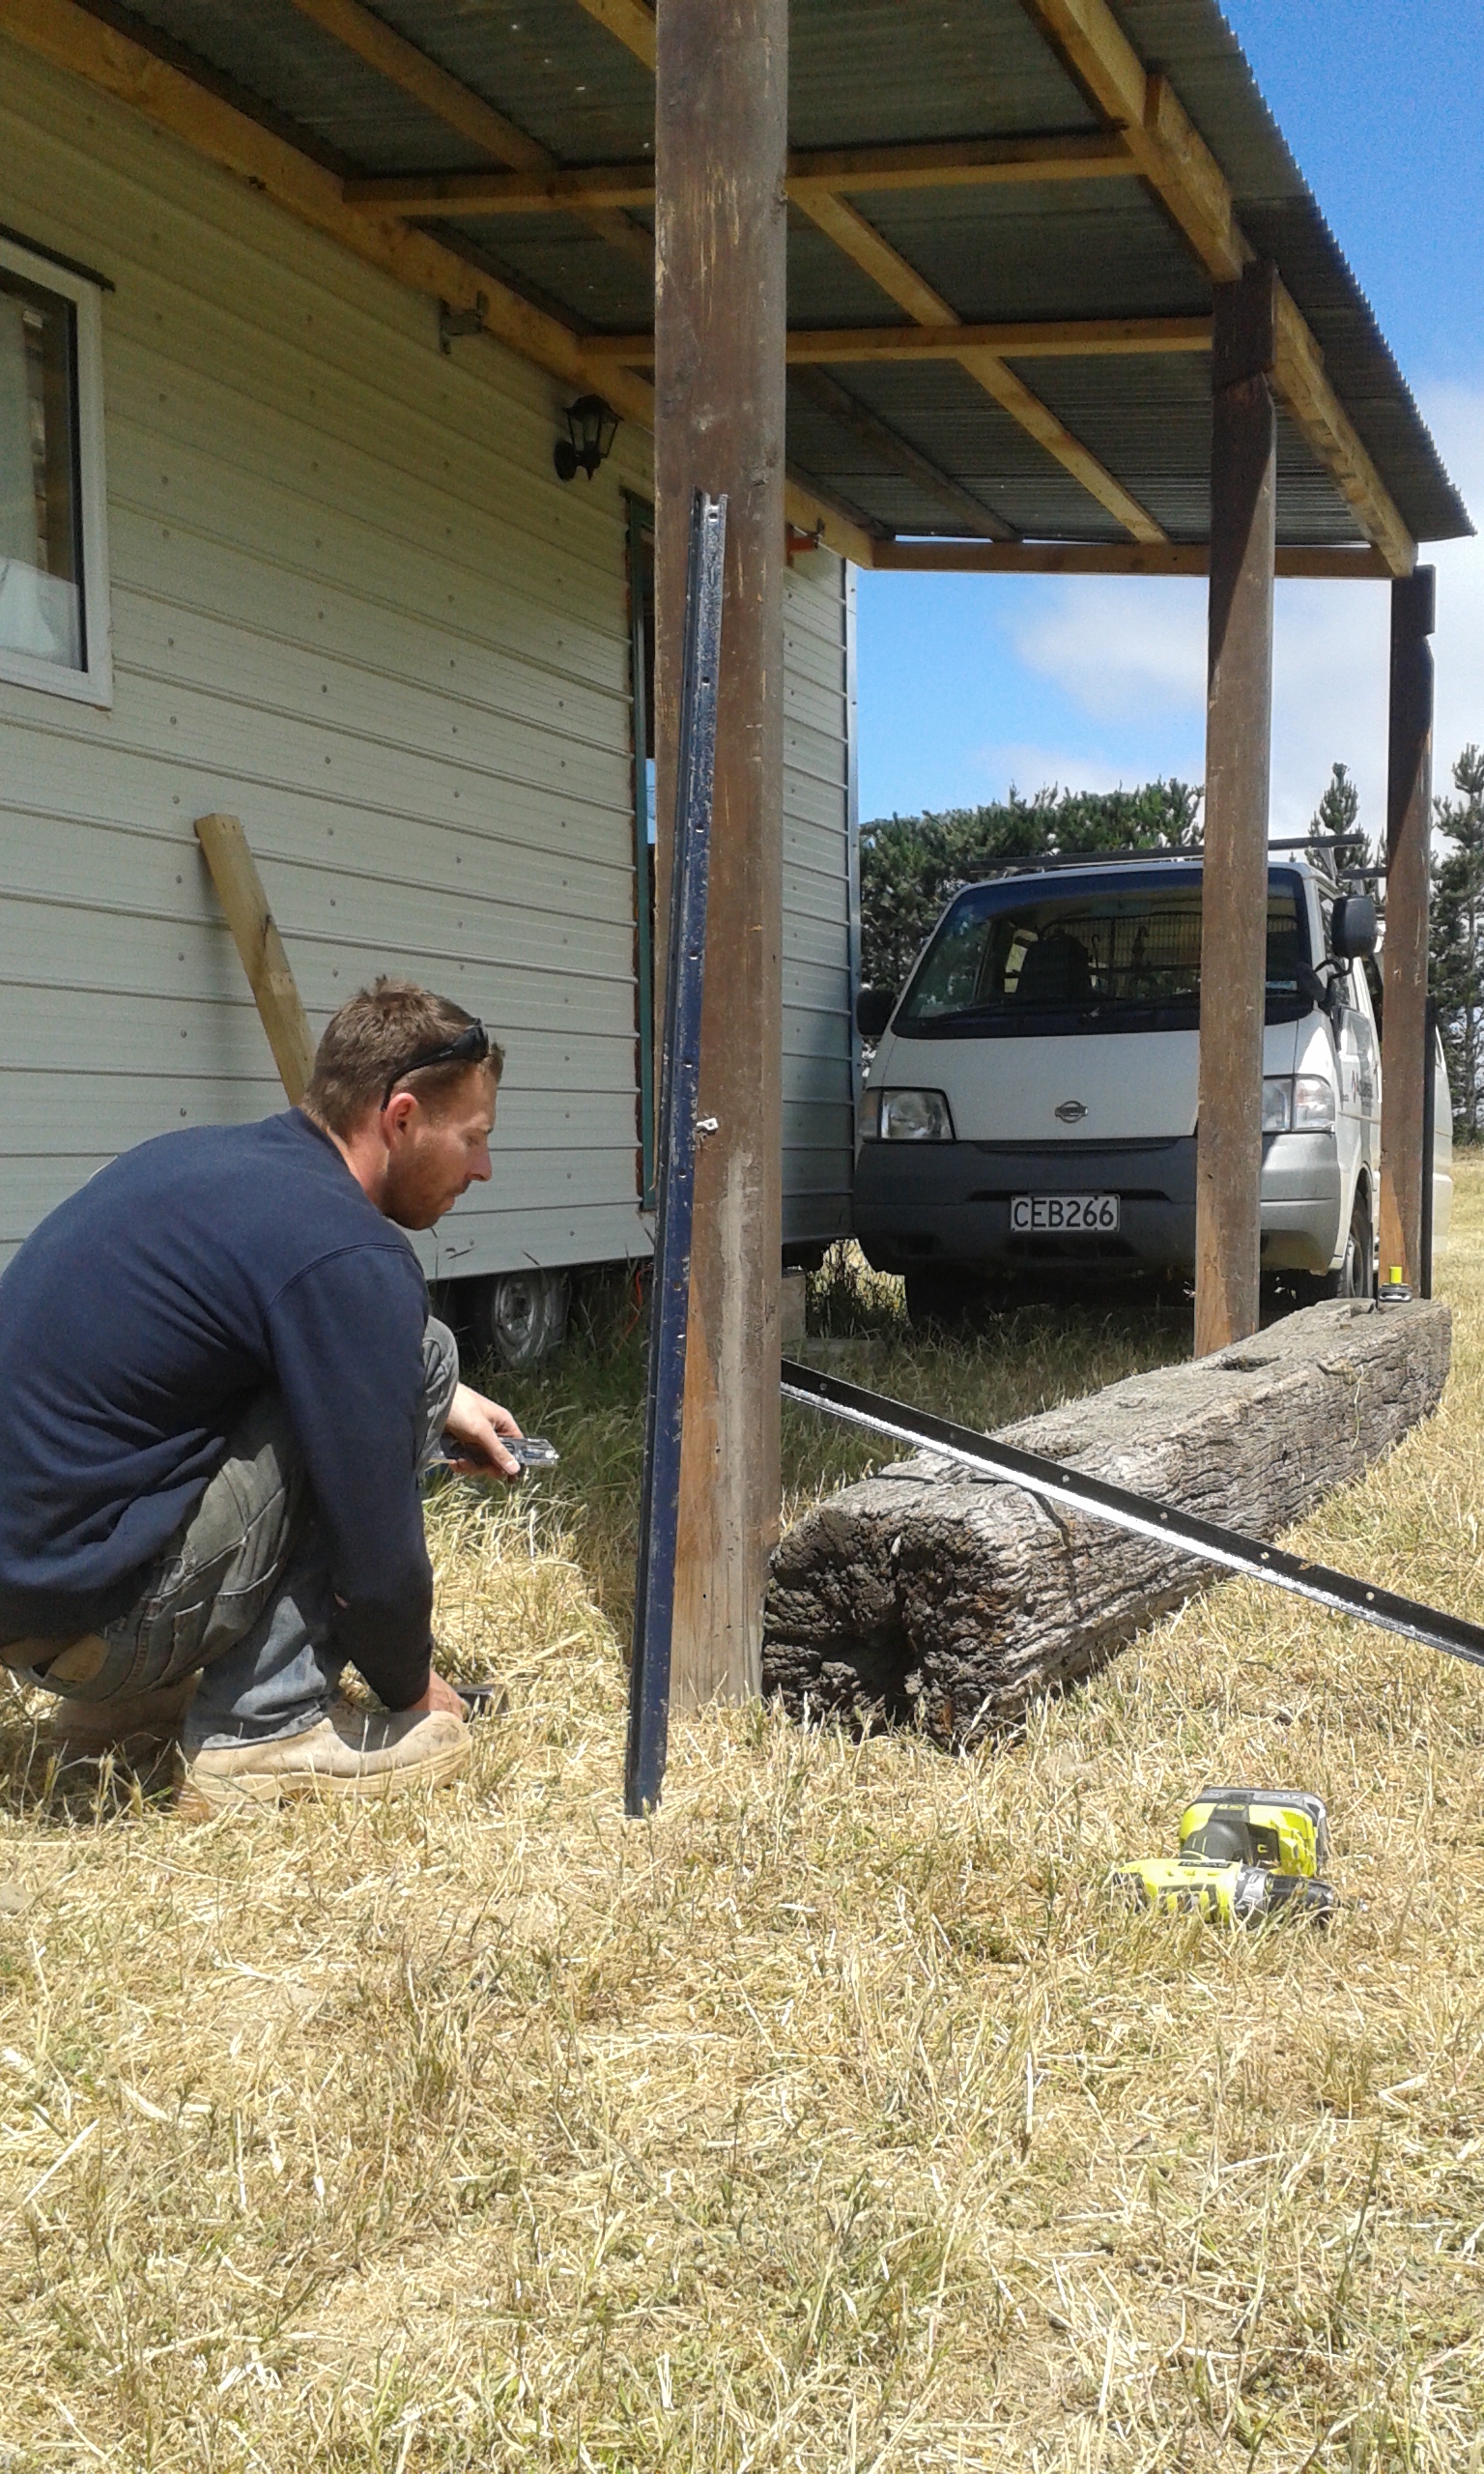
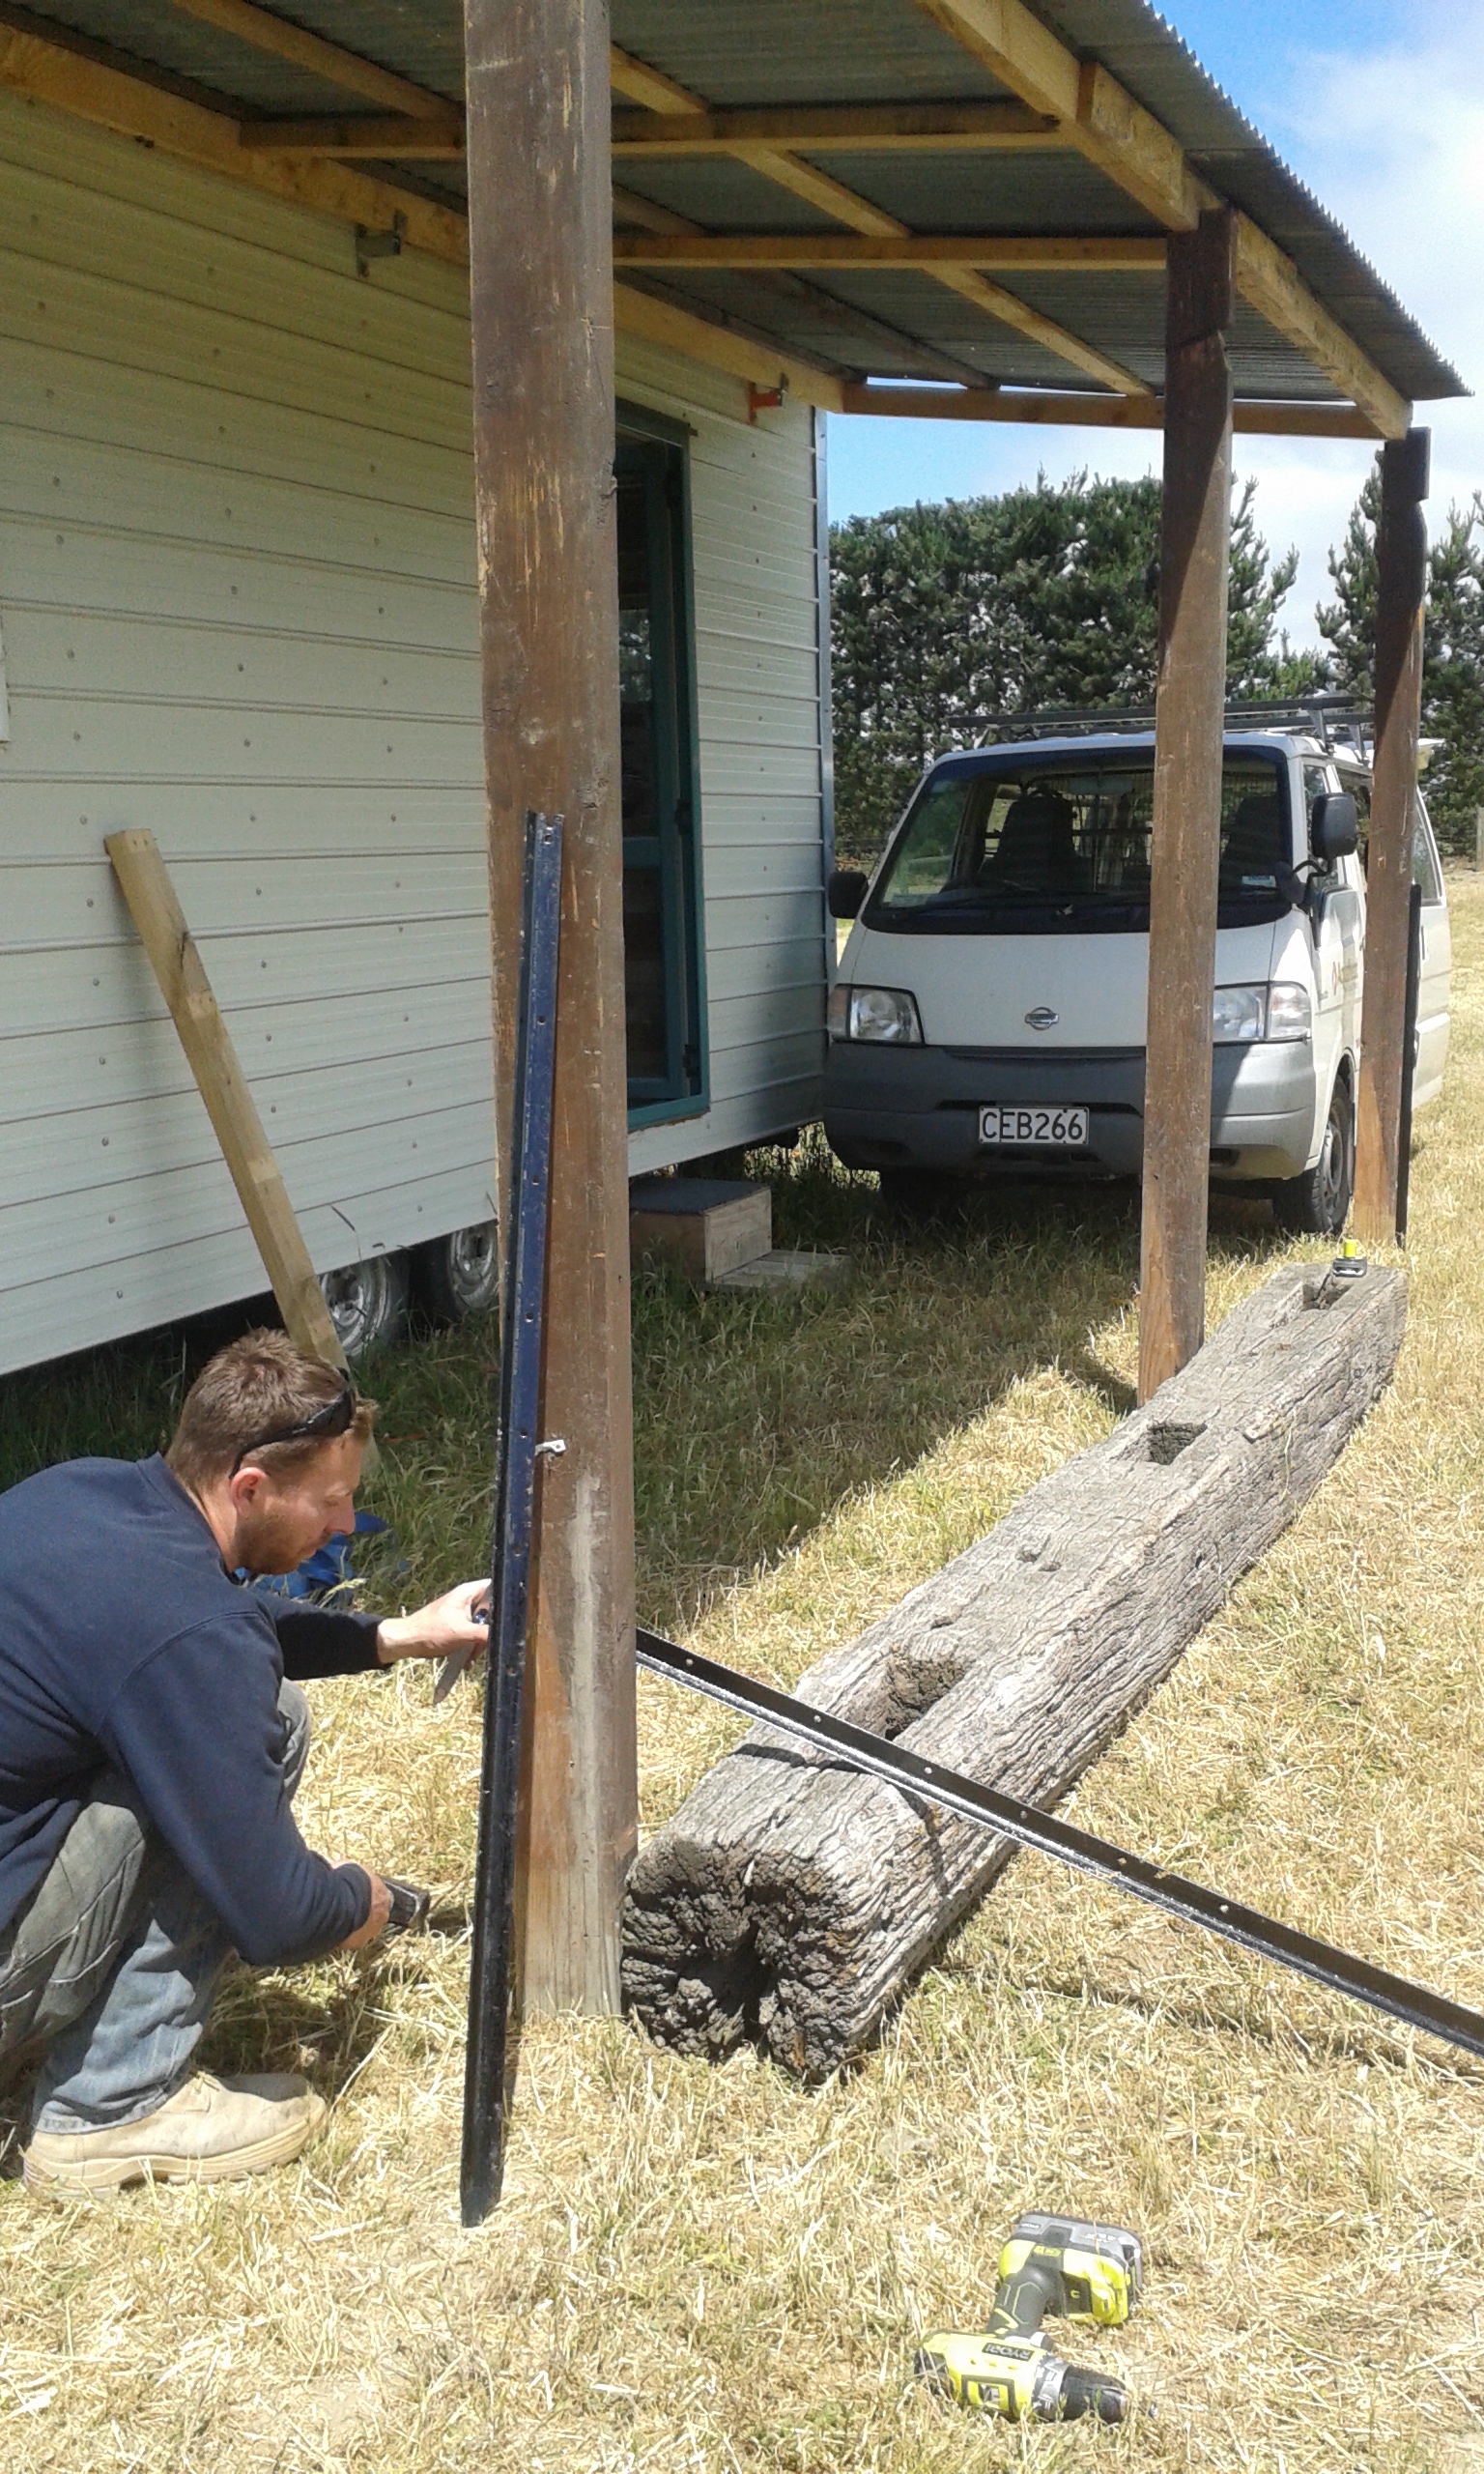
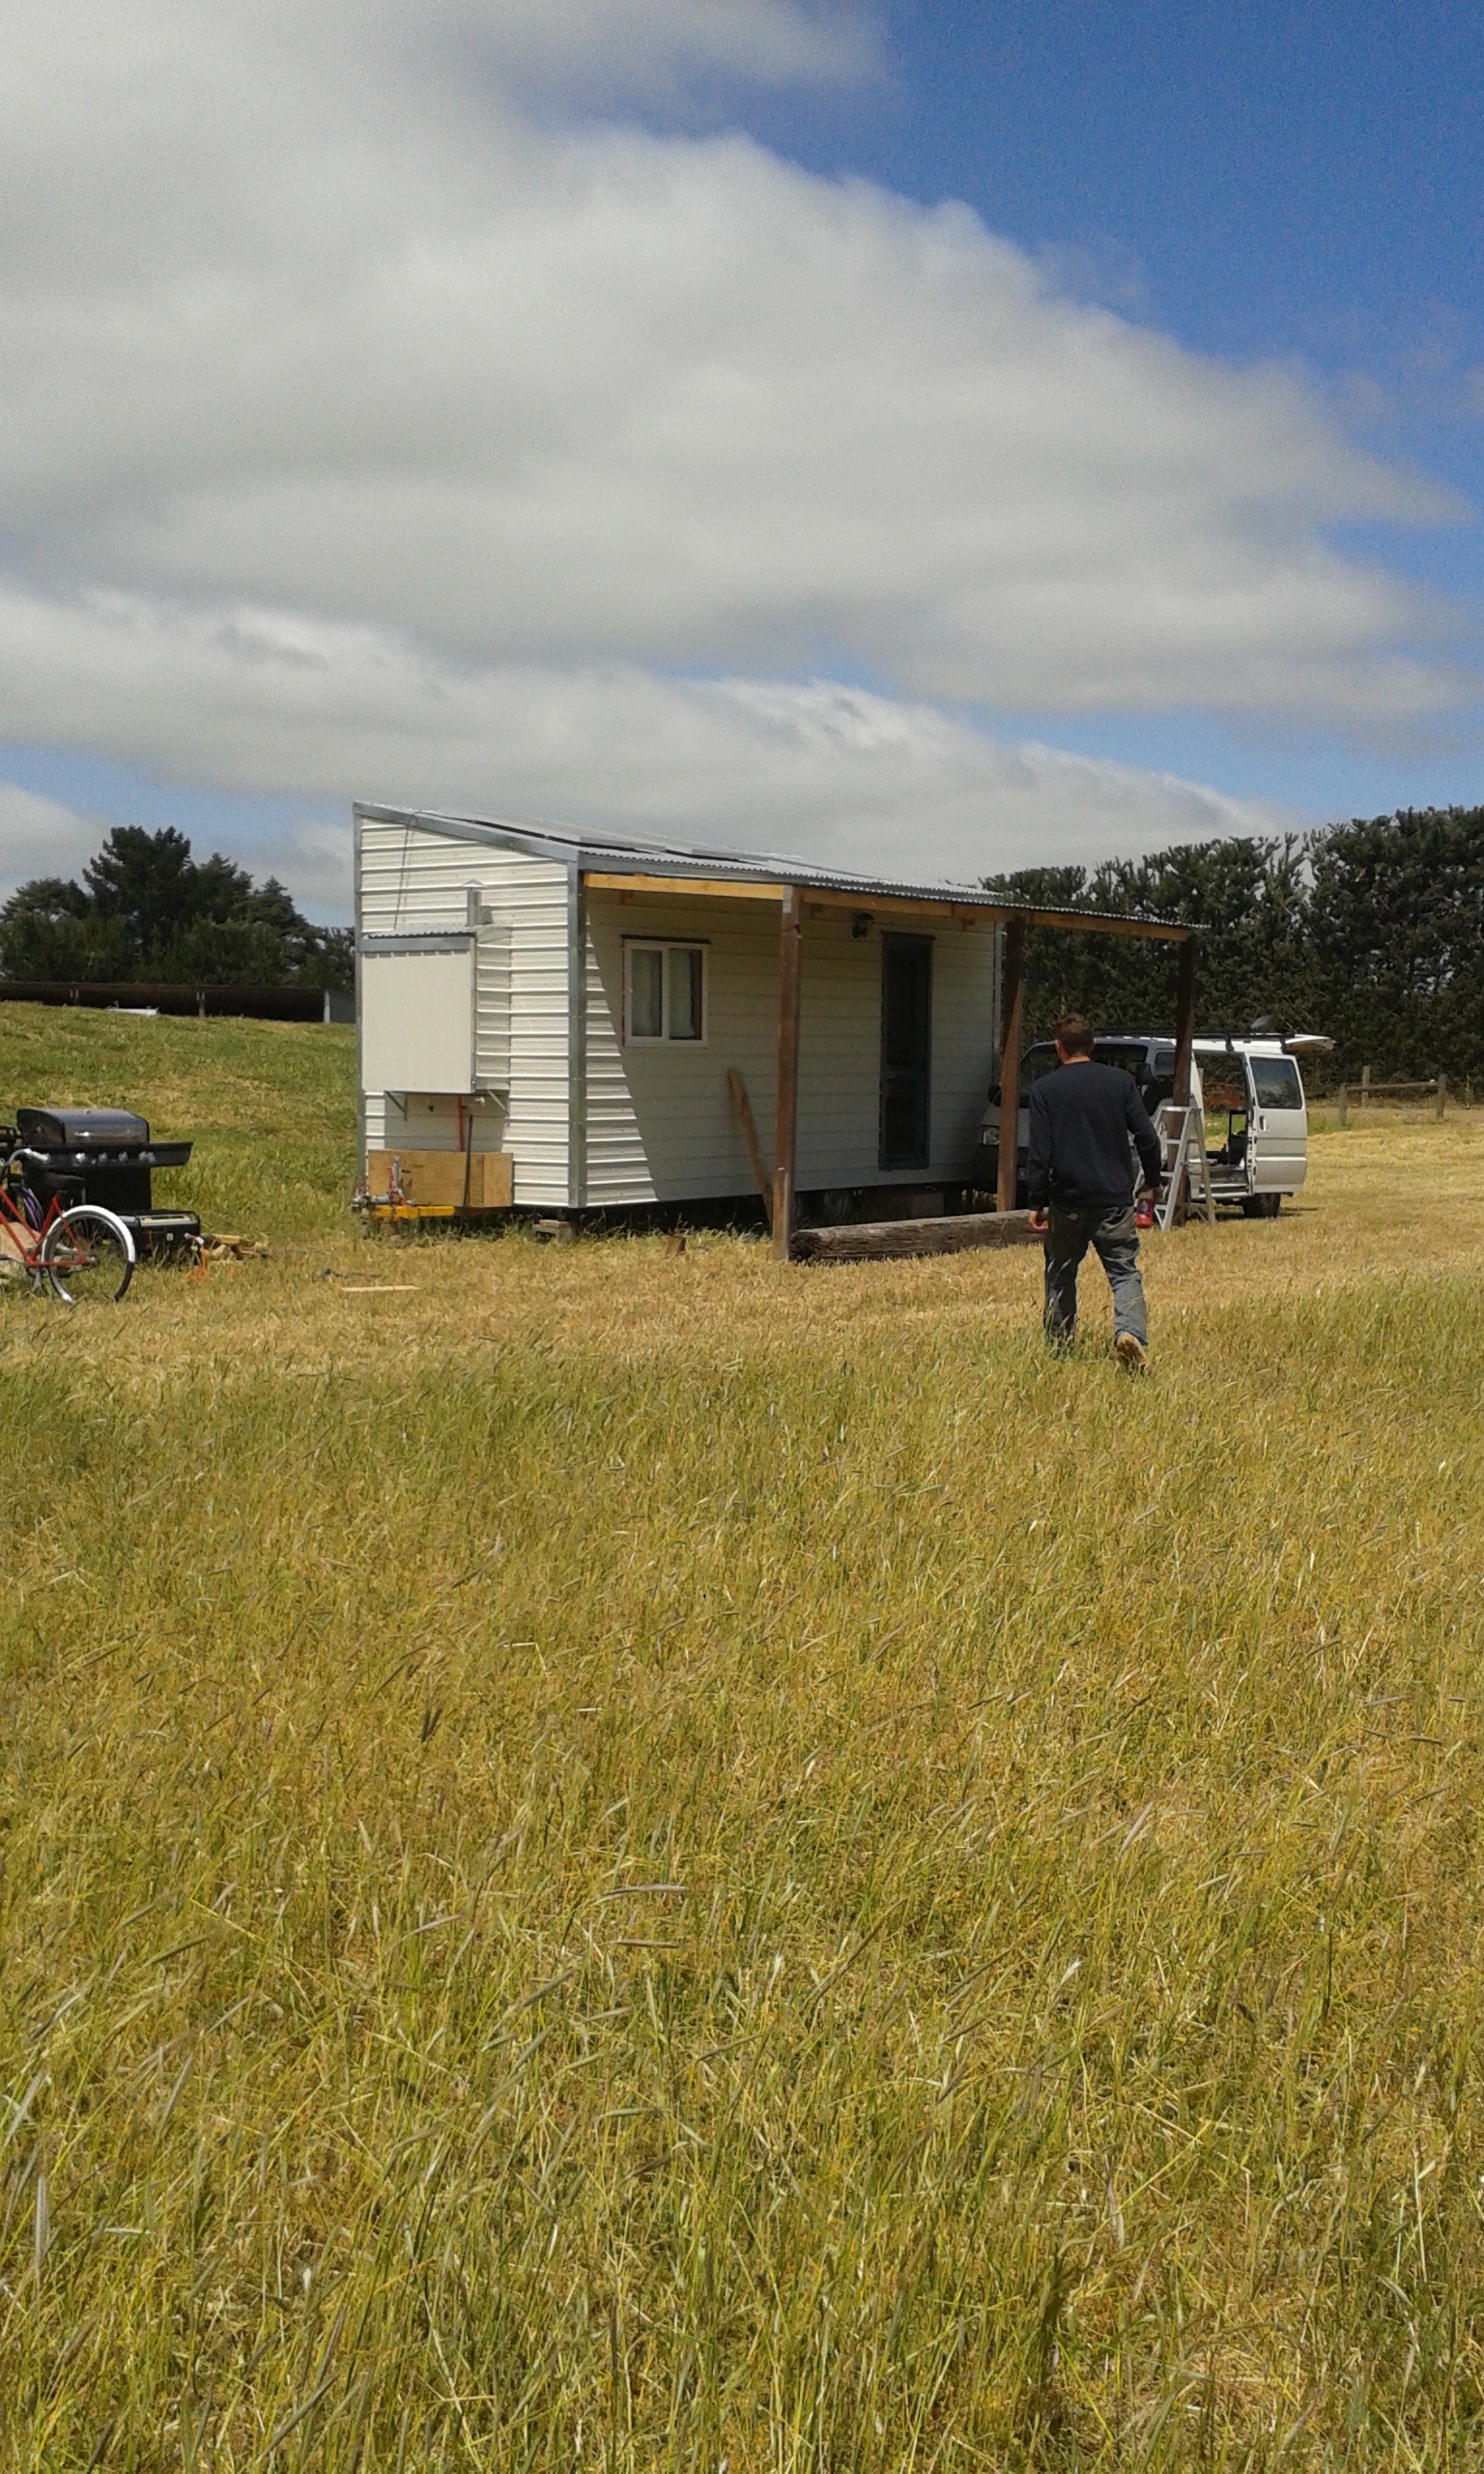
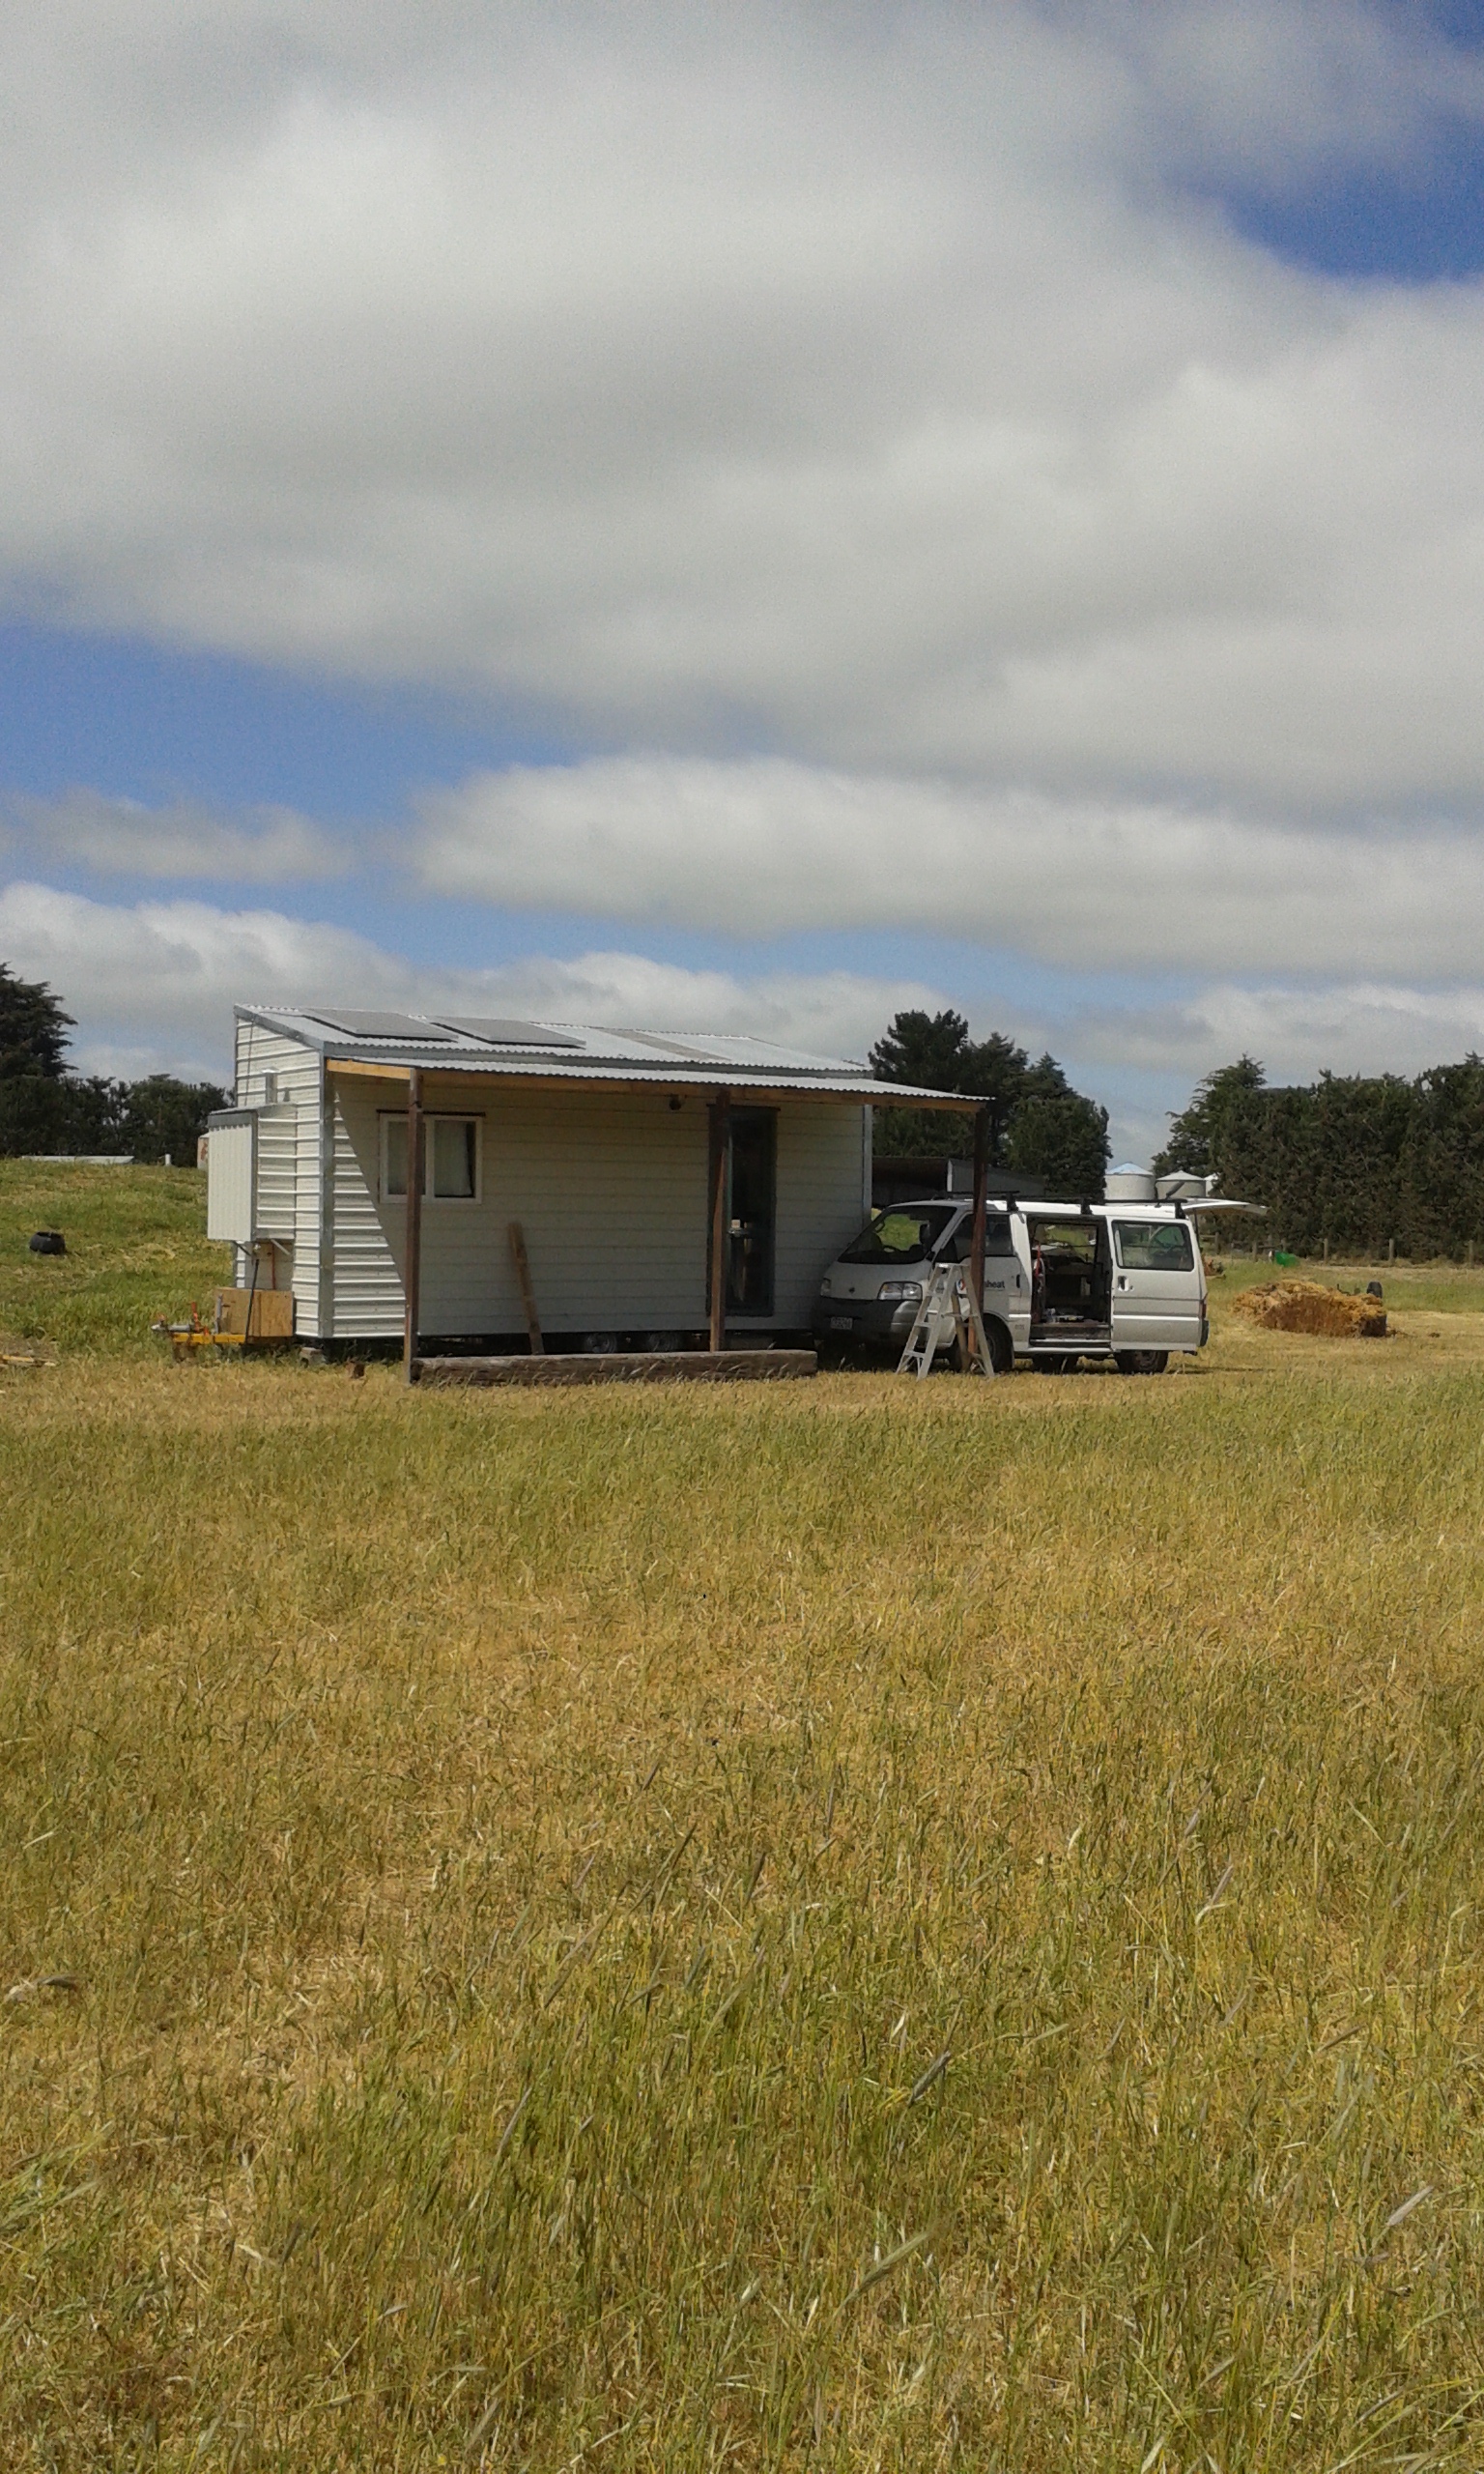
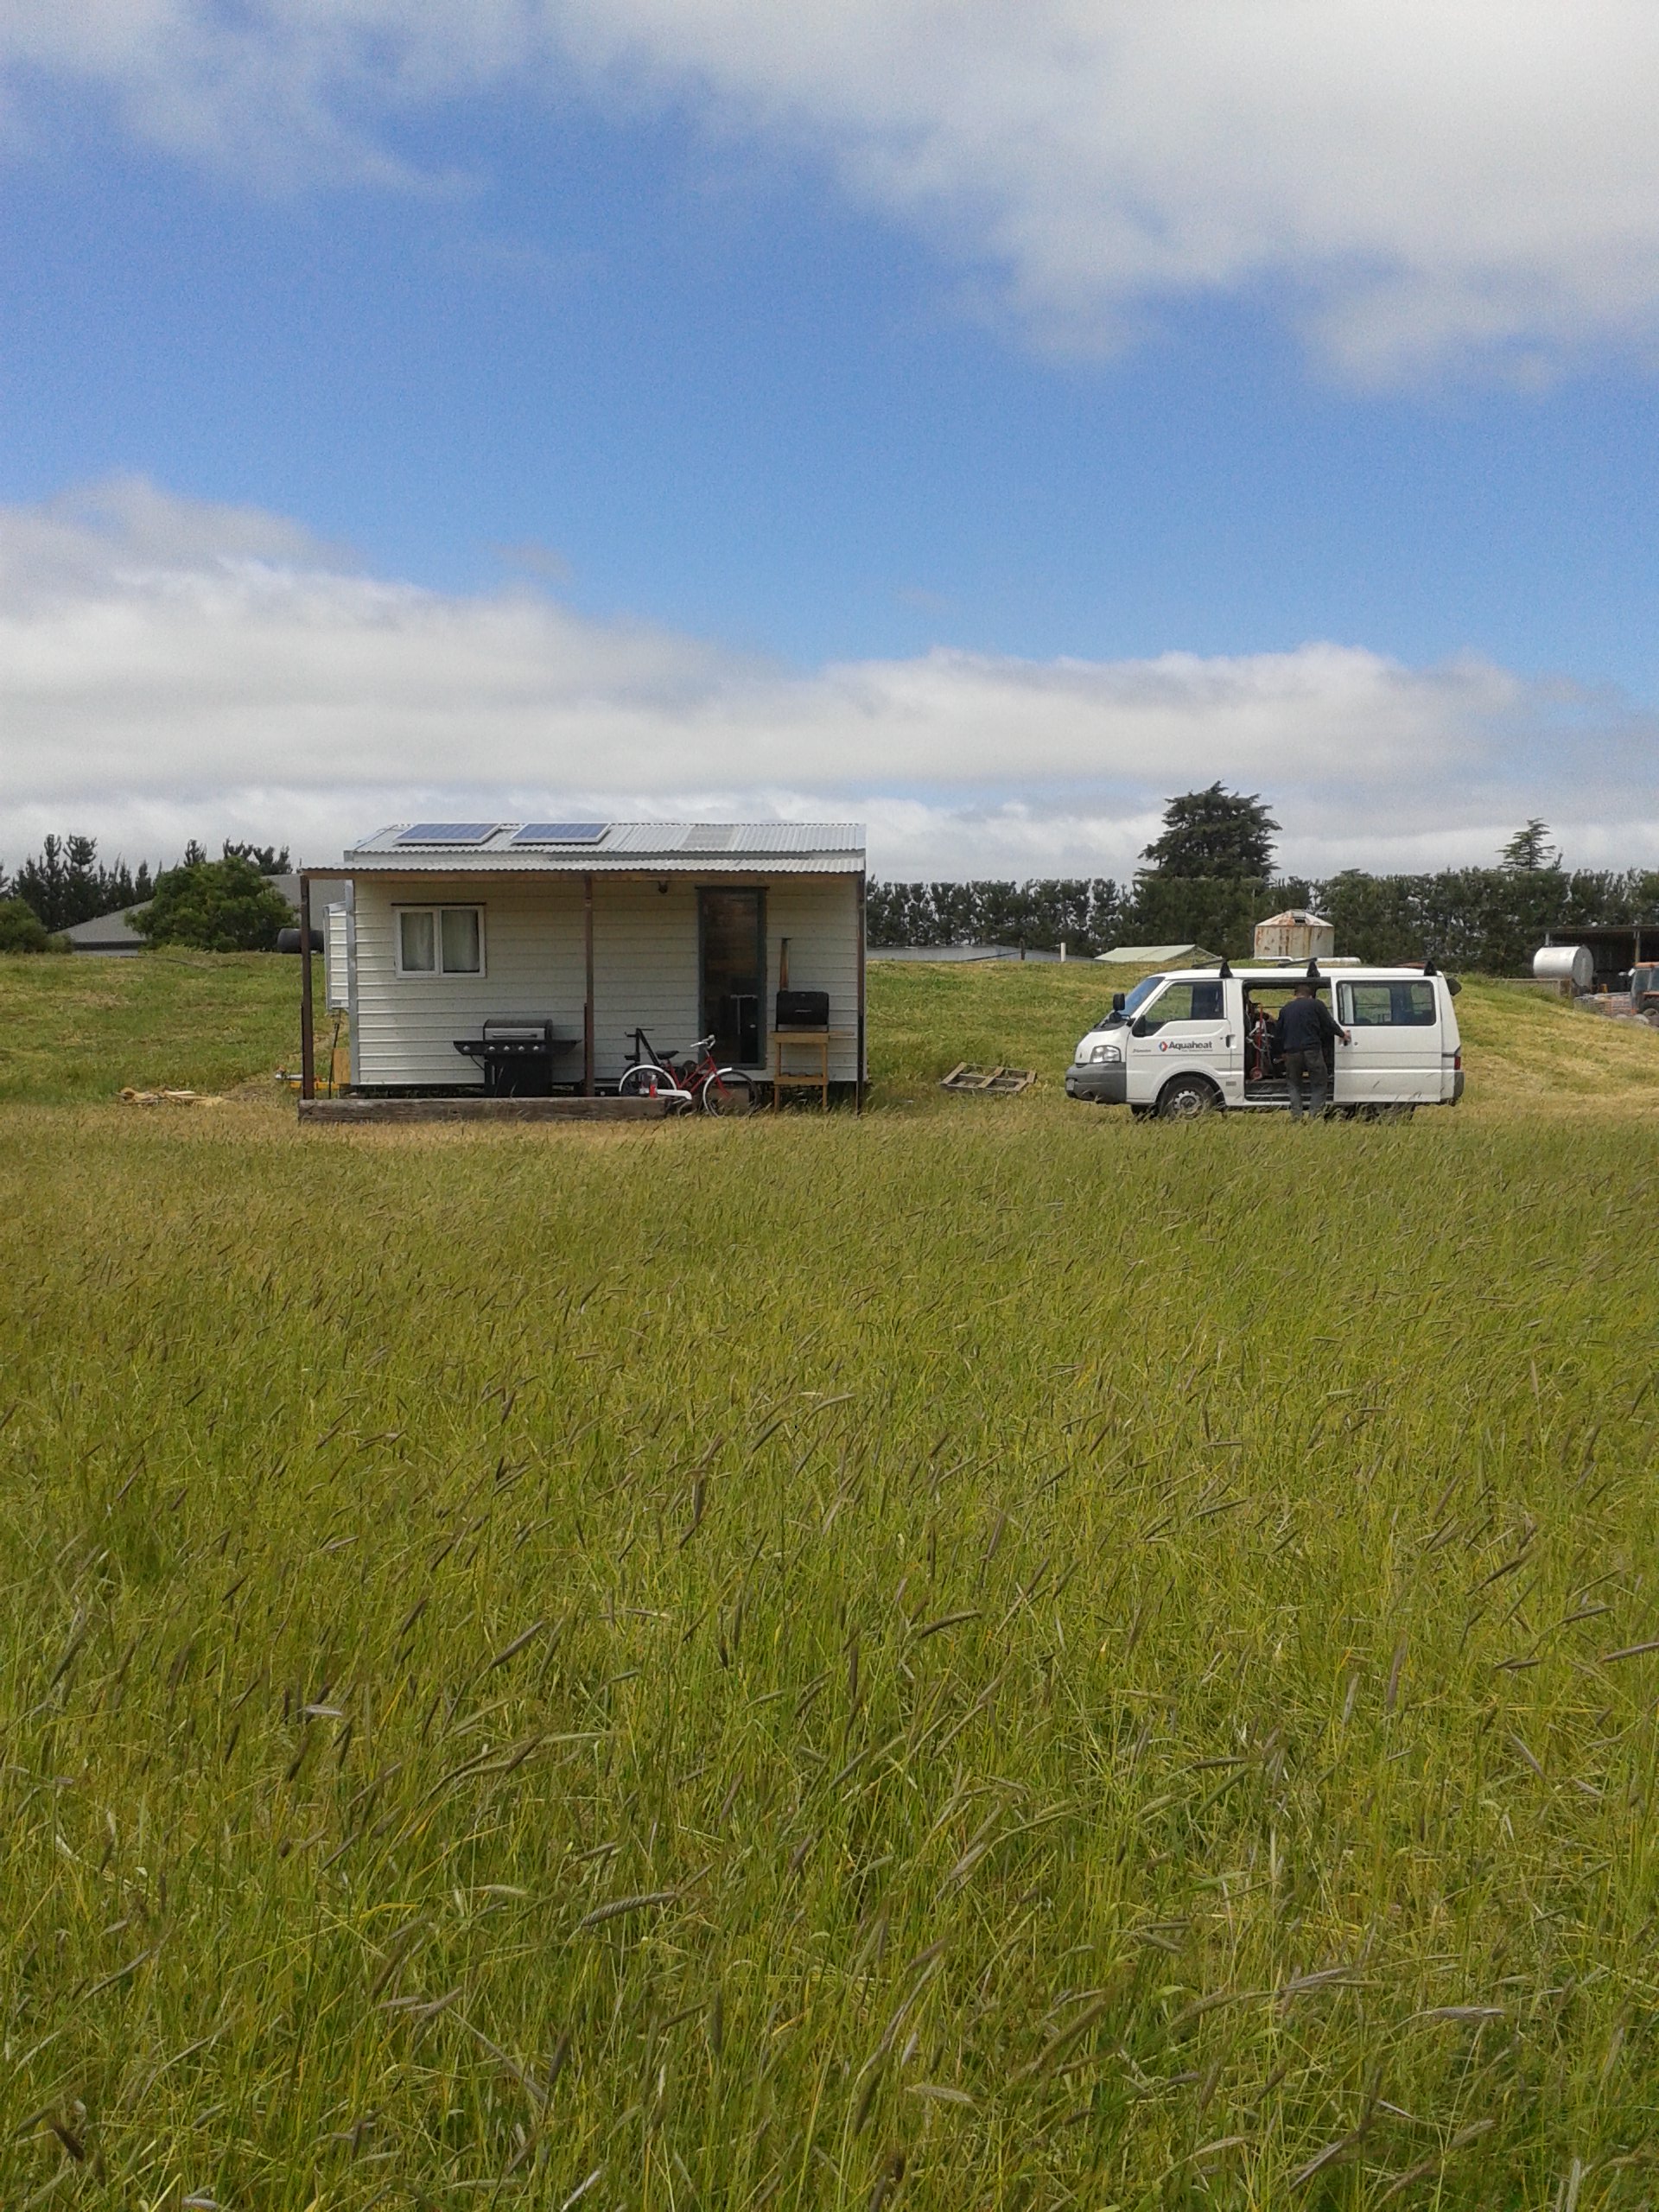
Hello Blog Readers, Today at the tiny house we took down our crappy awning and have replaced it with a more permanent roof structure. Our goal is to add more living space to our tiny house and will be complete once we finish building the attached deck.

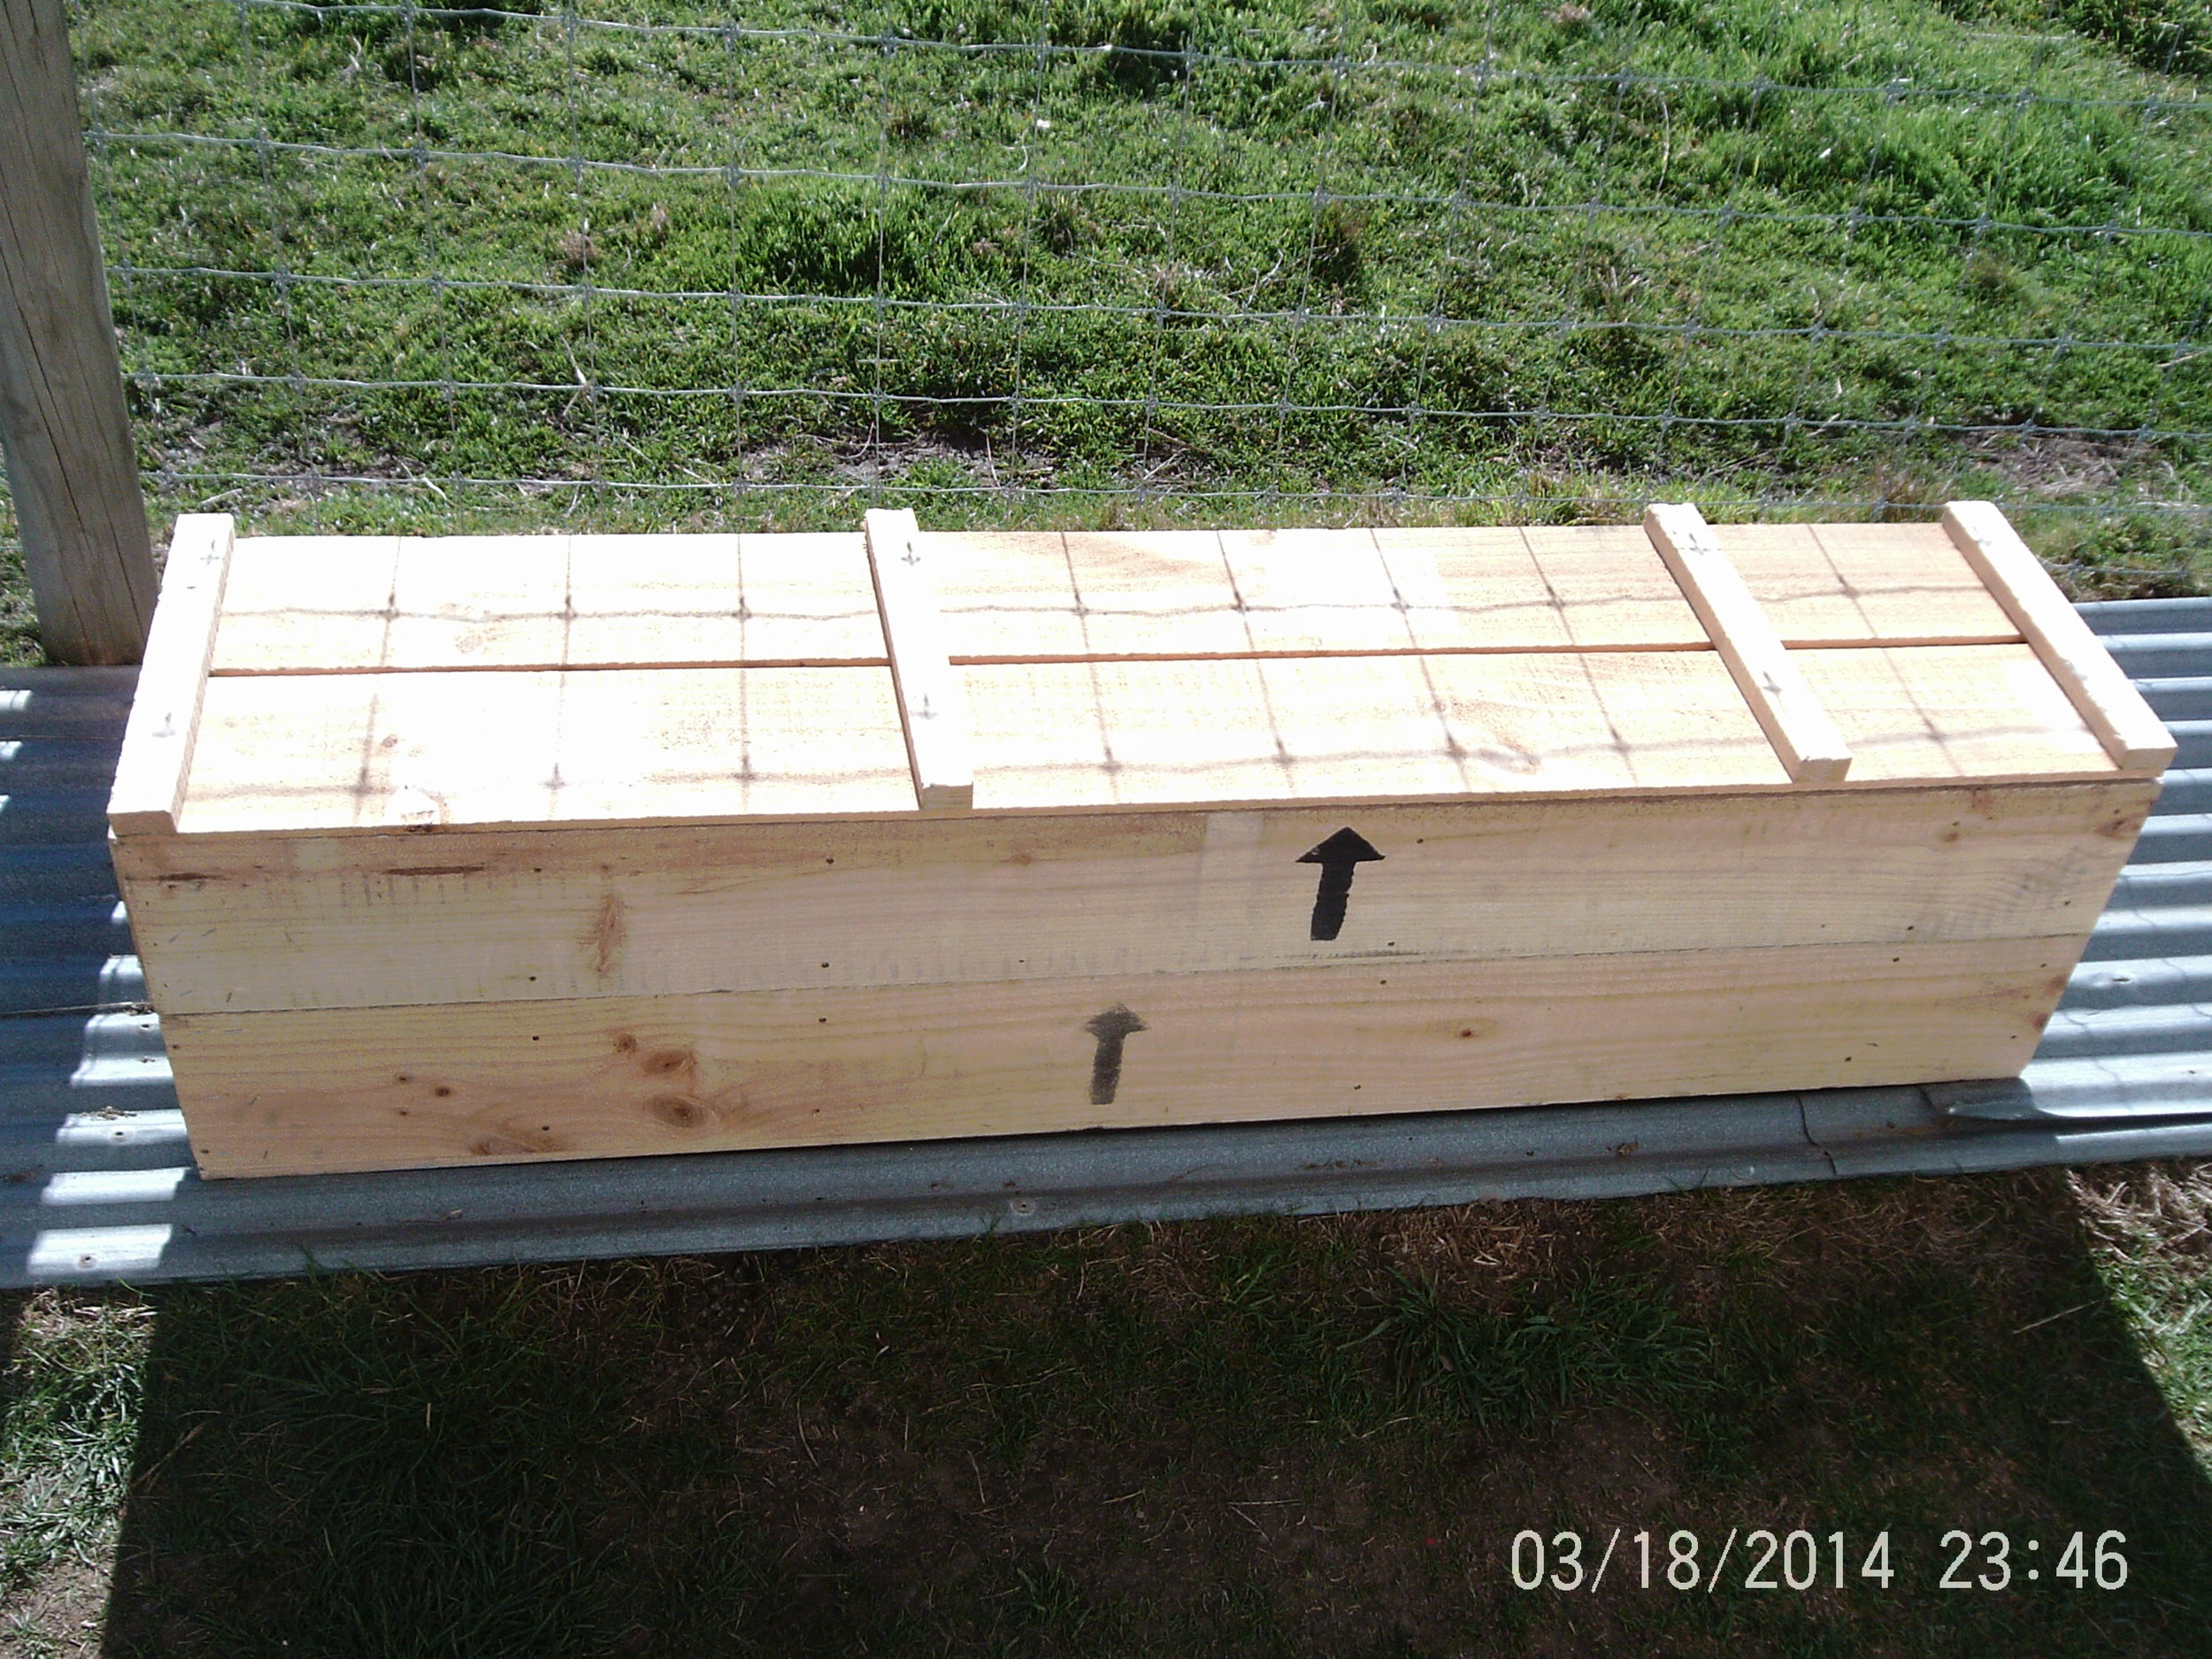
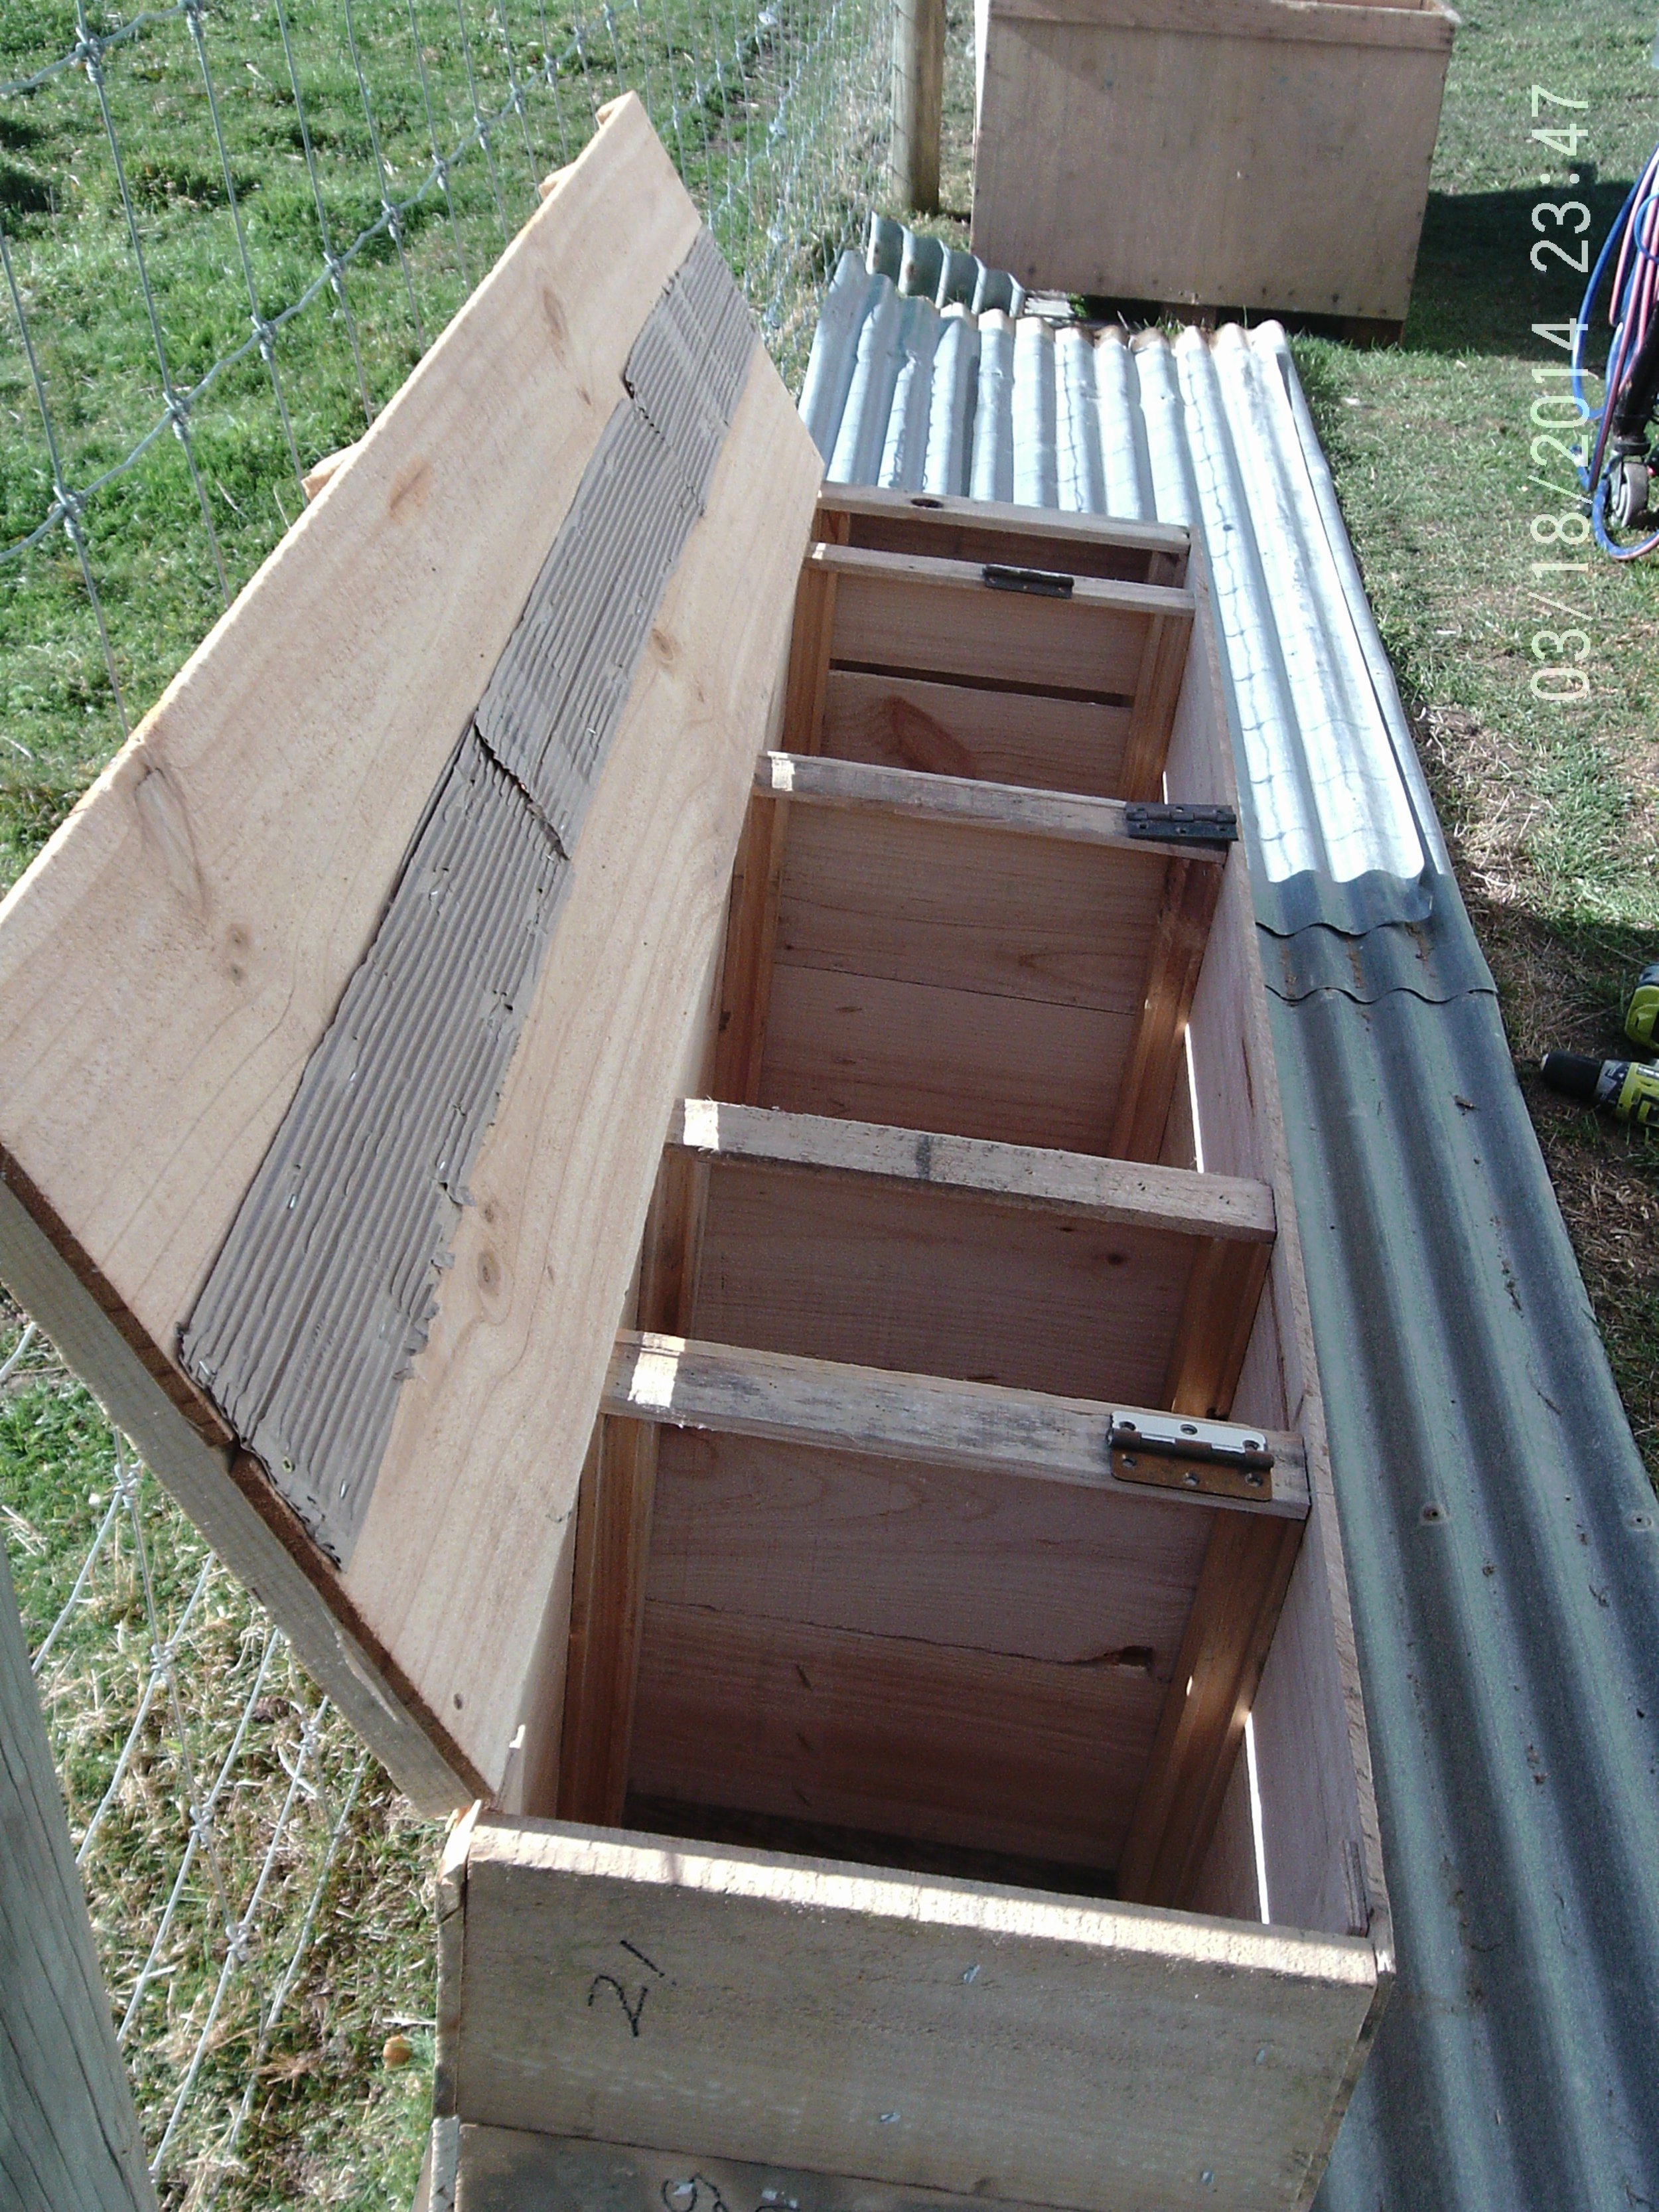
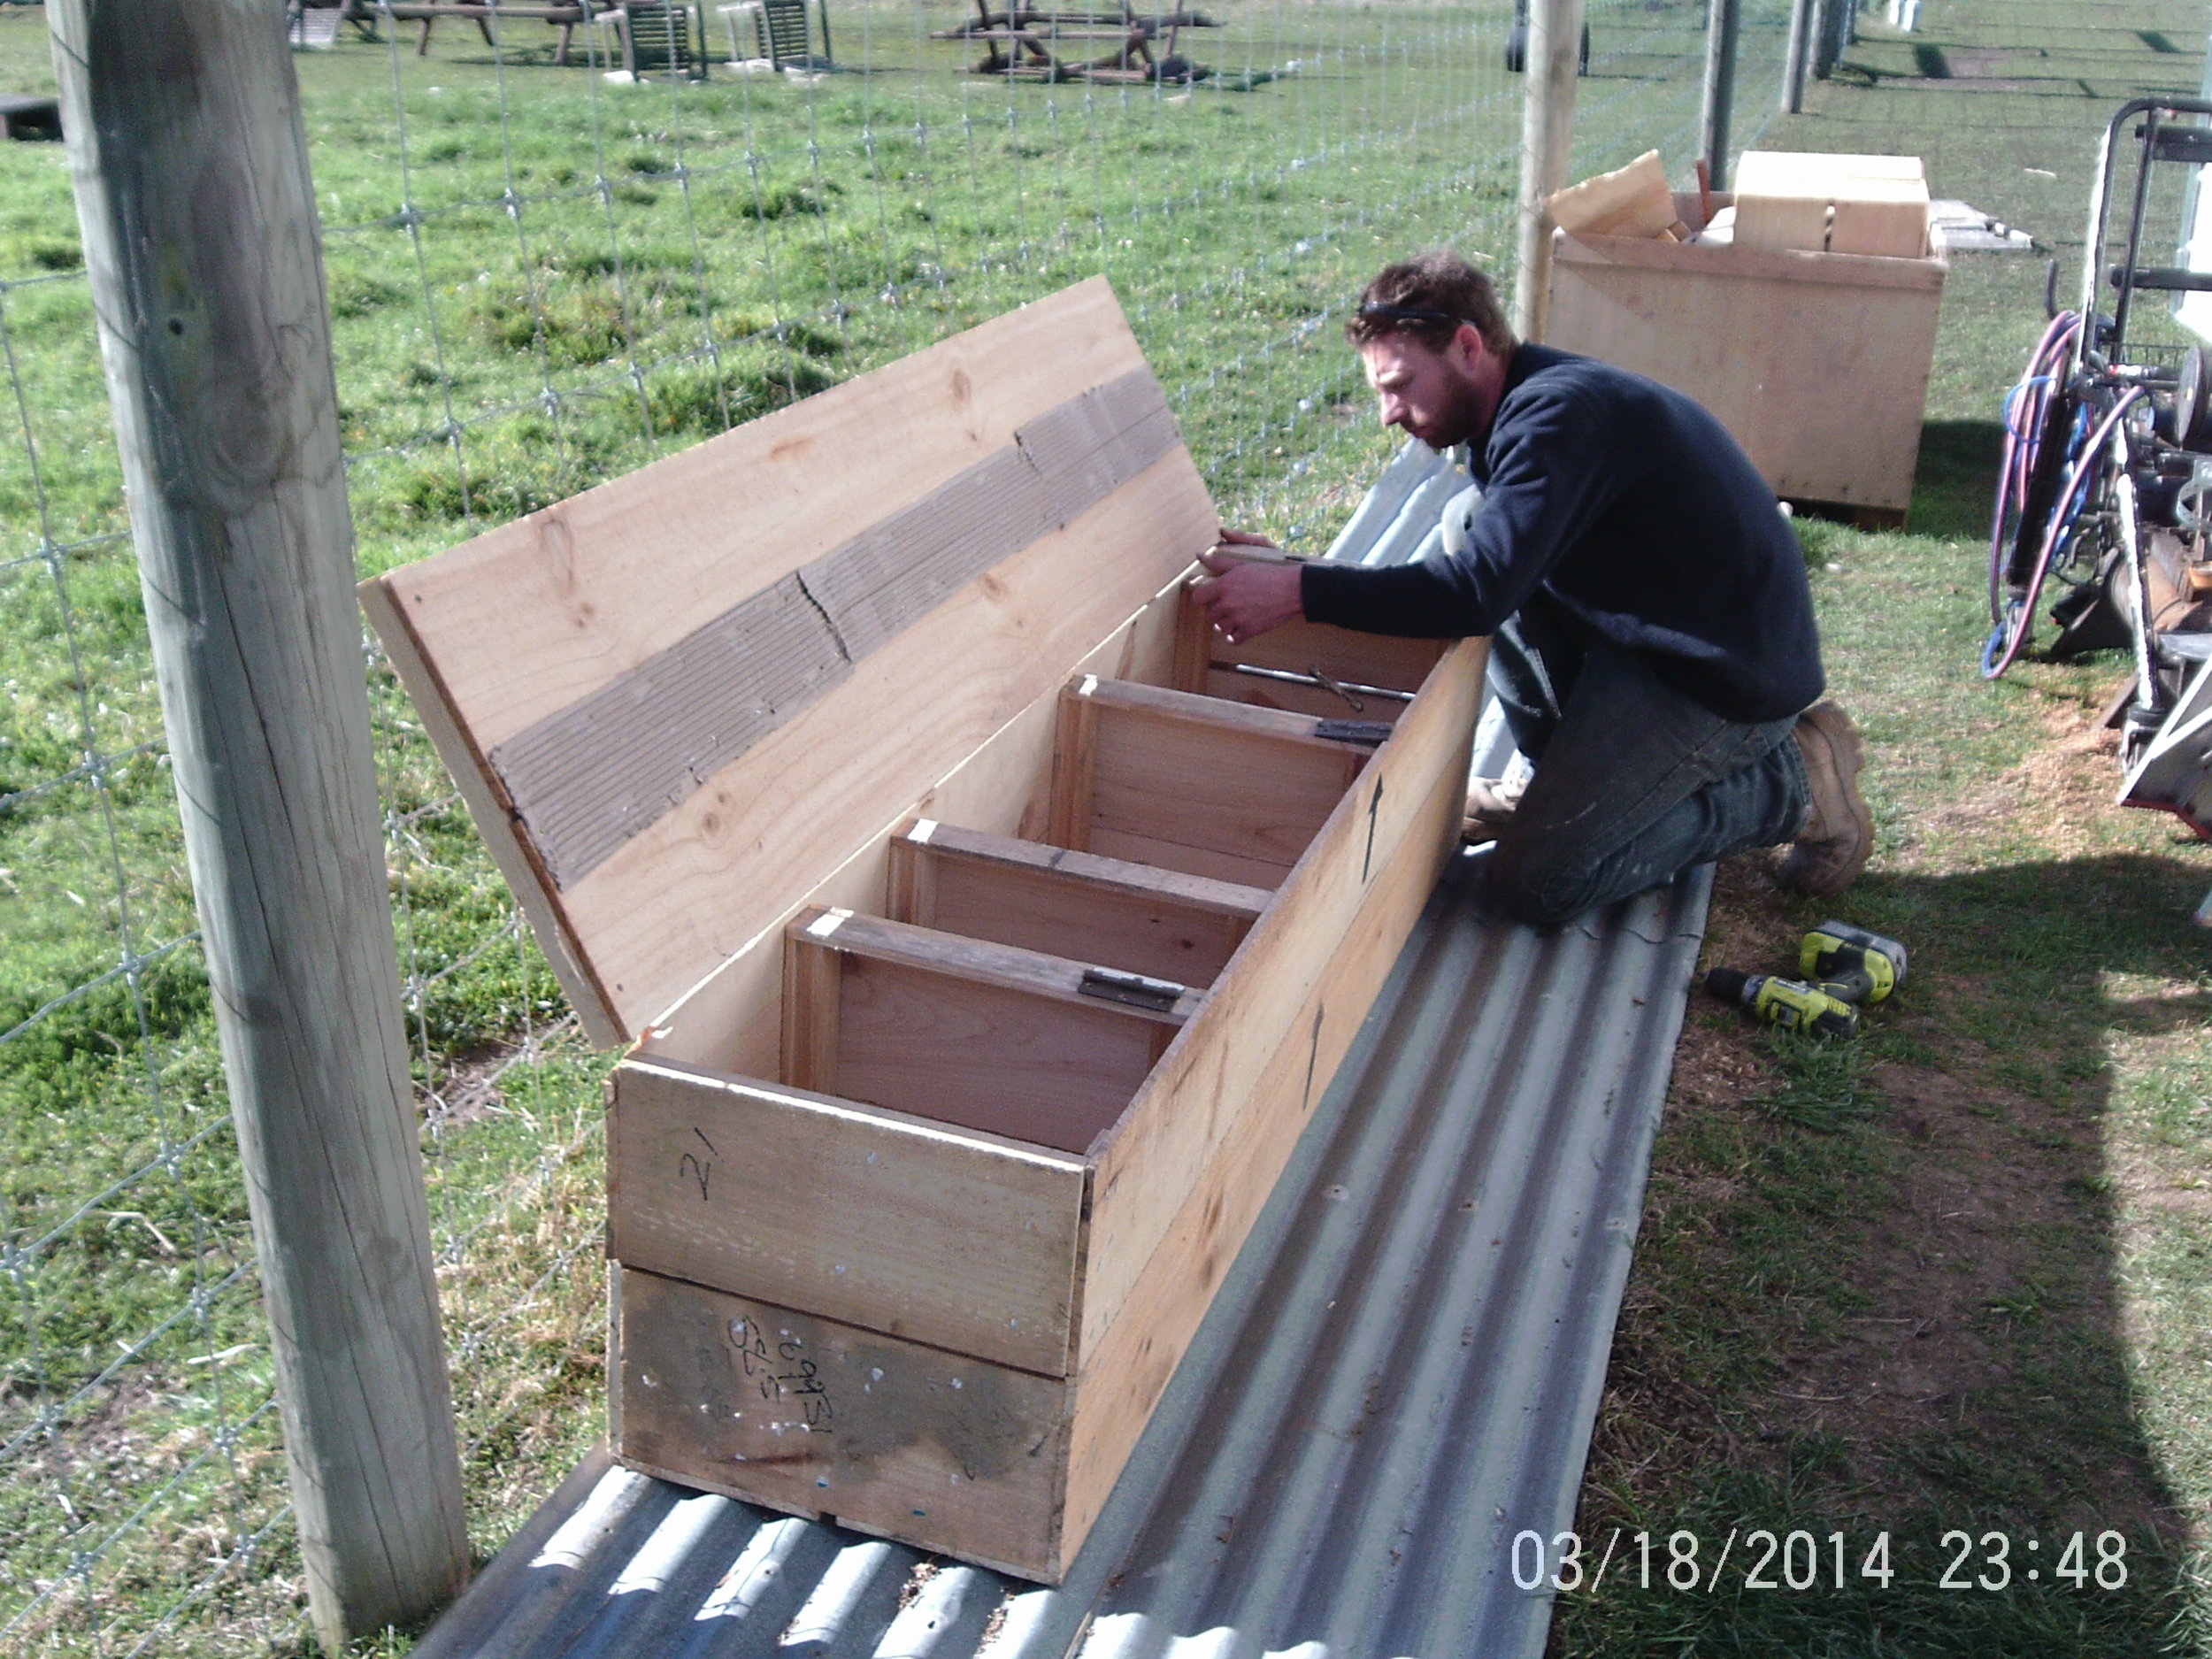
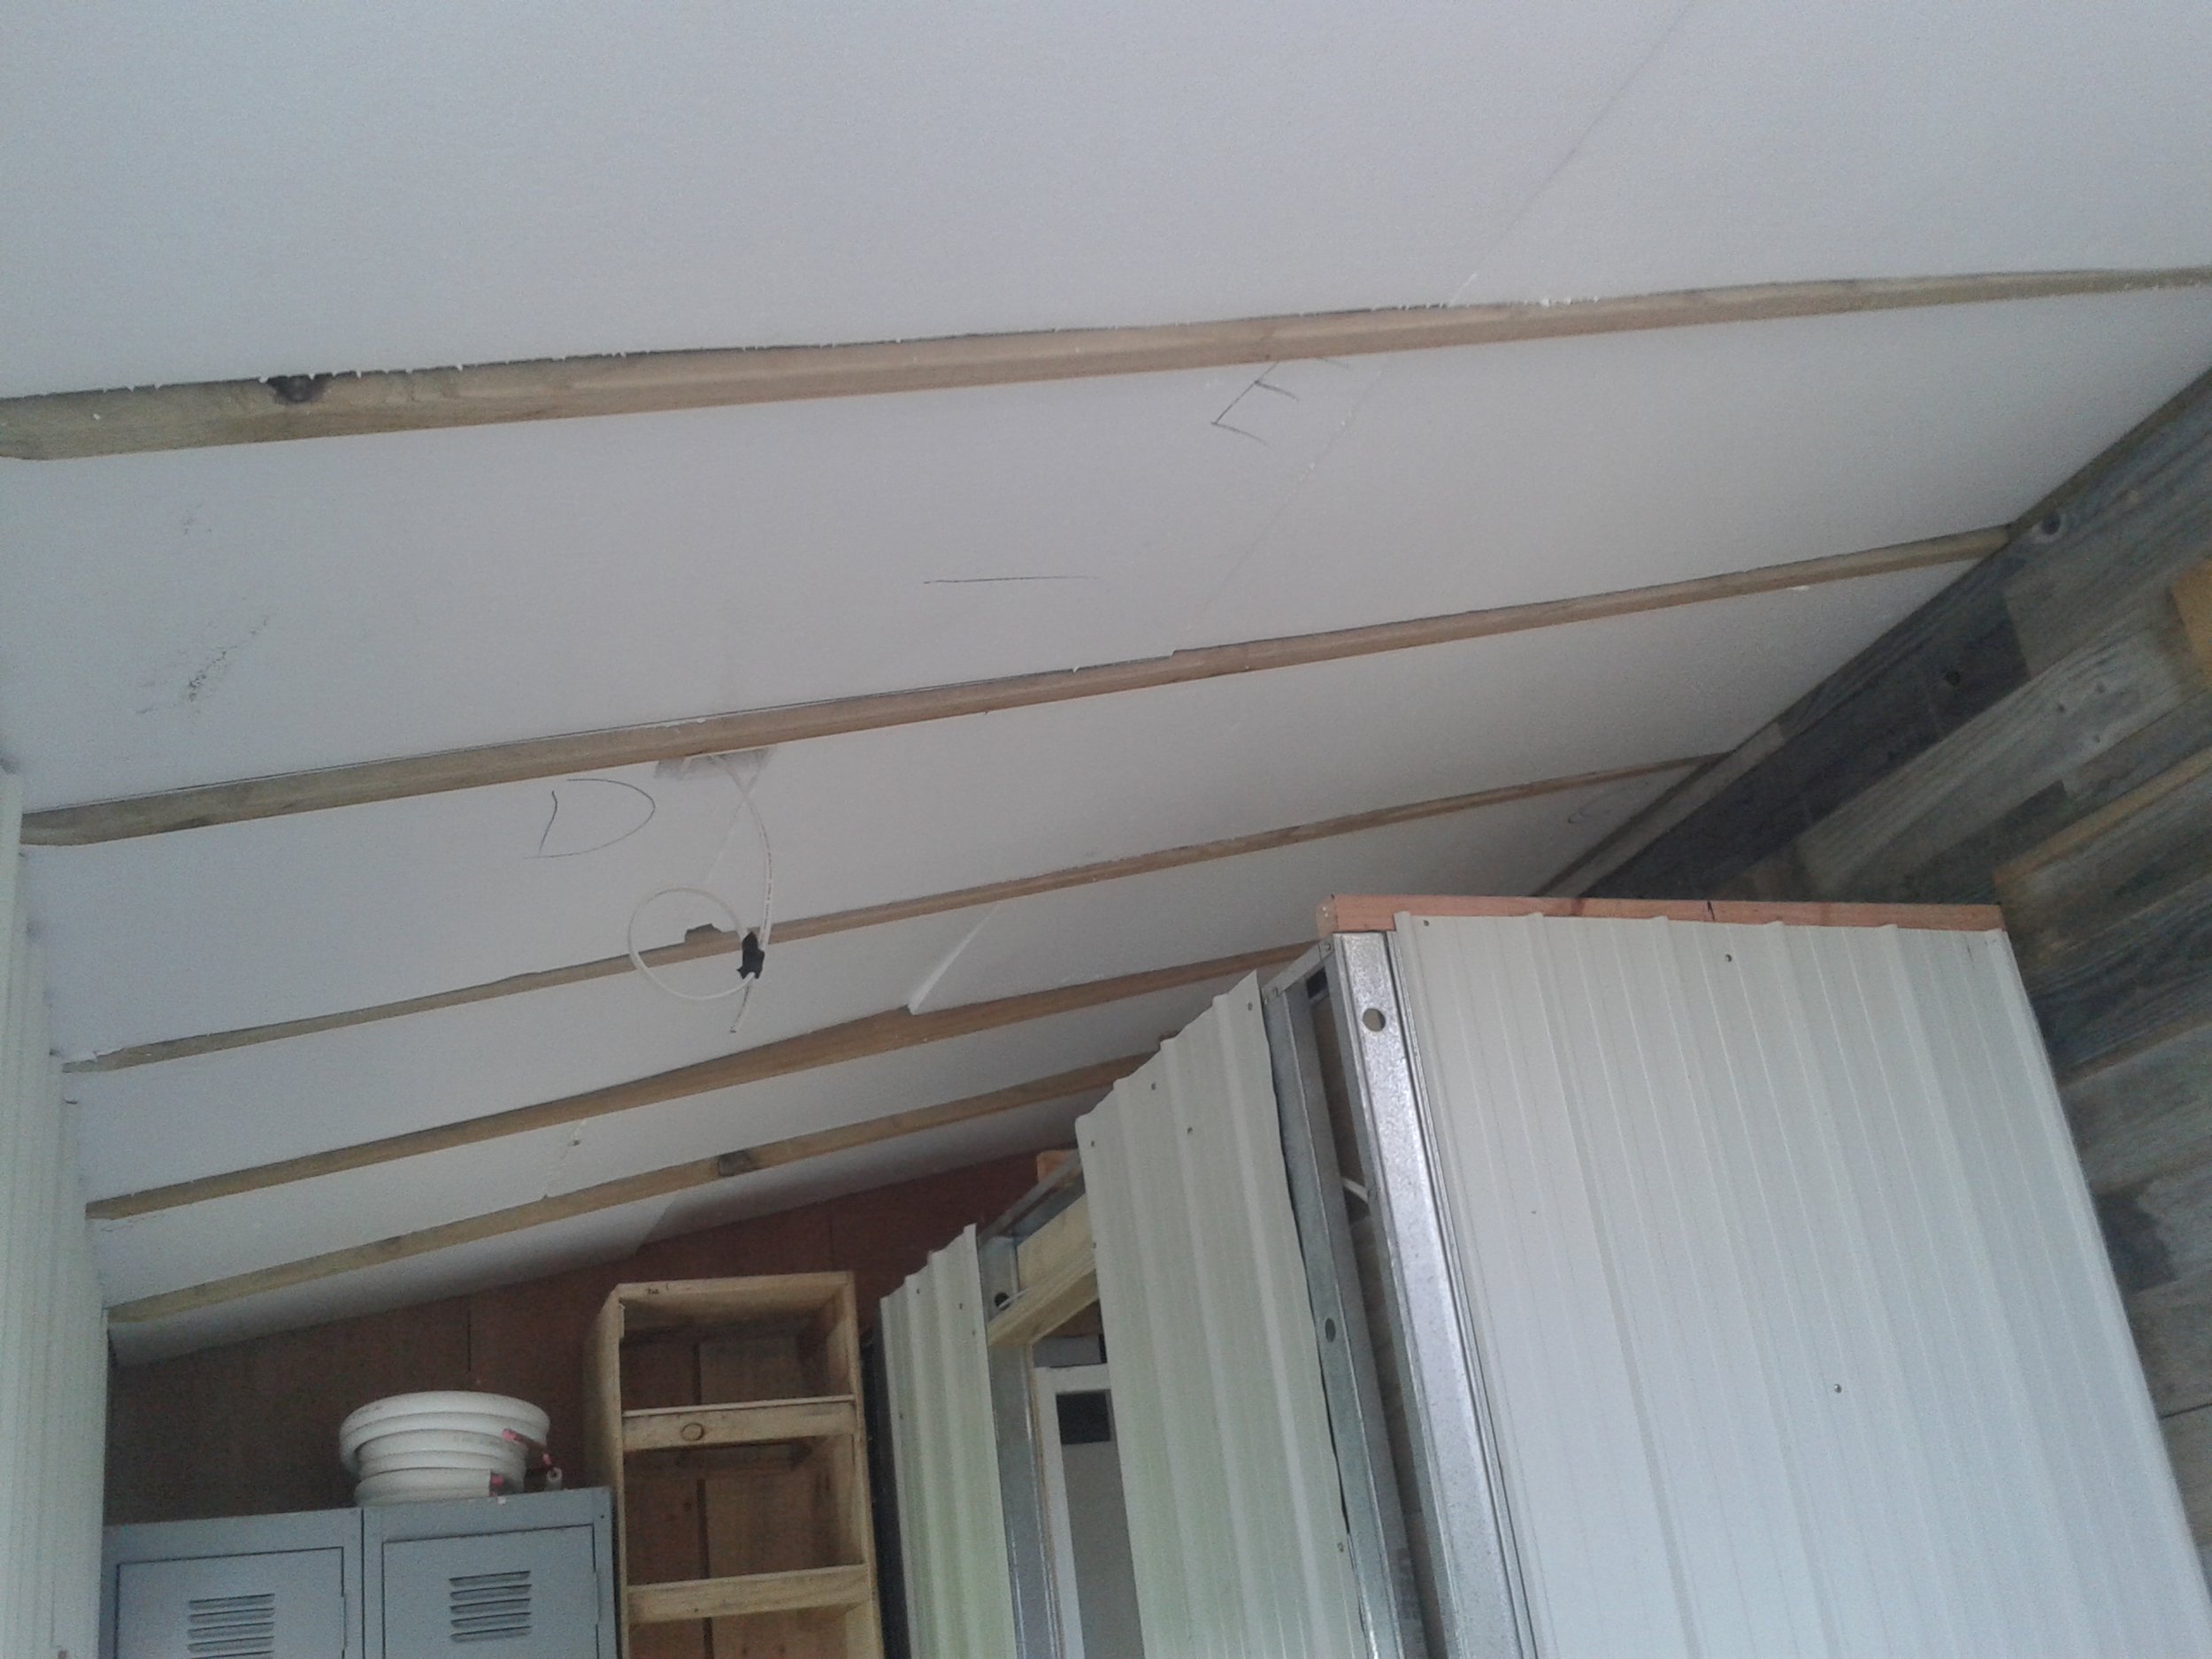
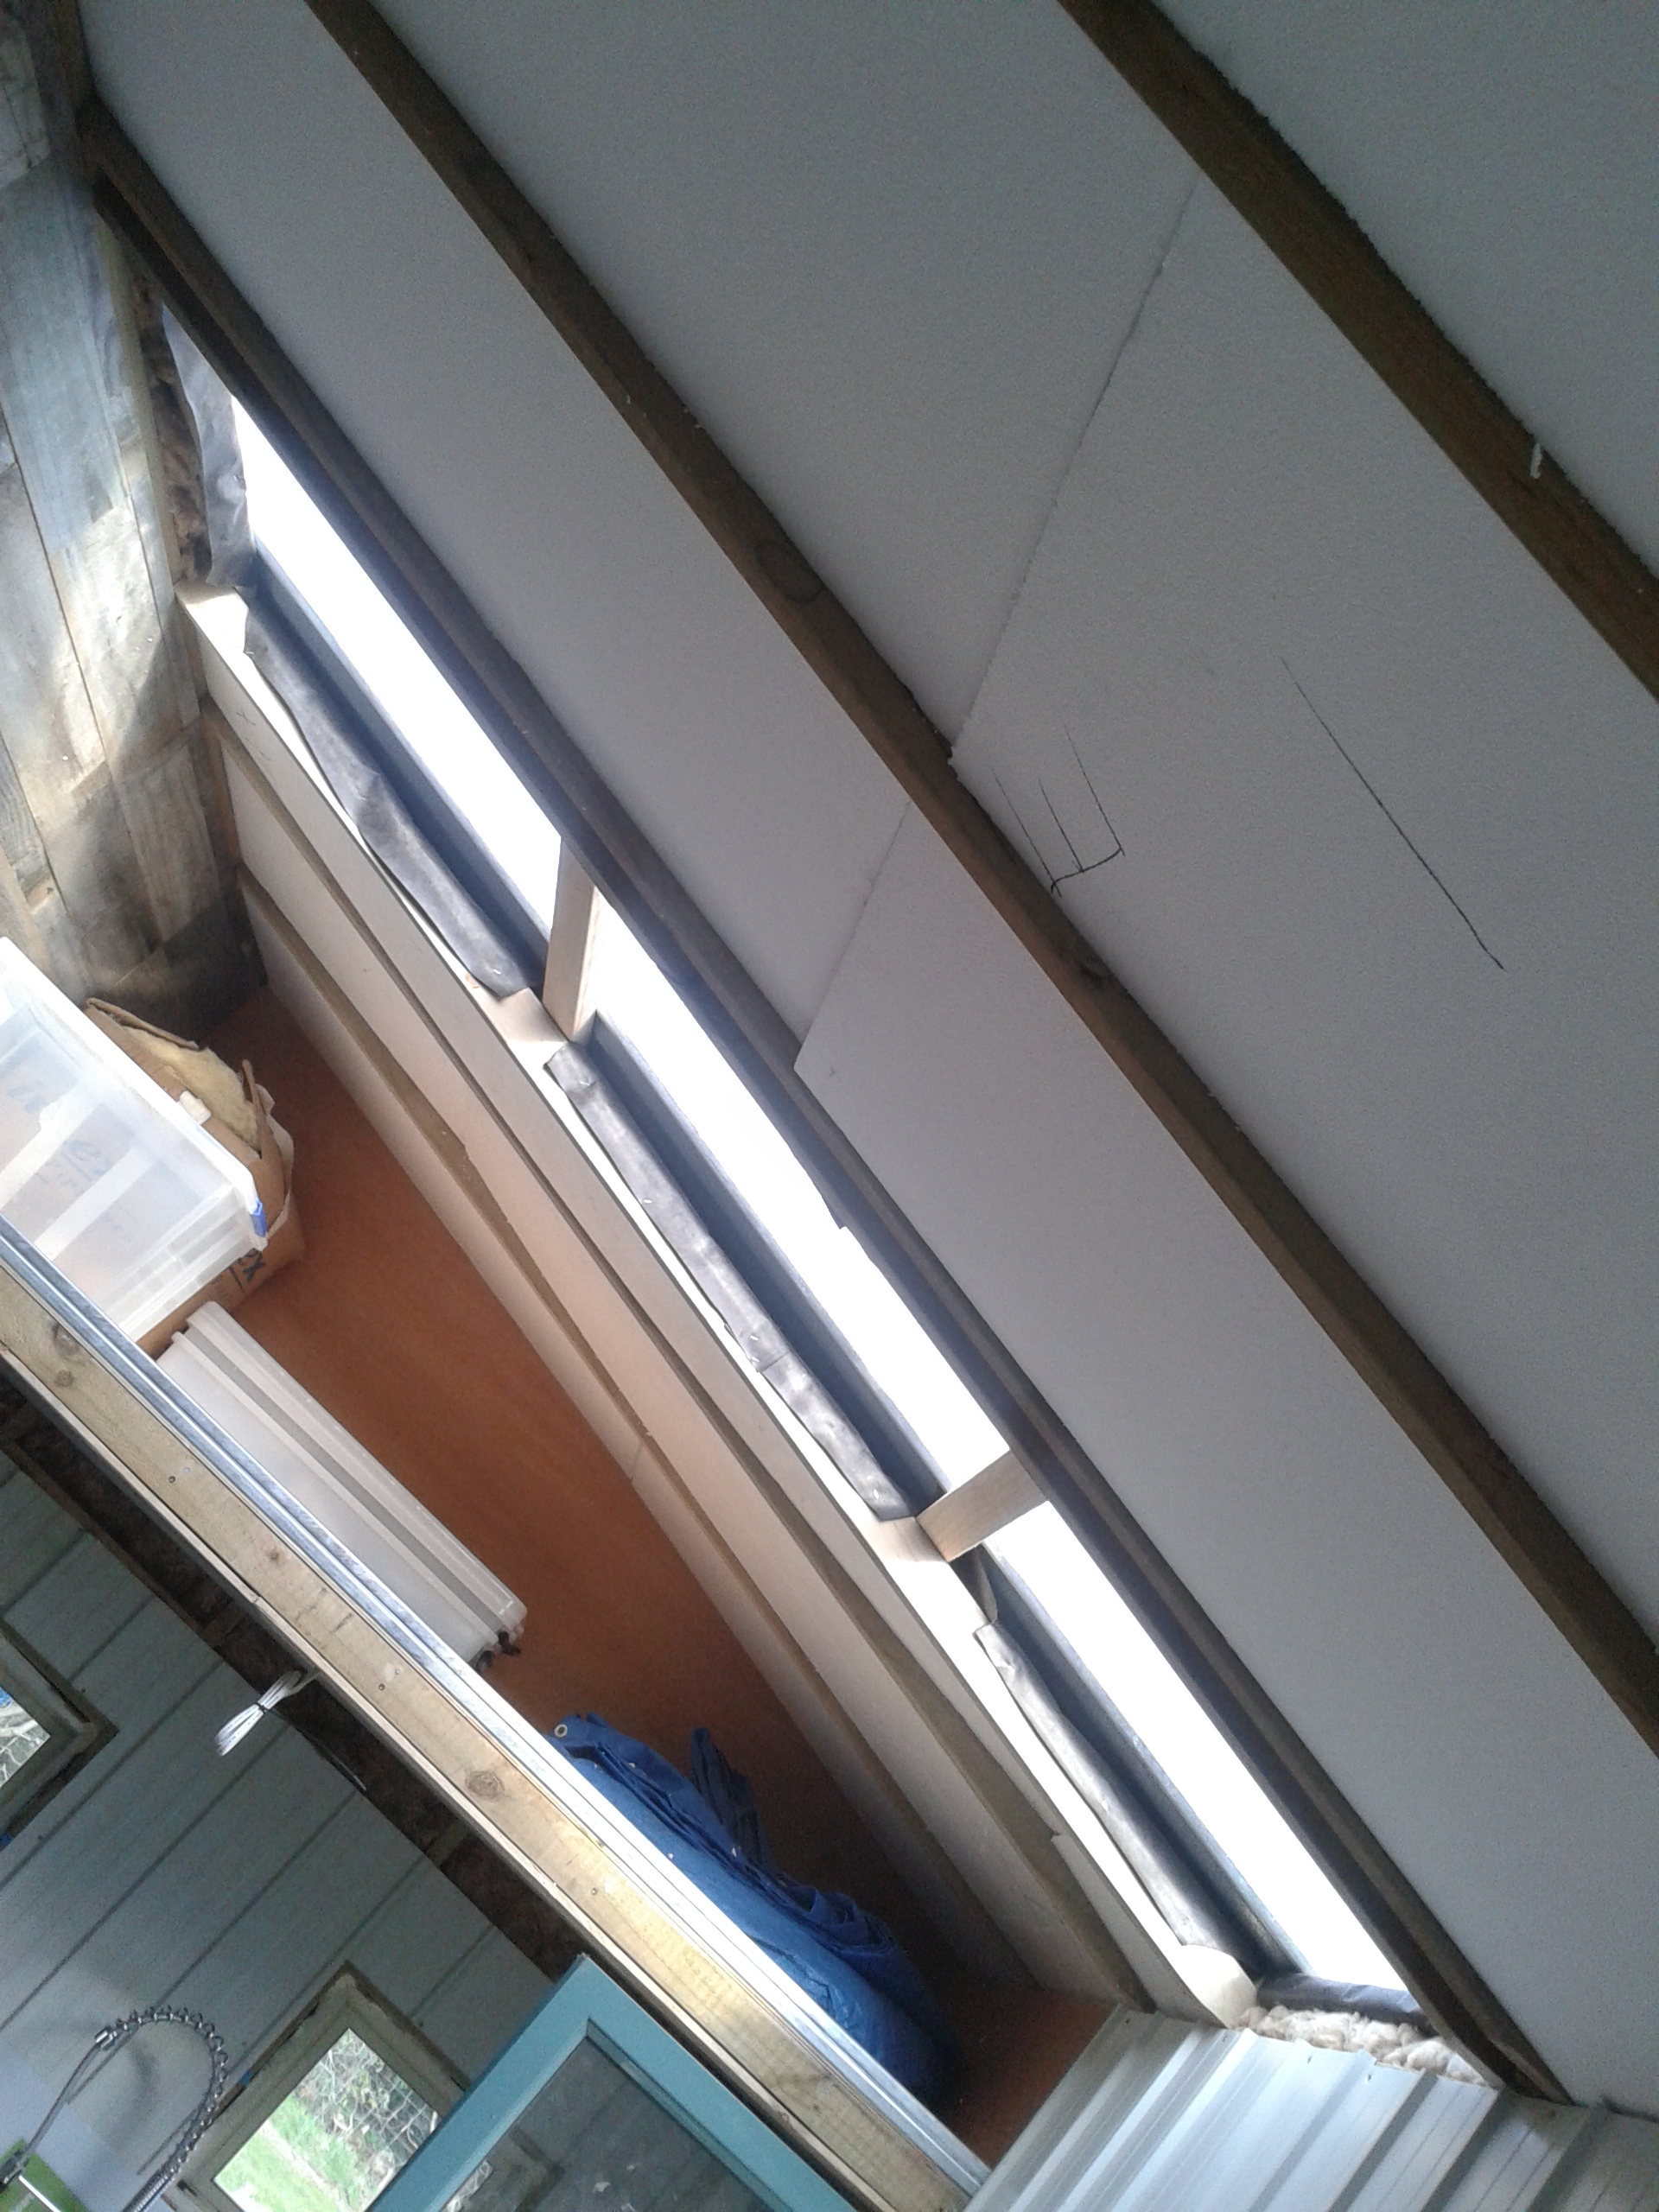
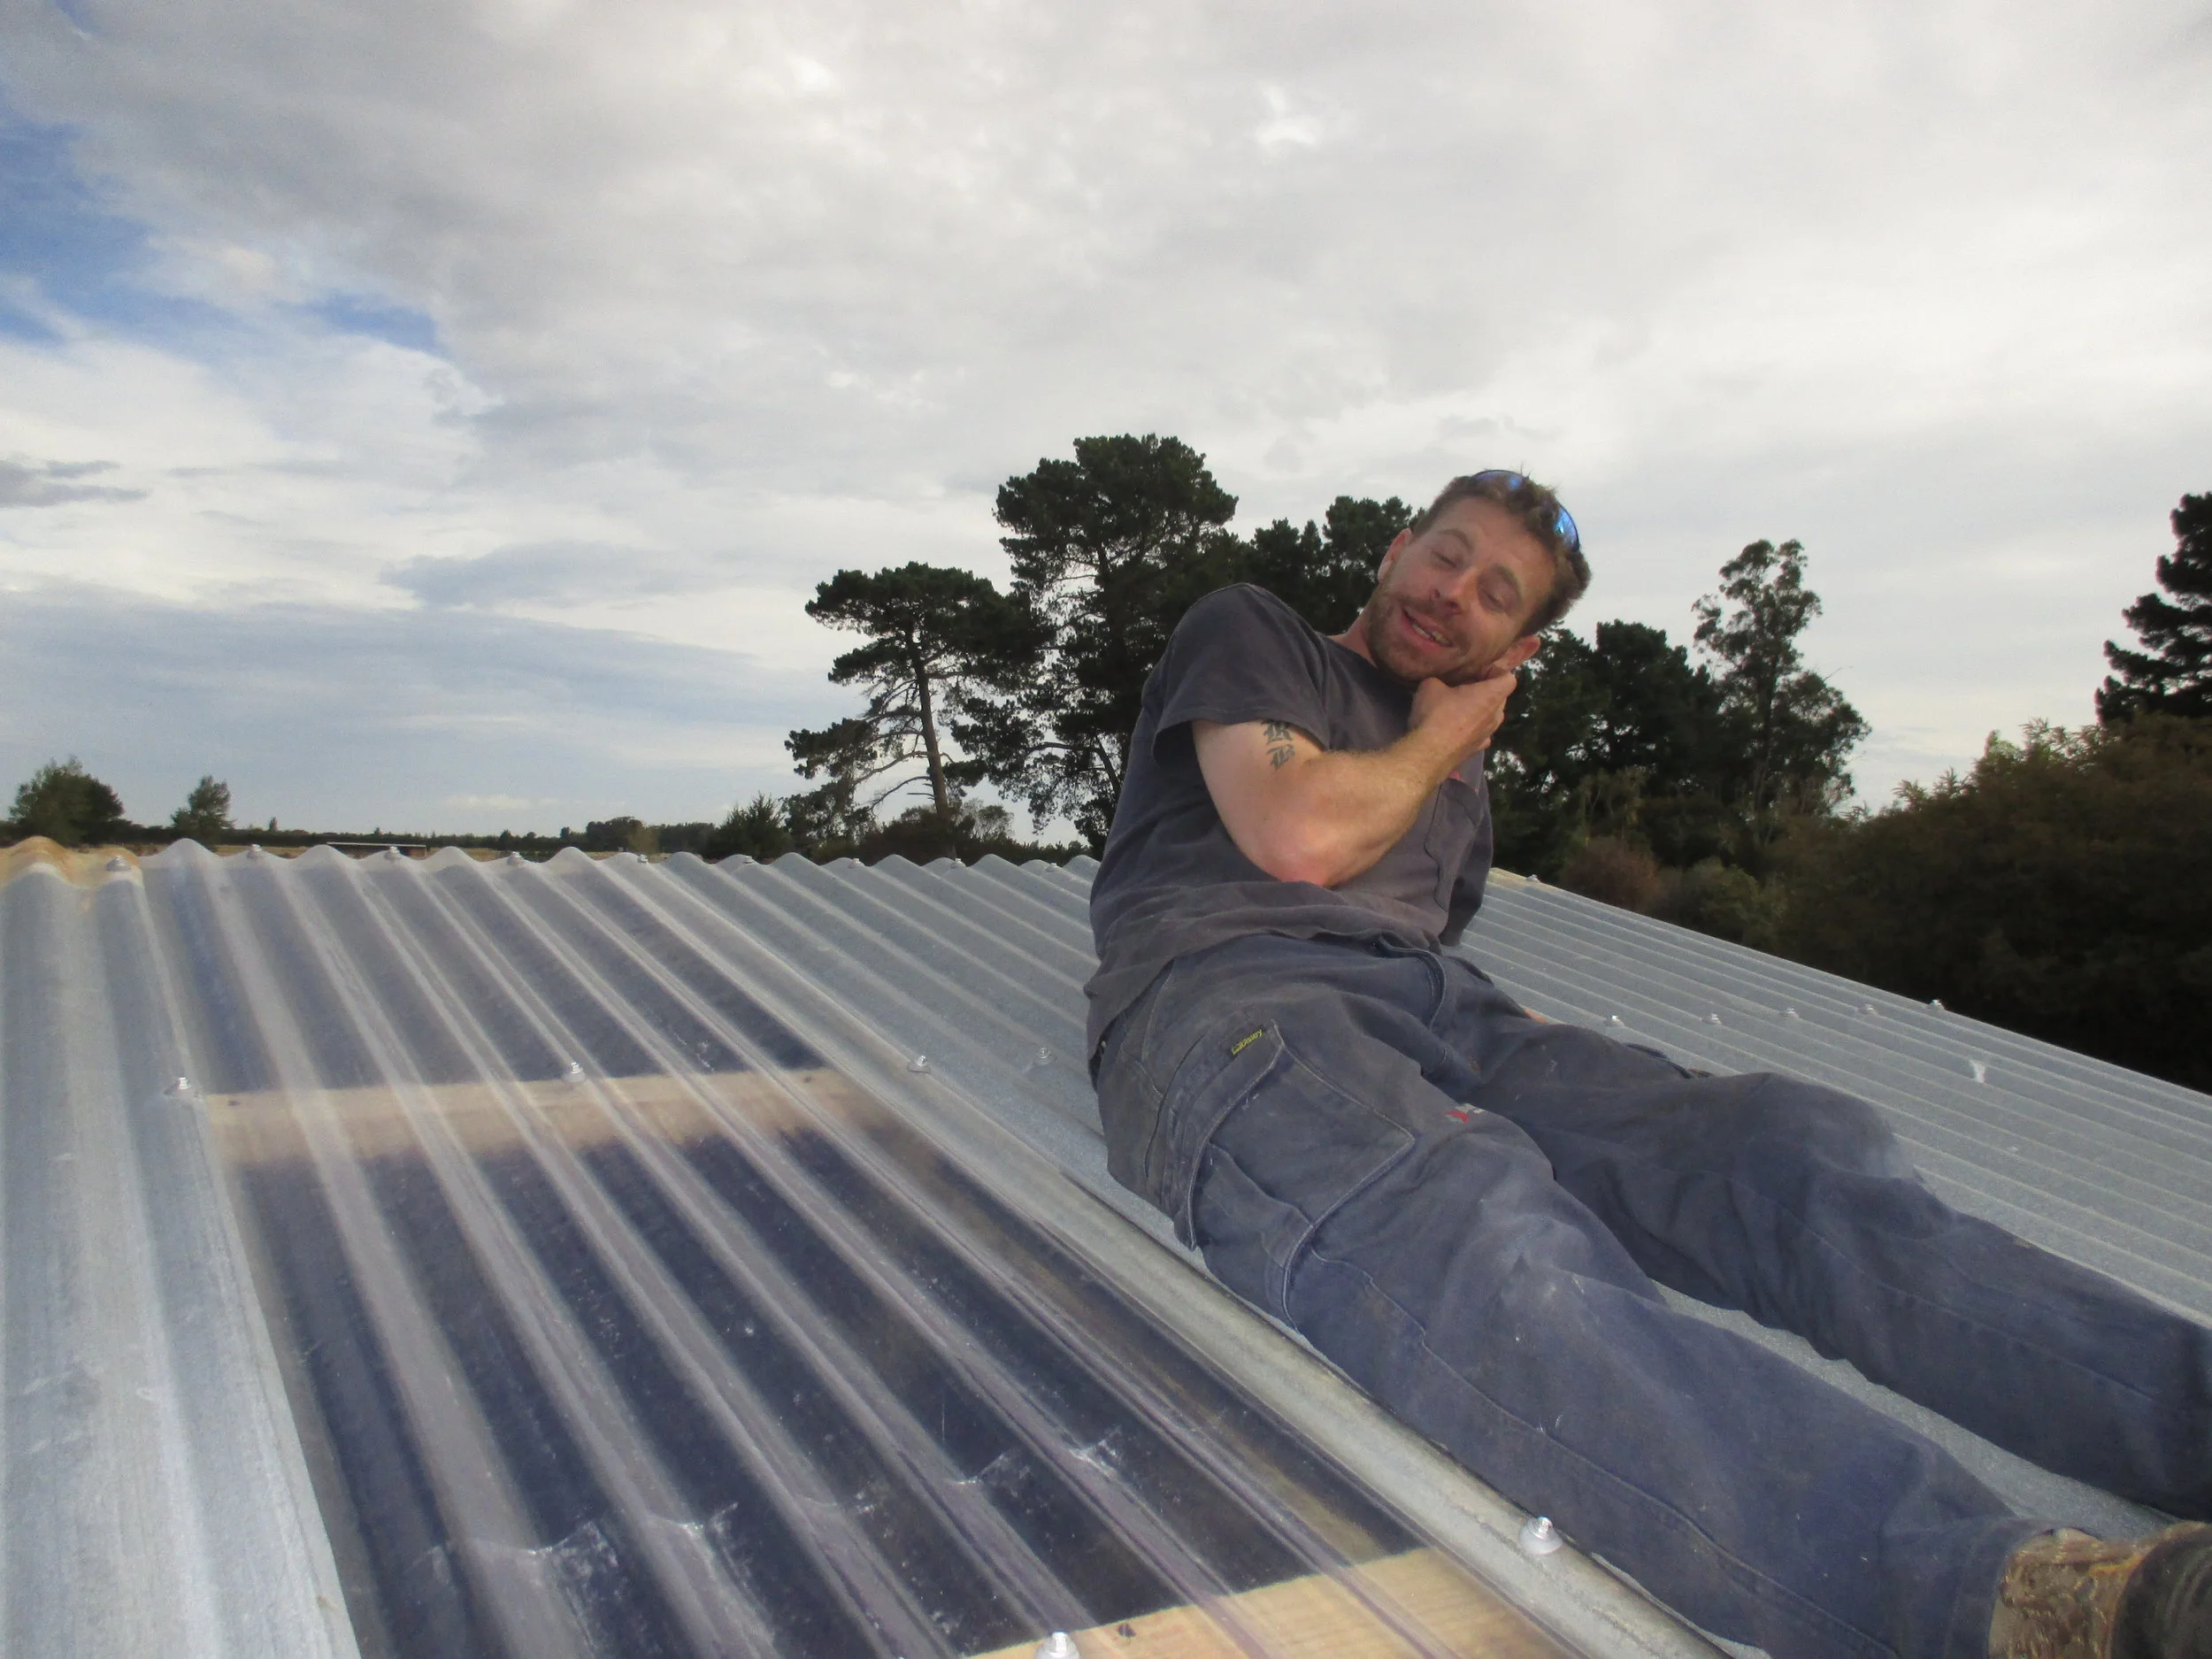
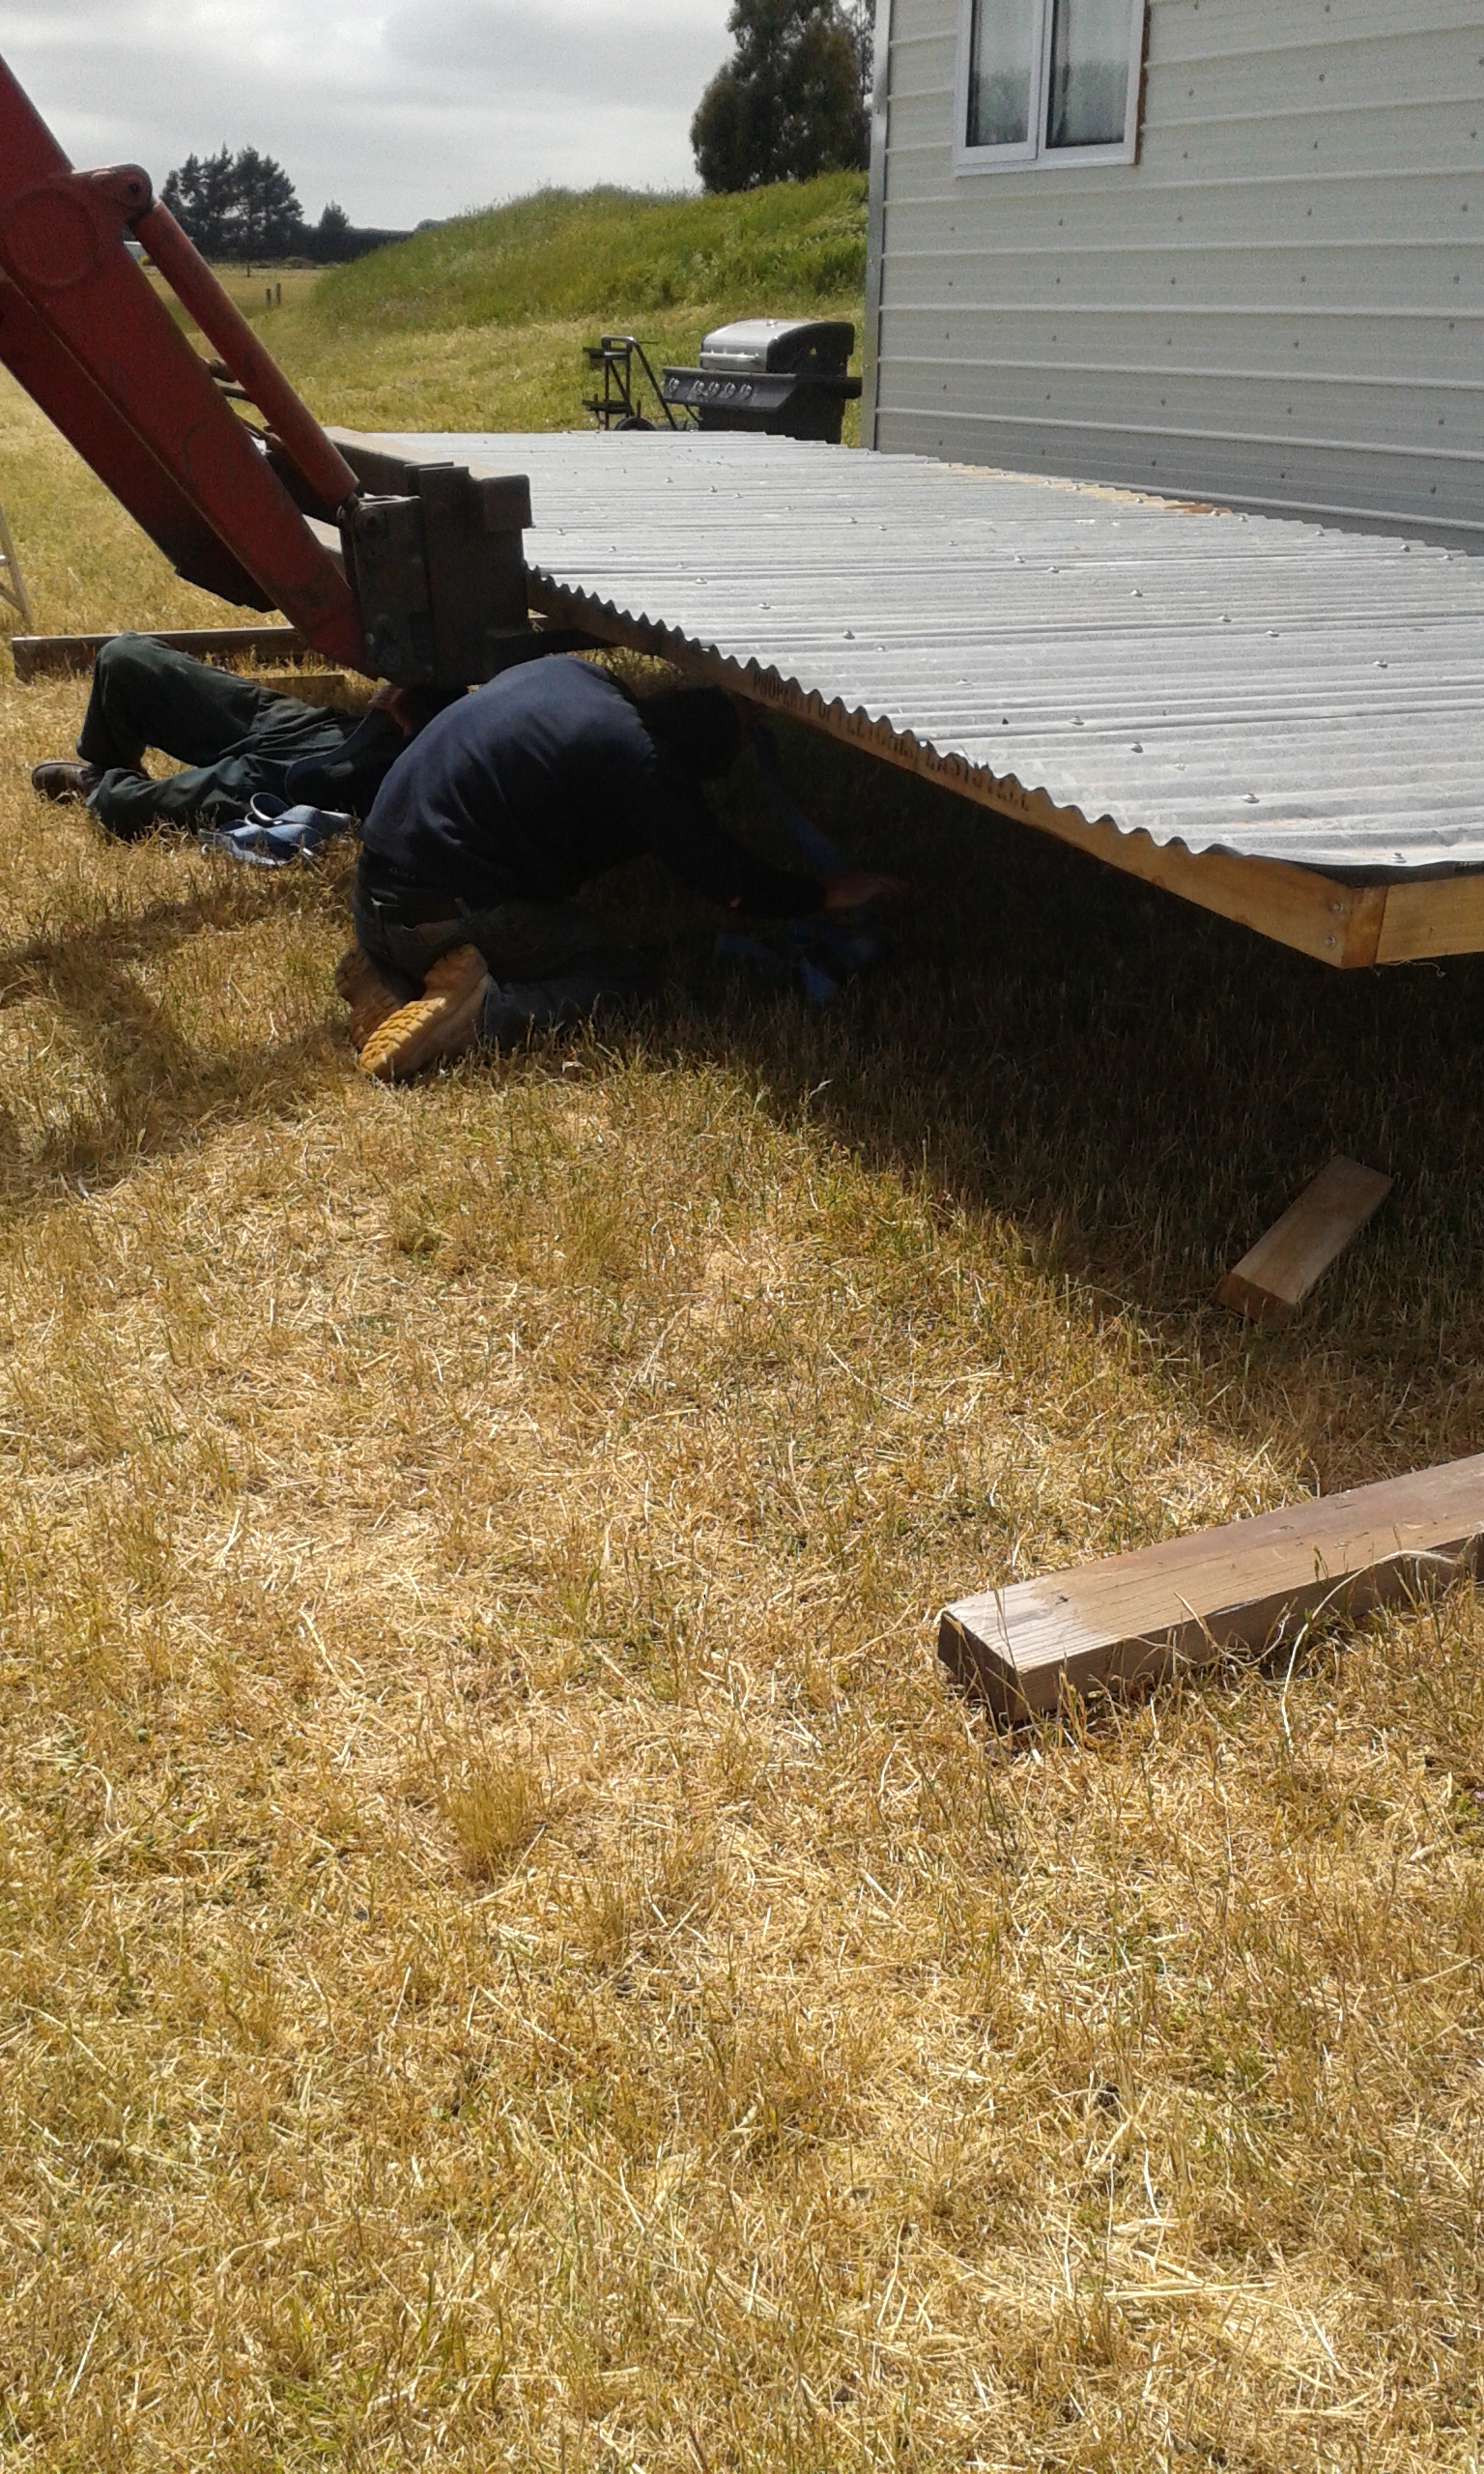
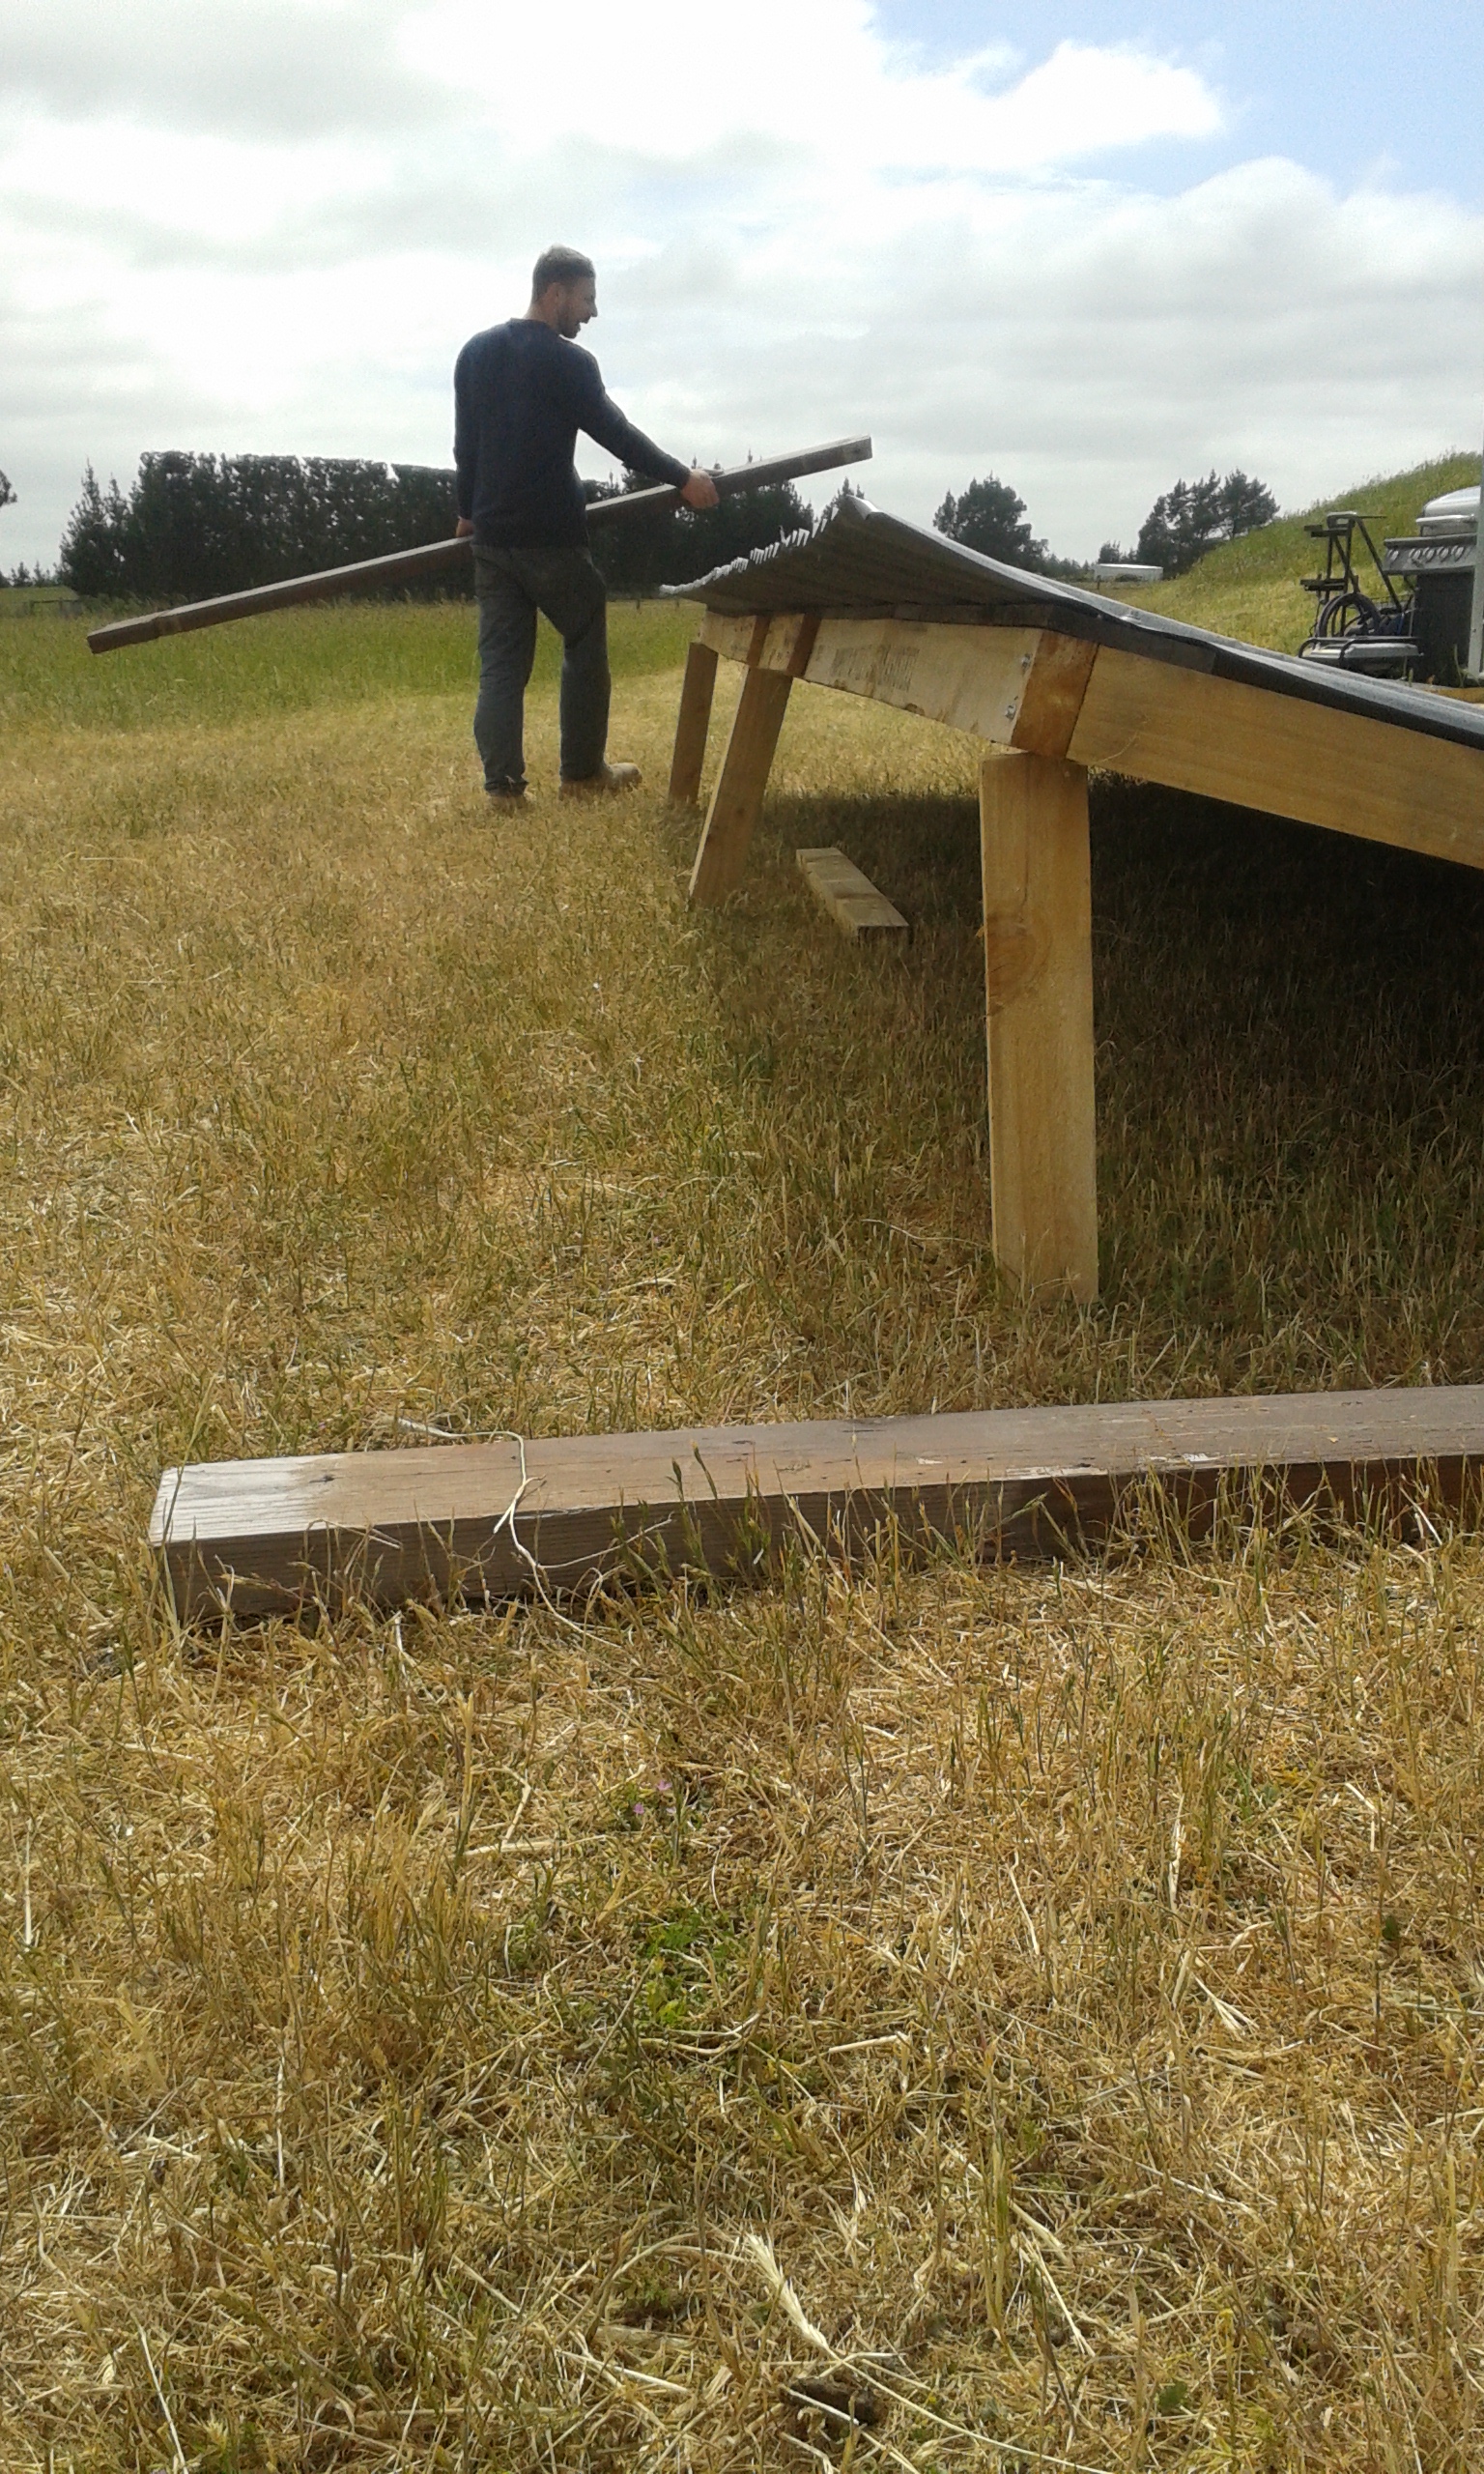
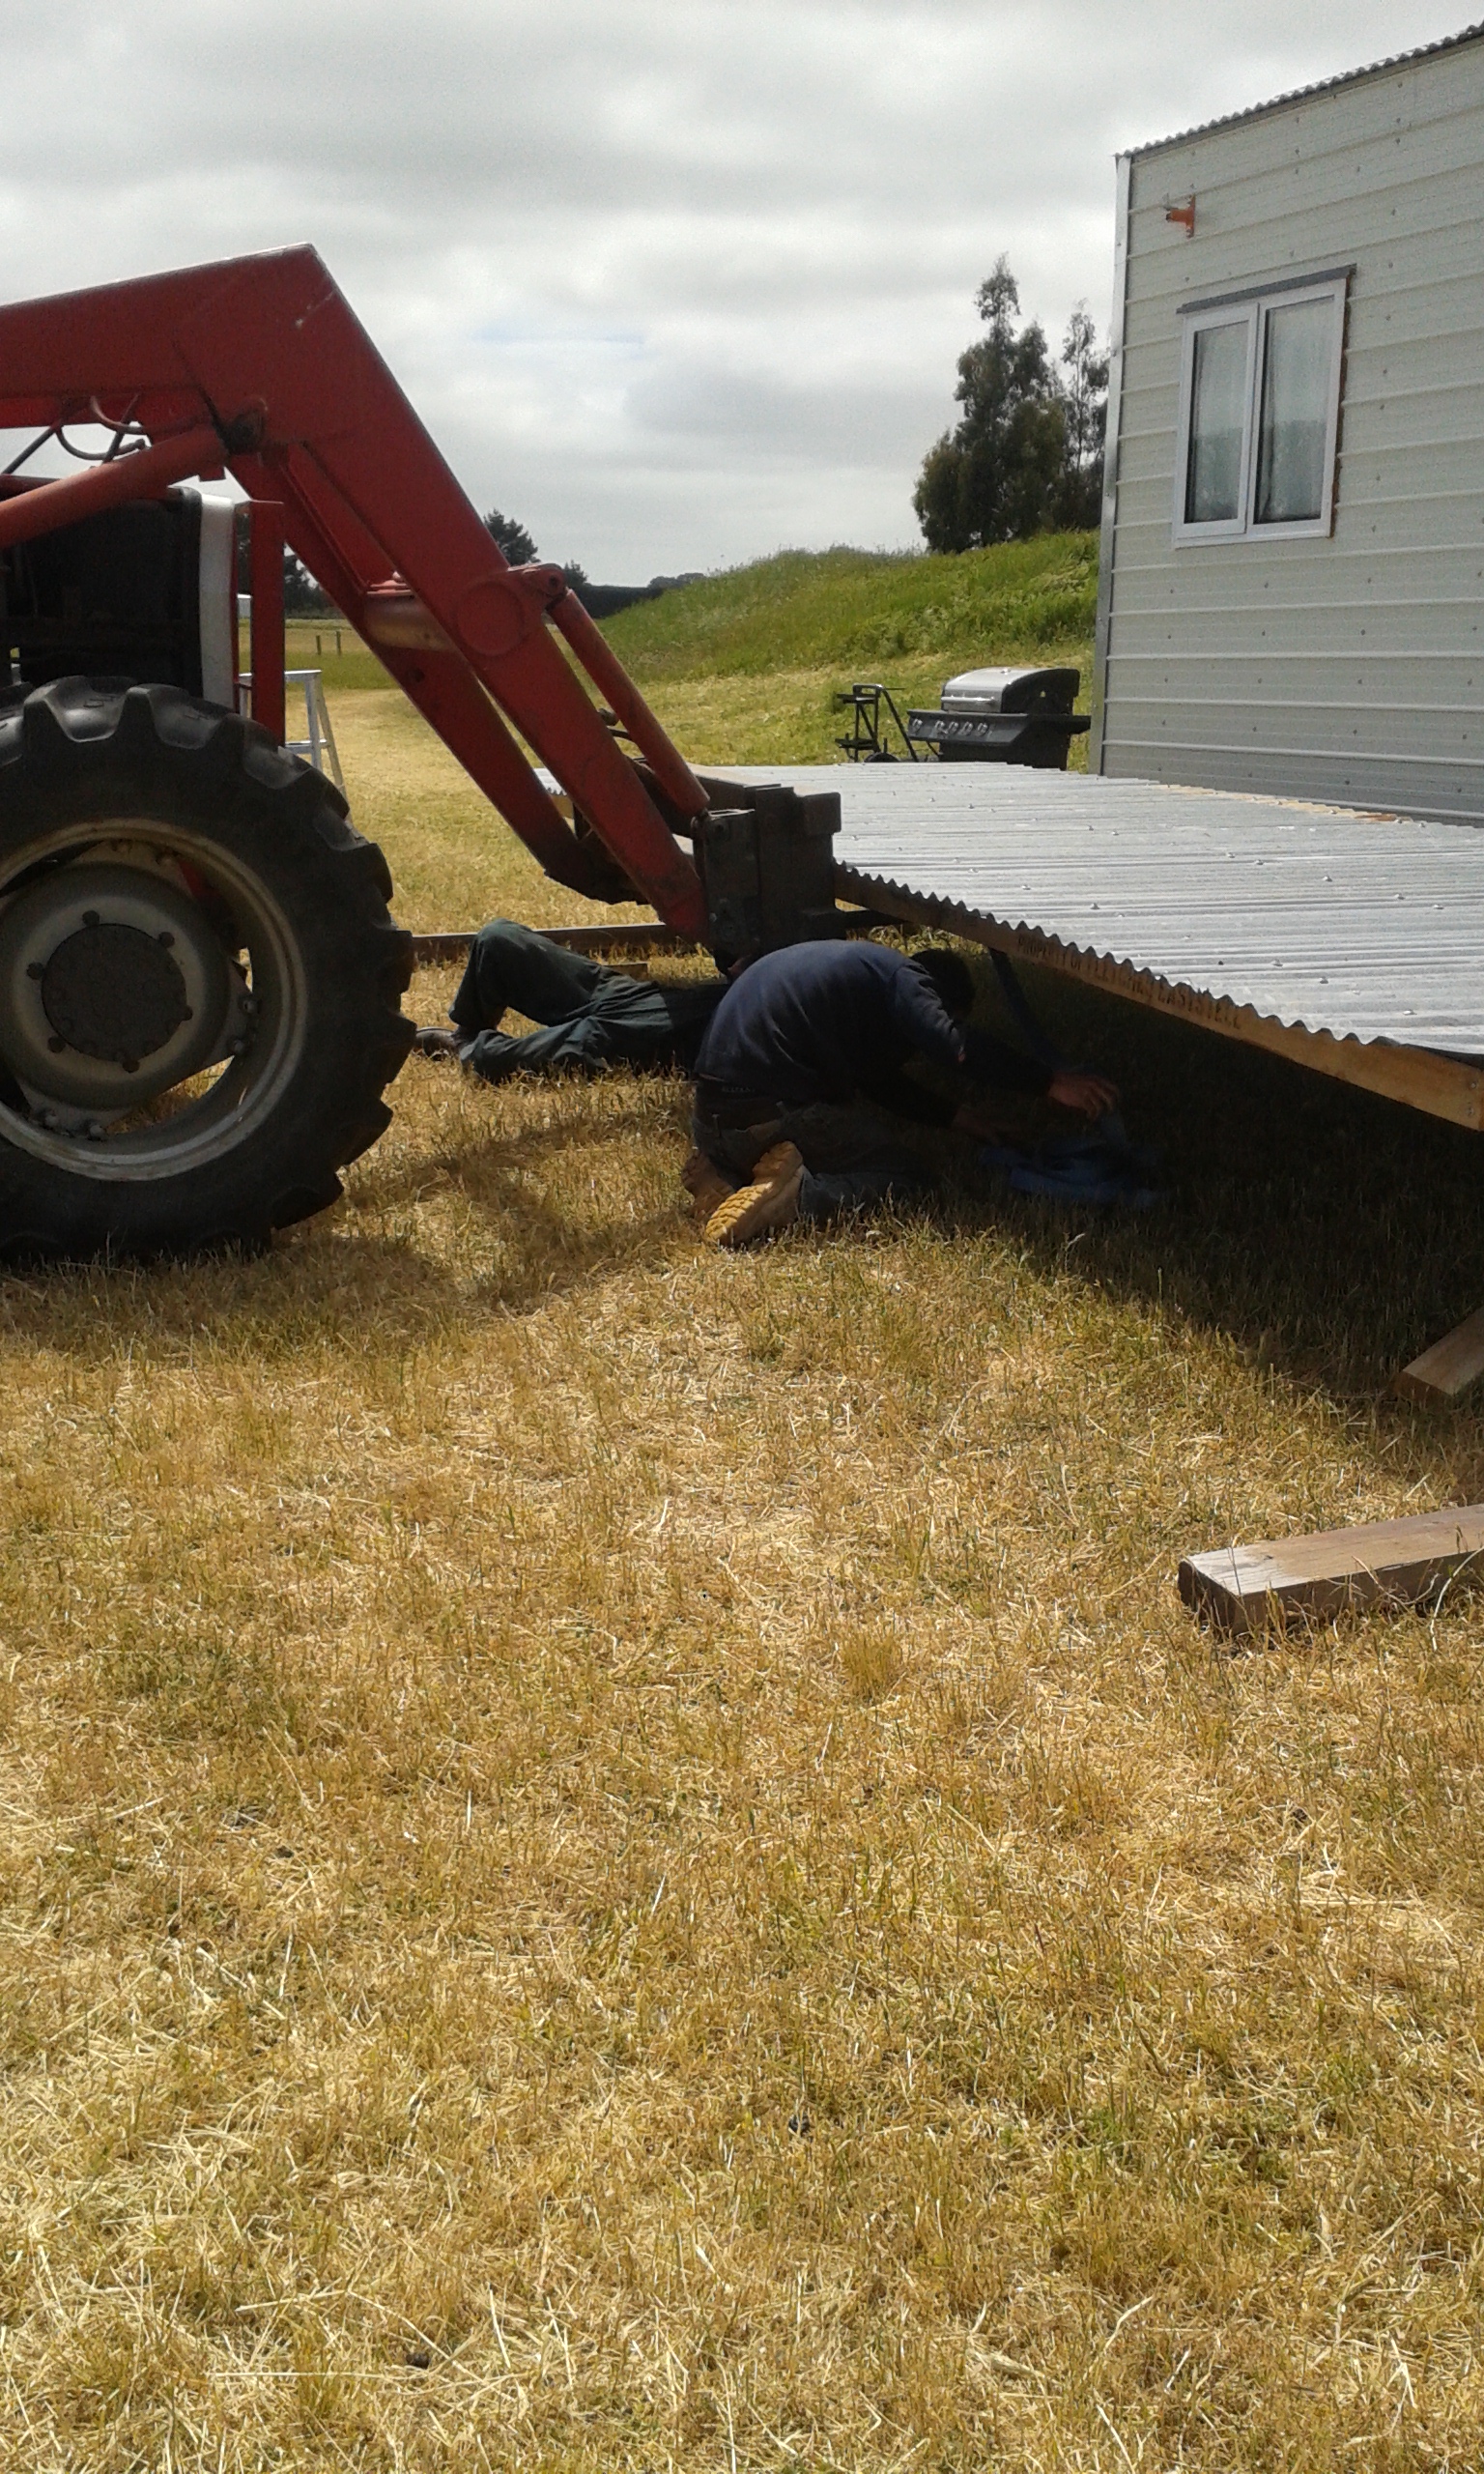
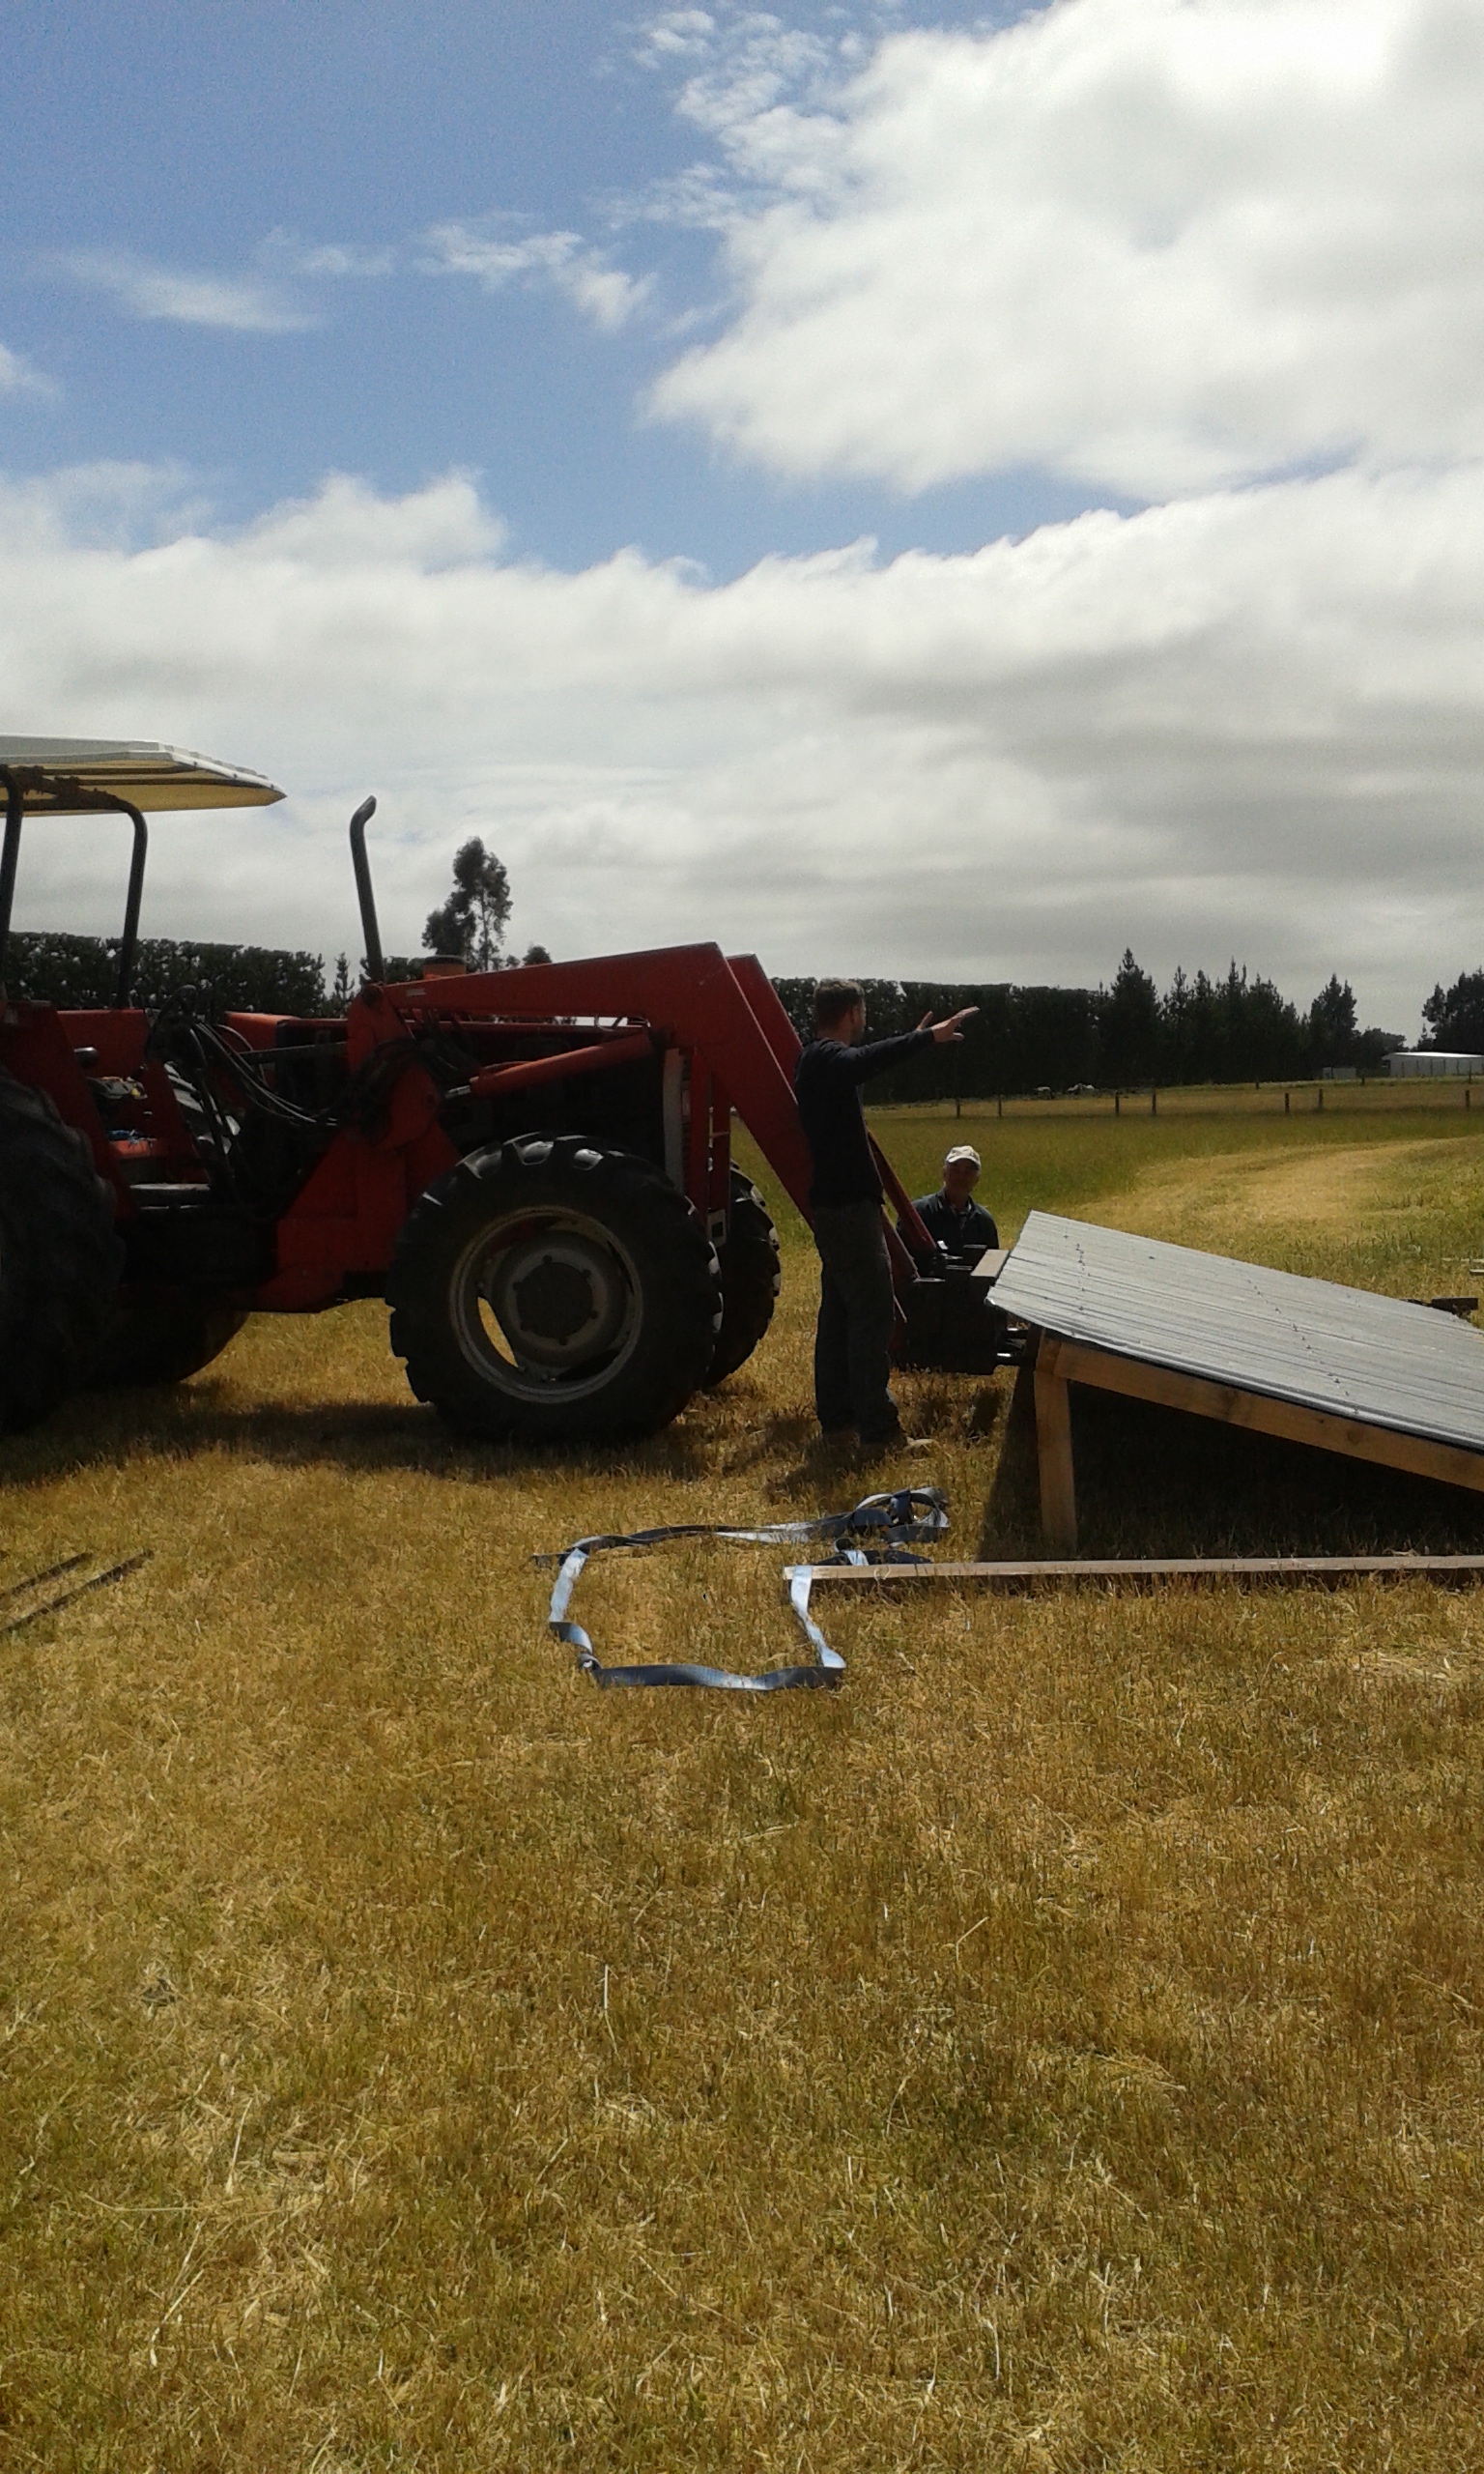
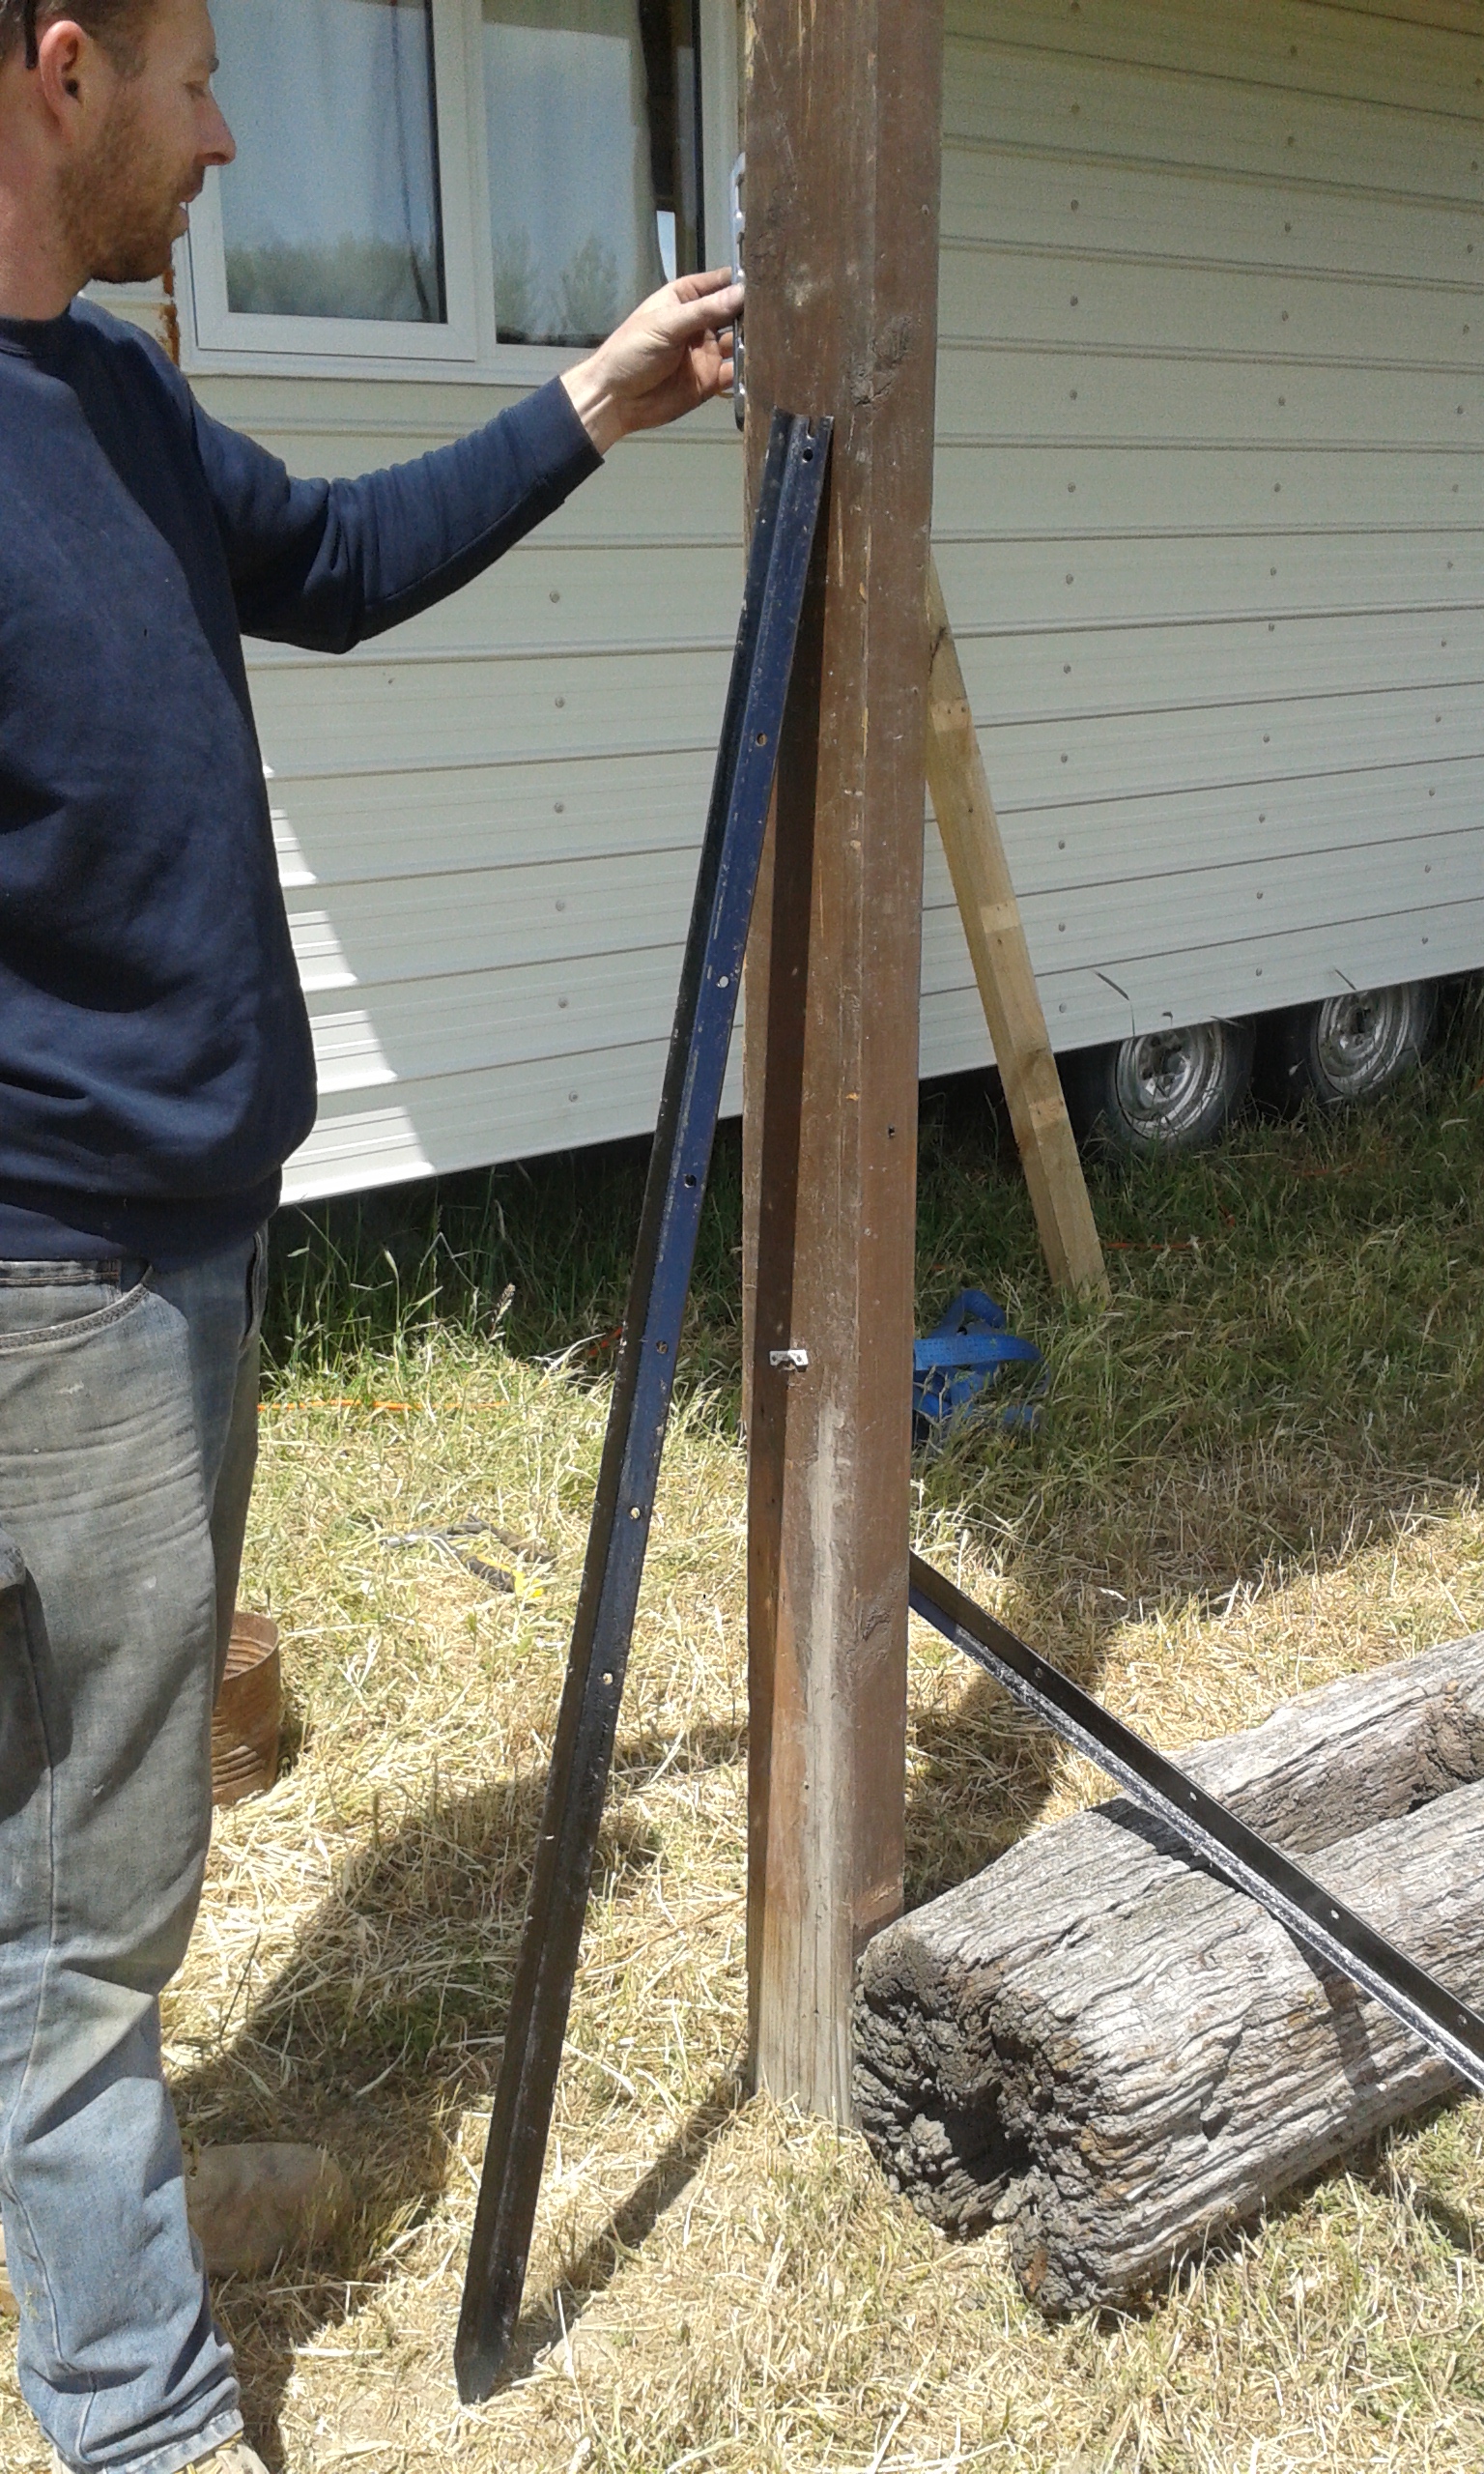
I have built the roof out of pallets I got for free and the corrugated iron was left over from building the tiny house. I purchased three used rimu timber posts to support the roof from the ground, and some roofing screws. The total cost of the roof was about 40 dollars. We had help from our awesome land owners to lift the roof into place with his loader. Thank you so much!!


20151116_172400


20151121_11495720151121_11374620151121_11373220151121_11372820151121_11500420151121_11465820151121_114707

20151121_12281120151121_115947

20151121_132226IMG_20151121_132426

Thanks for reading and stay tuned for the composting toilet and the deck!


-Pat and Cori


3 Comments

Mounting the Solar Panels

Comment

Mounting the Solar Panels

20151031_122807.jpg

Hi Everyone, This weekend at the Tiny House we mounted our solar panels to the roof. I had help from a good friend from work and it went really smoothly. We installed two 265 watt solar panels and two 12 volt 325 amp hour batteries to create a 24 volt system. Our goal from the beginning of our build was to be free of electric bills. We are now generating our own electricity and it is amazing to see the whole thing finally come together.

20151031_122654 20151029_175349

20151031_122756 20151031_123053 20151031_122821 20151031_122746 20151031_122723 20151031_122701

20151031_123154 20151031_123209 20151031_123627

Thanks for reading! Next up- water, deck and a toilet.

-Pat and Cori

Comment

Paint, Bathroom Progress and Electrical

Comment

Paint, Bathroom Progress and Electrical

Hi Readers! Last weekend was one of the first weekends we worked on the tiny house that was cut short by bad weather. But Pat still managed to paint the beige walls (you probably can't tell from the pictures but the walls were scratched and dented). So this weekend we made a huge push to make up for our lost day!

This Saturday we lined our bathroom with plastic we got for free from a friend. We didn't have enough to cover the ceiling as well so once again we used up some scraps! At least our whole house (inside and outside) matches! We also had time to install our sink that had been lying dejected in our shower for ages!

ViviLnk

PTDC0014

PTDC0016

This is the floor I did a while back, finally you can see it ! Previously we had used cardboard to protect the flooring but this weekend we brought the vacuum cleaner along with us. PTDC0017

PTDC0021

We spent the rest of the day cleaning, laying down blue plastic and checking on our bathroom walls.

Sunday was a later start. We got began by hooking up our plug outlets and our lights. Check out the difference it makes!

ViviLnk

PTDC0025

ViviLnk

PTDC0031

PTDC0037

ViviLnk

PTDC0044

We finished up the day by finally putting a door on our storage cabinet (we also shortened it!)

PTDC0038

onthe ground

PTDC0040  lockers and cut cabinet

It def needs some tweaks but it is on its way! We had a great weekend with lovely weather and our house looks and smells brand new!

Thanks for reading, next weekend hopefully we will have a couch installed and some more trim!

Please enjoy our first attempts at using the panaromic feature on Pat's phone ;)

20150822_152610 20150822_152719

Signing off!

Pat and Cori

Comment

Ceiling Insulating and Covering

2 Comments

Ceiling Insulating and Covering

Hi everyone, Today at the tiny house we insulated and covered our ceiling. It has felt like forever that the ceiling has been not finished, but today we got it done! Some really good friend of ours had some extra polystyrene laying around. We took what they gave us and bought what we needed and today got around to finishing our ceiling. That stuff sure does make a hell of a mess but in the end it worked out well.

After the insulation was up we calculated that we had enough left over roofing material for our ceiling. The rust, holes, scratches, and all kinds of minor imperfections gives it a good rustic look.

We also had time to build a door for our utilities box completely out of scraps we had left laying around.

Hope you like it!

20150802_104811 20150802_104822

20150802_114739

Think I am looking kind of stiff haha!

20150802_121106

20150802_114731

20150802_122614

20150802_120832

20150802_153518 20150802_153506

2 Comments

Finishing the Exterior

Comment

Finishing the Exterior

Hello everyone, We have finally finished the outside minus a few bits of flashing around the windows and on the corners of the walls. IMG_1690 IMG_1691 IMG_1692 IMG_1693 IMG_1694 IMG_1695

Behind this wall with the two windows is going to be our kitchen. We are going to install two planter boxes underneath the windows for fresh herbs.

IMG_1696 IMG_1697 IMG_1698 IMG_1700

Comment

Framing and cladding the roof

1 Comment

Framing and cladding the roof

Hi everyone, Cori and I worked on framing and cladding the roof today. We framed it with the same building timbers as the walls: lightweight and cheap! The walls and roof were first wrapped in building paper, then we used the second hand corrugated iron we bought for the roof. It worked awesome!!

IMG_1623 IMG_1625 IMG_1626 IMG_1627 IMG_1628 IMG_1629 IMG_1630 IMG_1631 IMG_1632 IMG_1633 IMG_1634 IMG_1635 IMG_1639 IMG_1640

Silly old Llamas!!

IMG_1641 IMG_1642 IMG_1643 IMG_1644 IMG_1645 IMG_1646

We thought it would be nice if we could get some extra light in through the roof, so we added a skylight.

IMG_1647 IMG_1648 IMG_1649 IMG_1650 IMG_1651 IMG_1652

1 Comment