Moving to Waimate was a huge adventure, challenging but rewarding. We were interviewed and featured on the front page of the paper!
A blog chronicling our tiny house.
Viewing entries tagged
new zealand
Moving to Waimate was a huge adventure, challenging but rewarding. We were interviewed and featured on the front page of the paper!

Hello hello! We have great news! Our tiny house video by Bryce of Living Big in a Tiny House was completed!
[youtube https://www.youtube.com/watch?v=xd7ZNuzvYRs&w=560&h=315]
We had a great time filming and chatting! Sadly the filming happened before we had a chance to finish the porch but it is finally complete.

For more you can visit his website: http://www.livingbiginatinyhouse.com/tiny-home-built-recycled-materials/
Cheers!
Pat+Cori
Hello Again! Friday night was the very first night we slept over at the tiny house. We arrived at about 9:30pm and found the house to be warm and when we turned on all the lights, very well lit. The pillows and kitchenware were quickly put away and we had a nice quiet evening with a glass of wine and a good book. We were very comfortable, warm and everything we needed to relax for the evening was easy to access and use. We slept very well and the hot shower in the morning was amazing. We were both able to cook and be in the kitchen area at the same time without running into each other and the eggs and hashbrowns were delish! It was a great night and we were sad to go the next day. We did make a short list of item to improve but over all we did a great job of planning and anticipating our needs.
Hello!
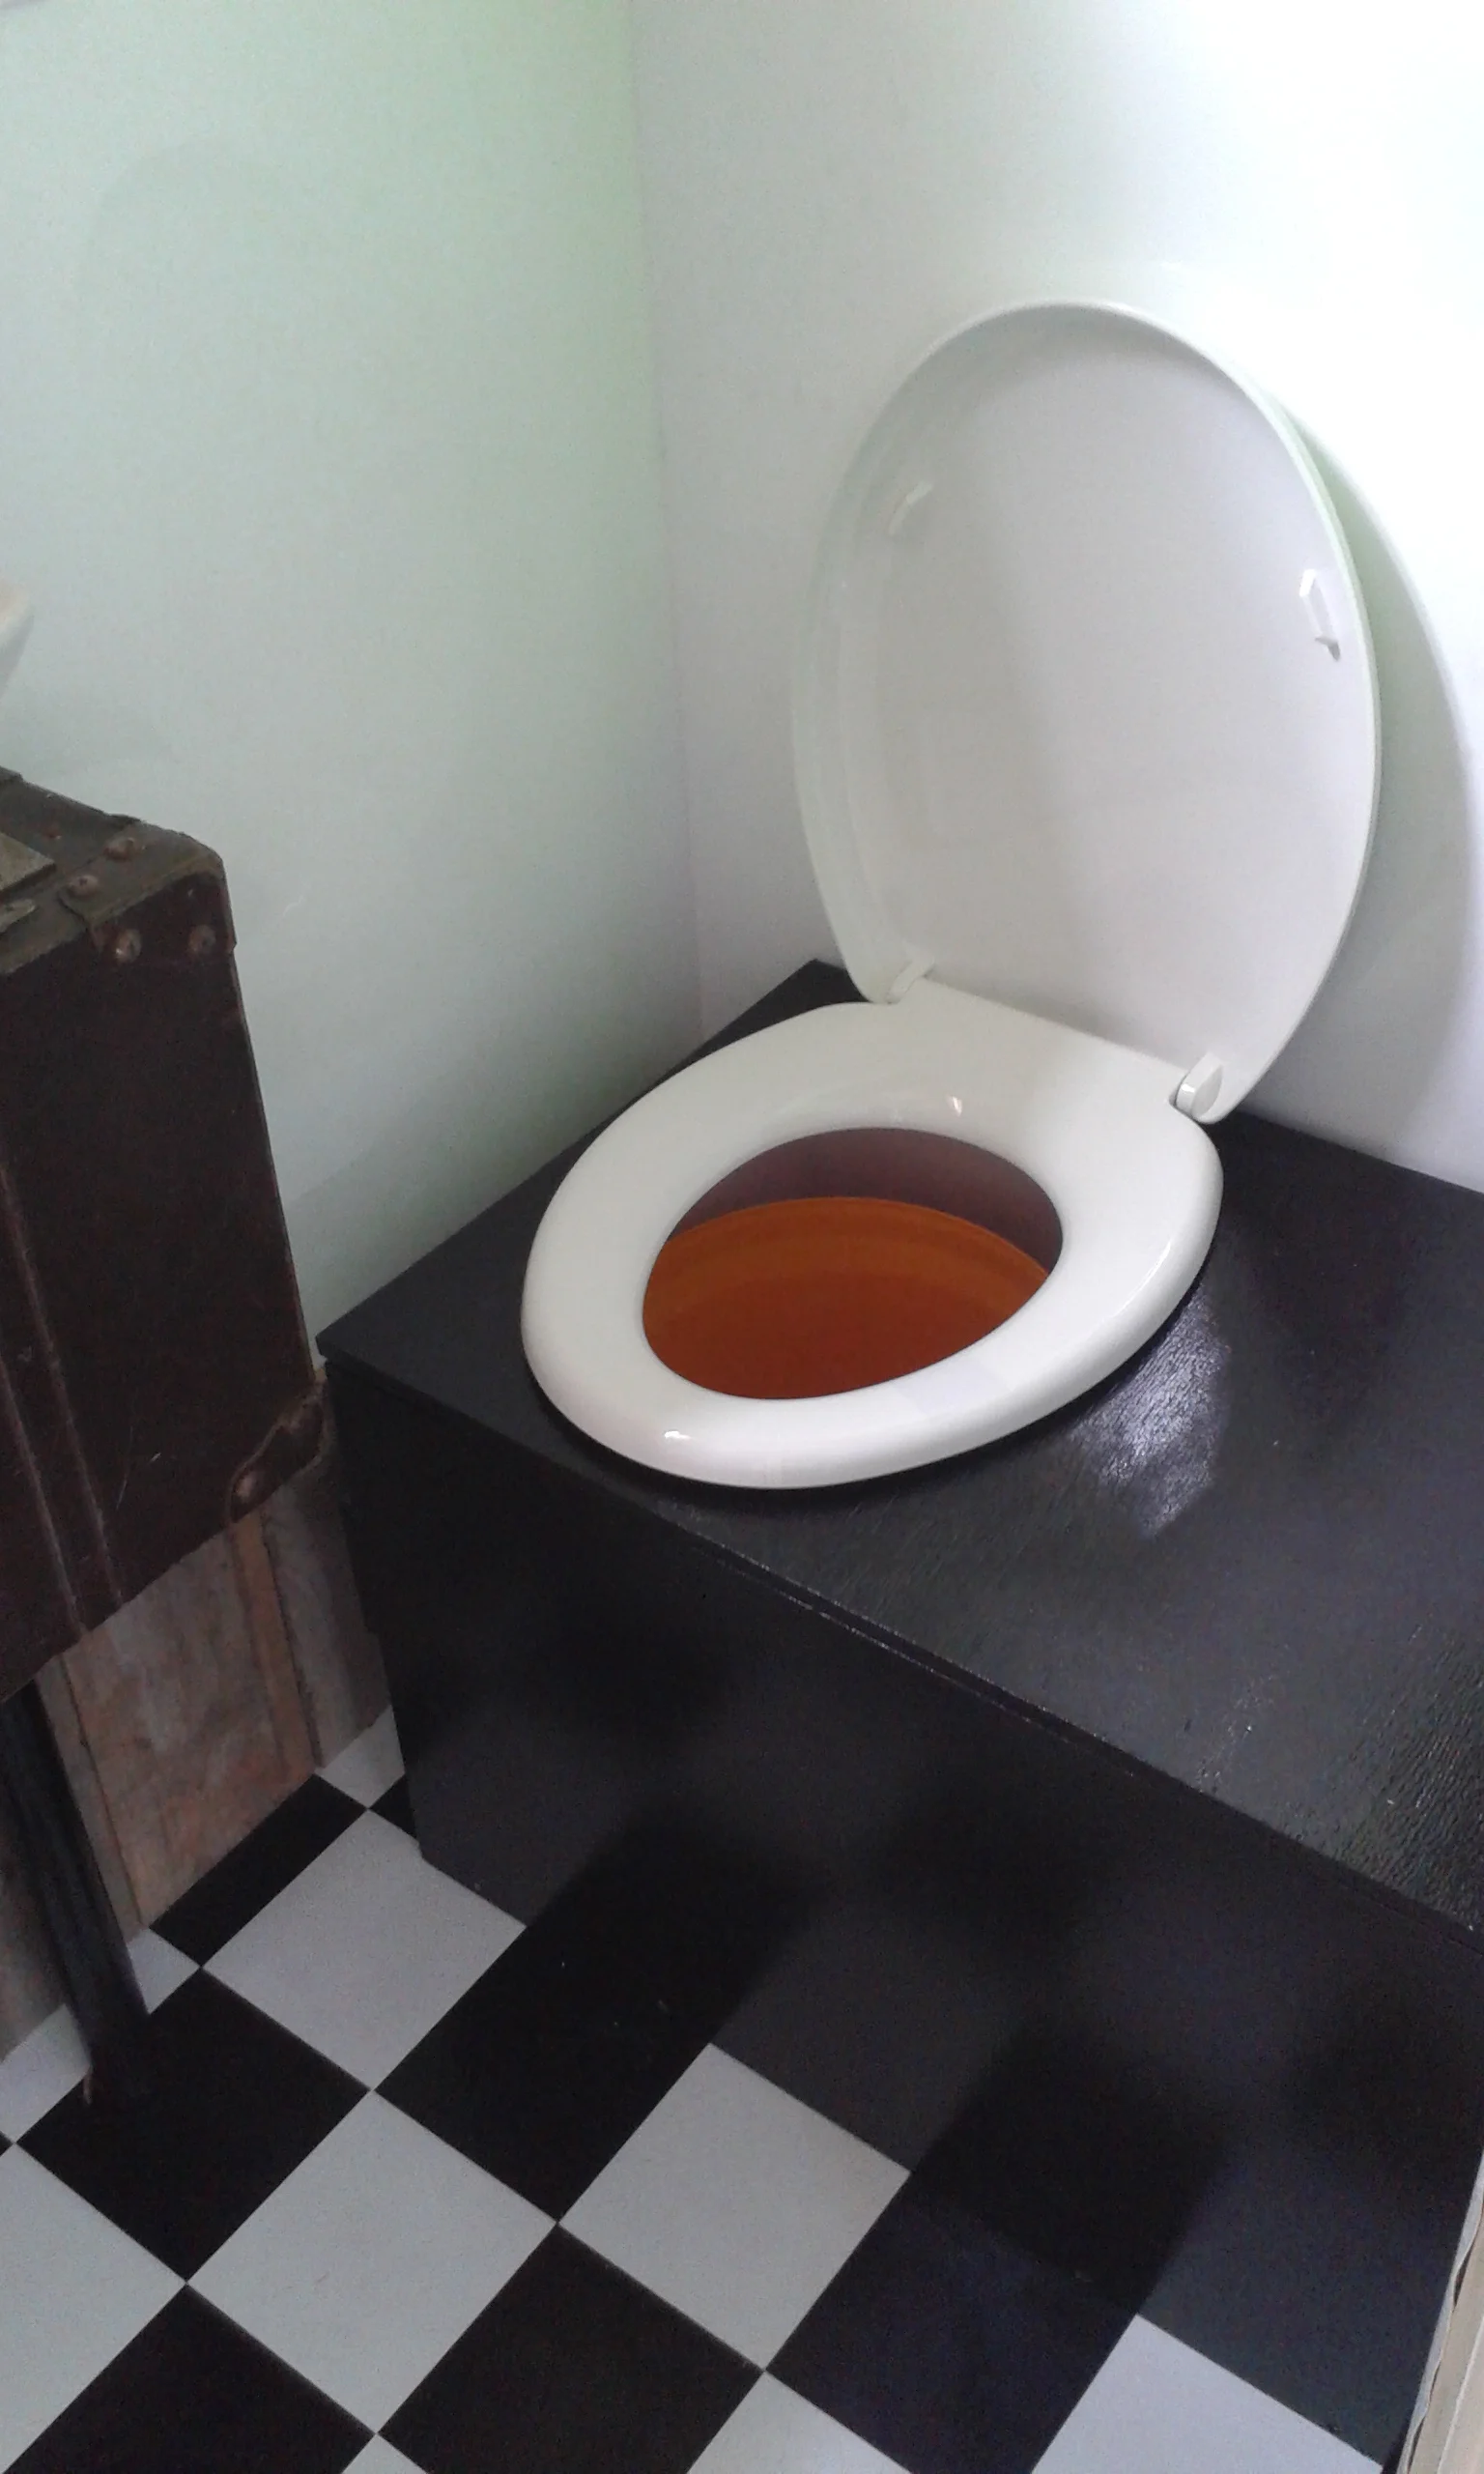
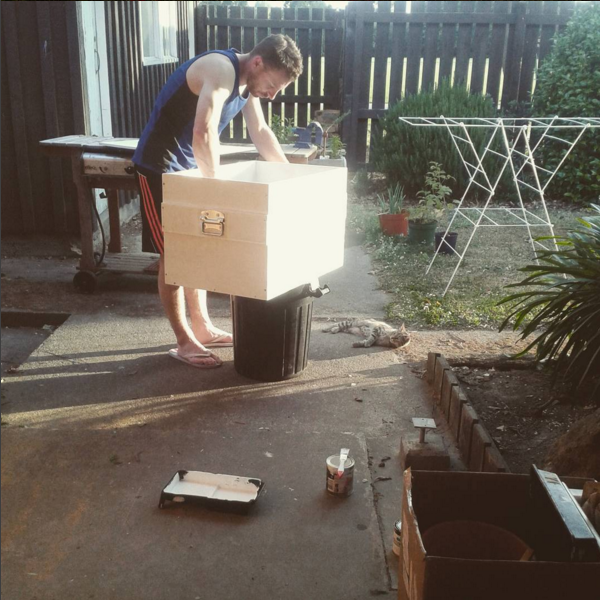
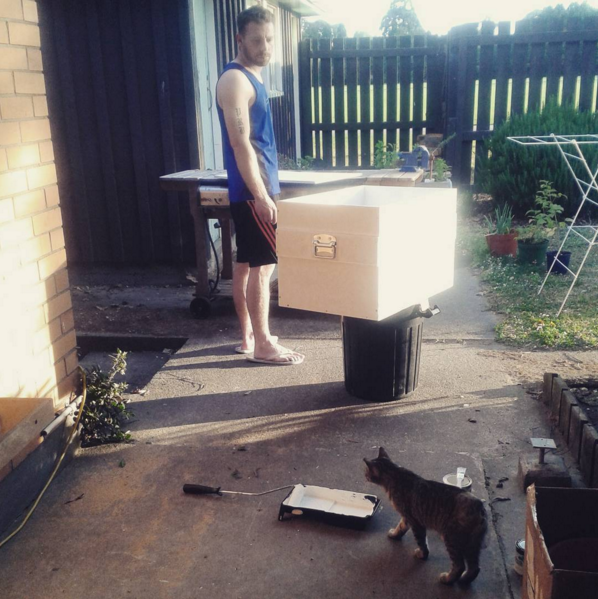
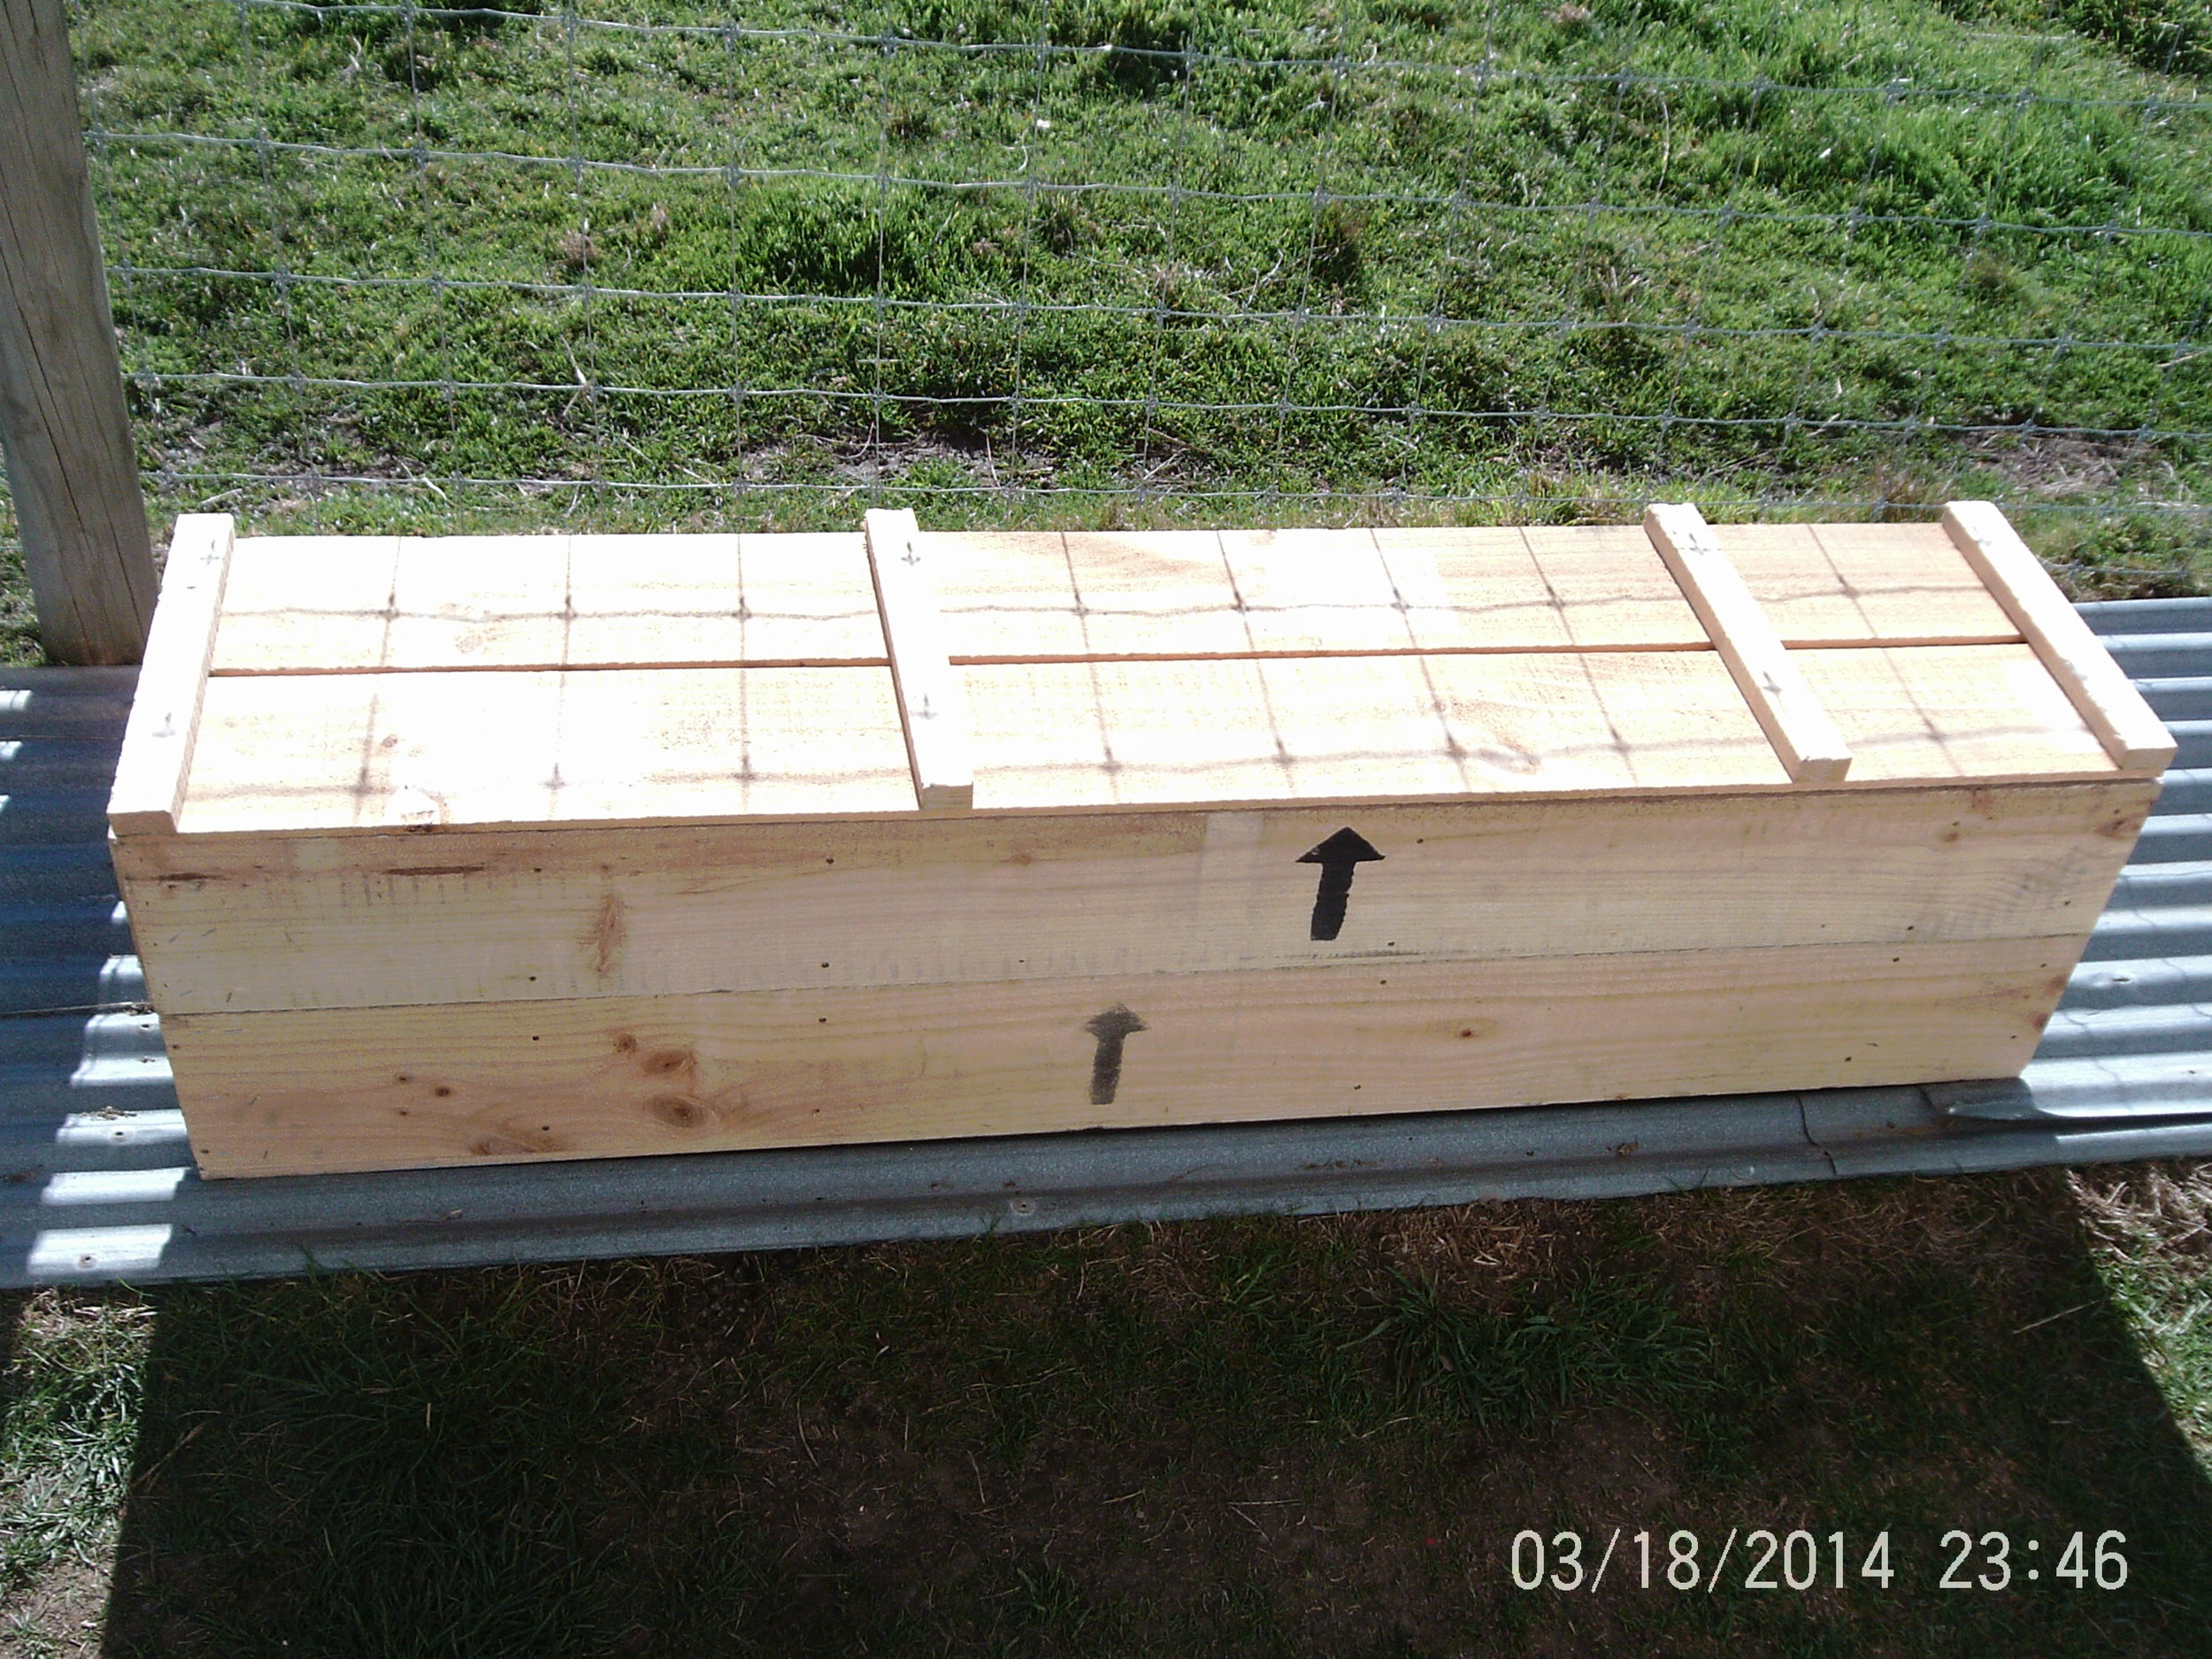
We finally got around to making our toilet, it took a while to find the right raw materials, but Pat scored a sweet crate that we painted, cut a hole in the top, and mounted hinges. The toilet seat is a special slow close seat (you can afford to upgrade your seat when you're pooping a bucket.) We need to work on sourcing a regular source of sawdust, but we still have some time. 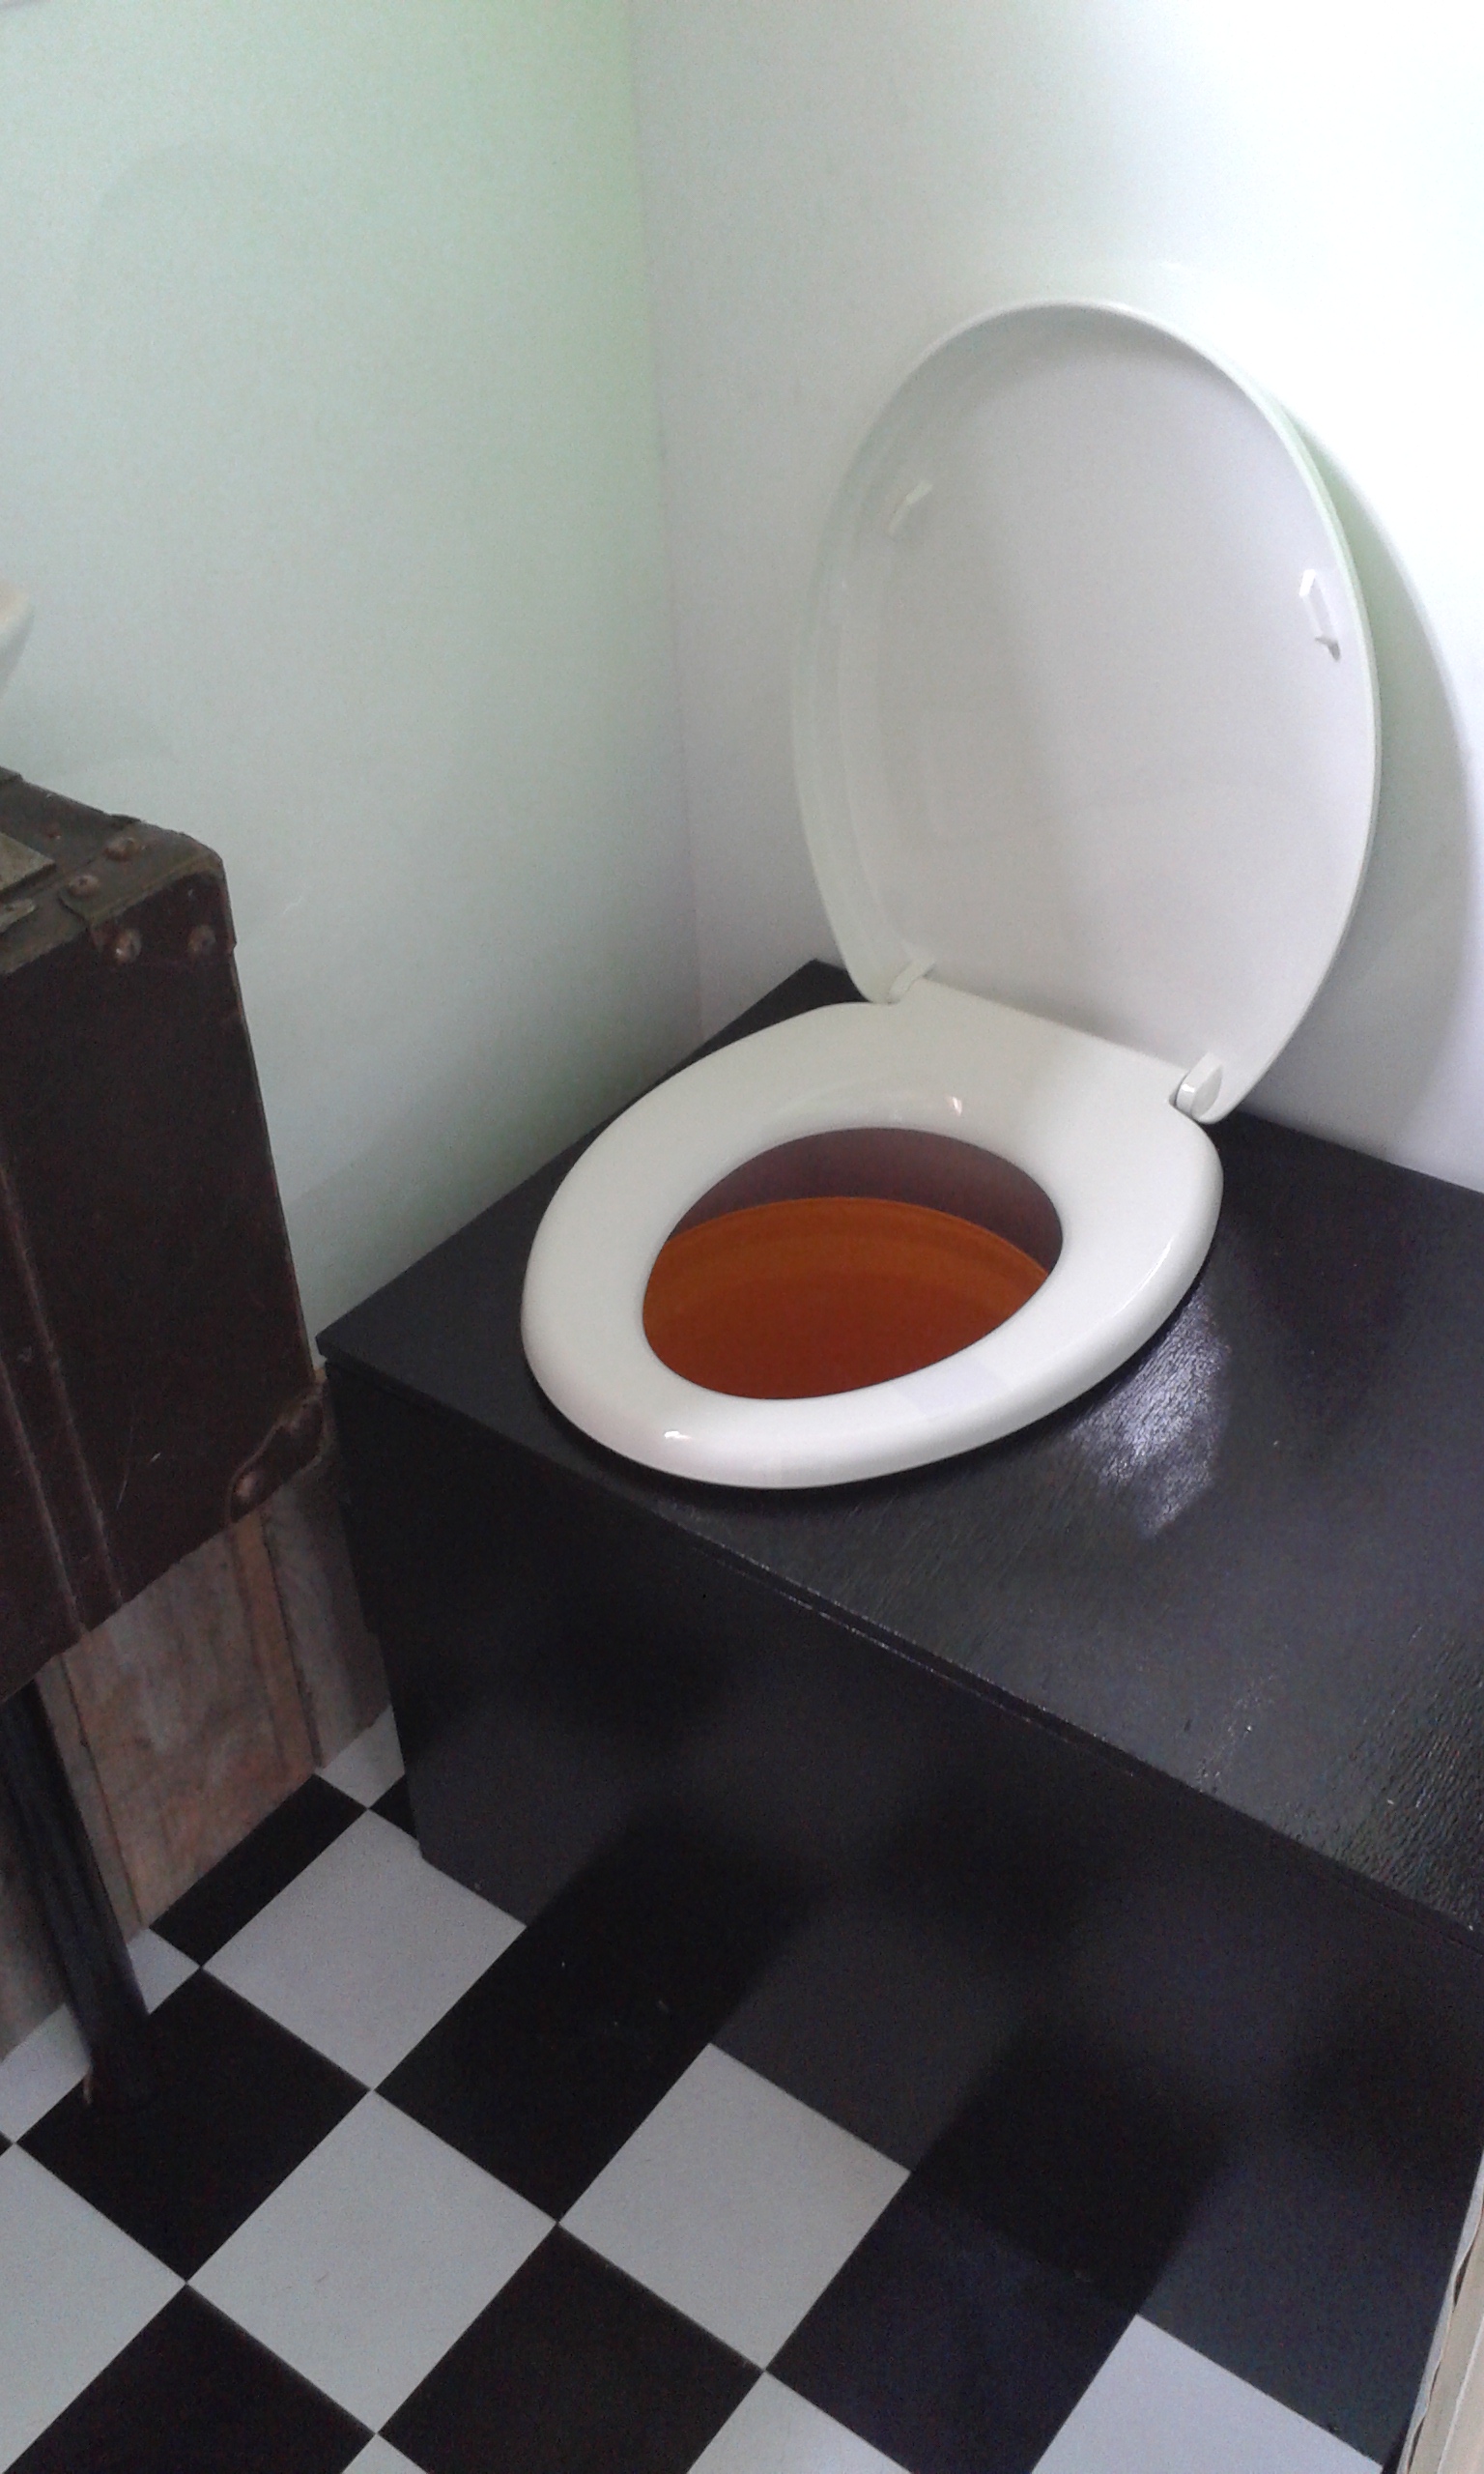
Sorry we don't have more pictures. I wasn't around to document and supervise Pat.
Thanks!
-Pat and Cori (mostly cori)
Hello!
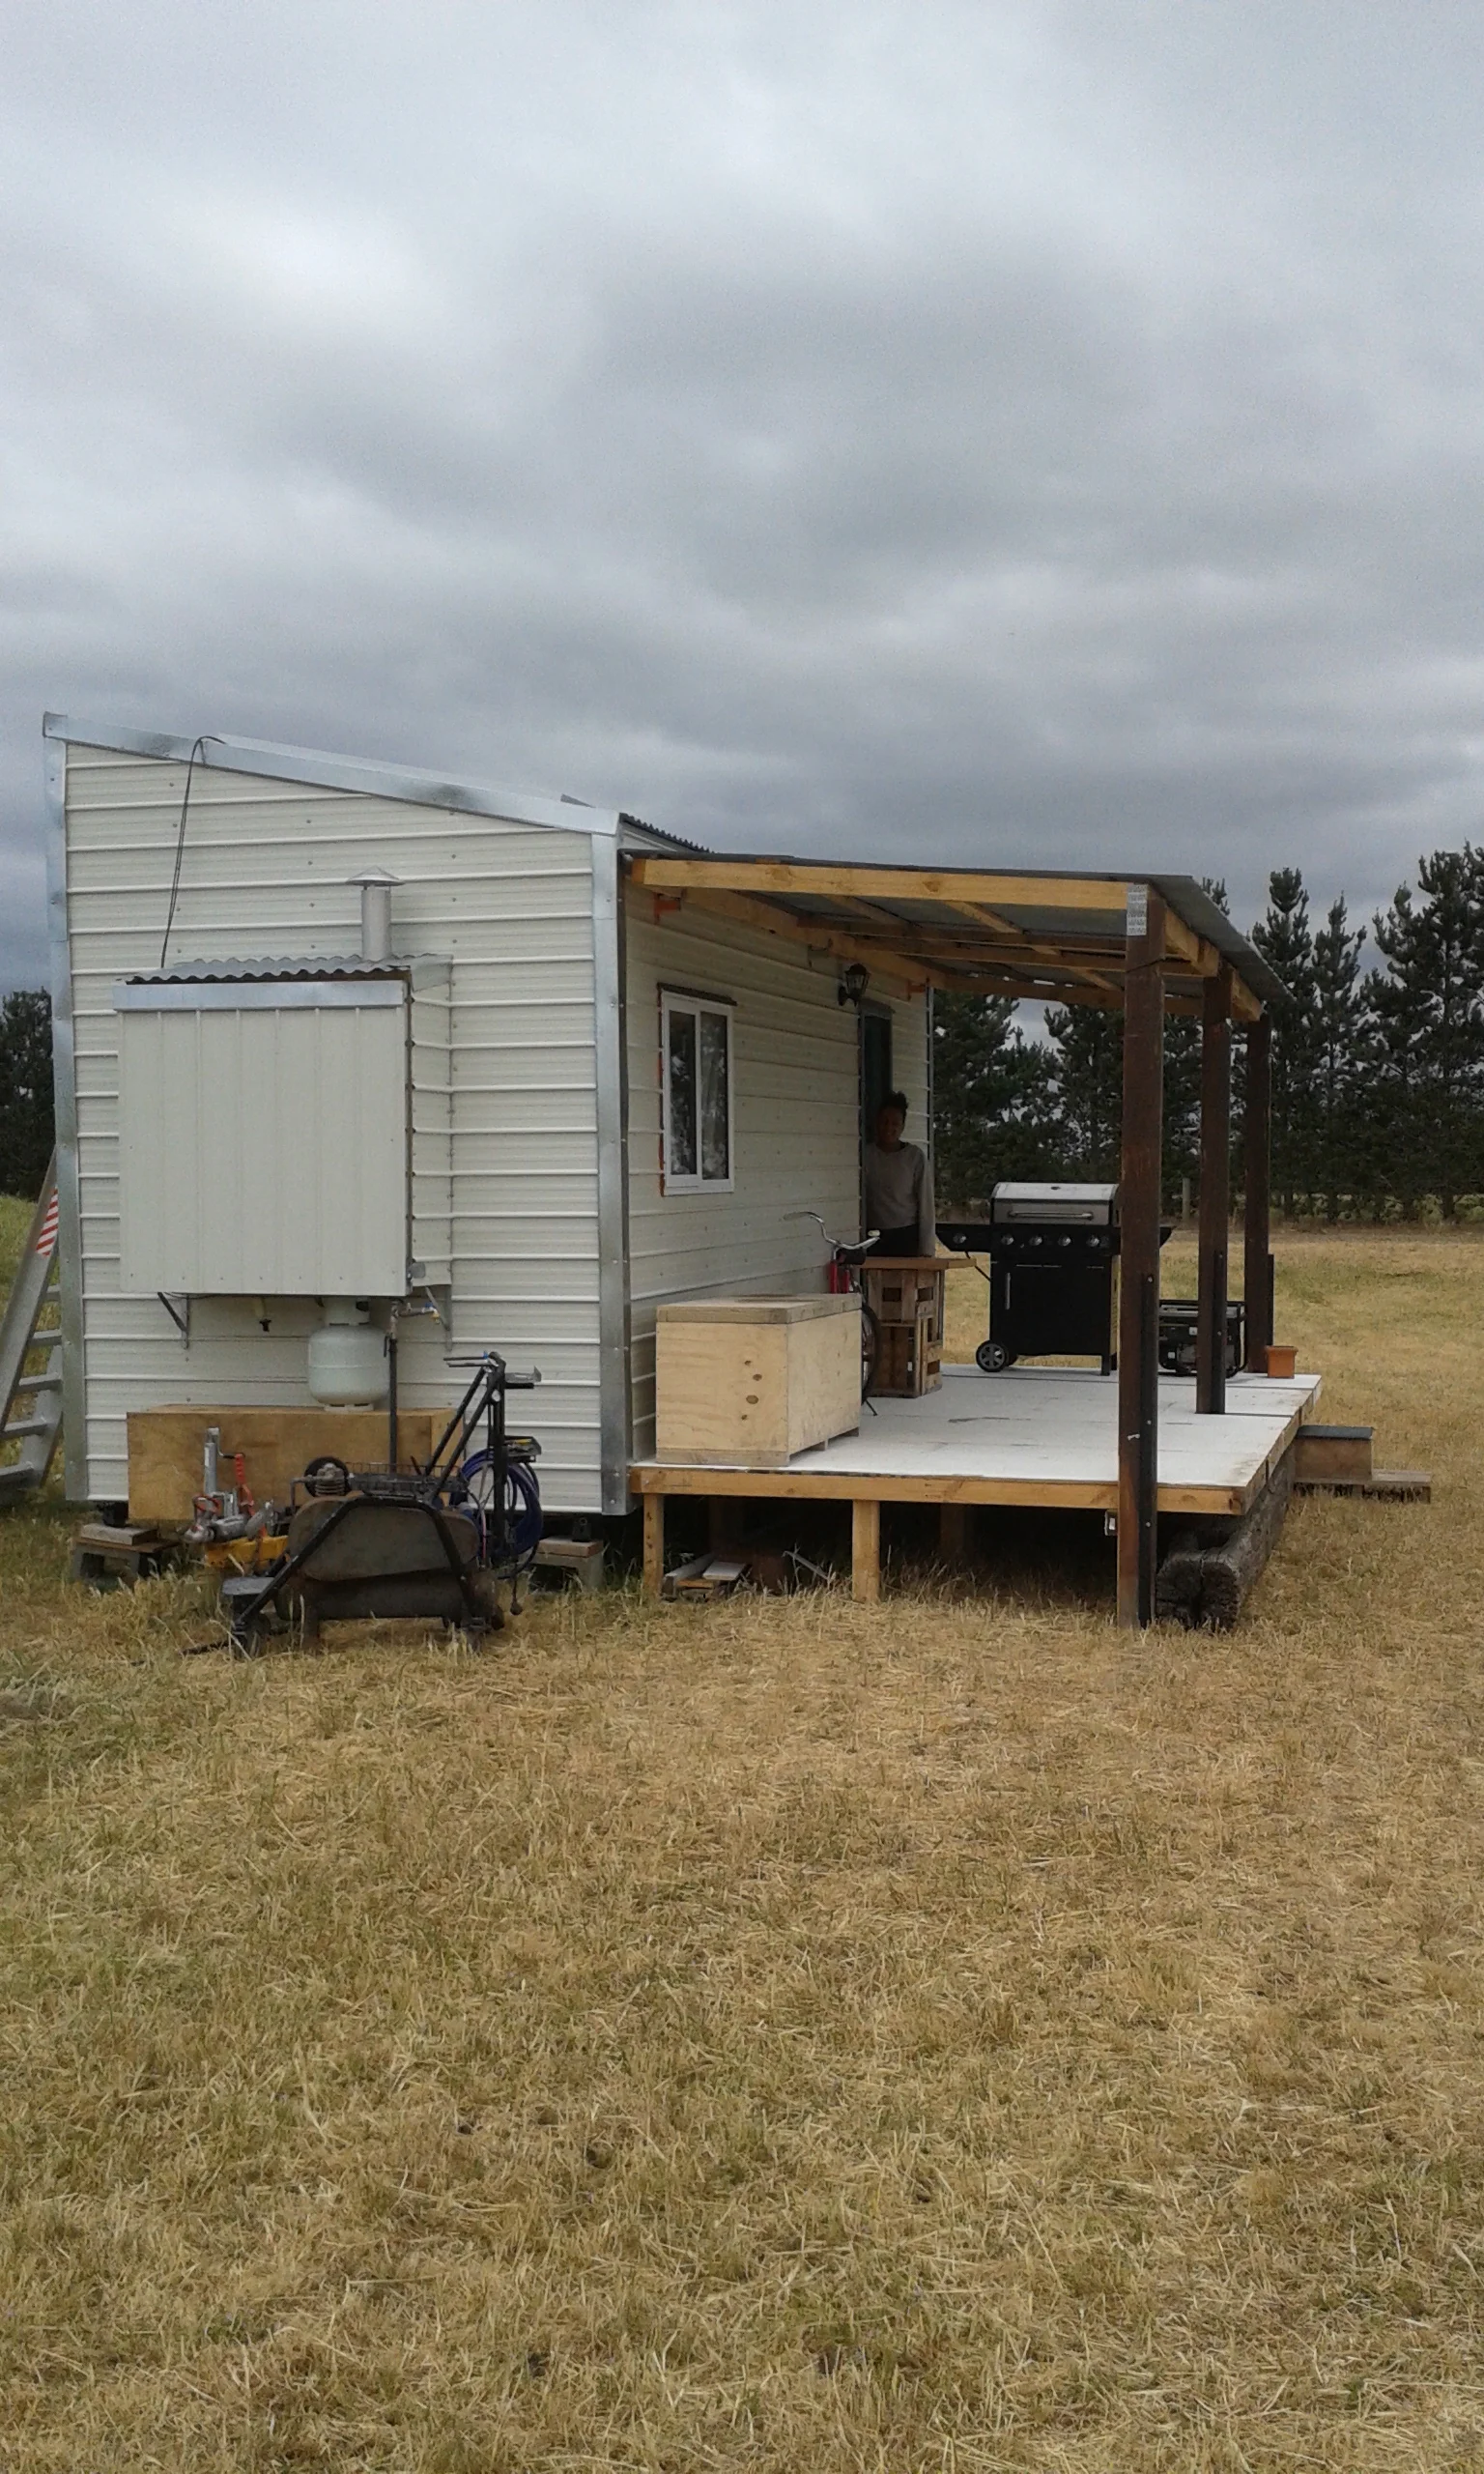
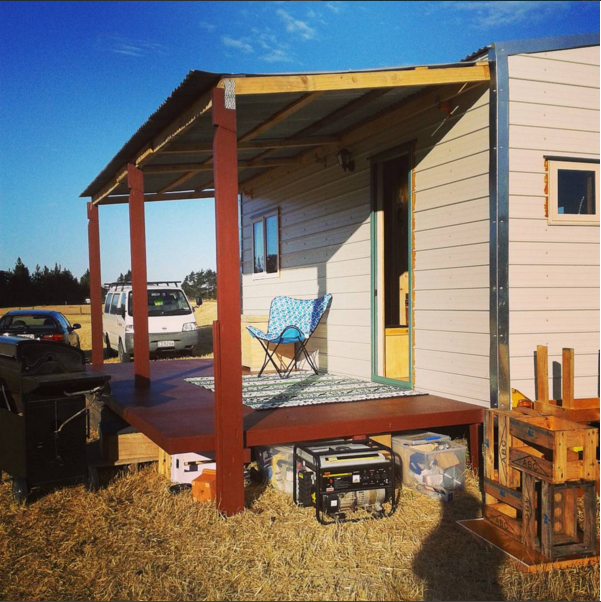
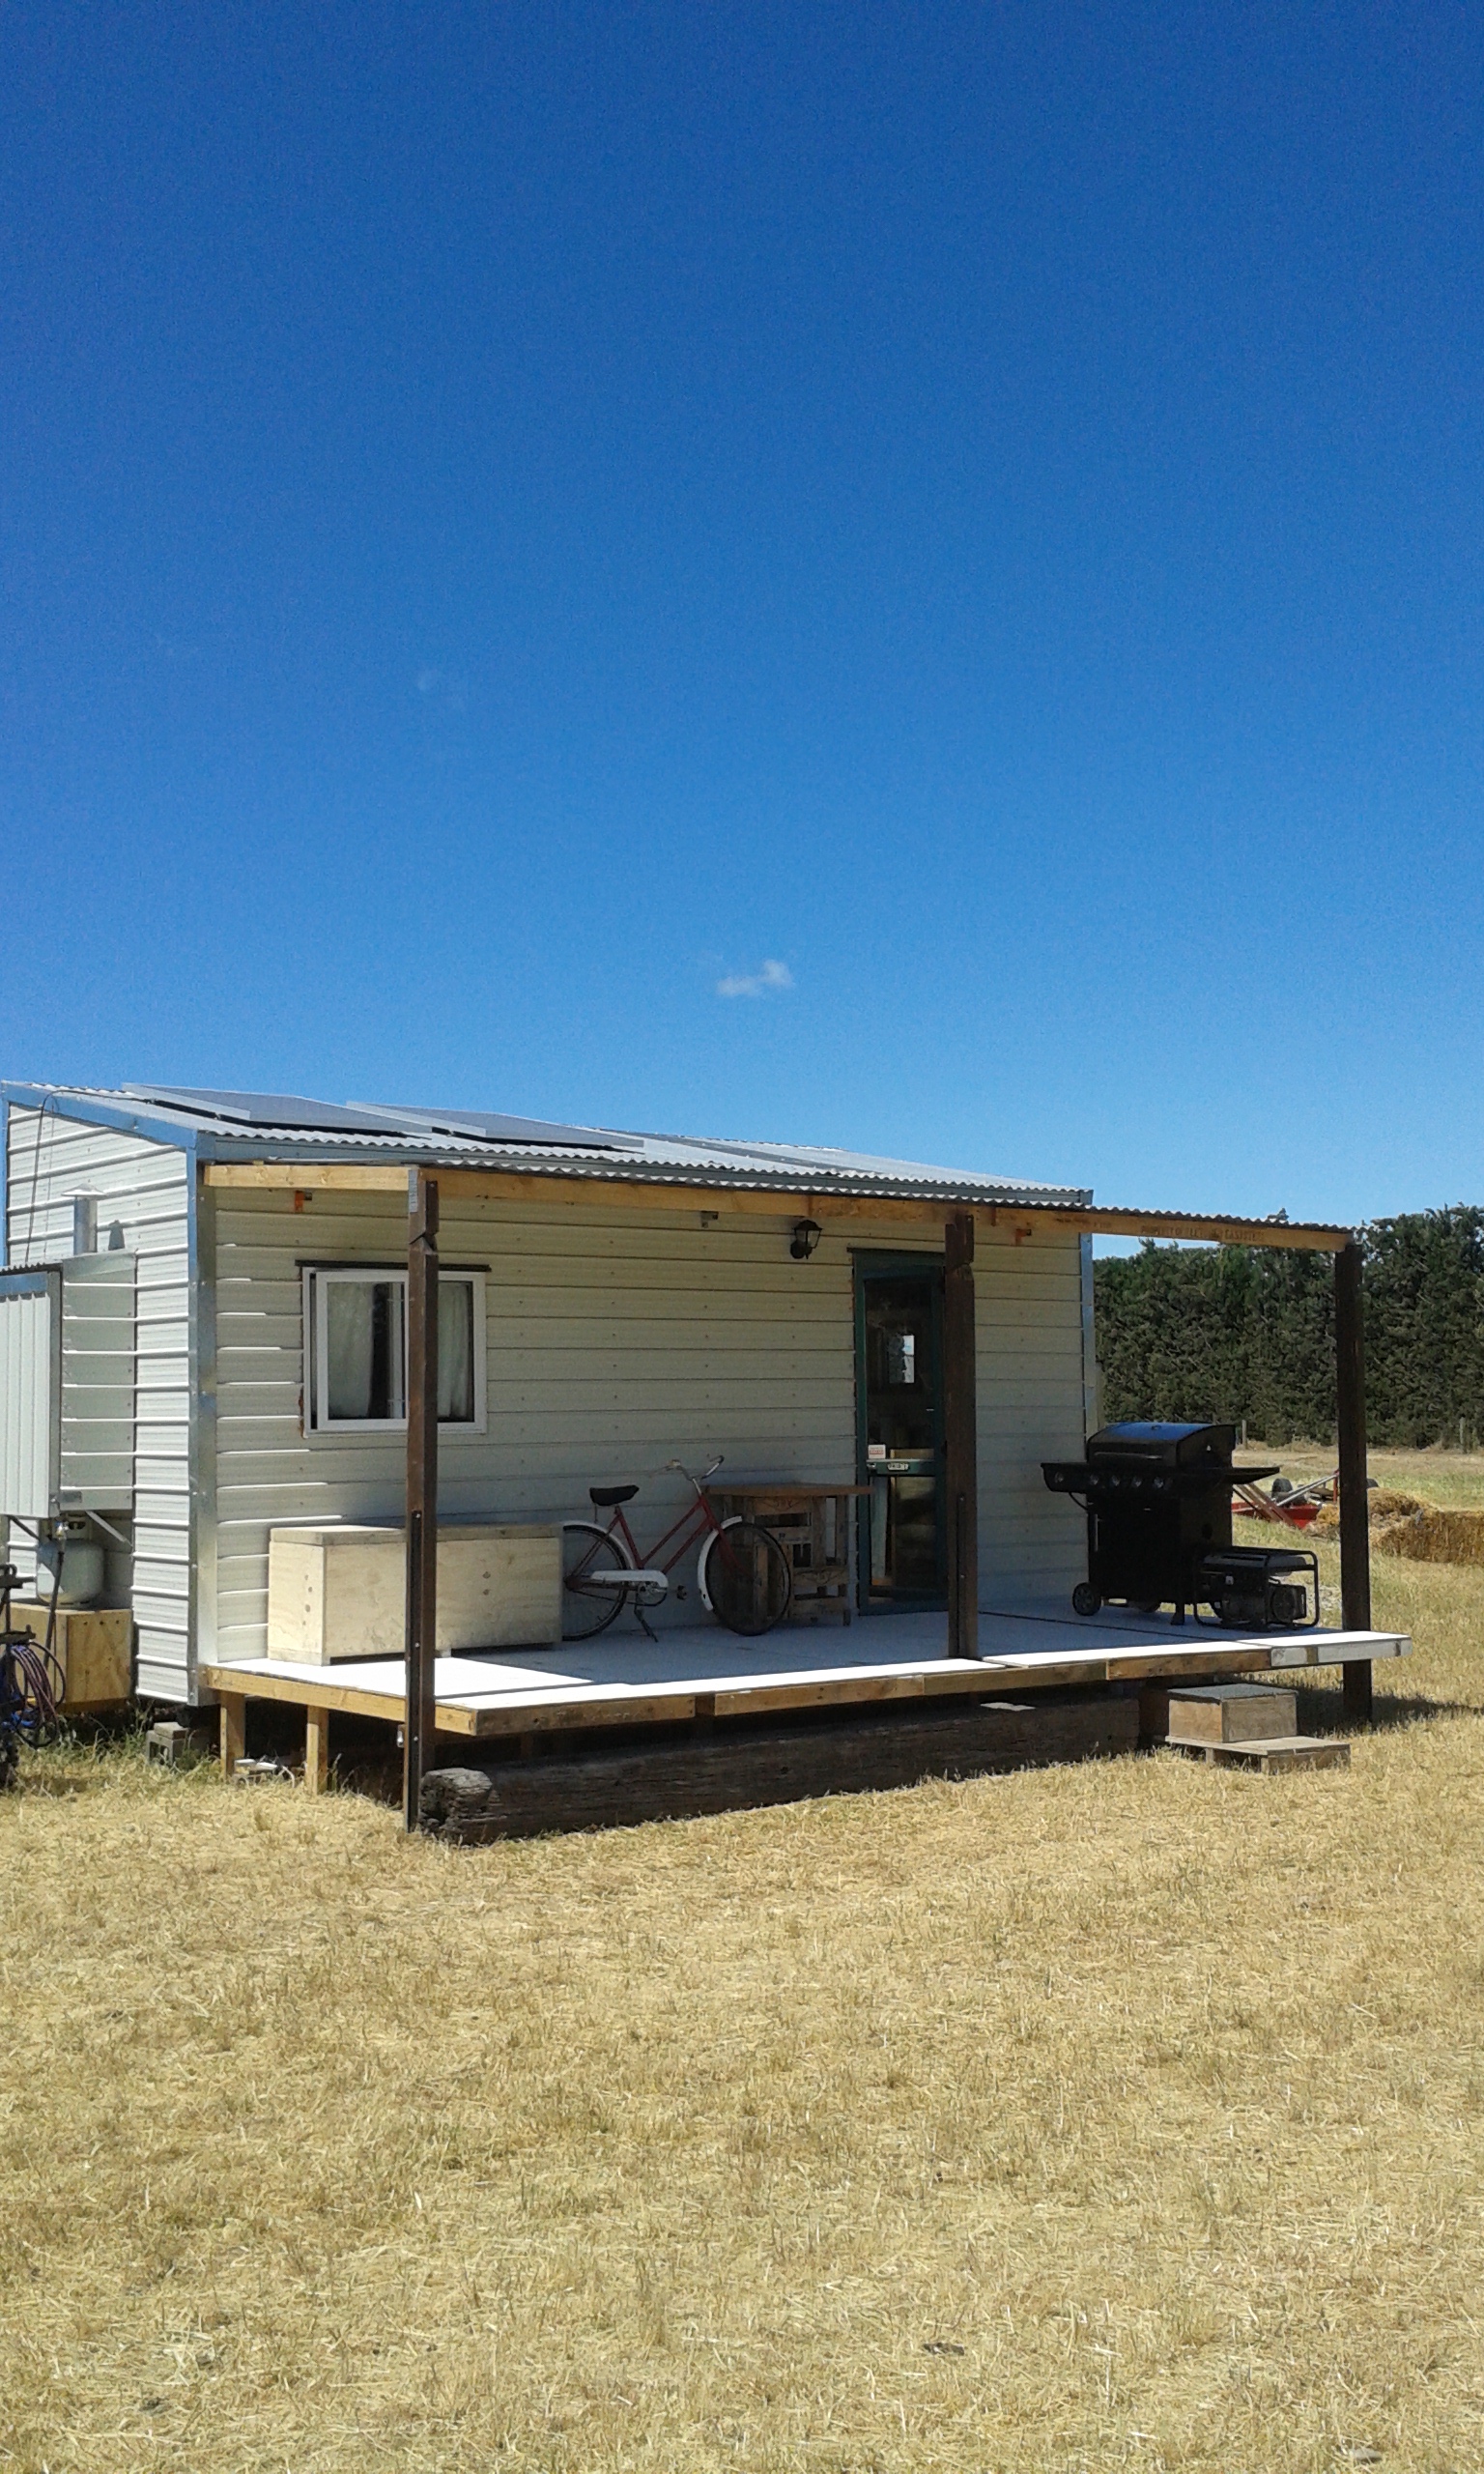
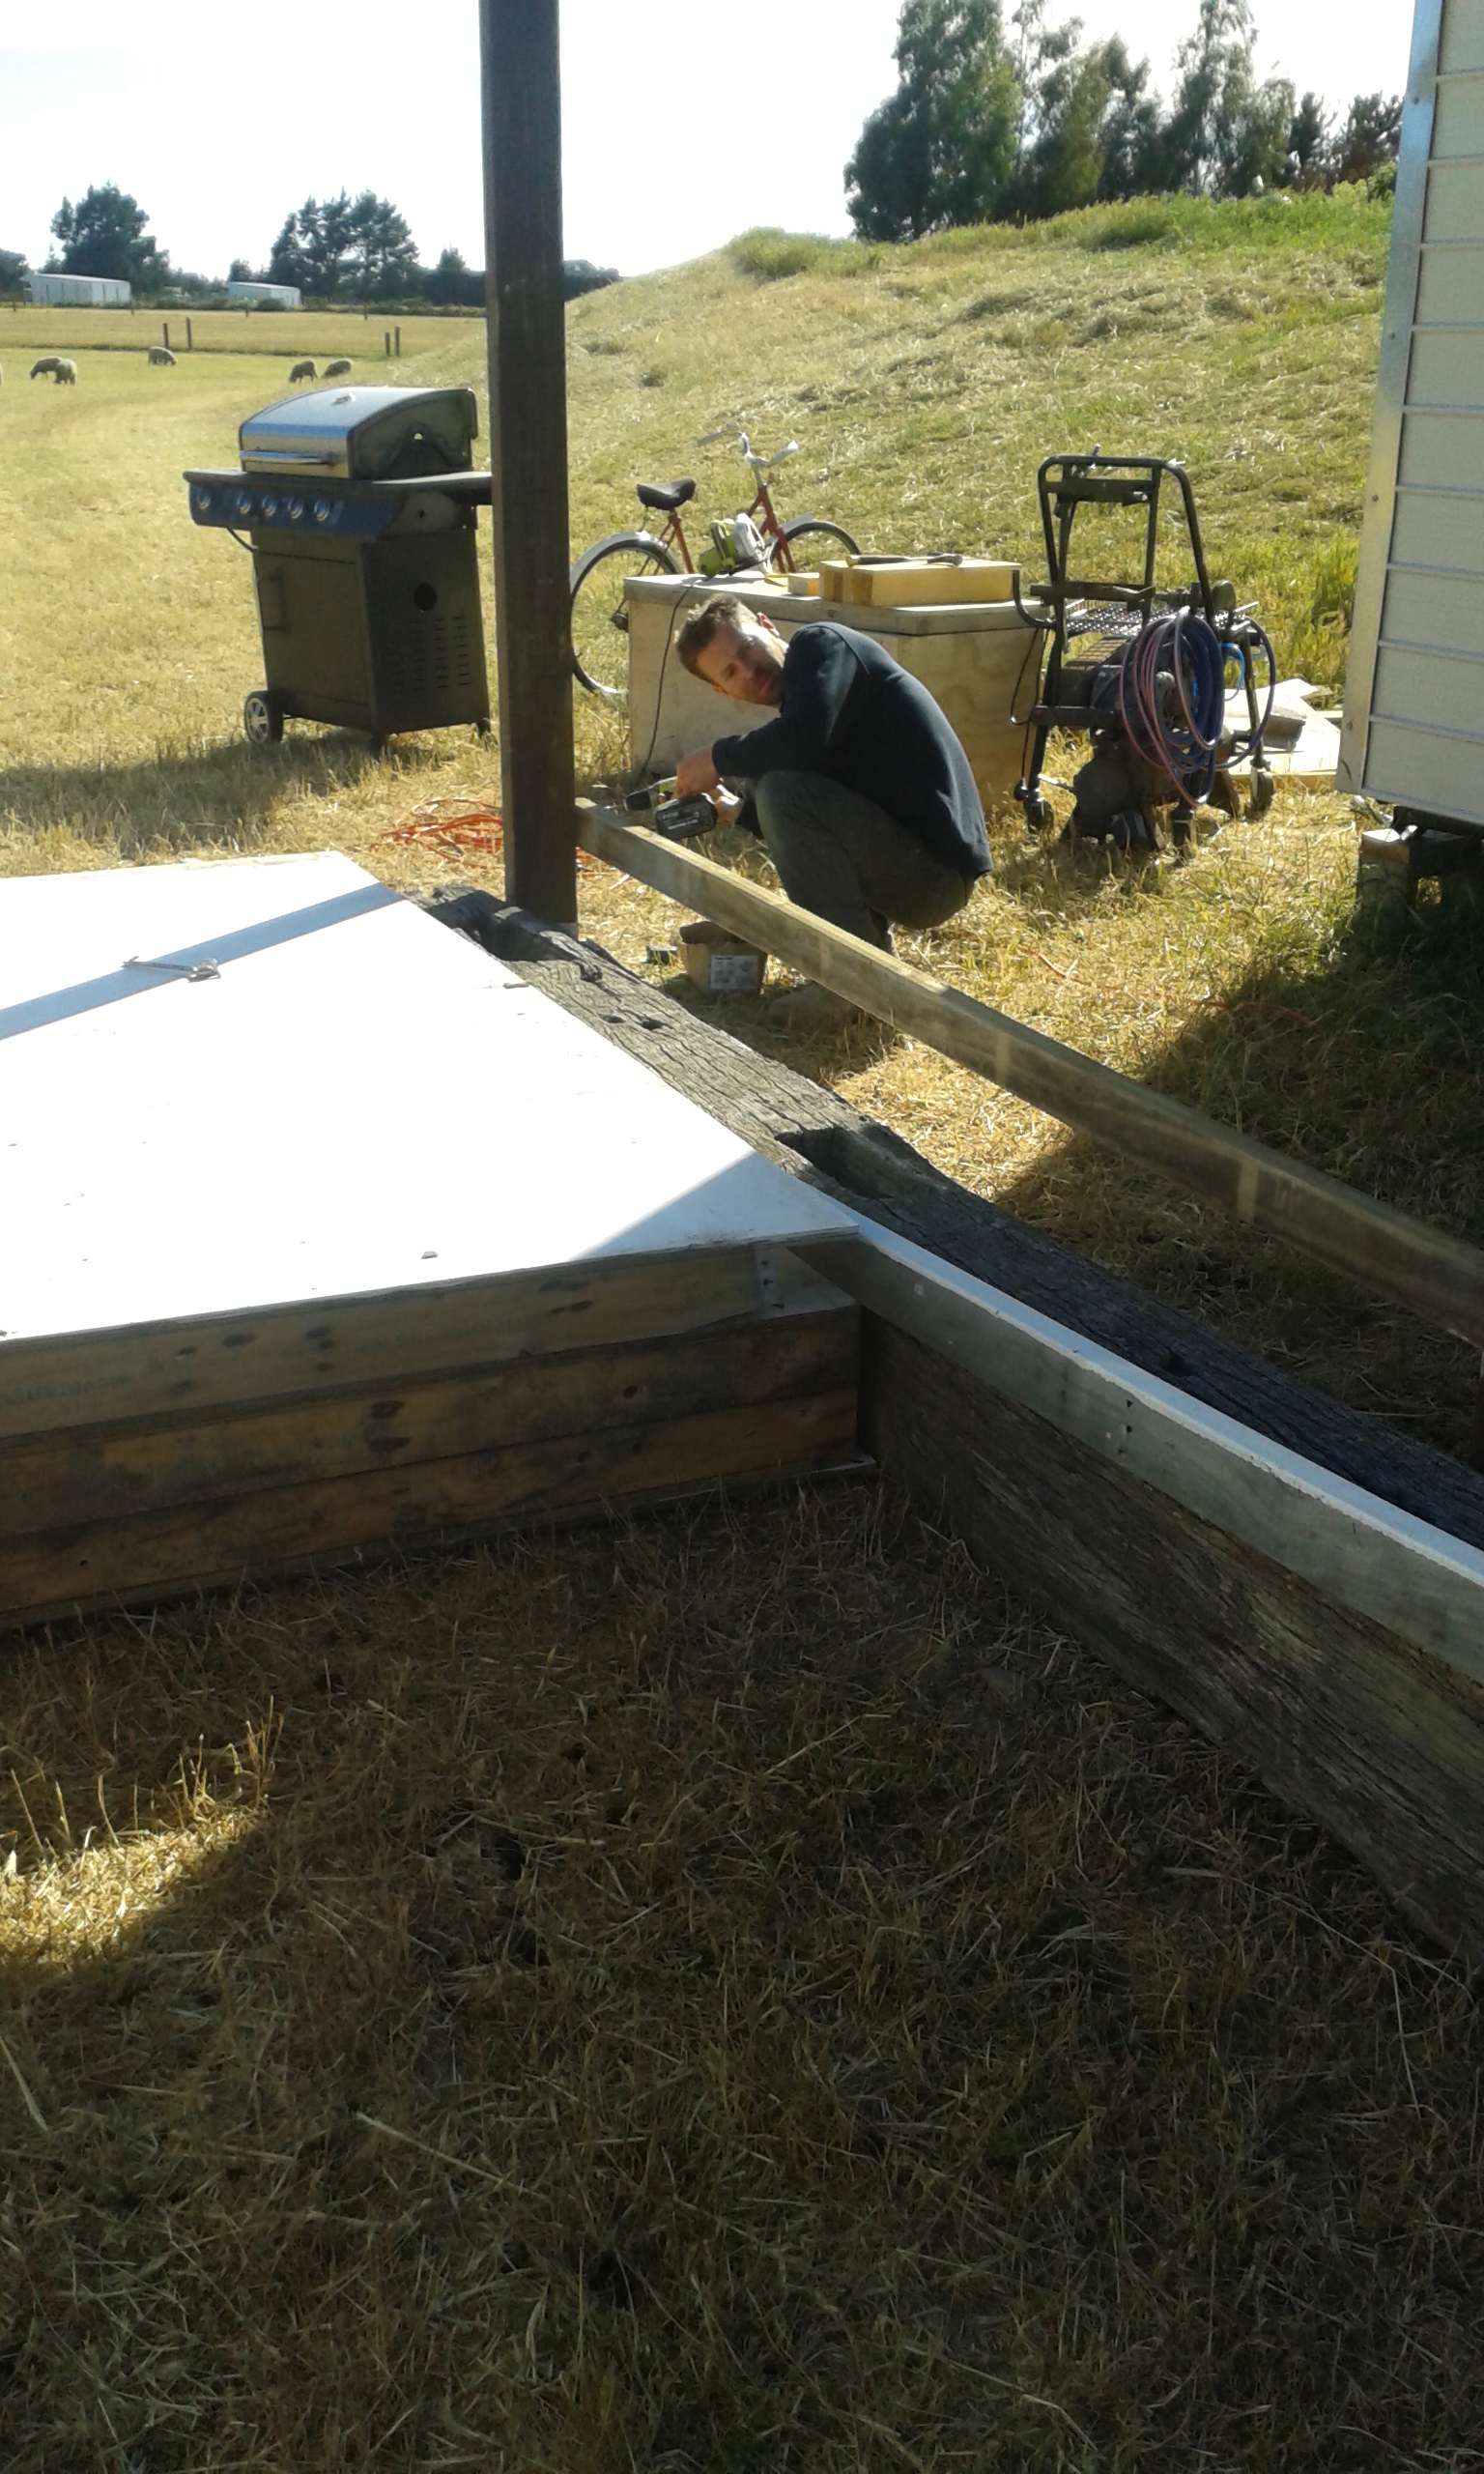
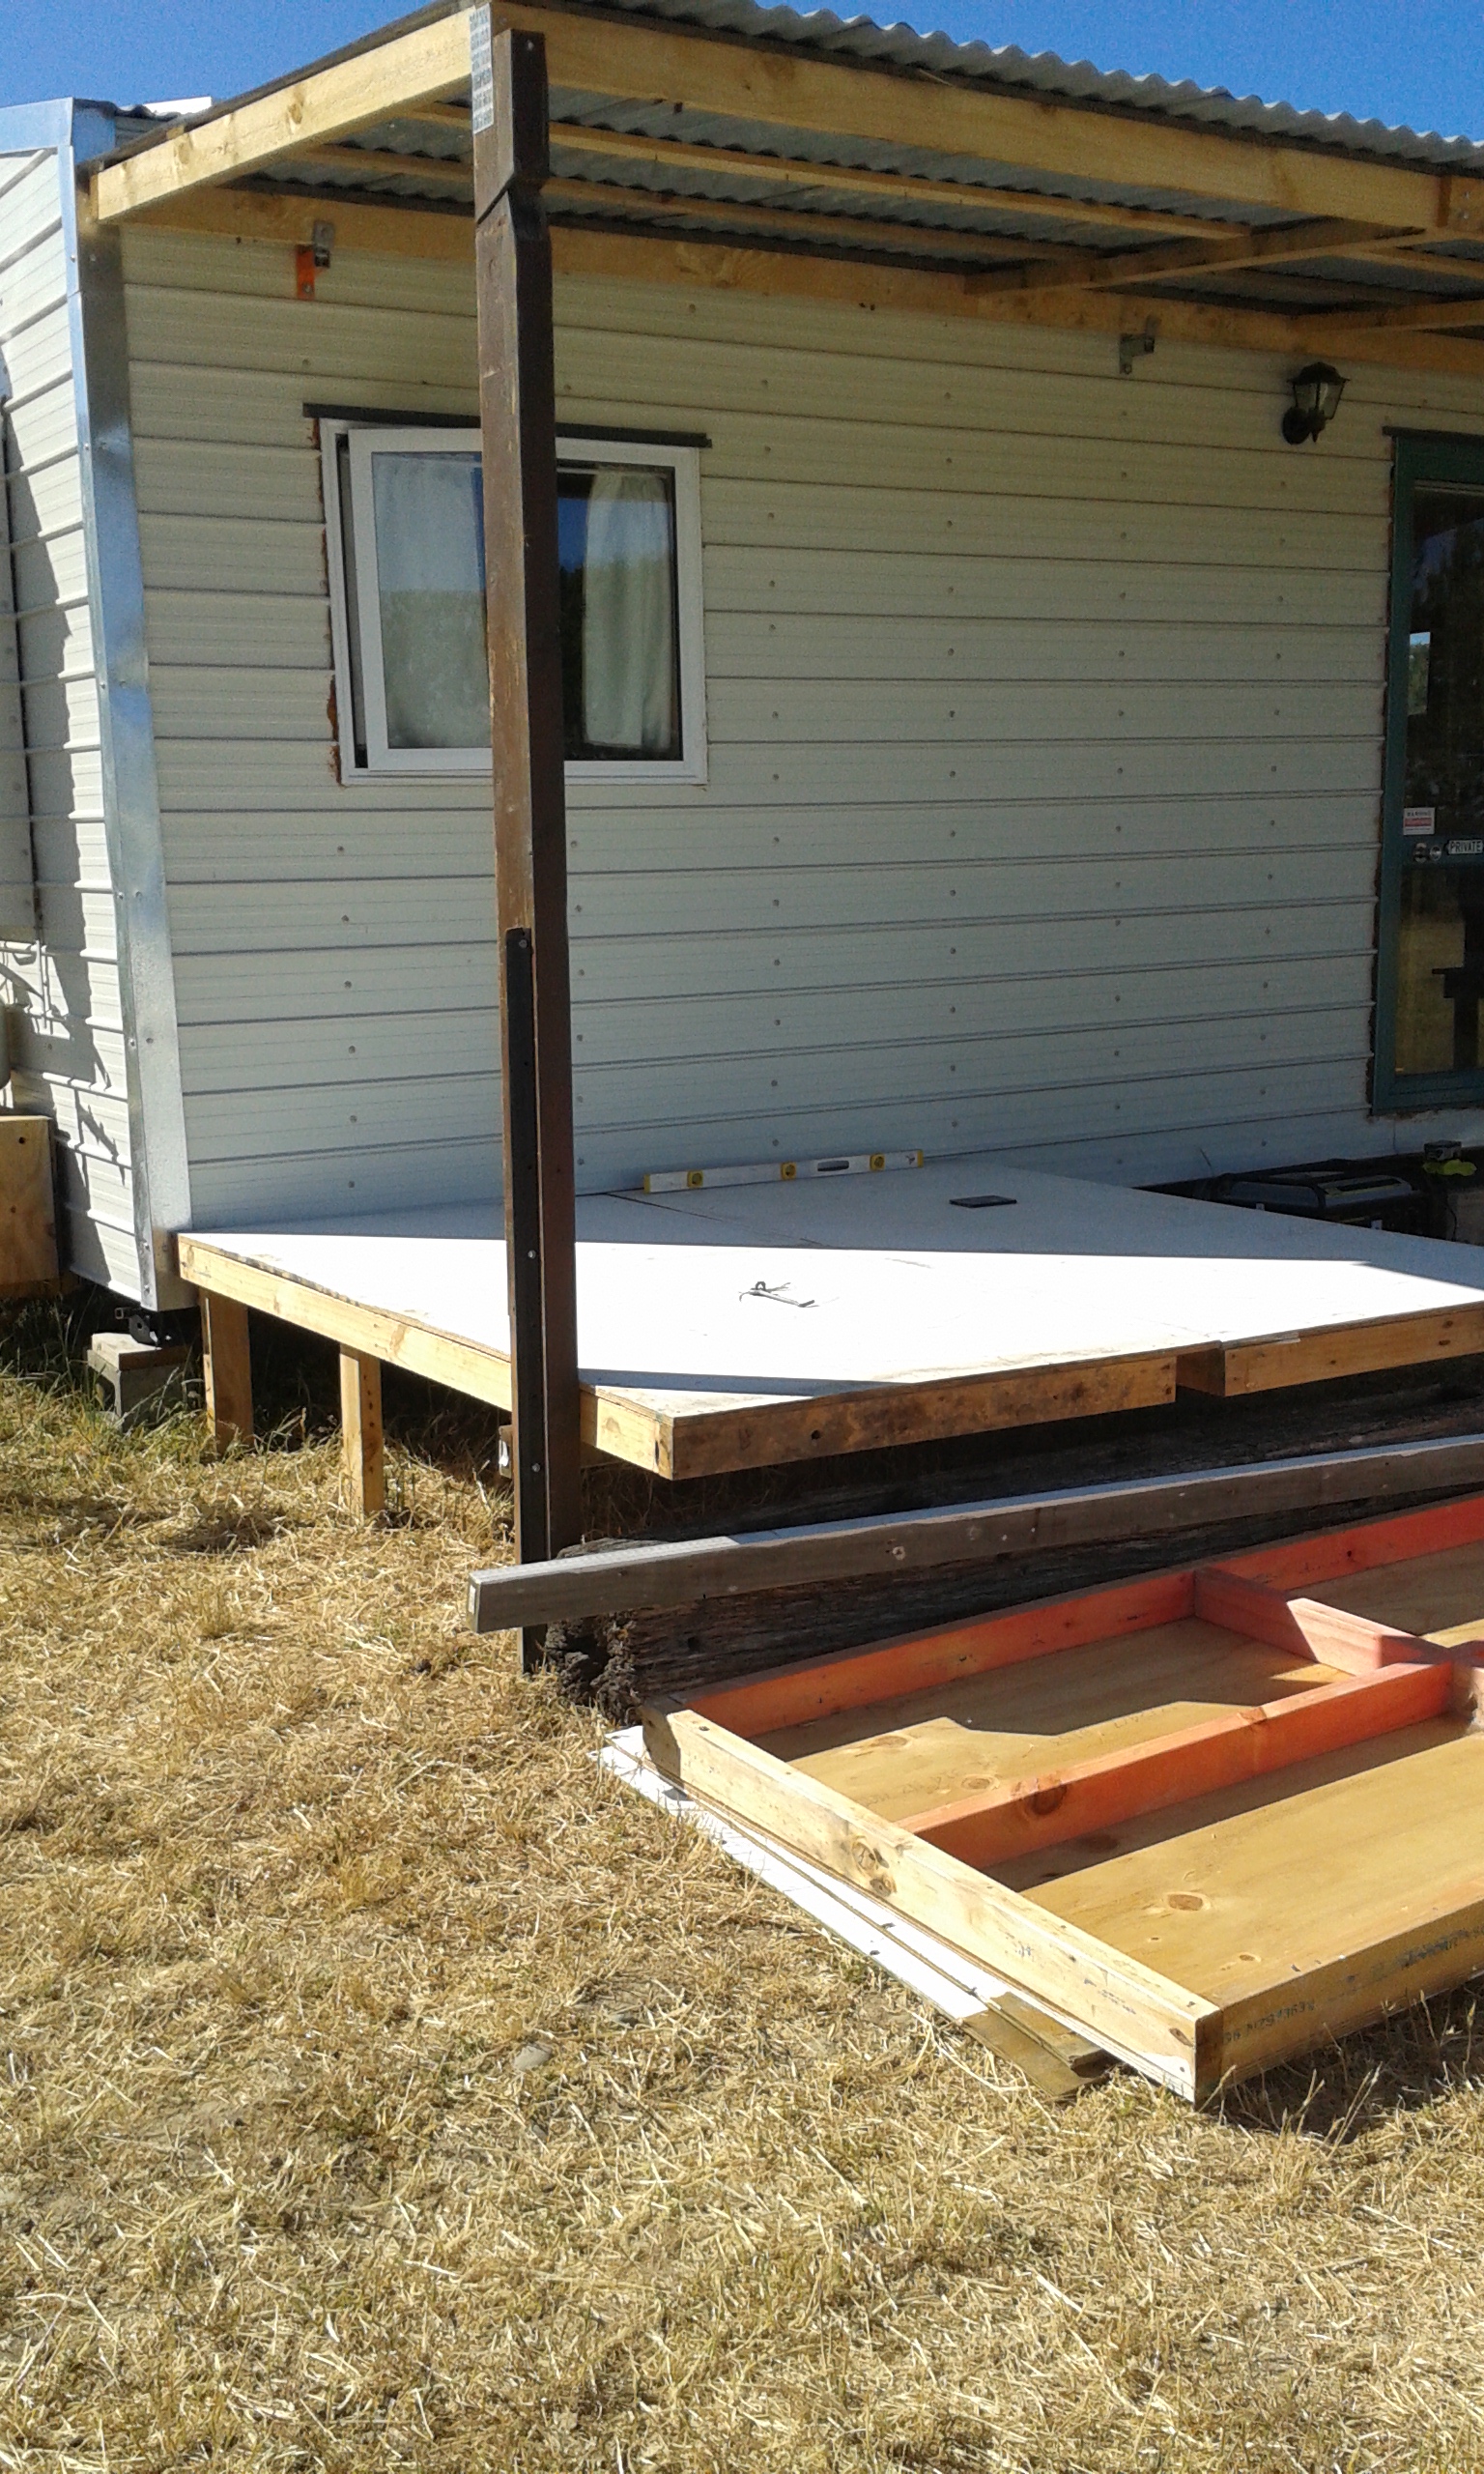
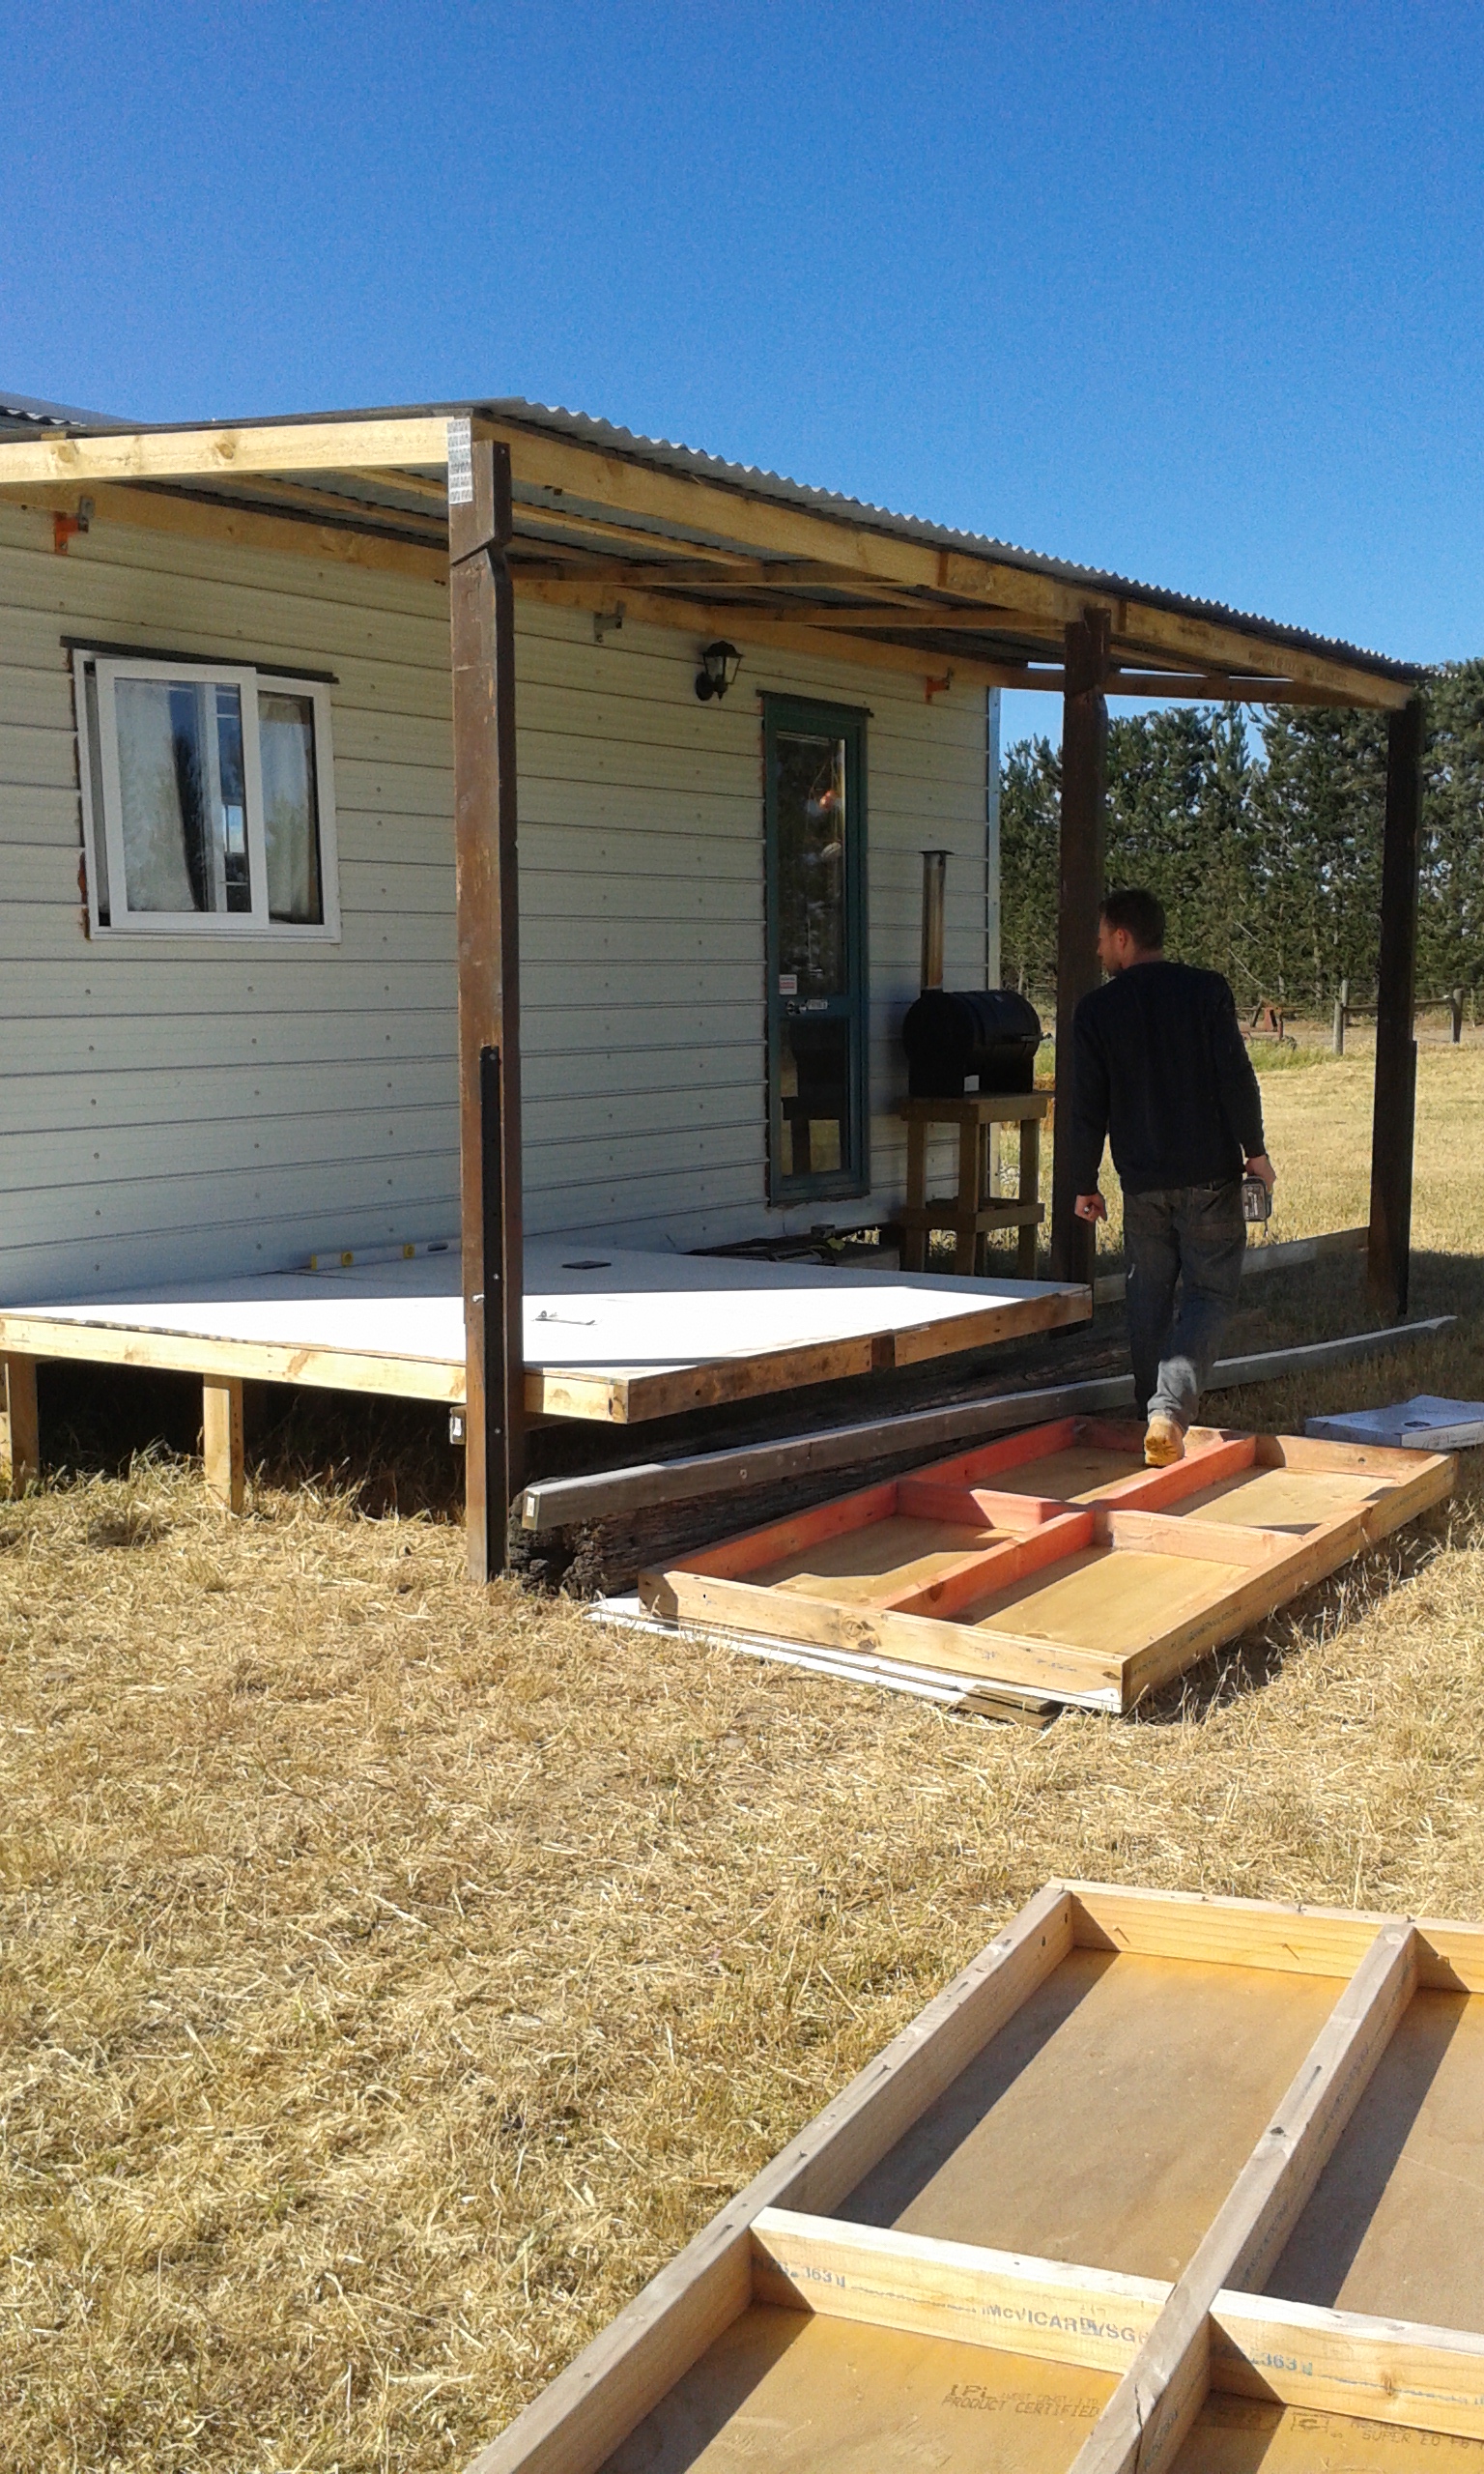
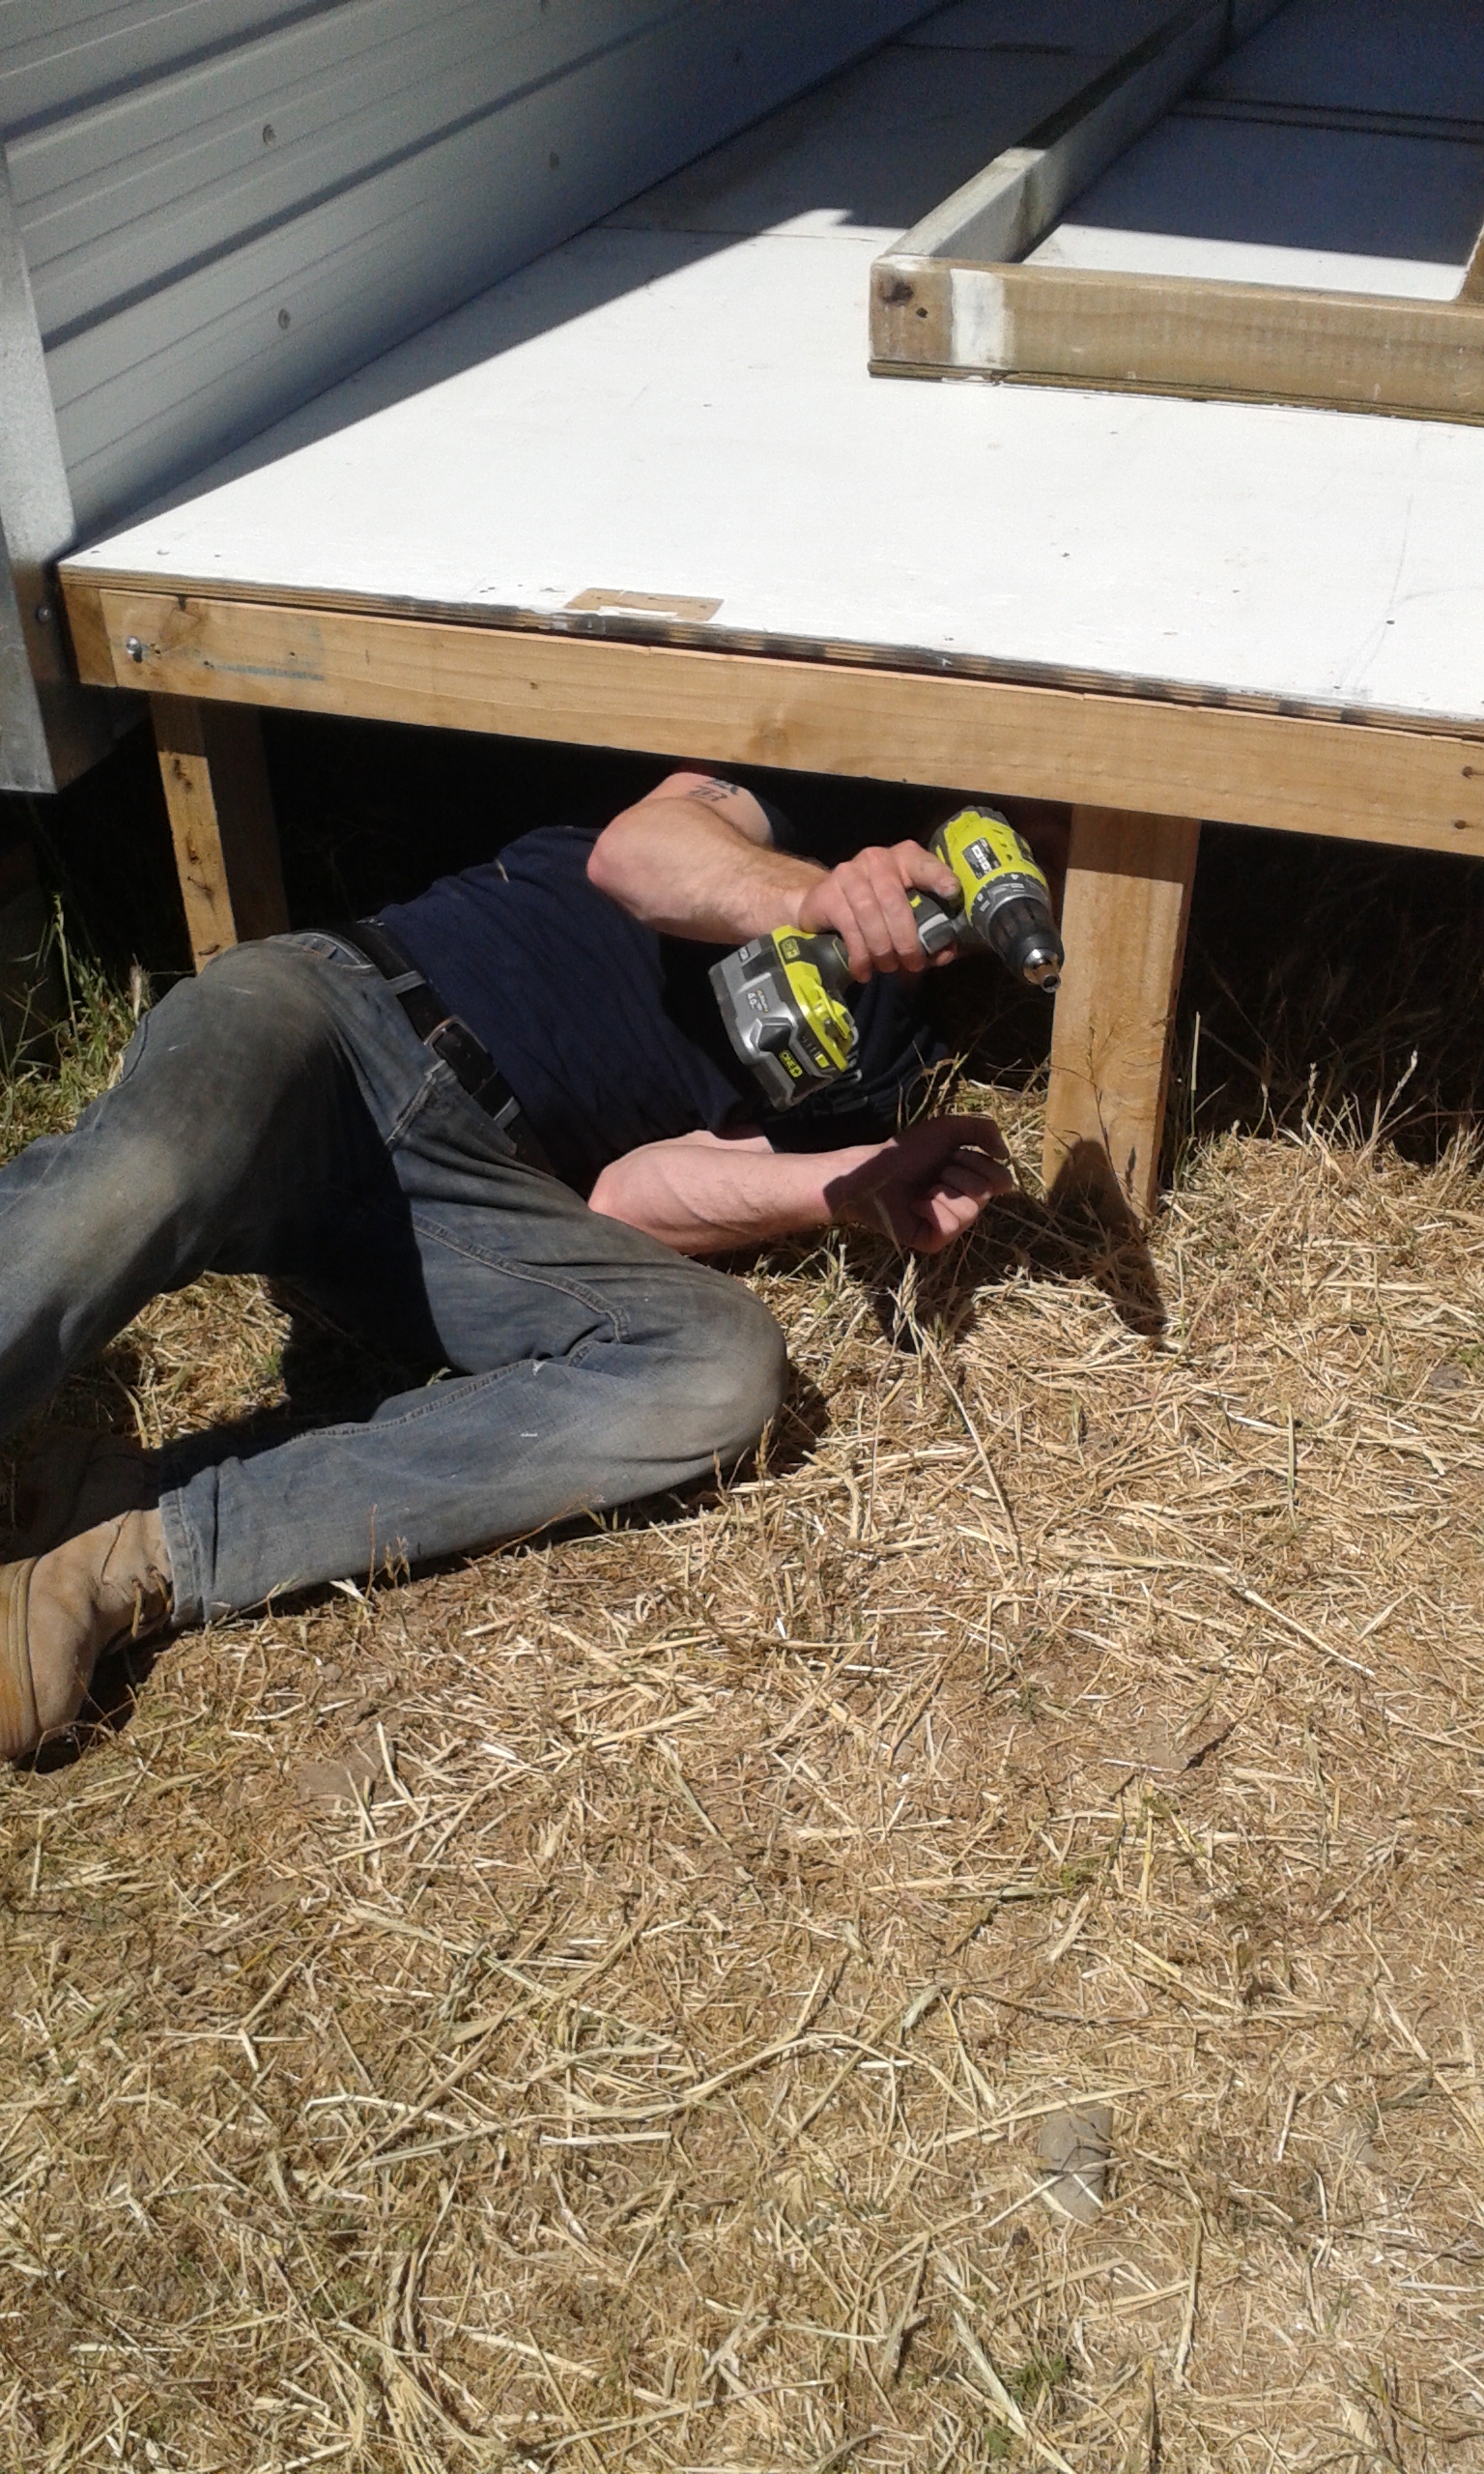
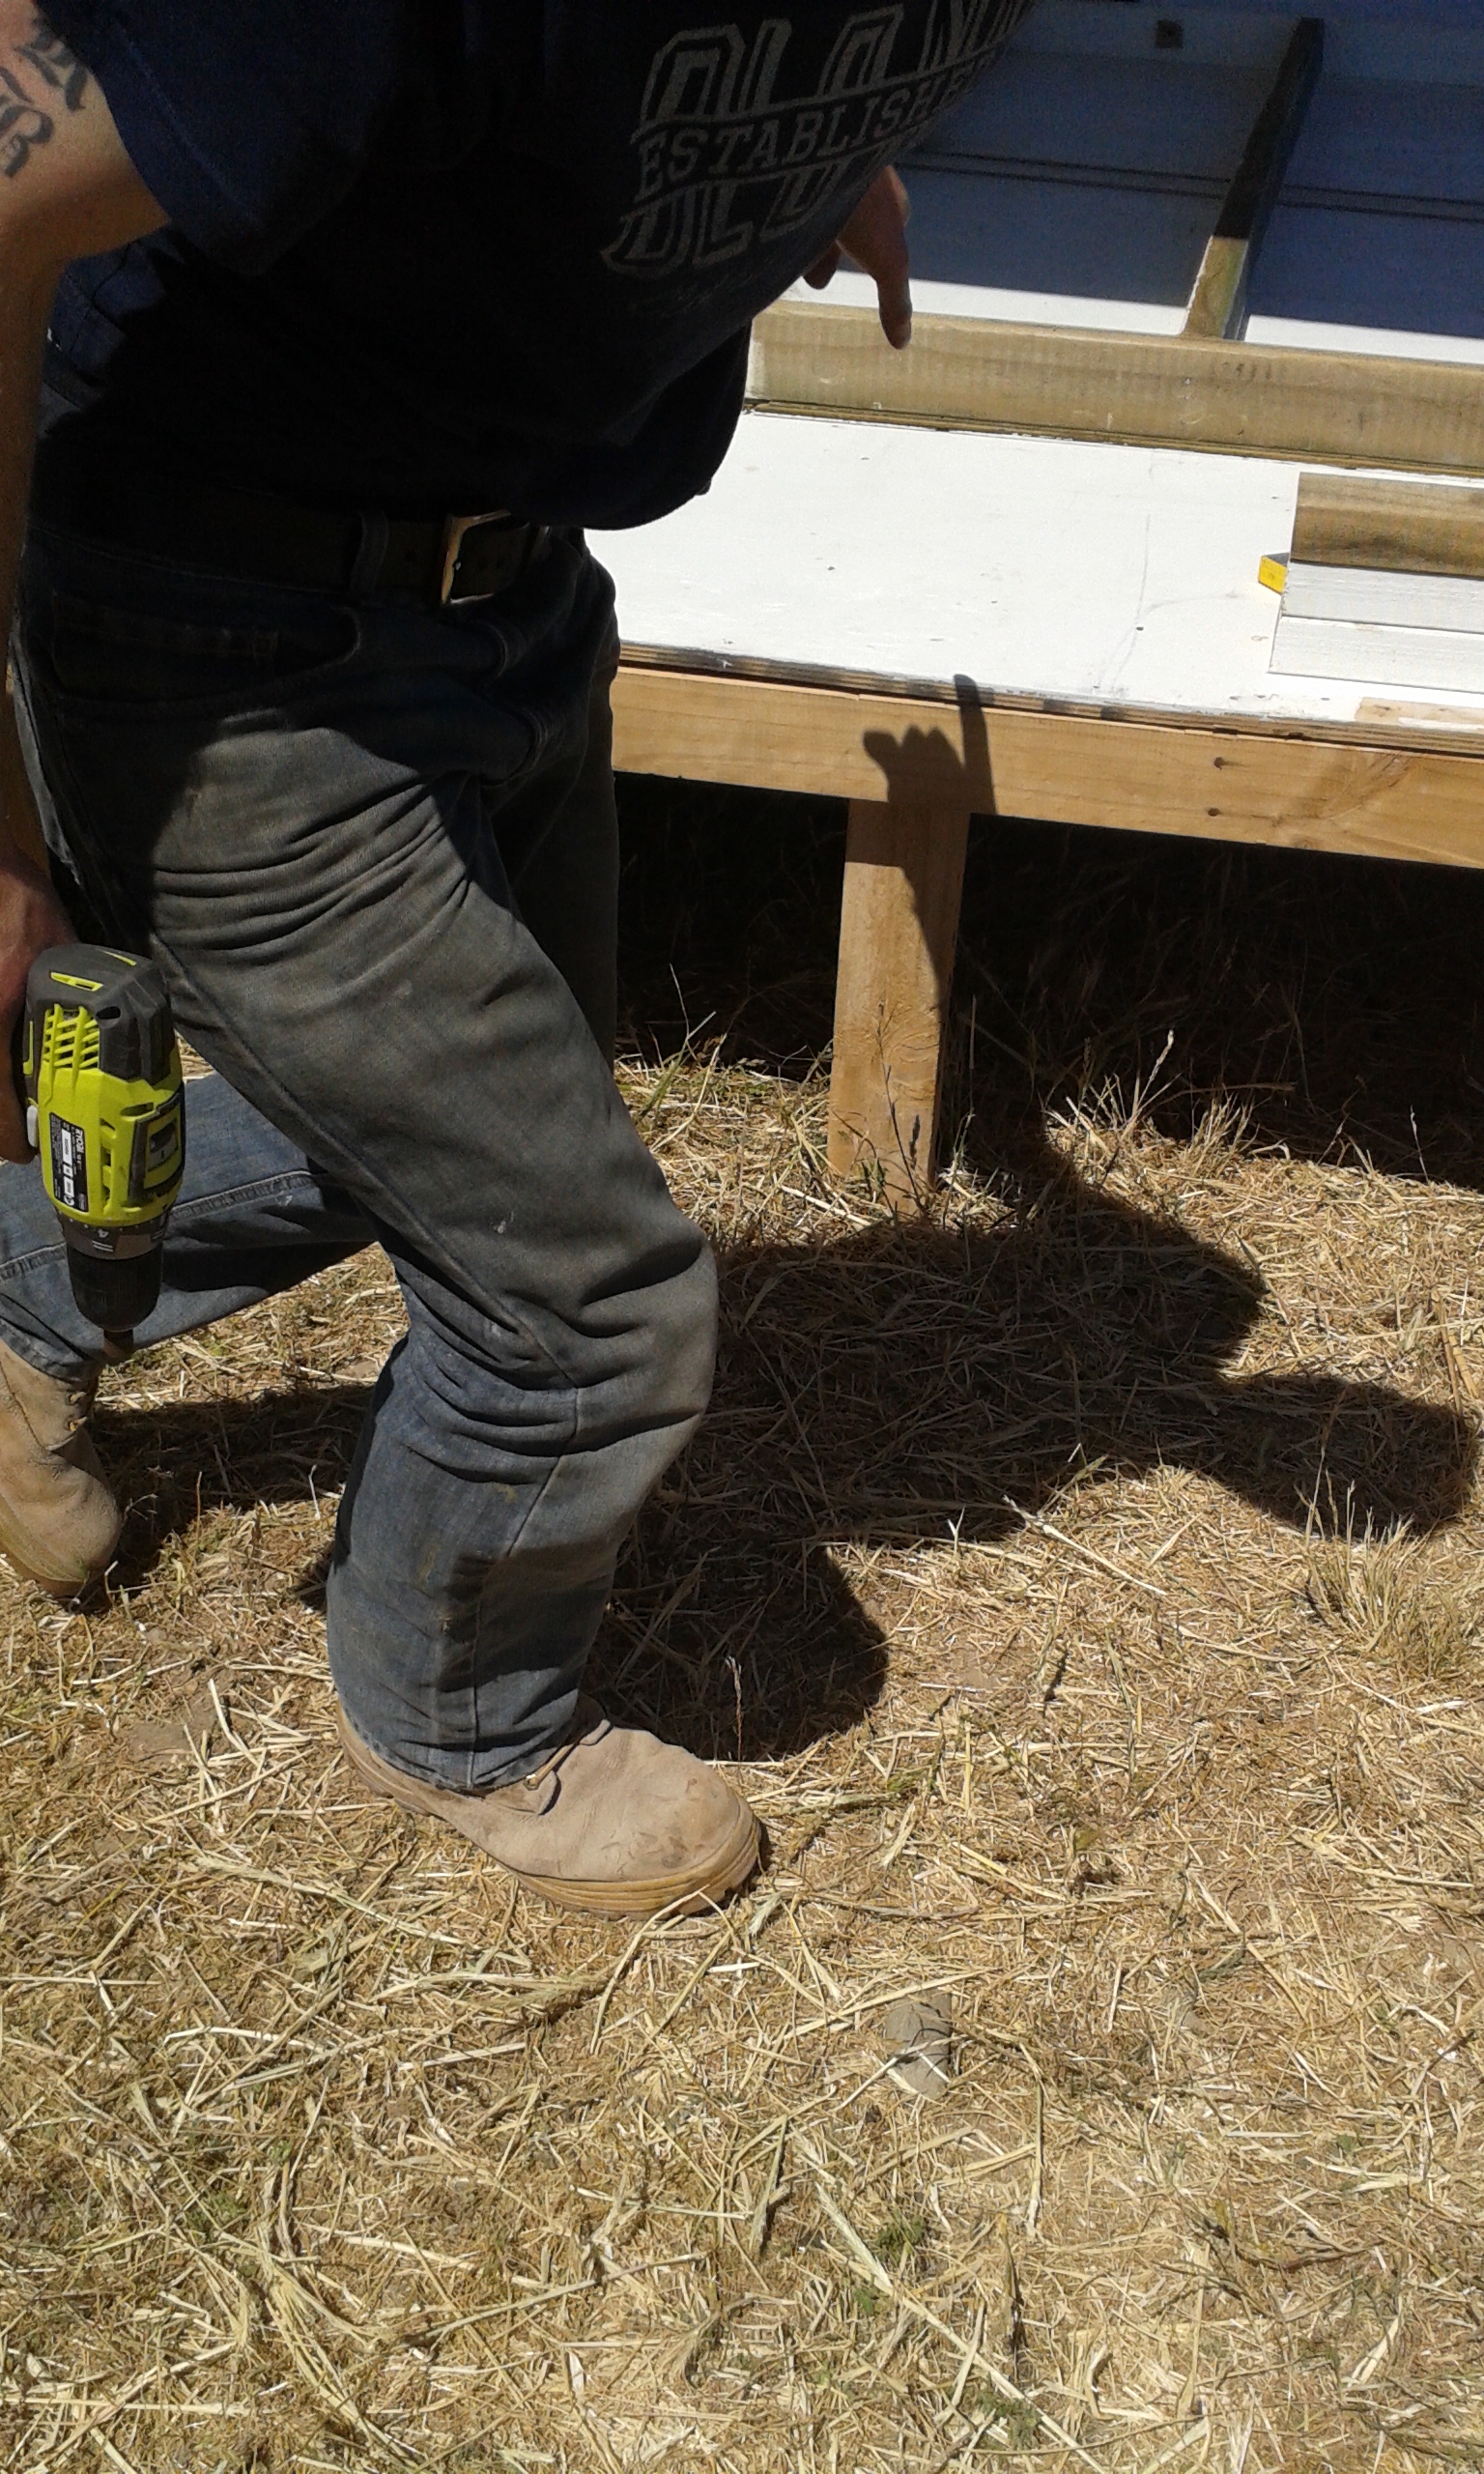
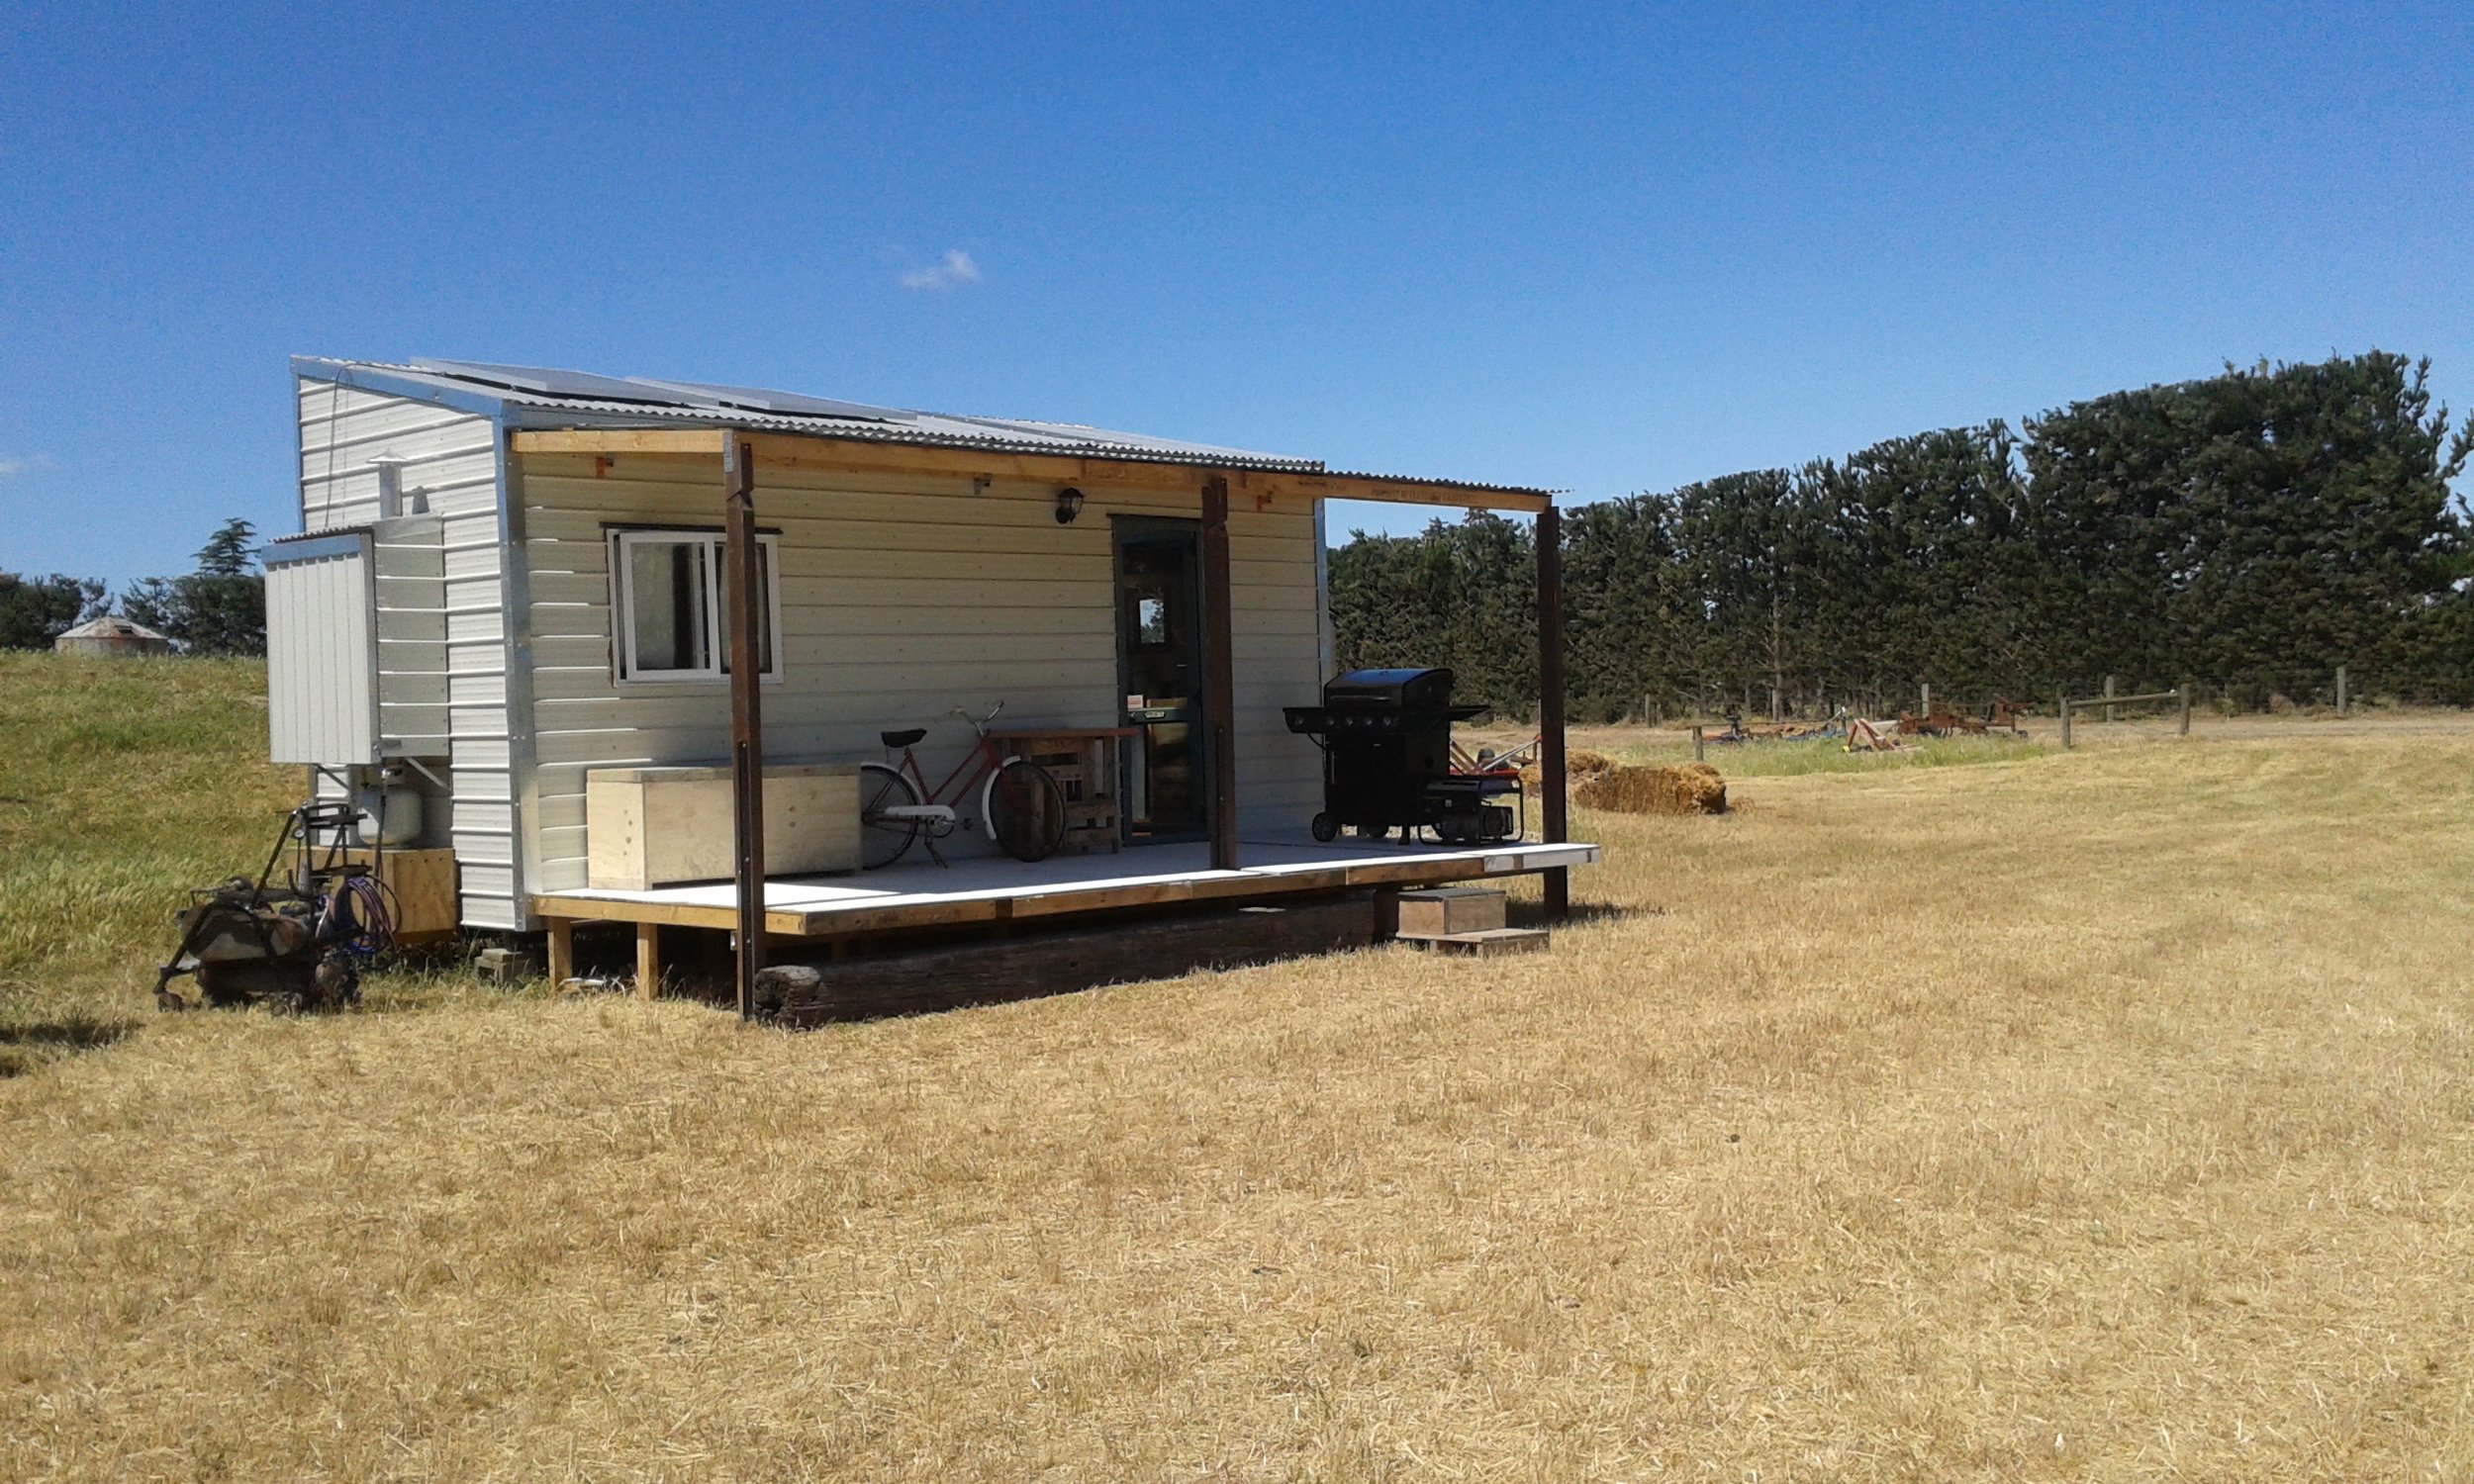
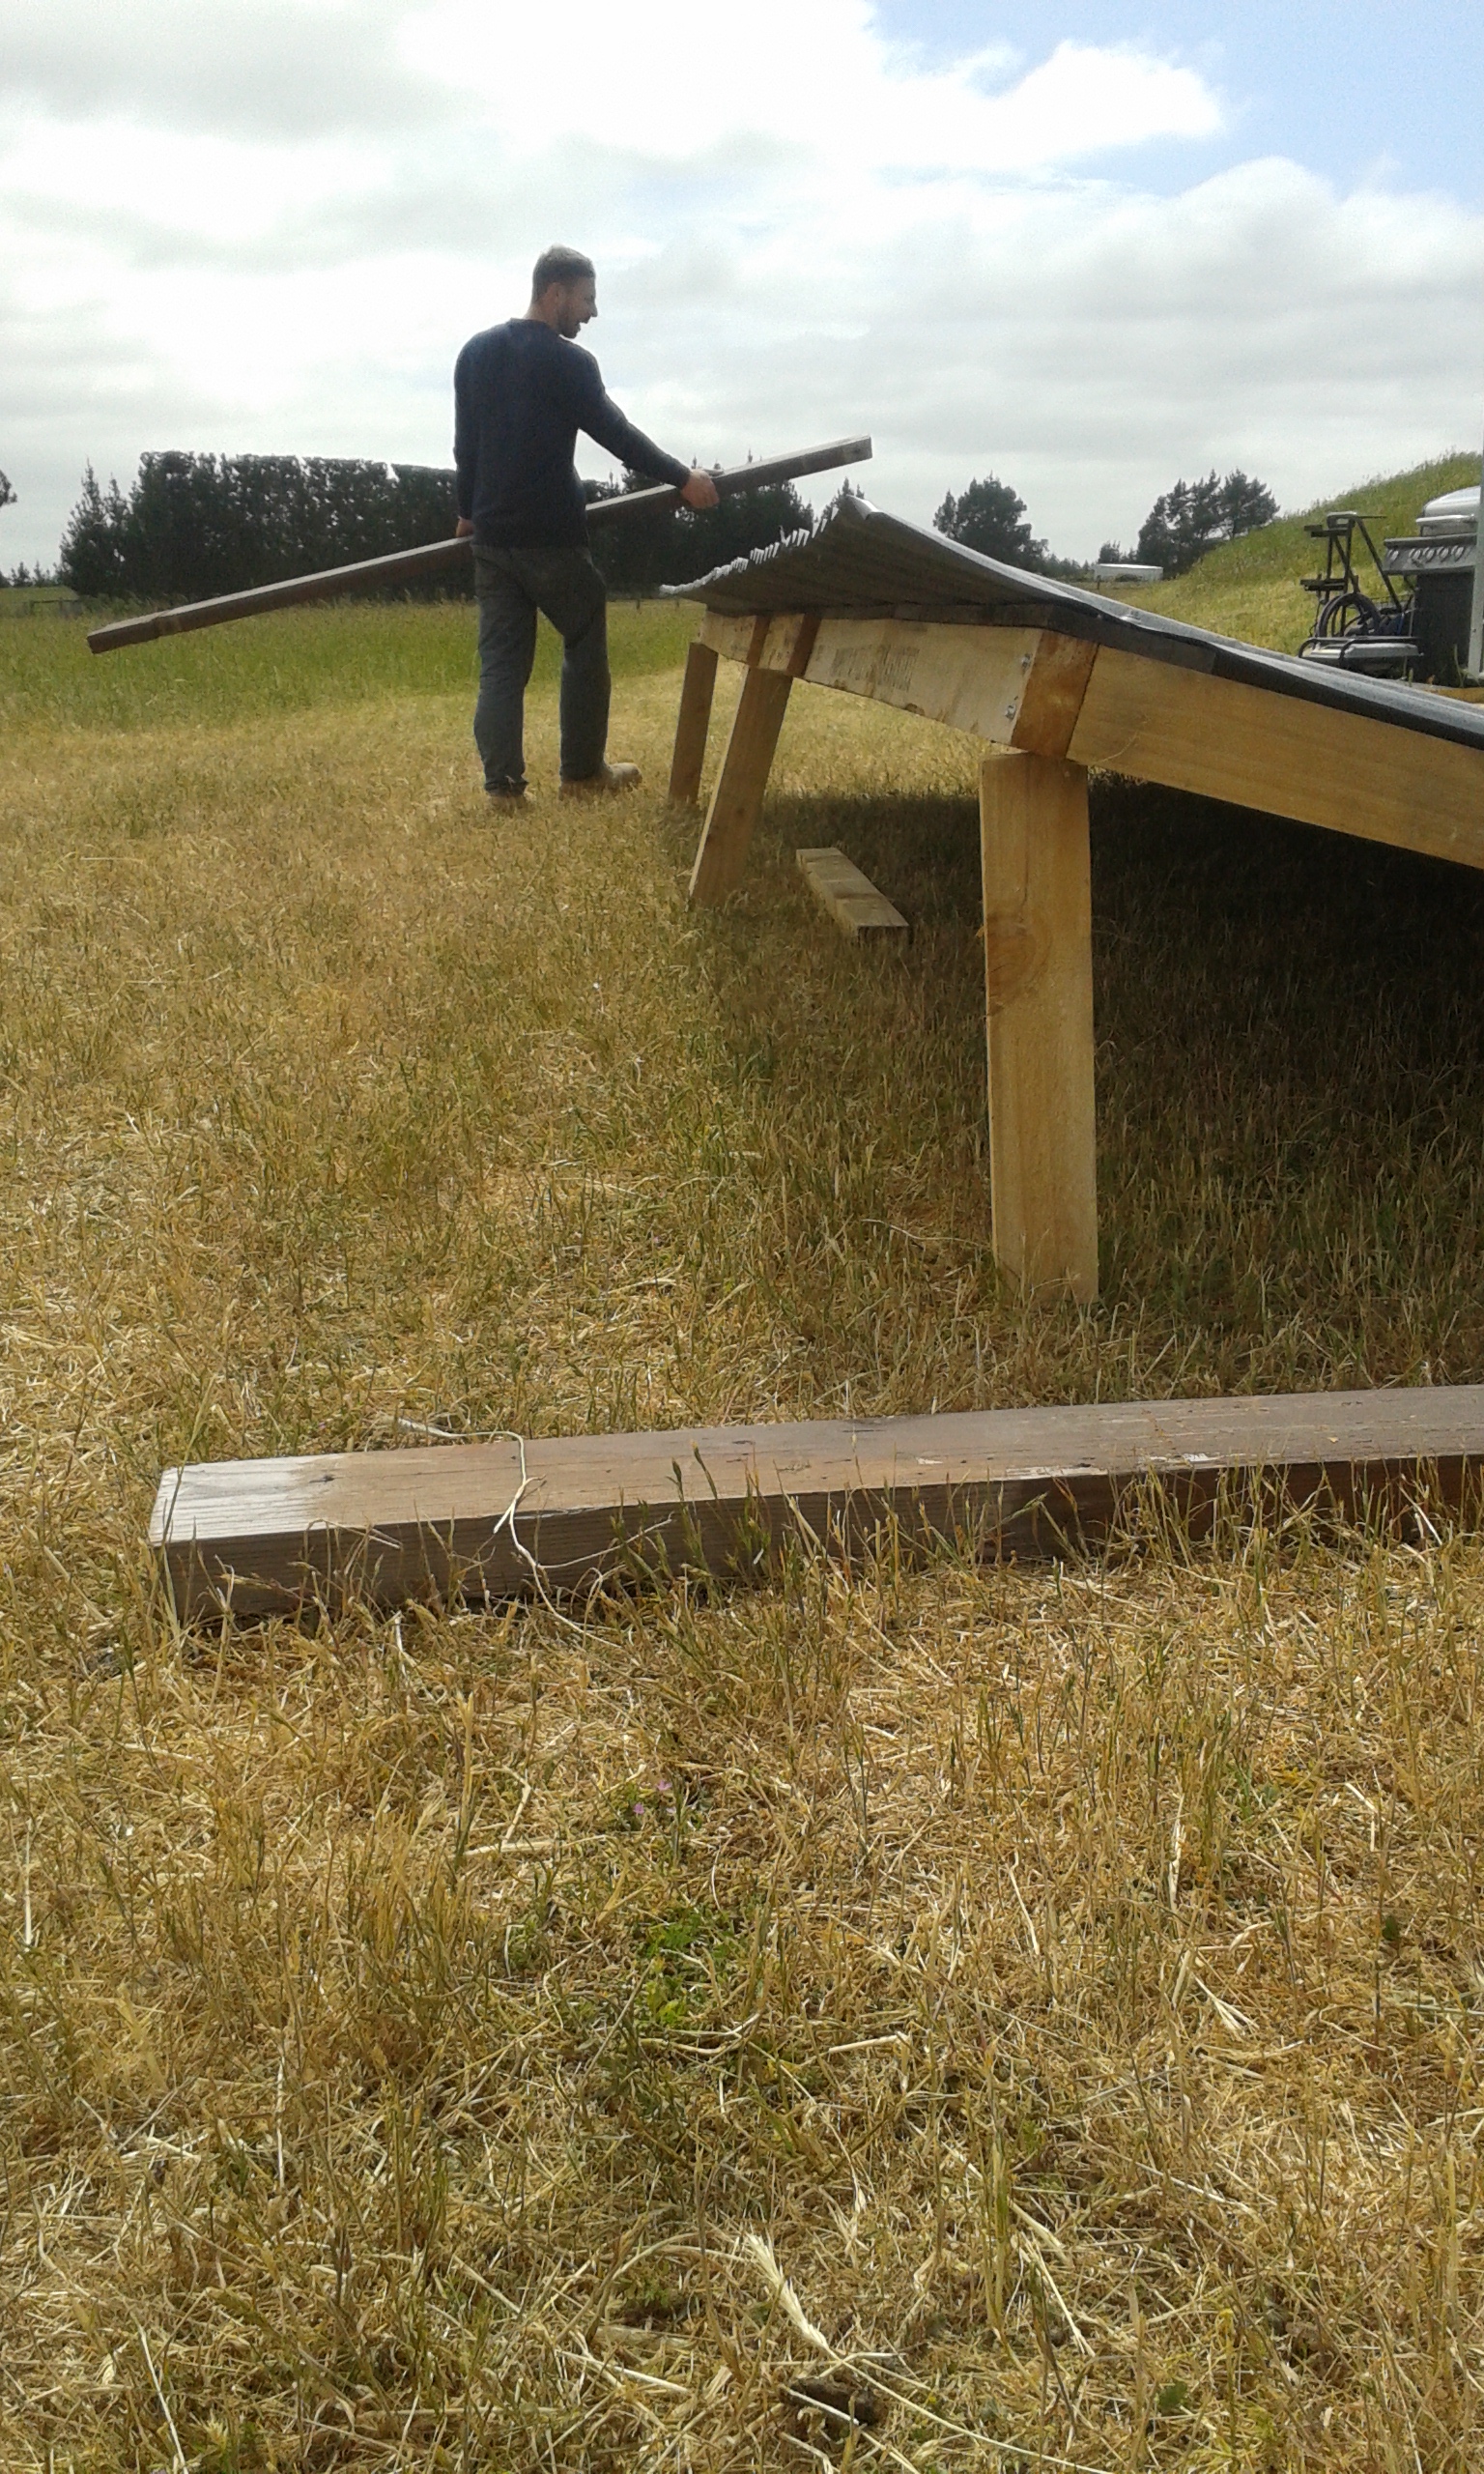
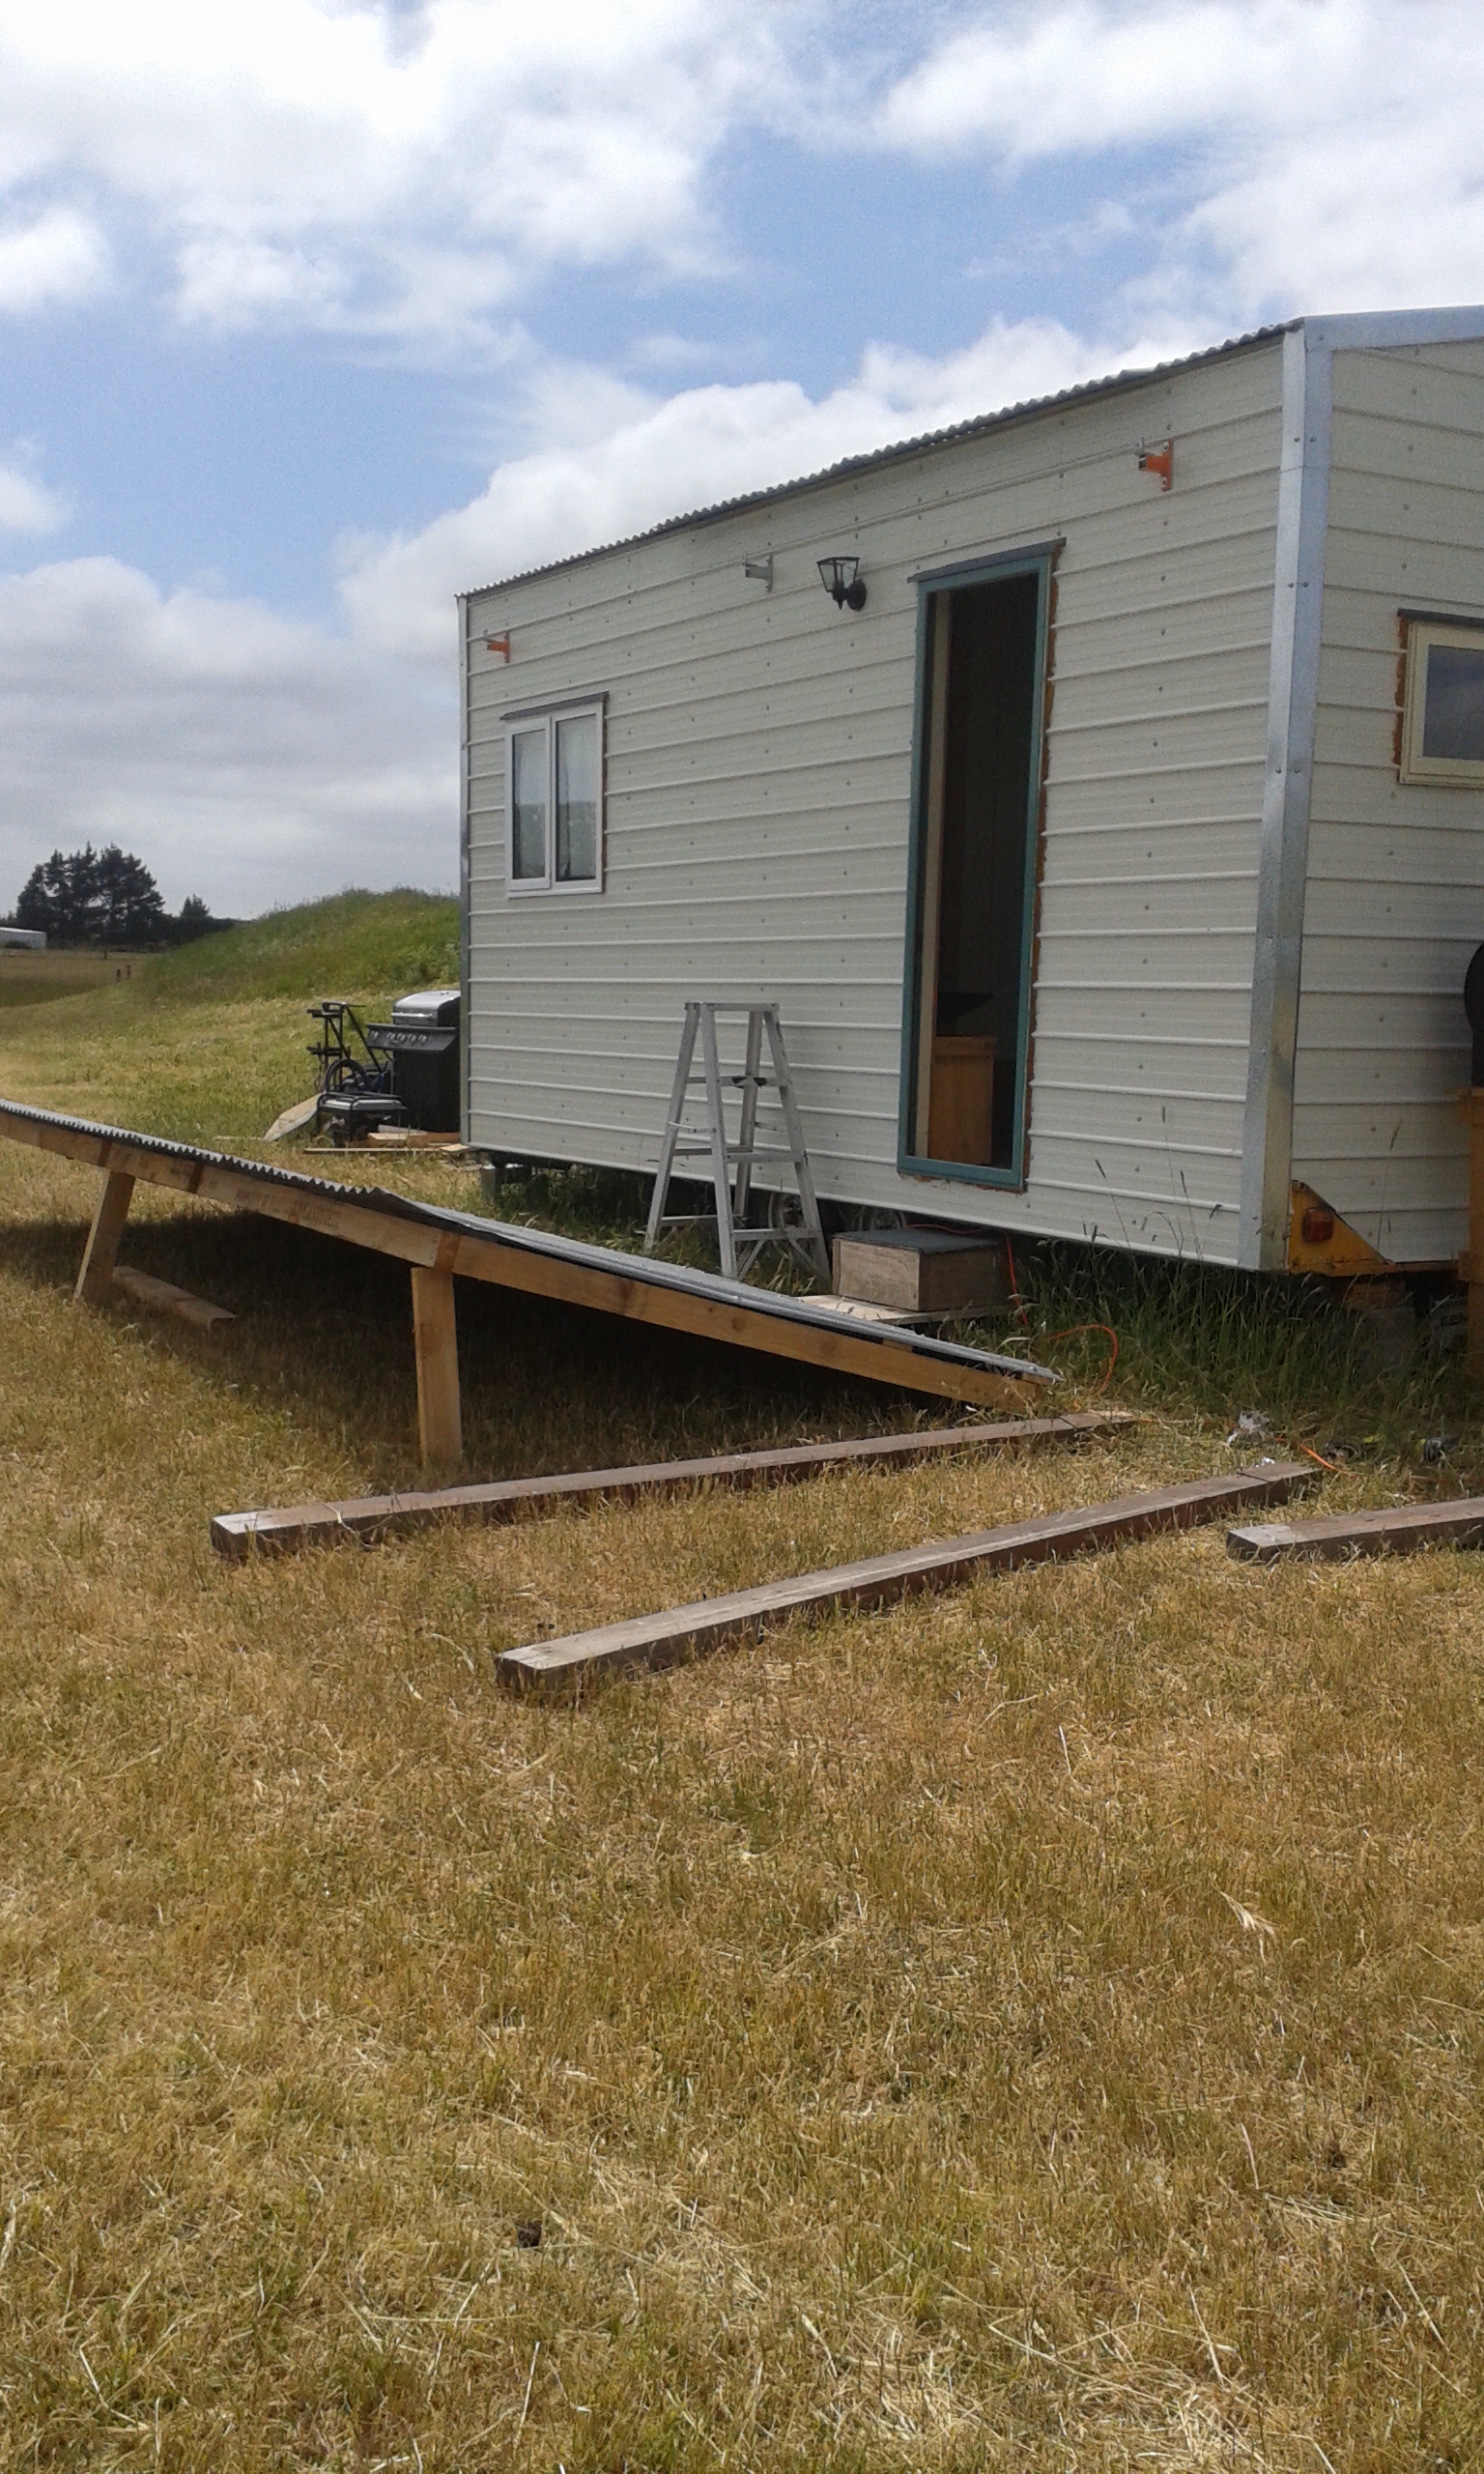
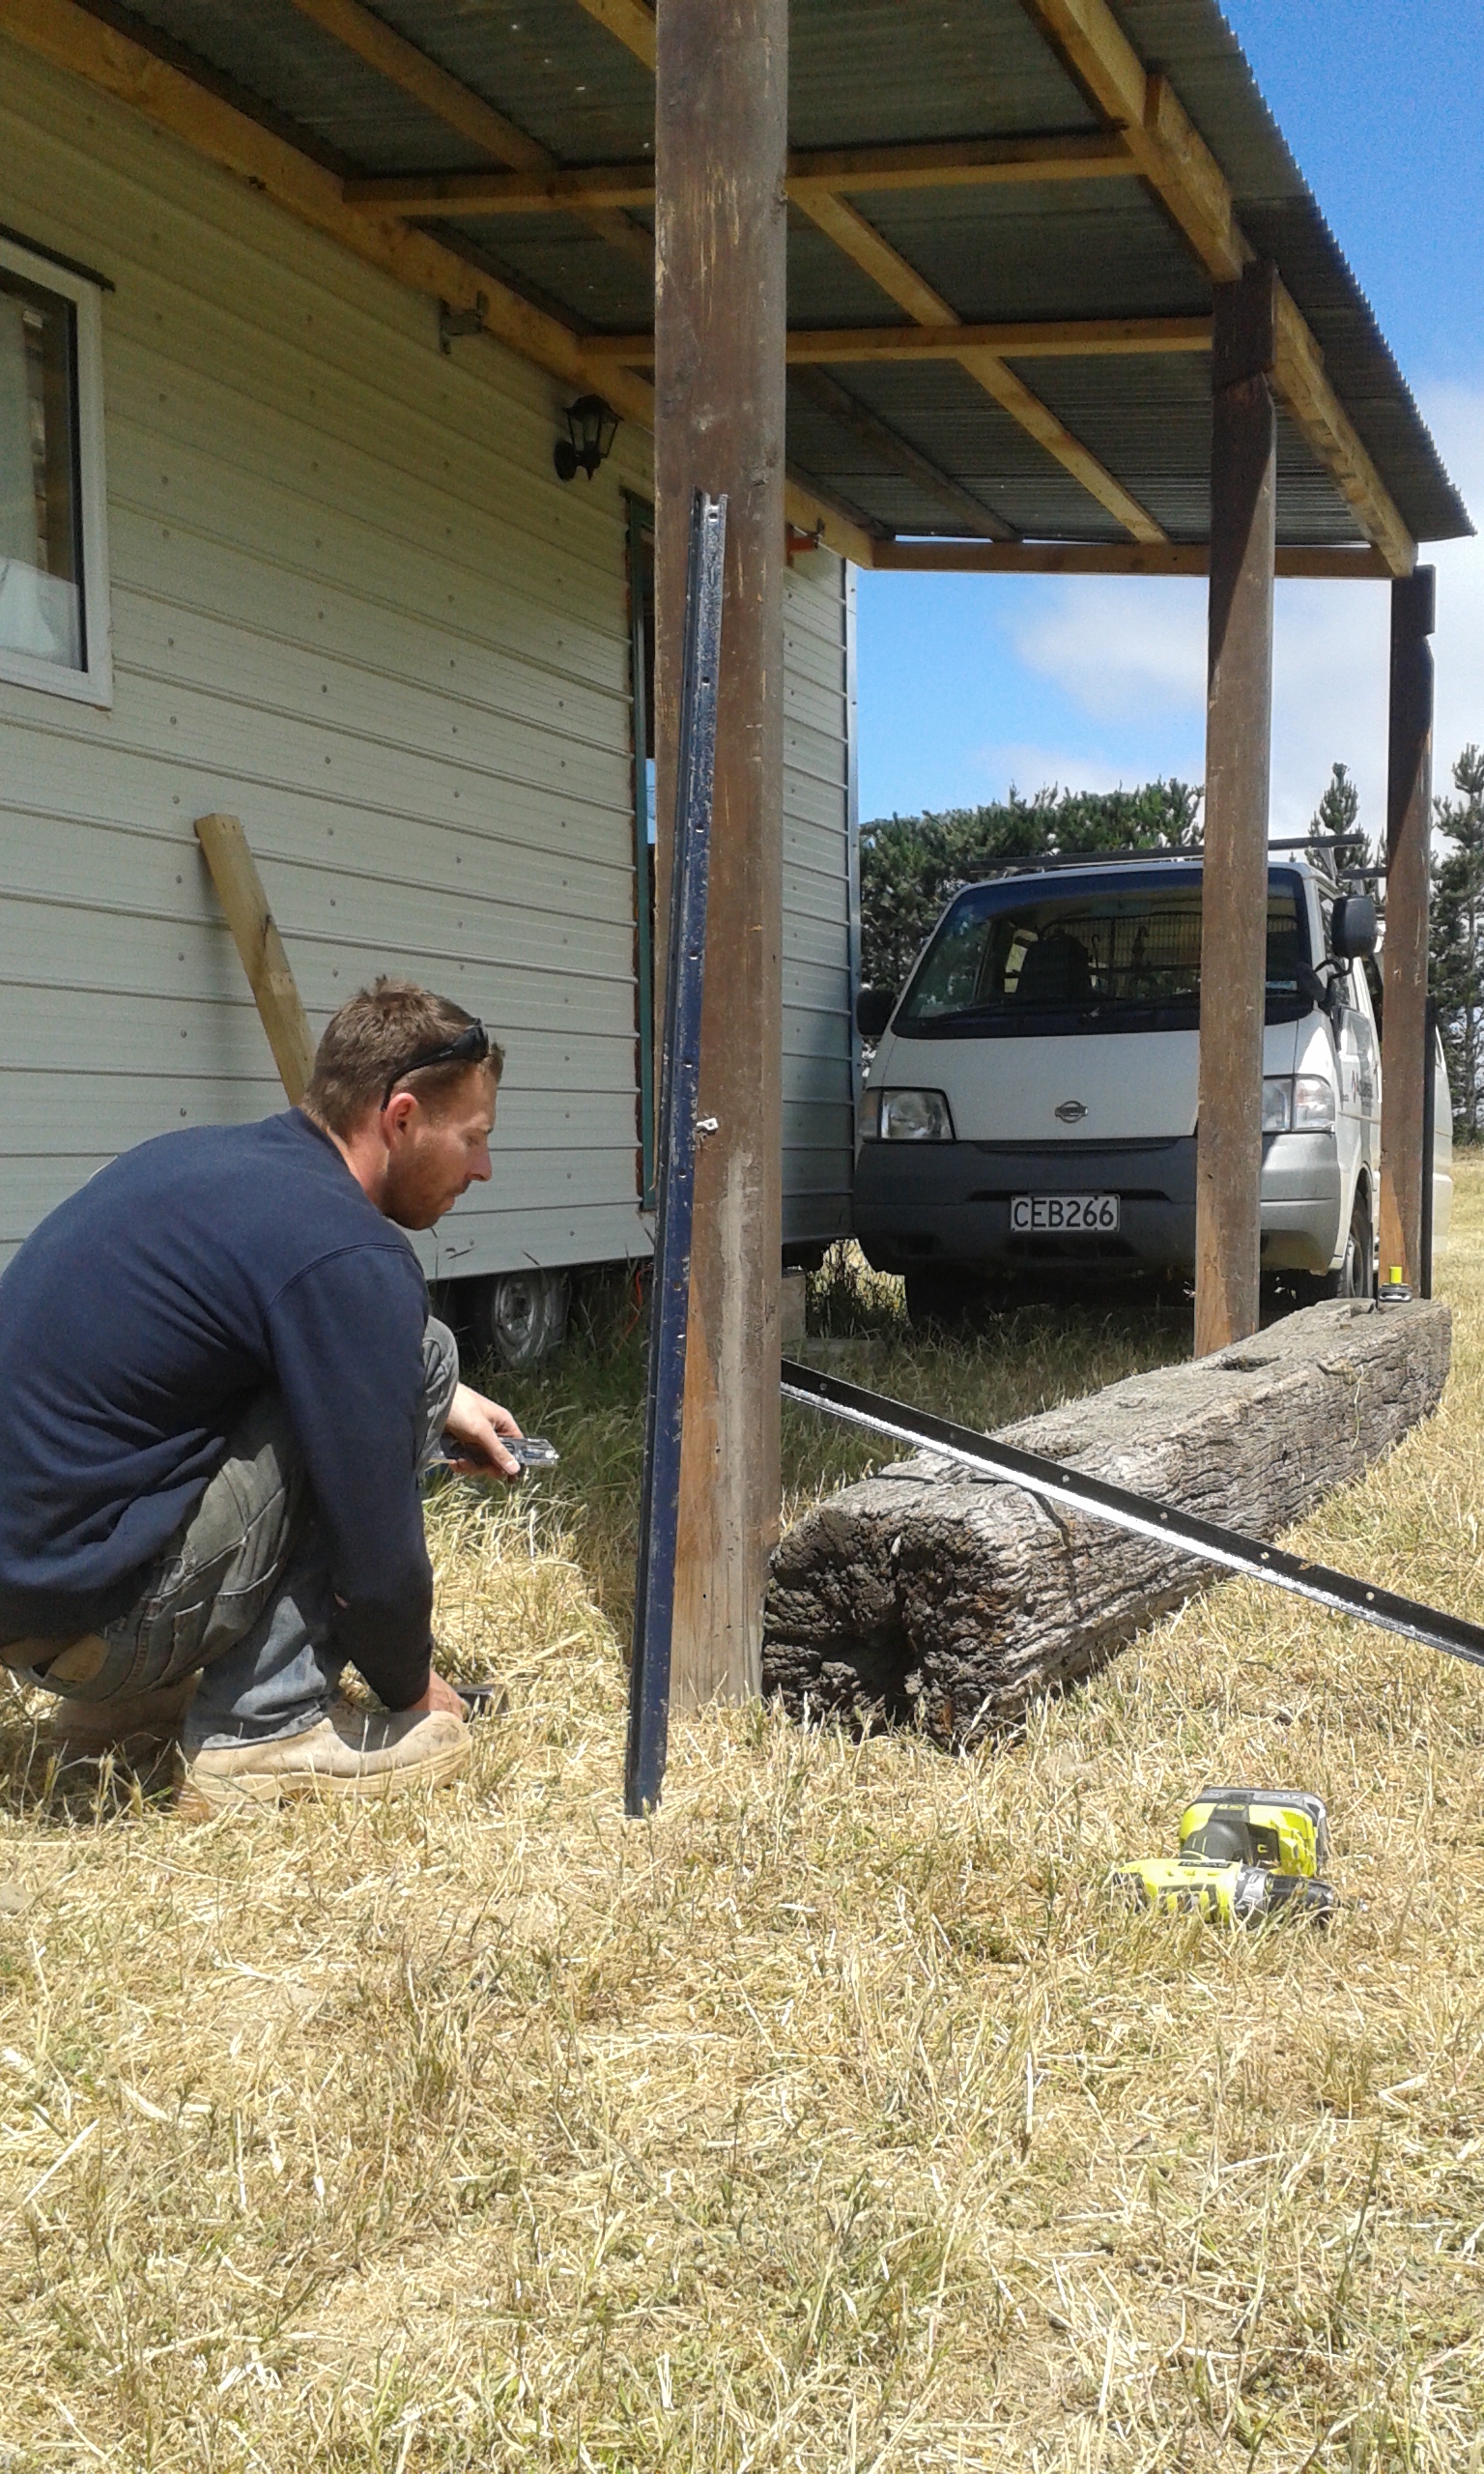
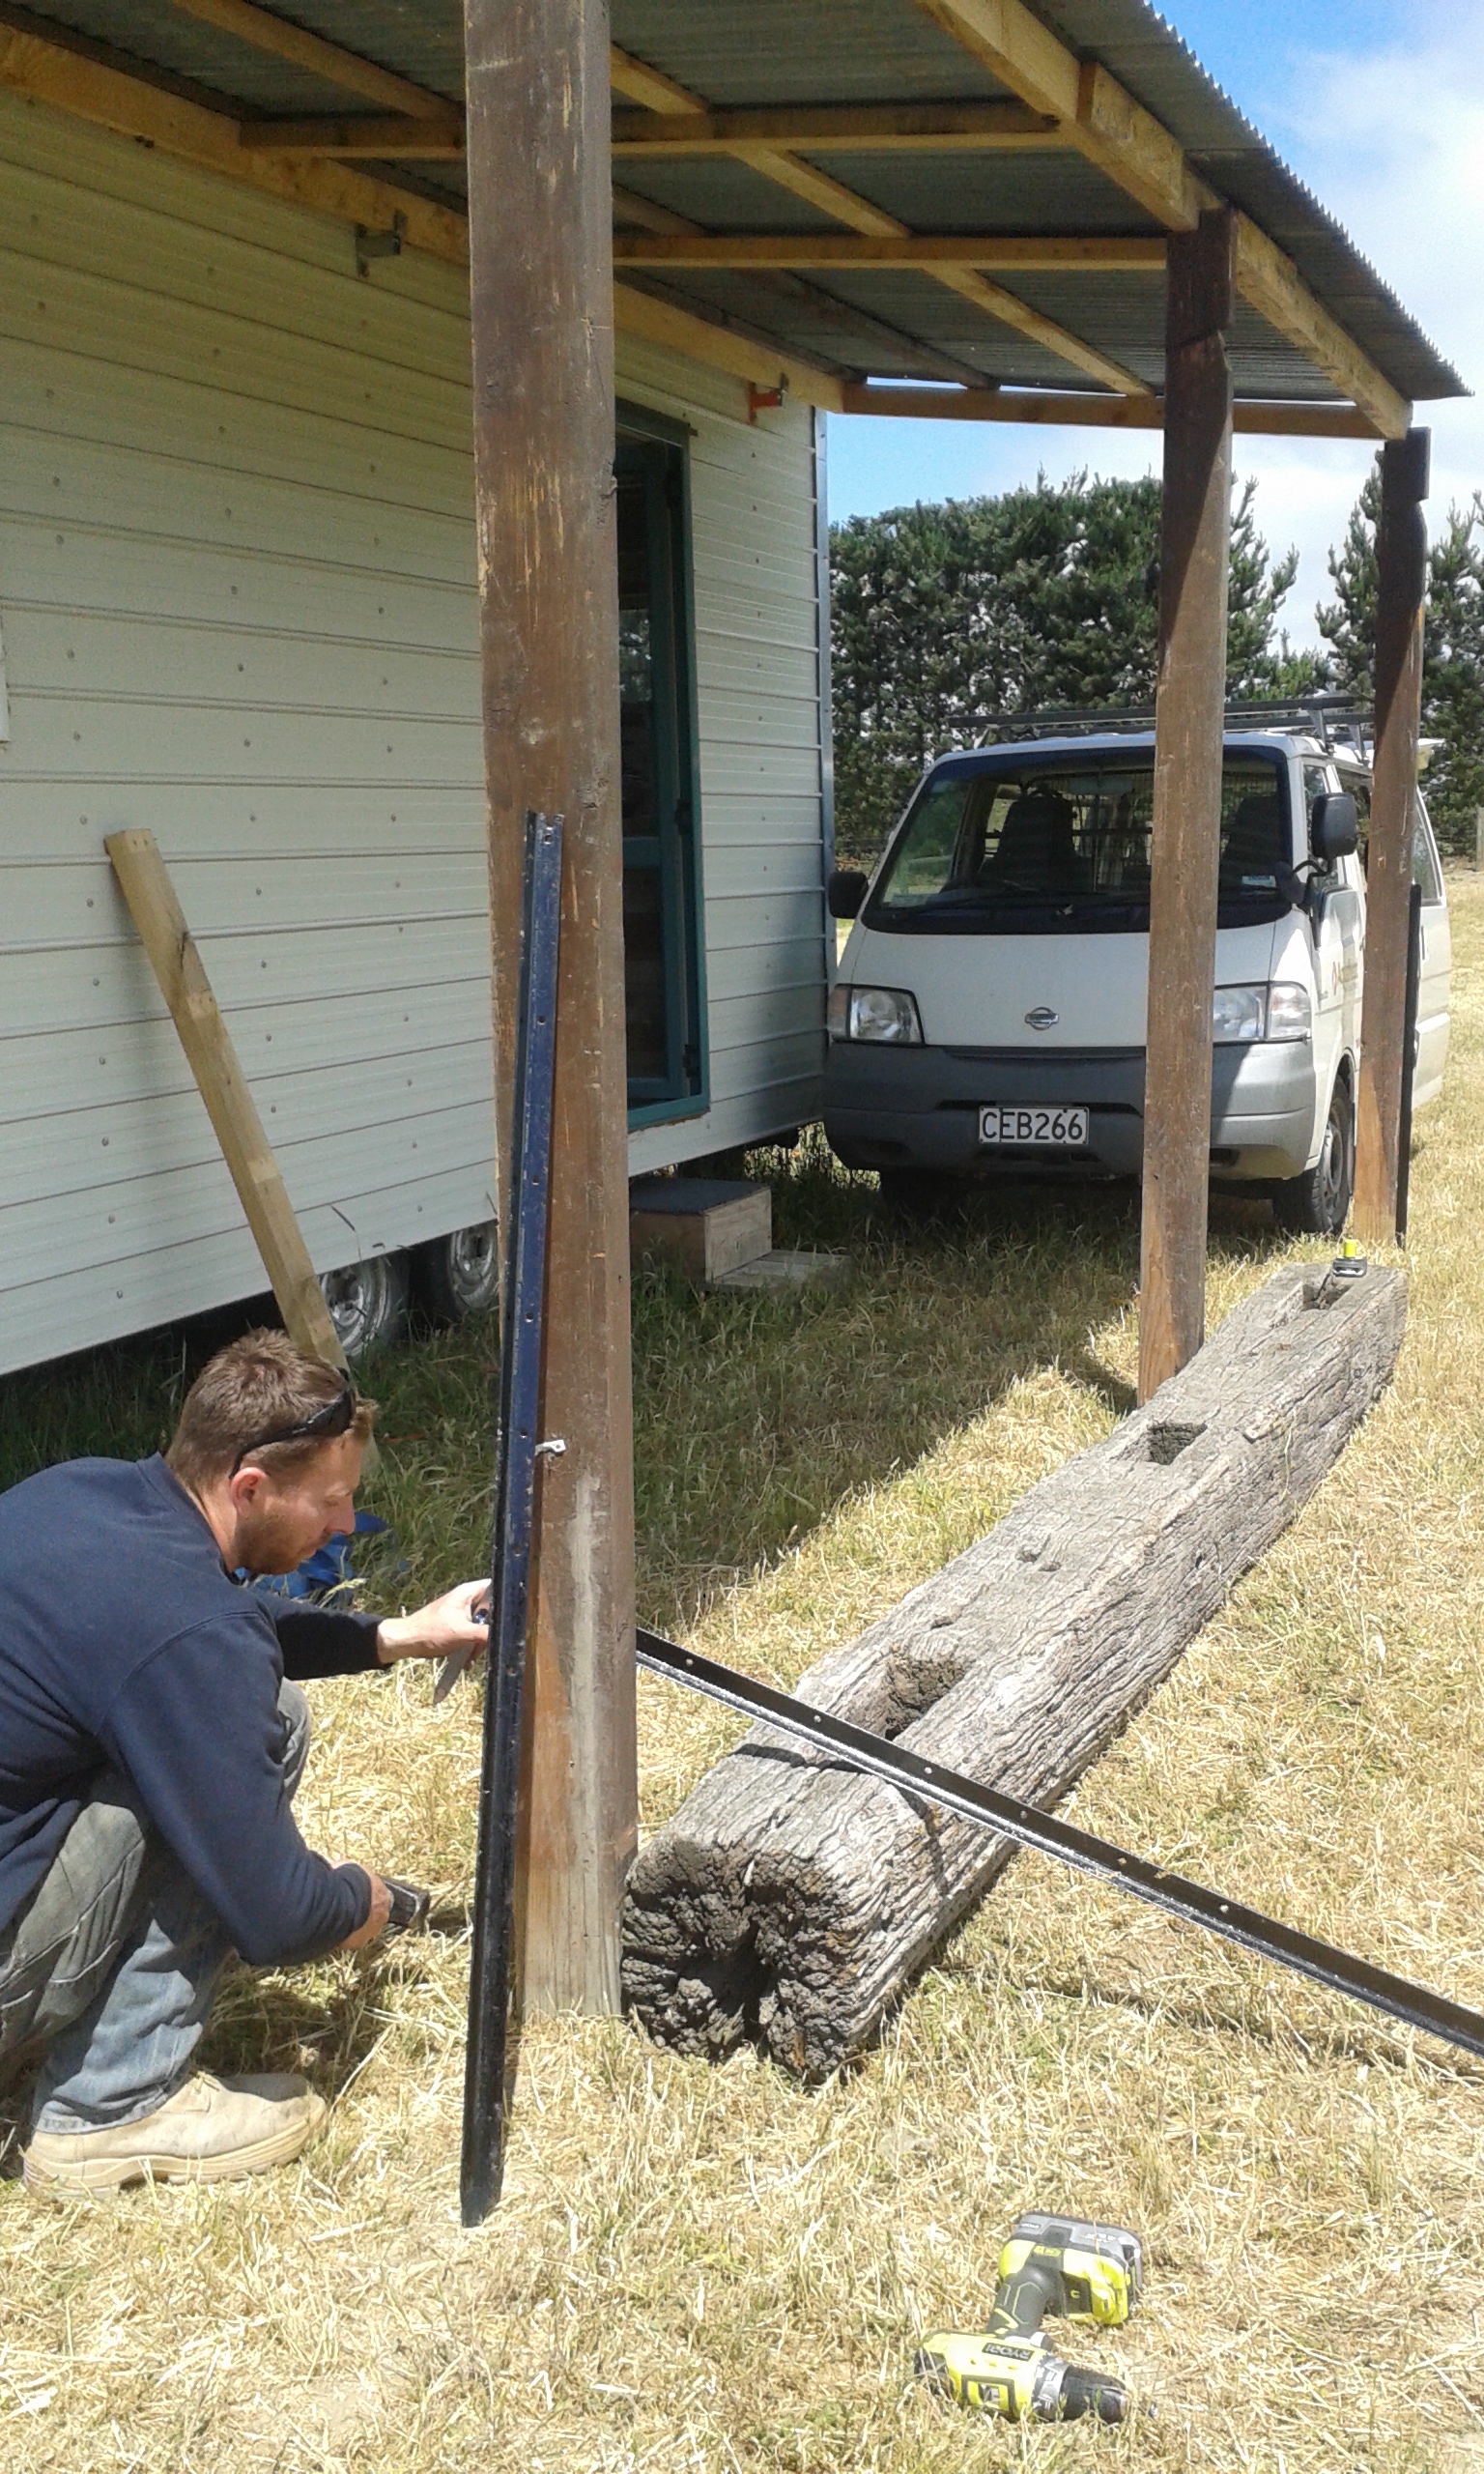
This morning, bright and early we began to install our deck. As you may know we already attached a porch roof to the tiny house and used three posts to support it. We attached the deck to the posts and used wooden legs for the rest of the support. The deck was made of recycled materials sourced from a jobsite. It was pretty much already pre-built so it was put together very quickly. It still needs a coat paint but otherwise I think it looks great. We have doubled our living space, after only a couple hours of hard work. We will use the porch to store our shoes, barbecue, and other items that we wish to keep dry. 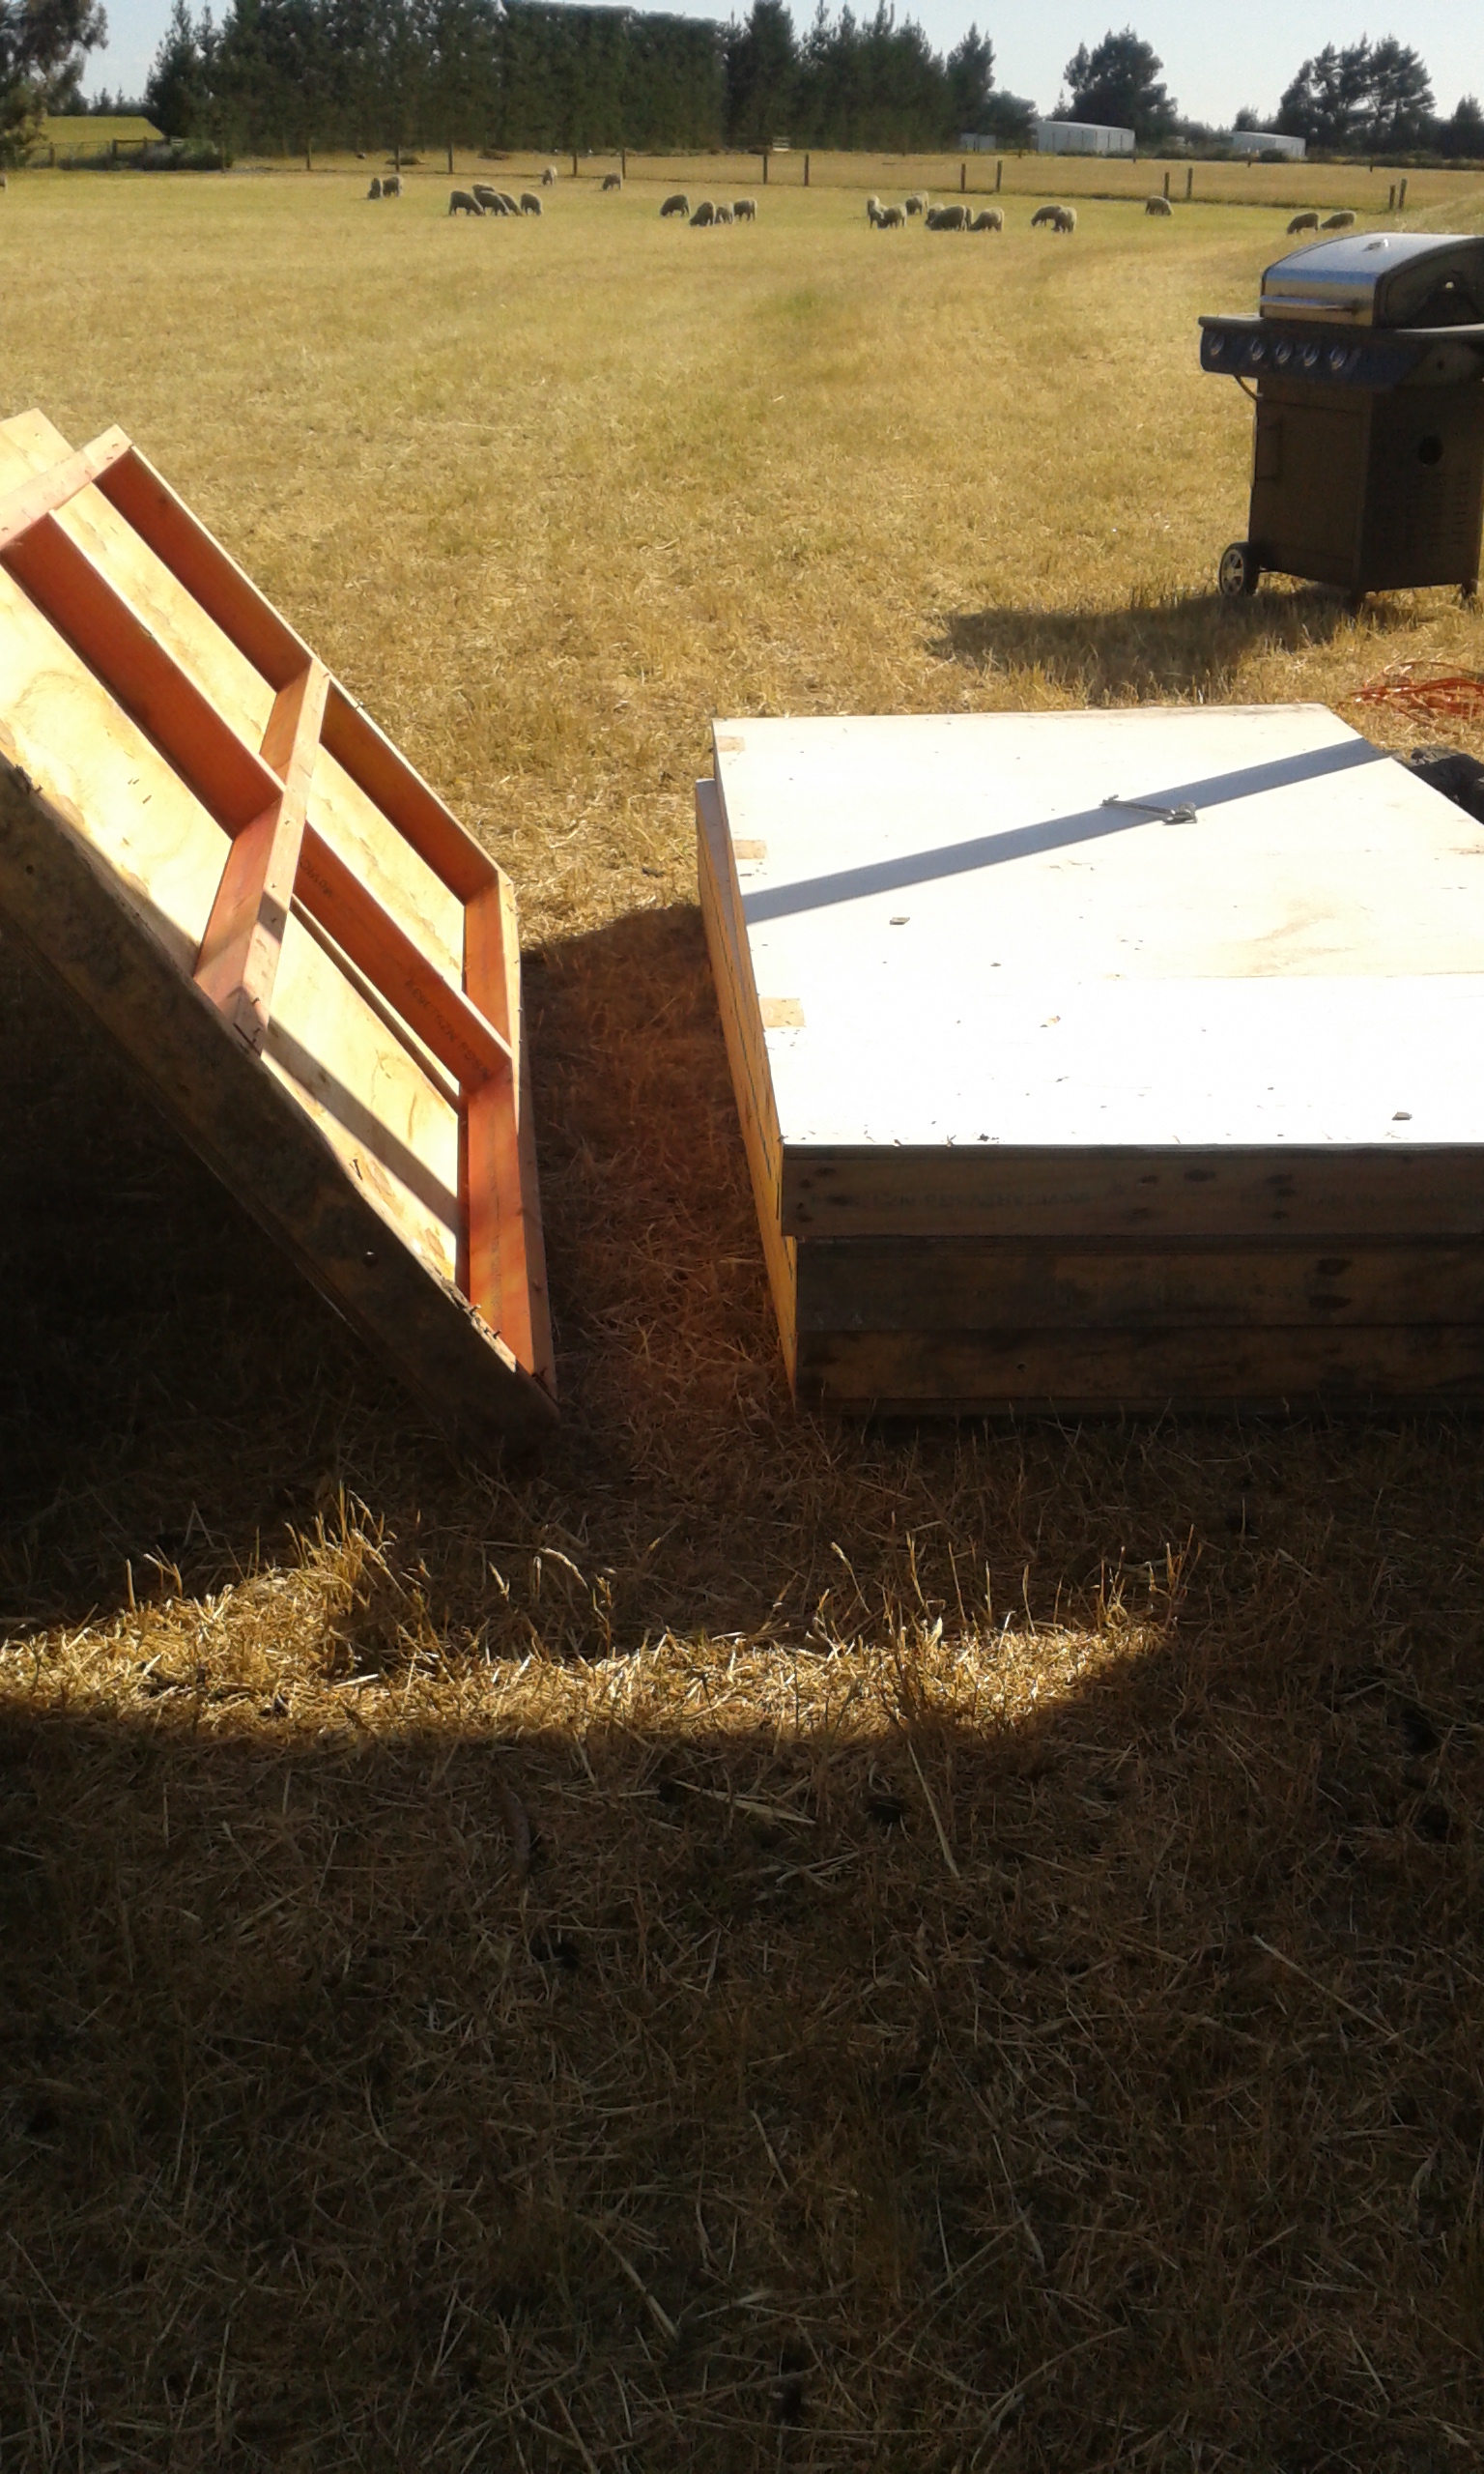

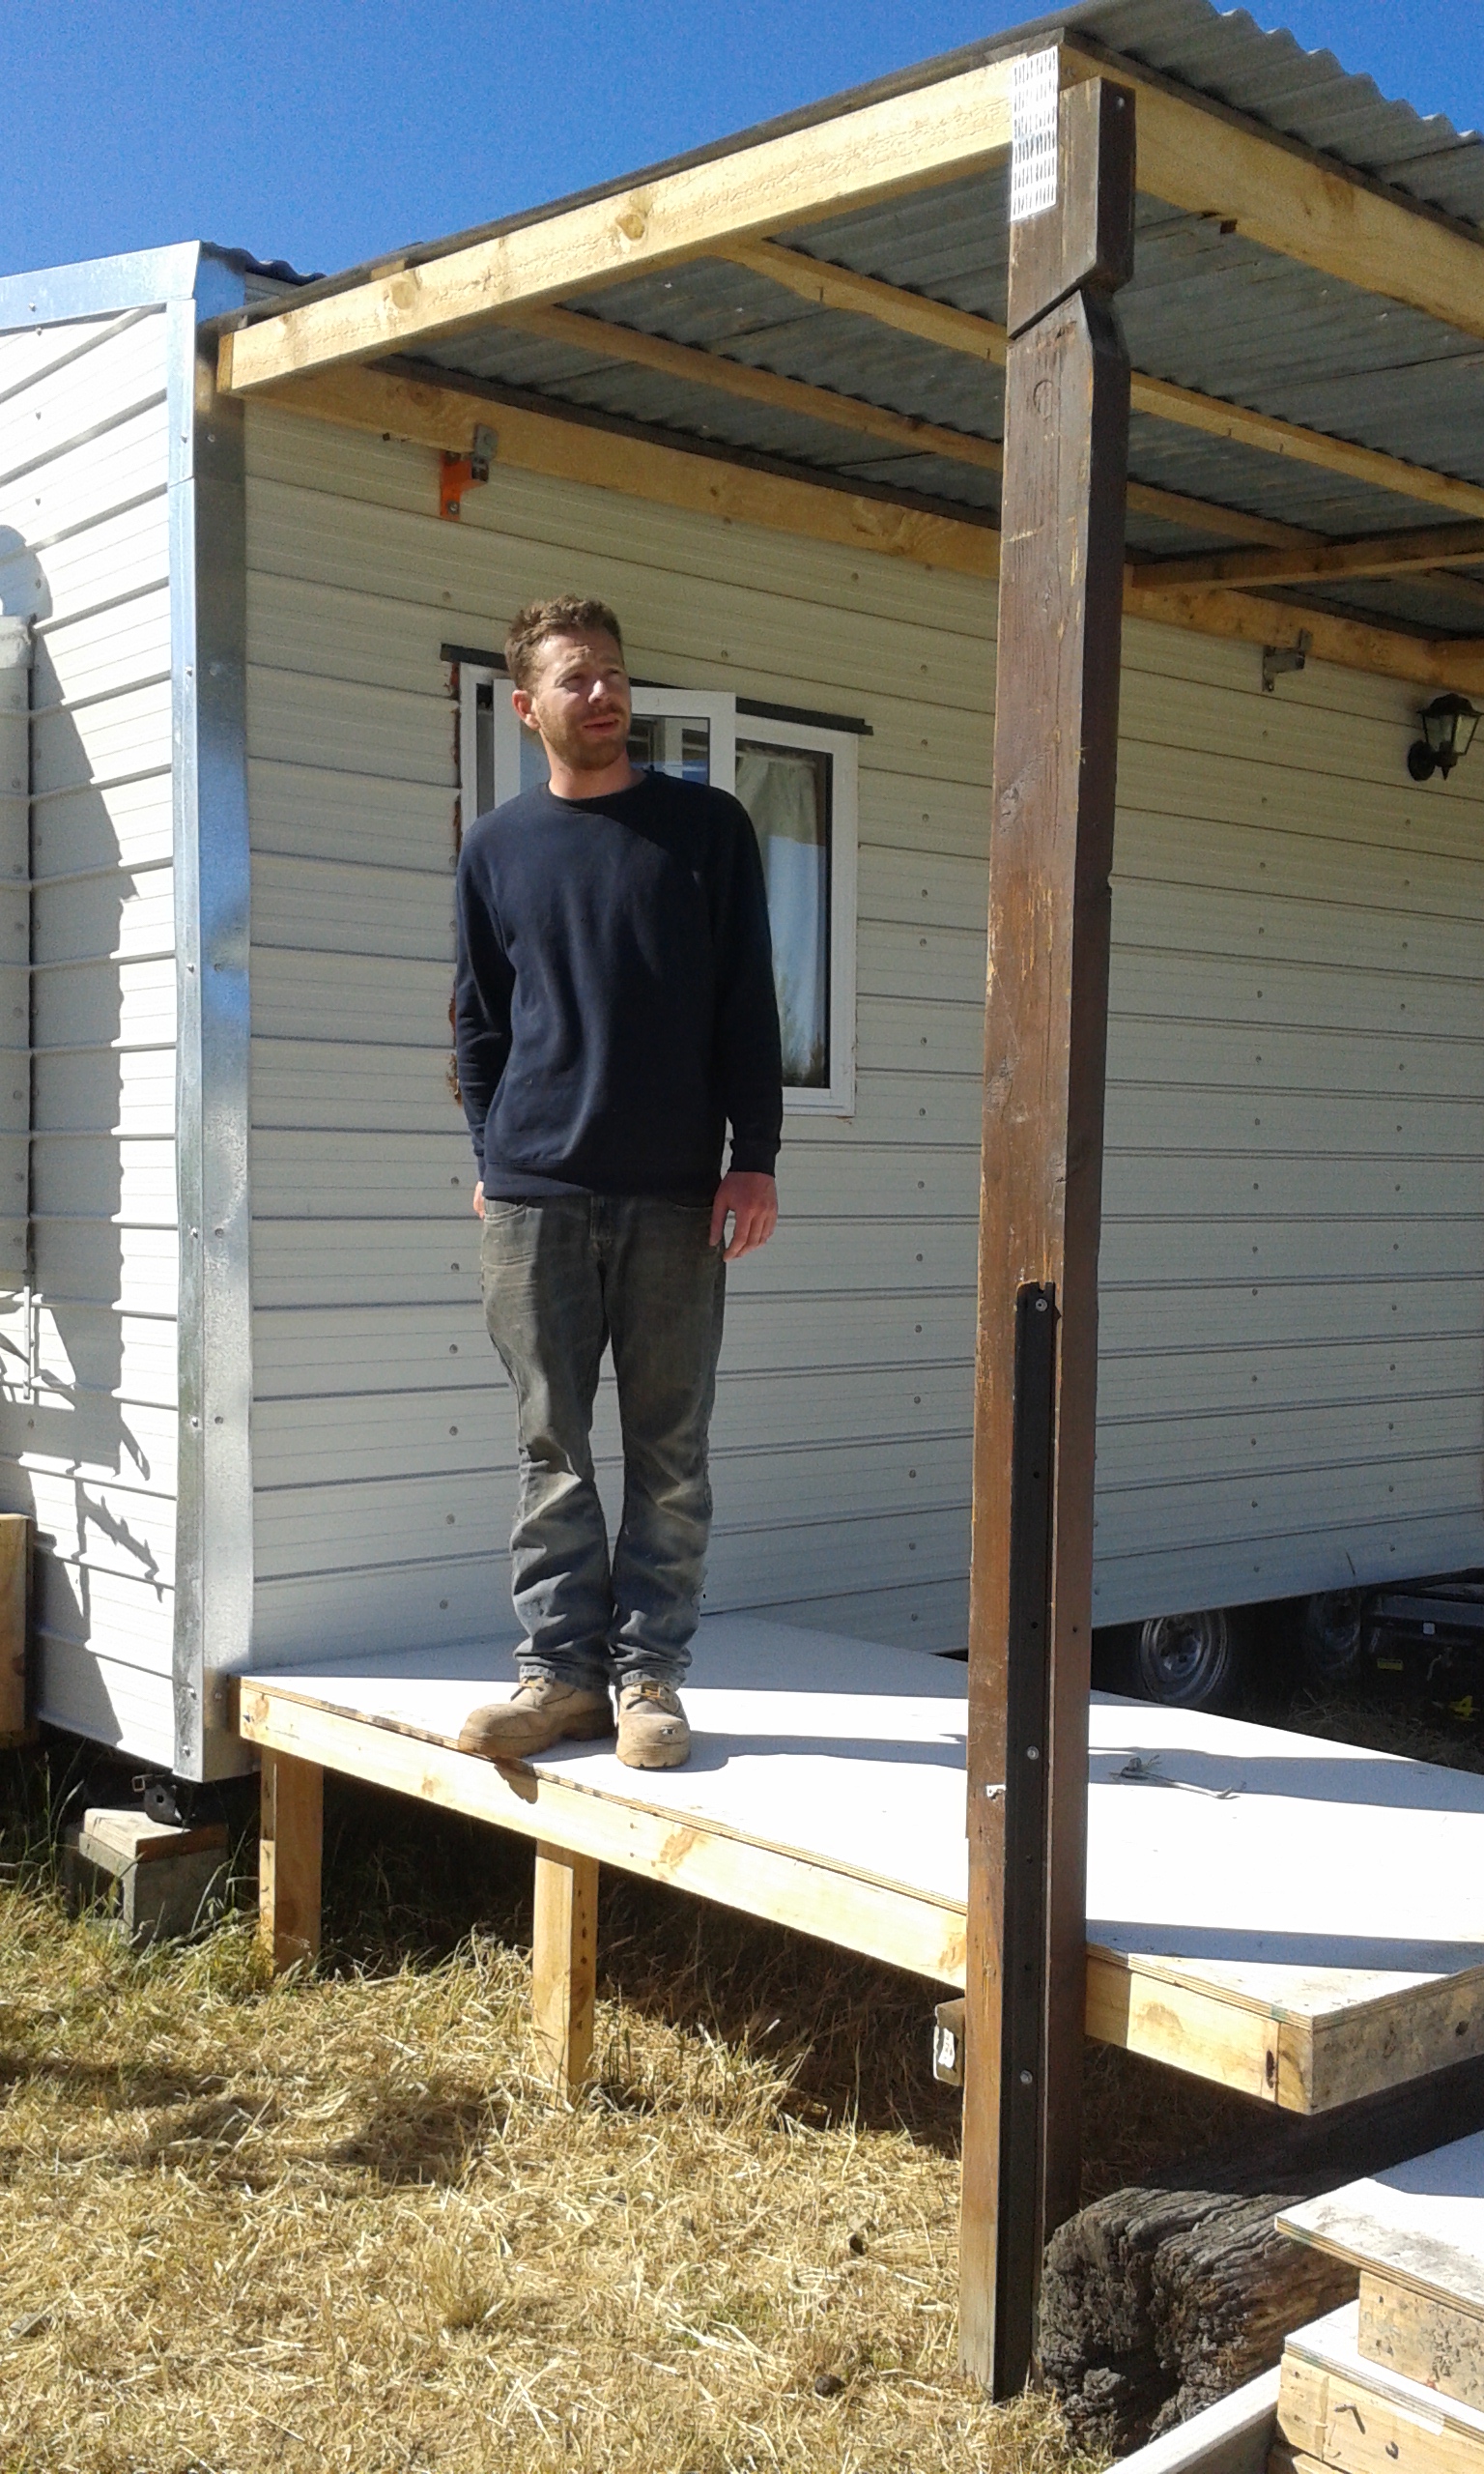

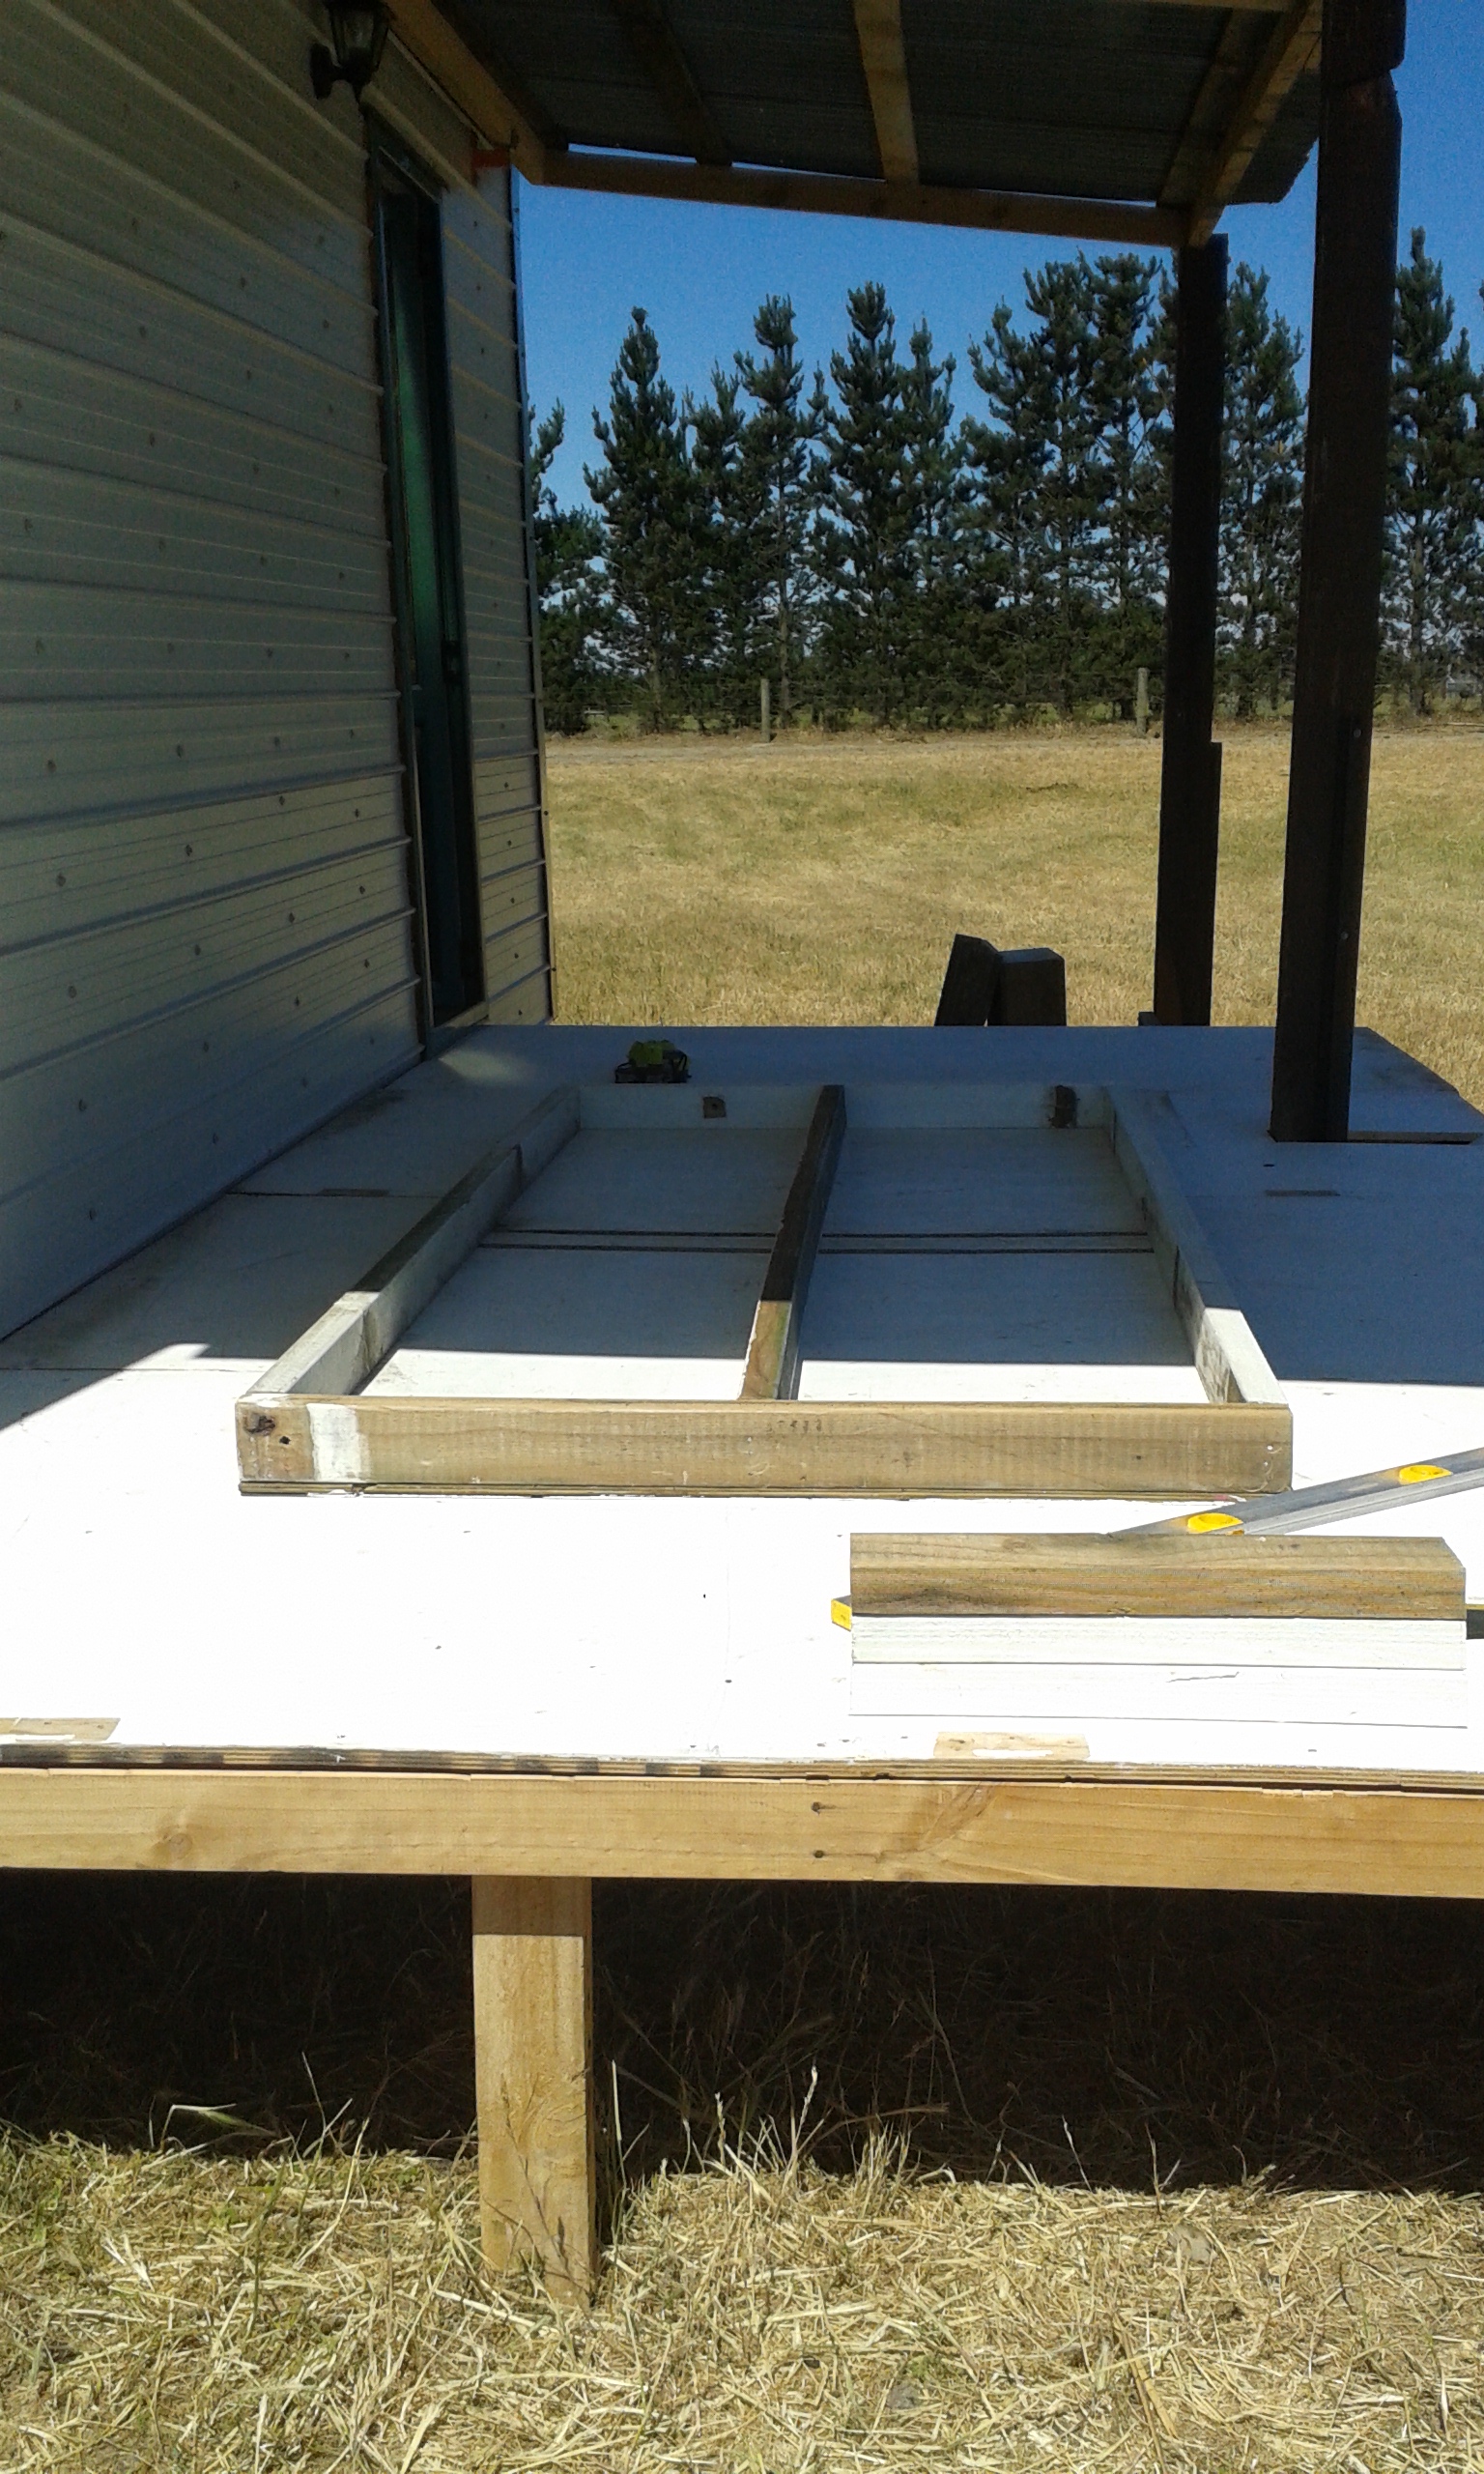


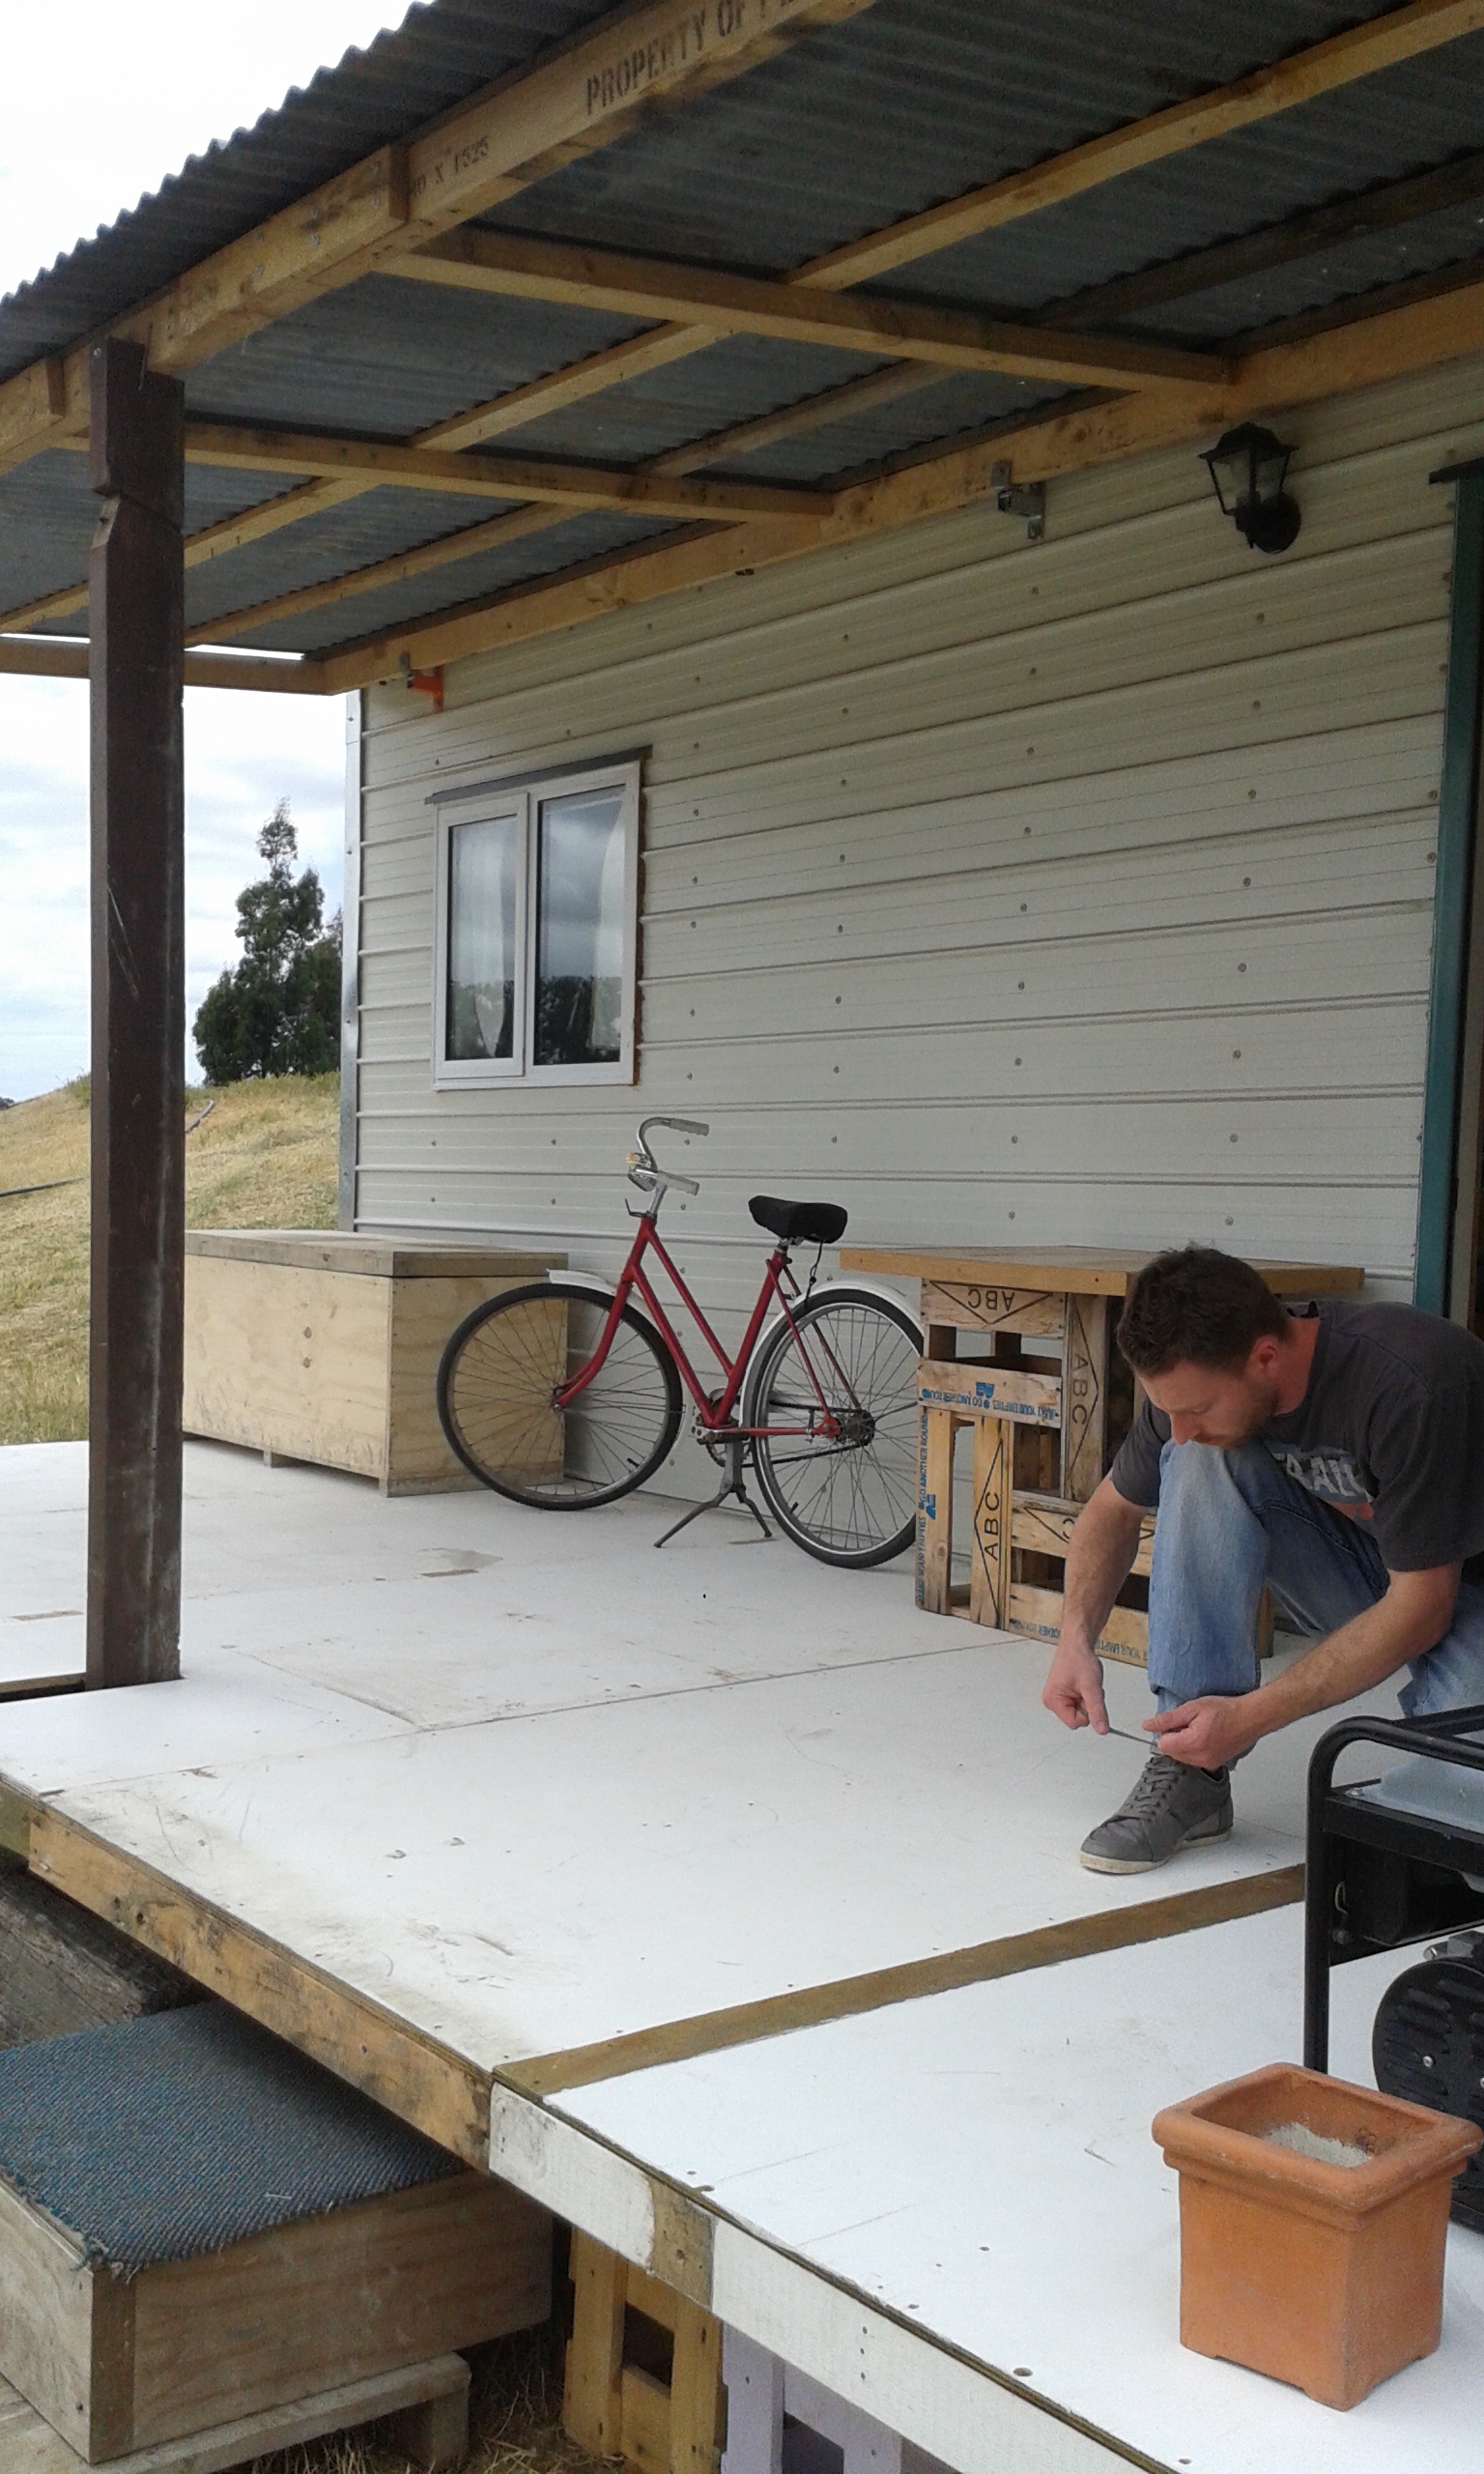

A nice coat of deck paint will bring these former walls back to life with a new purpose. Thanks for reading.
Pat and Cori
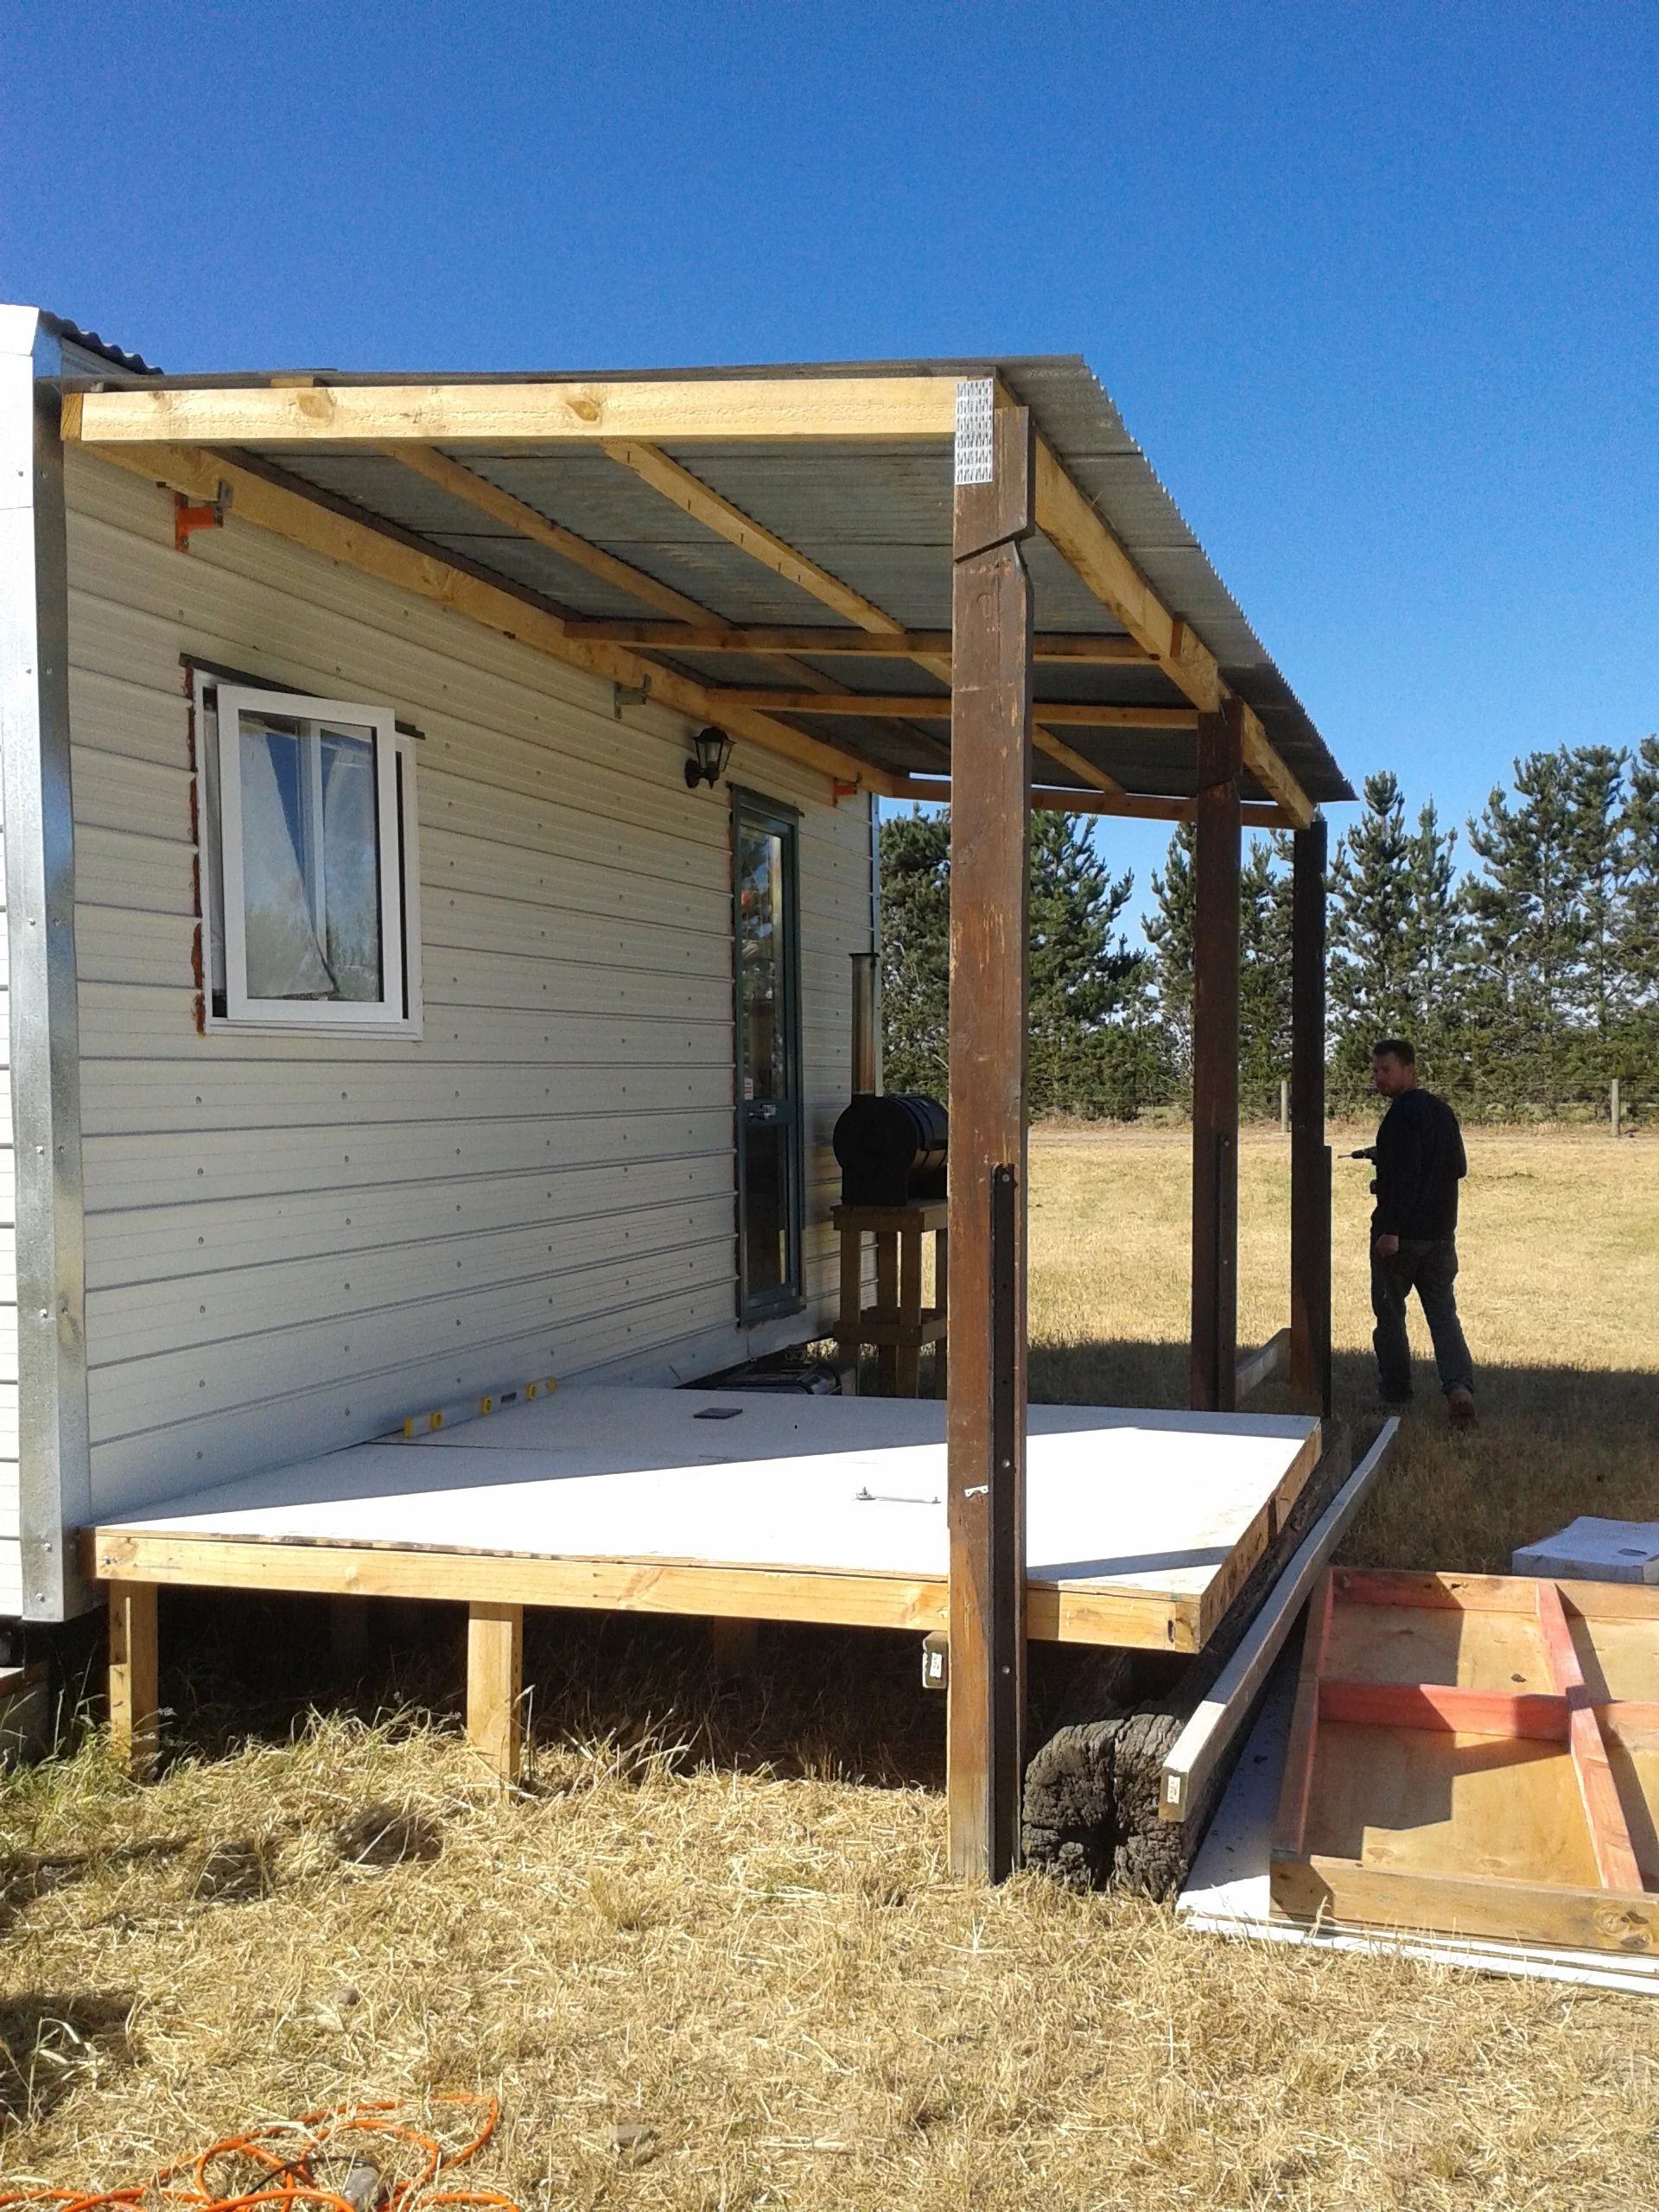
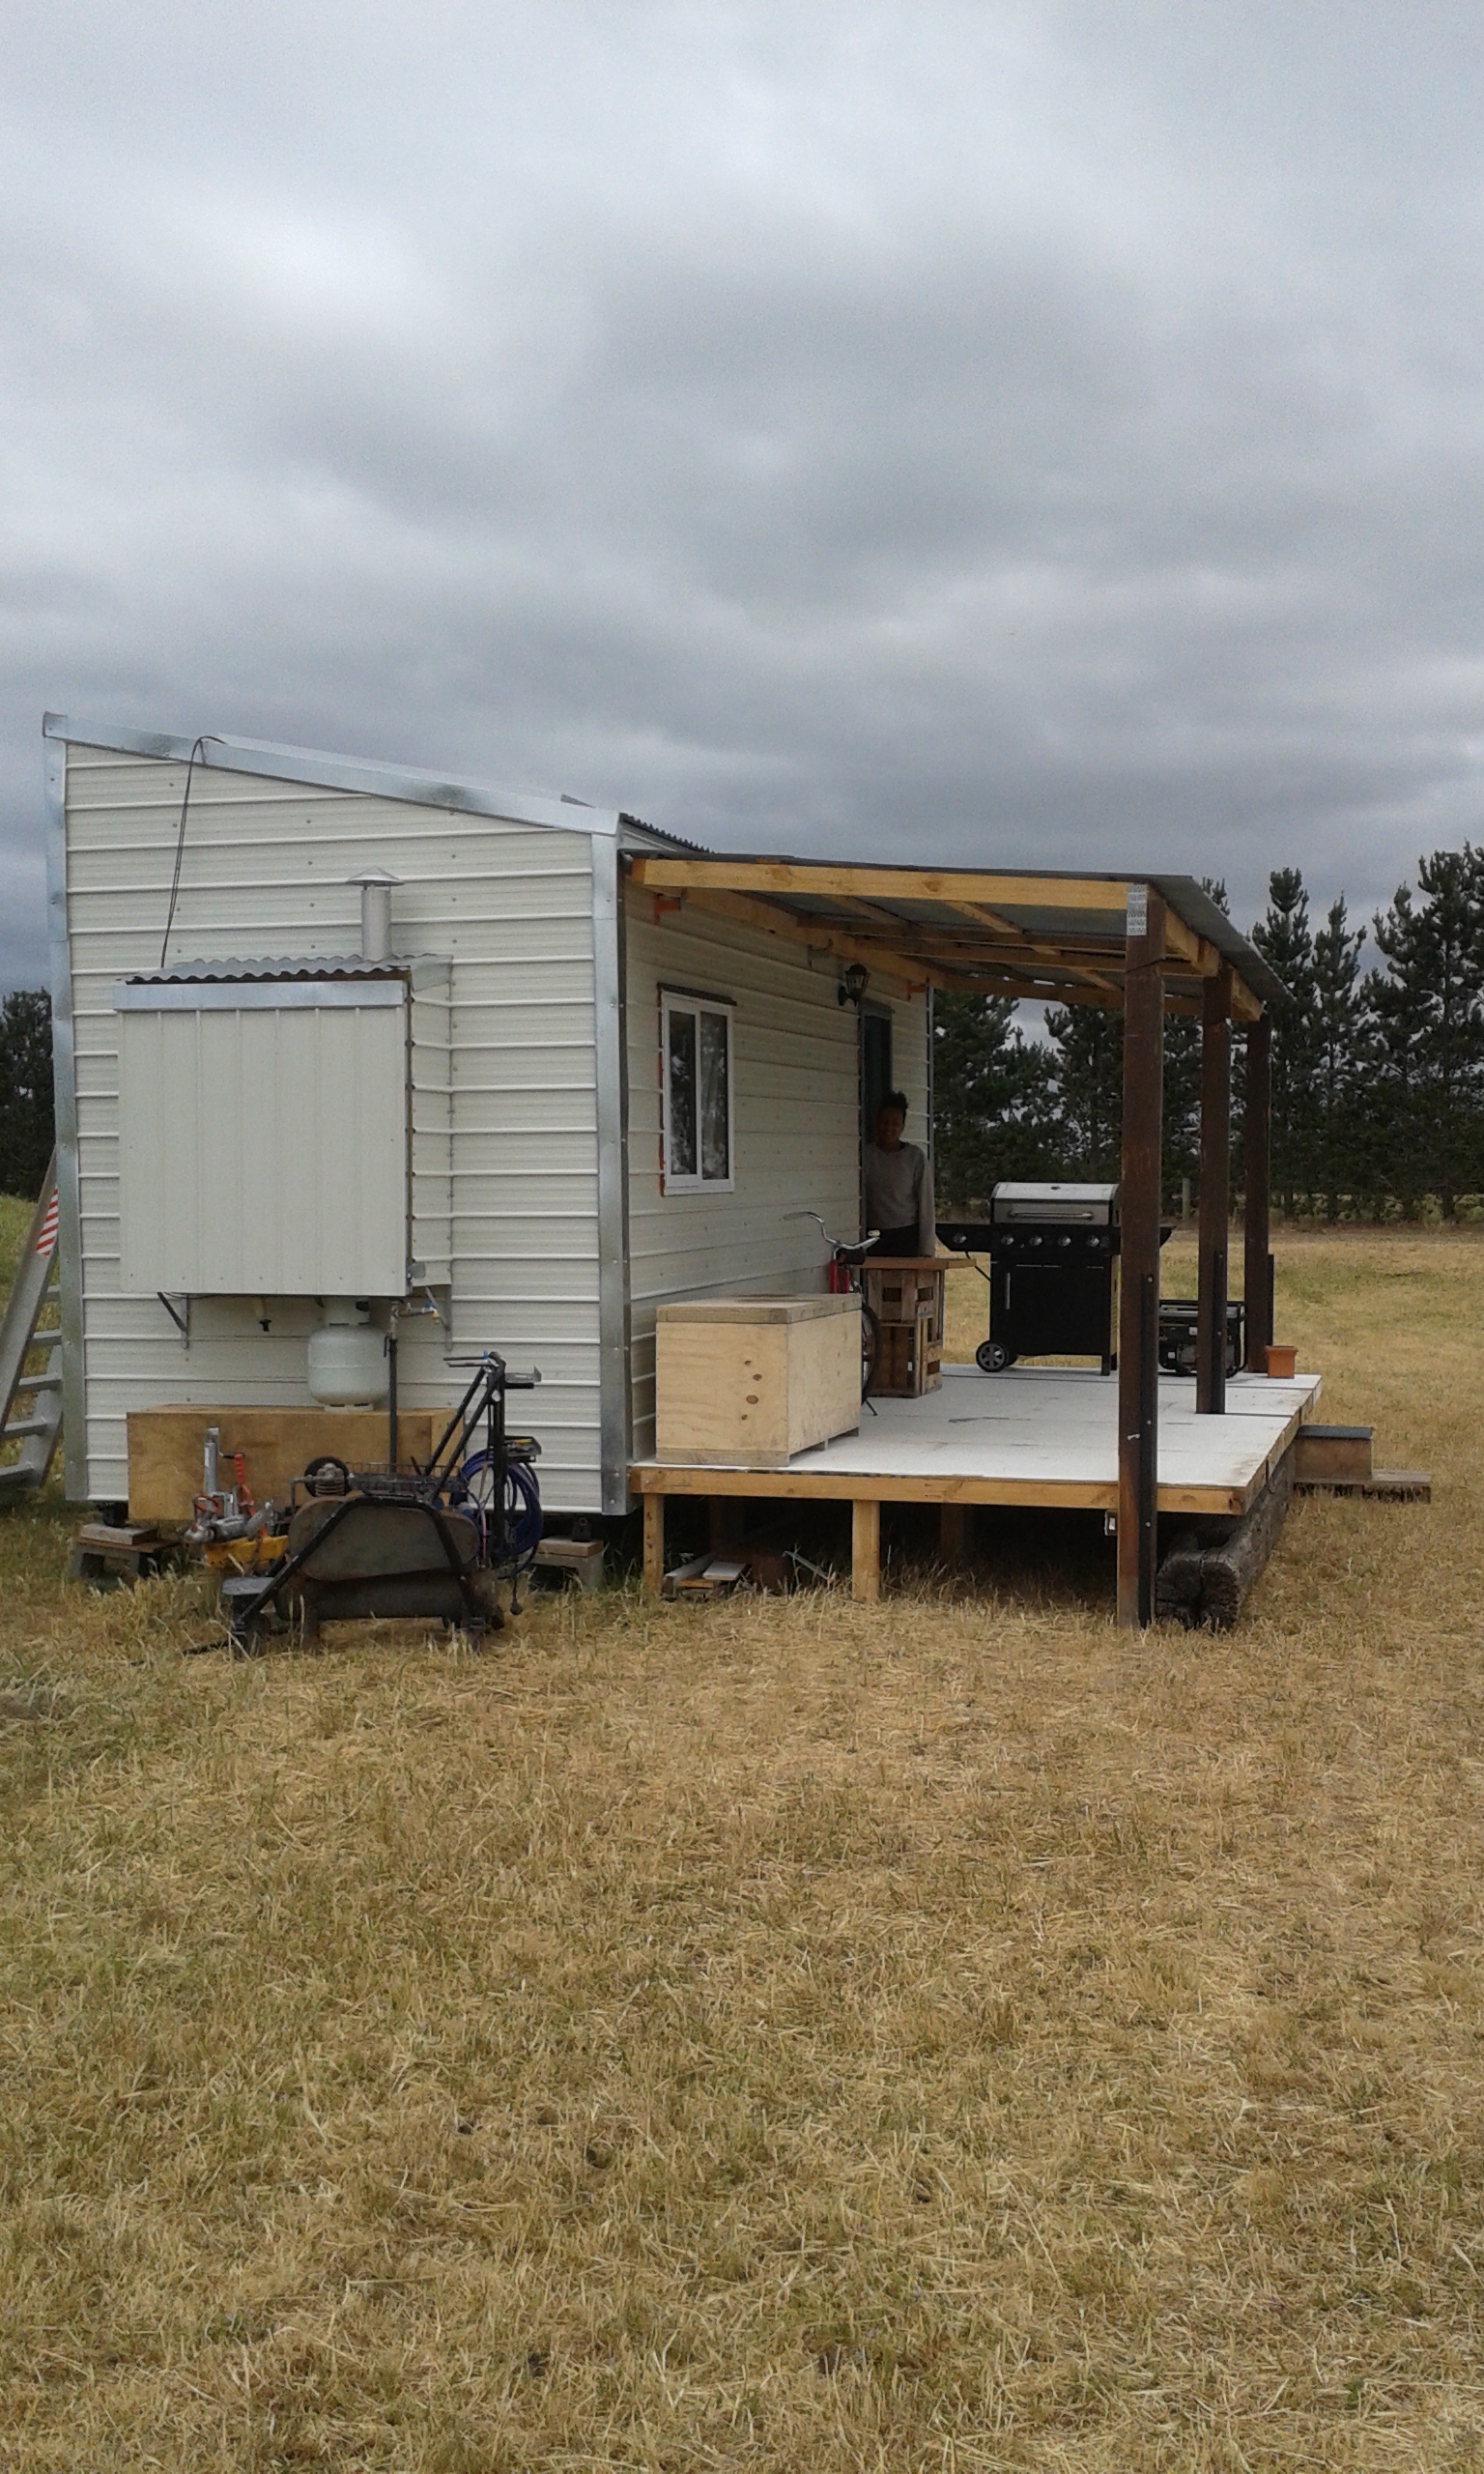
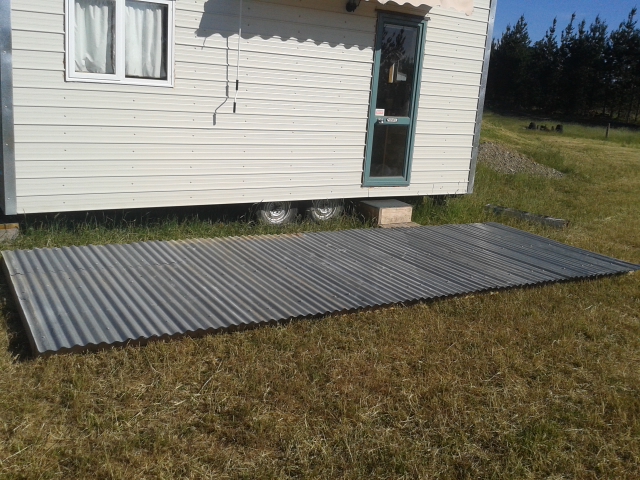
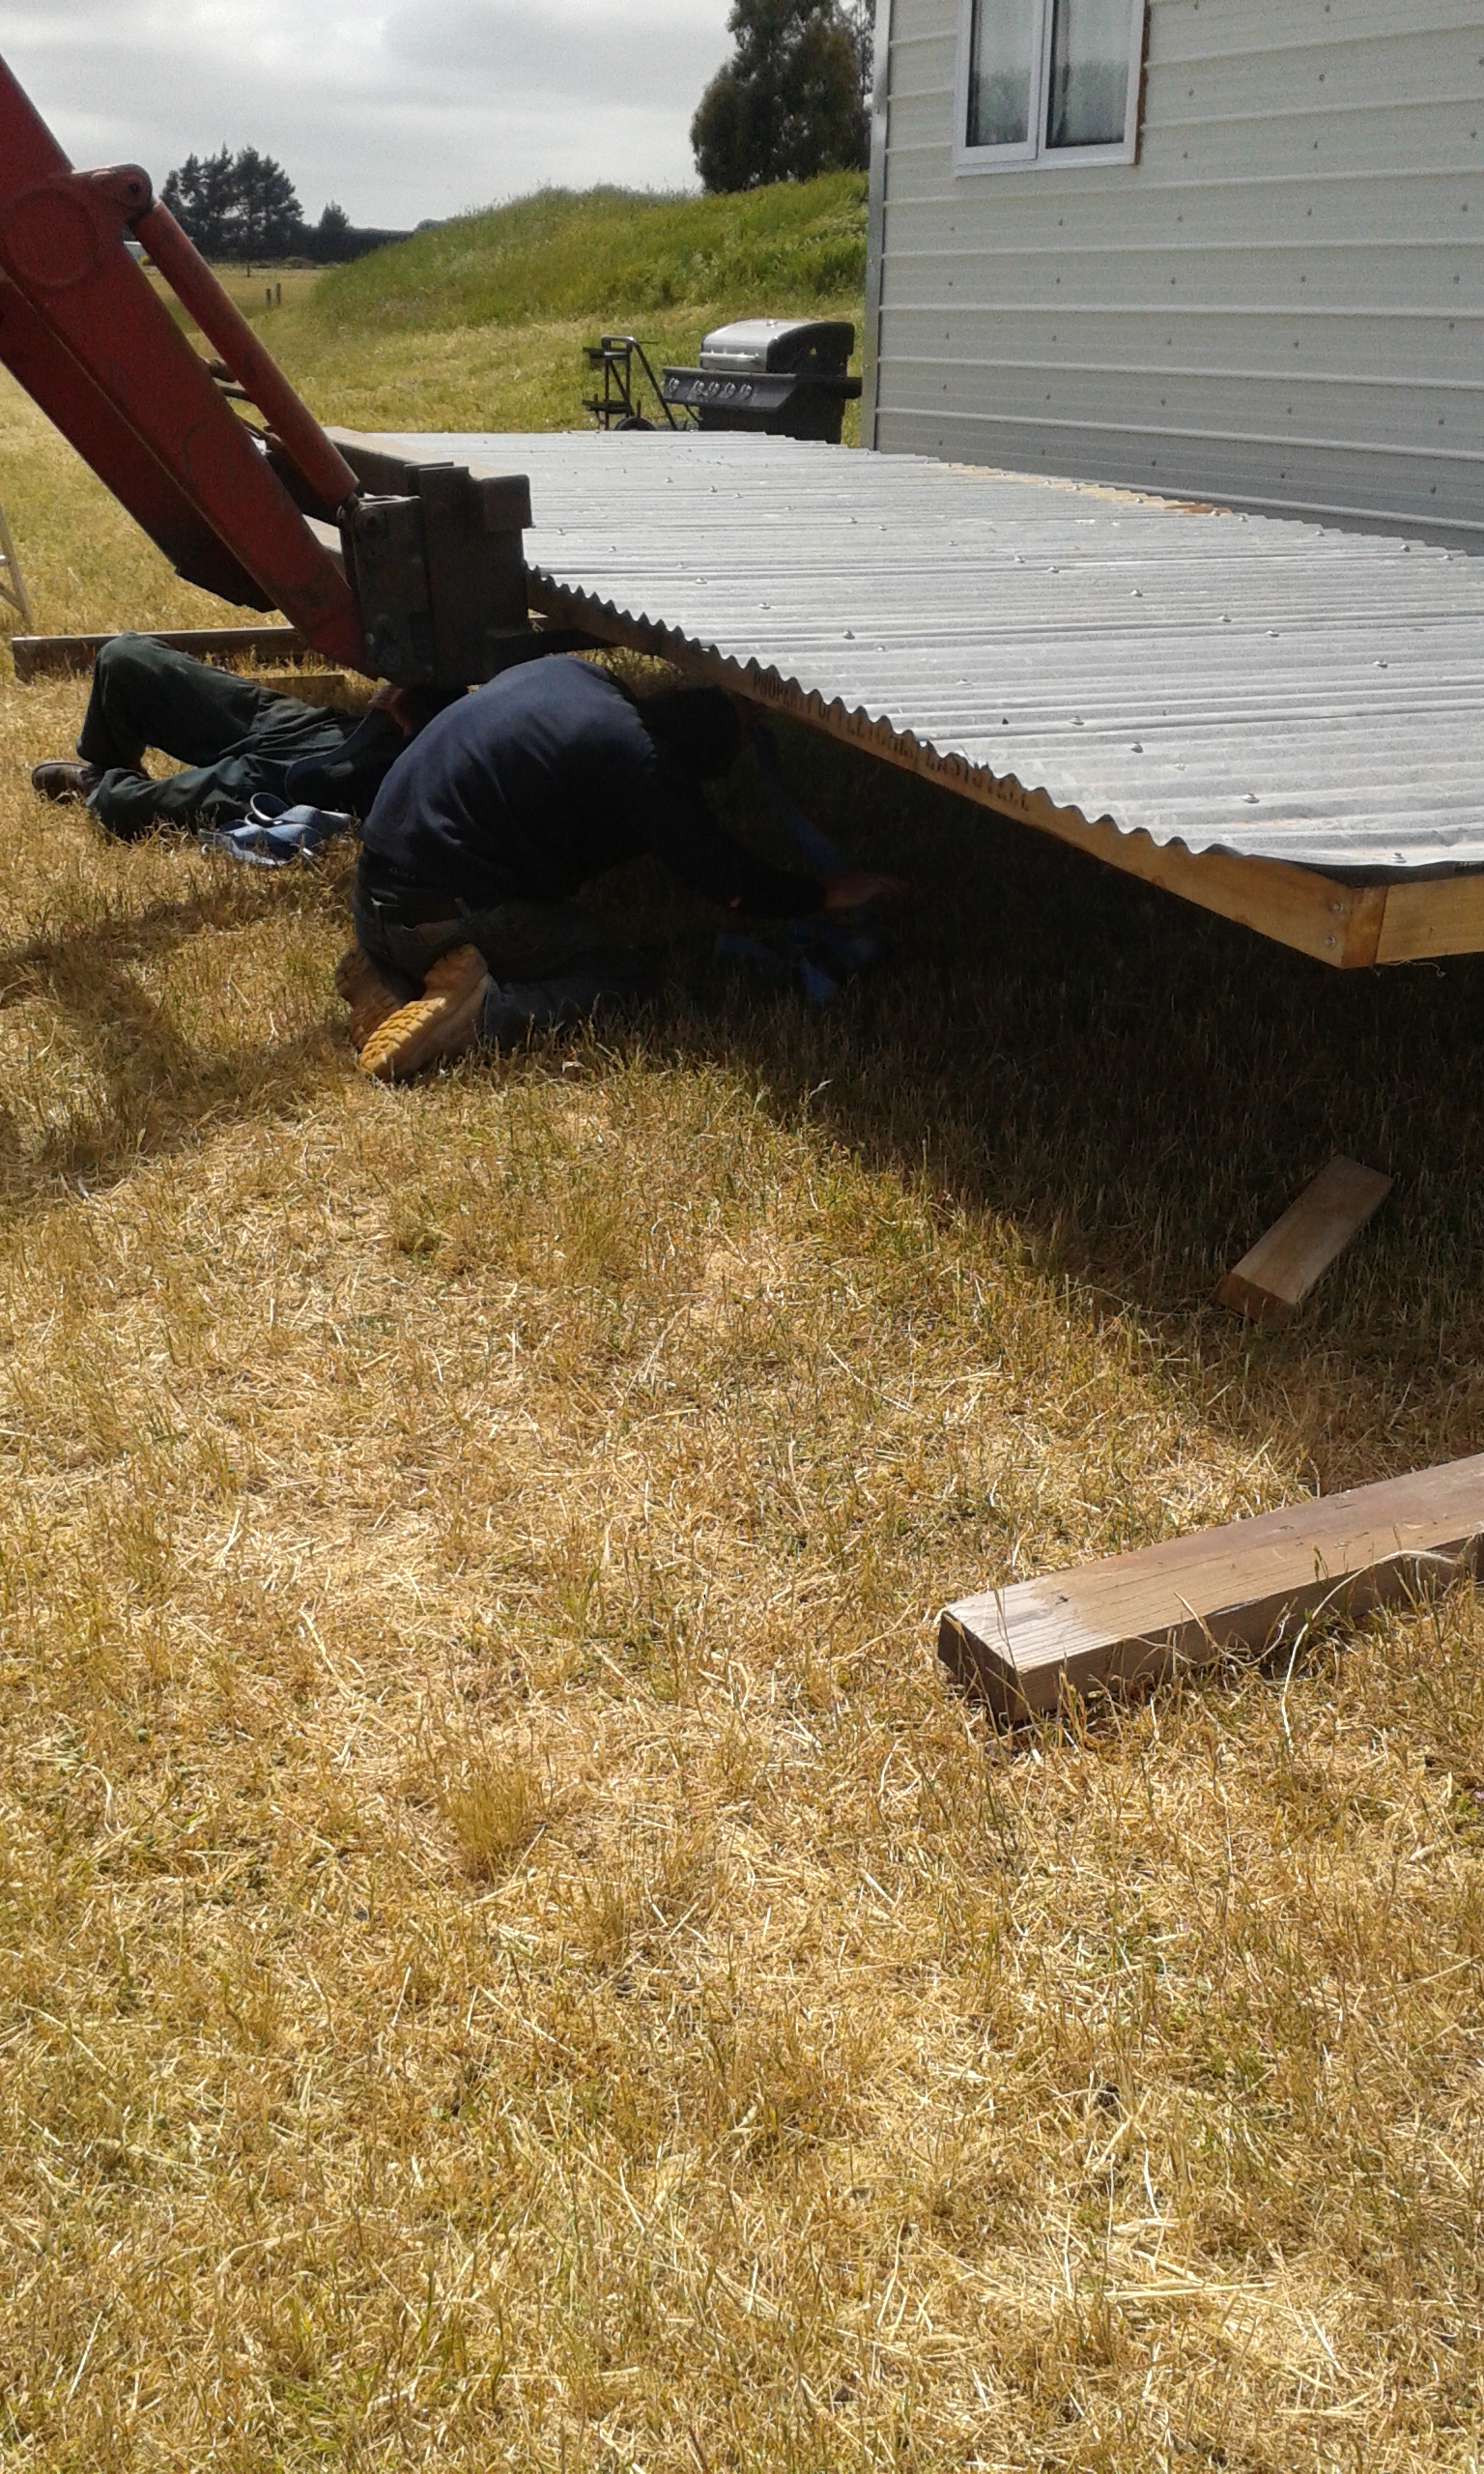
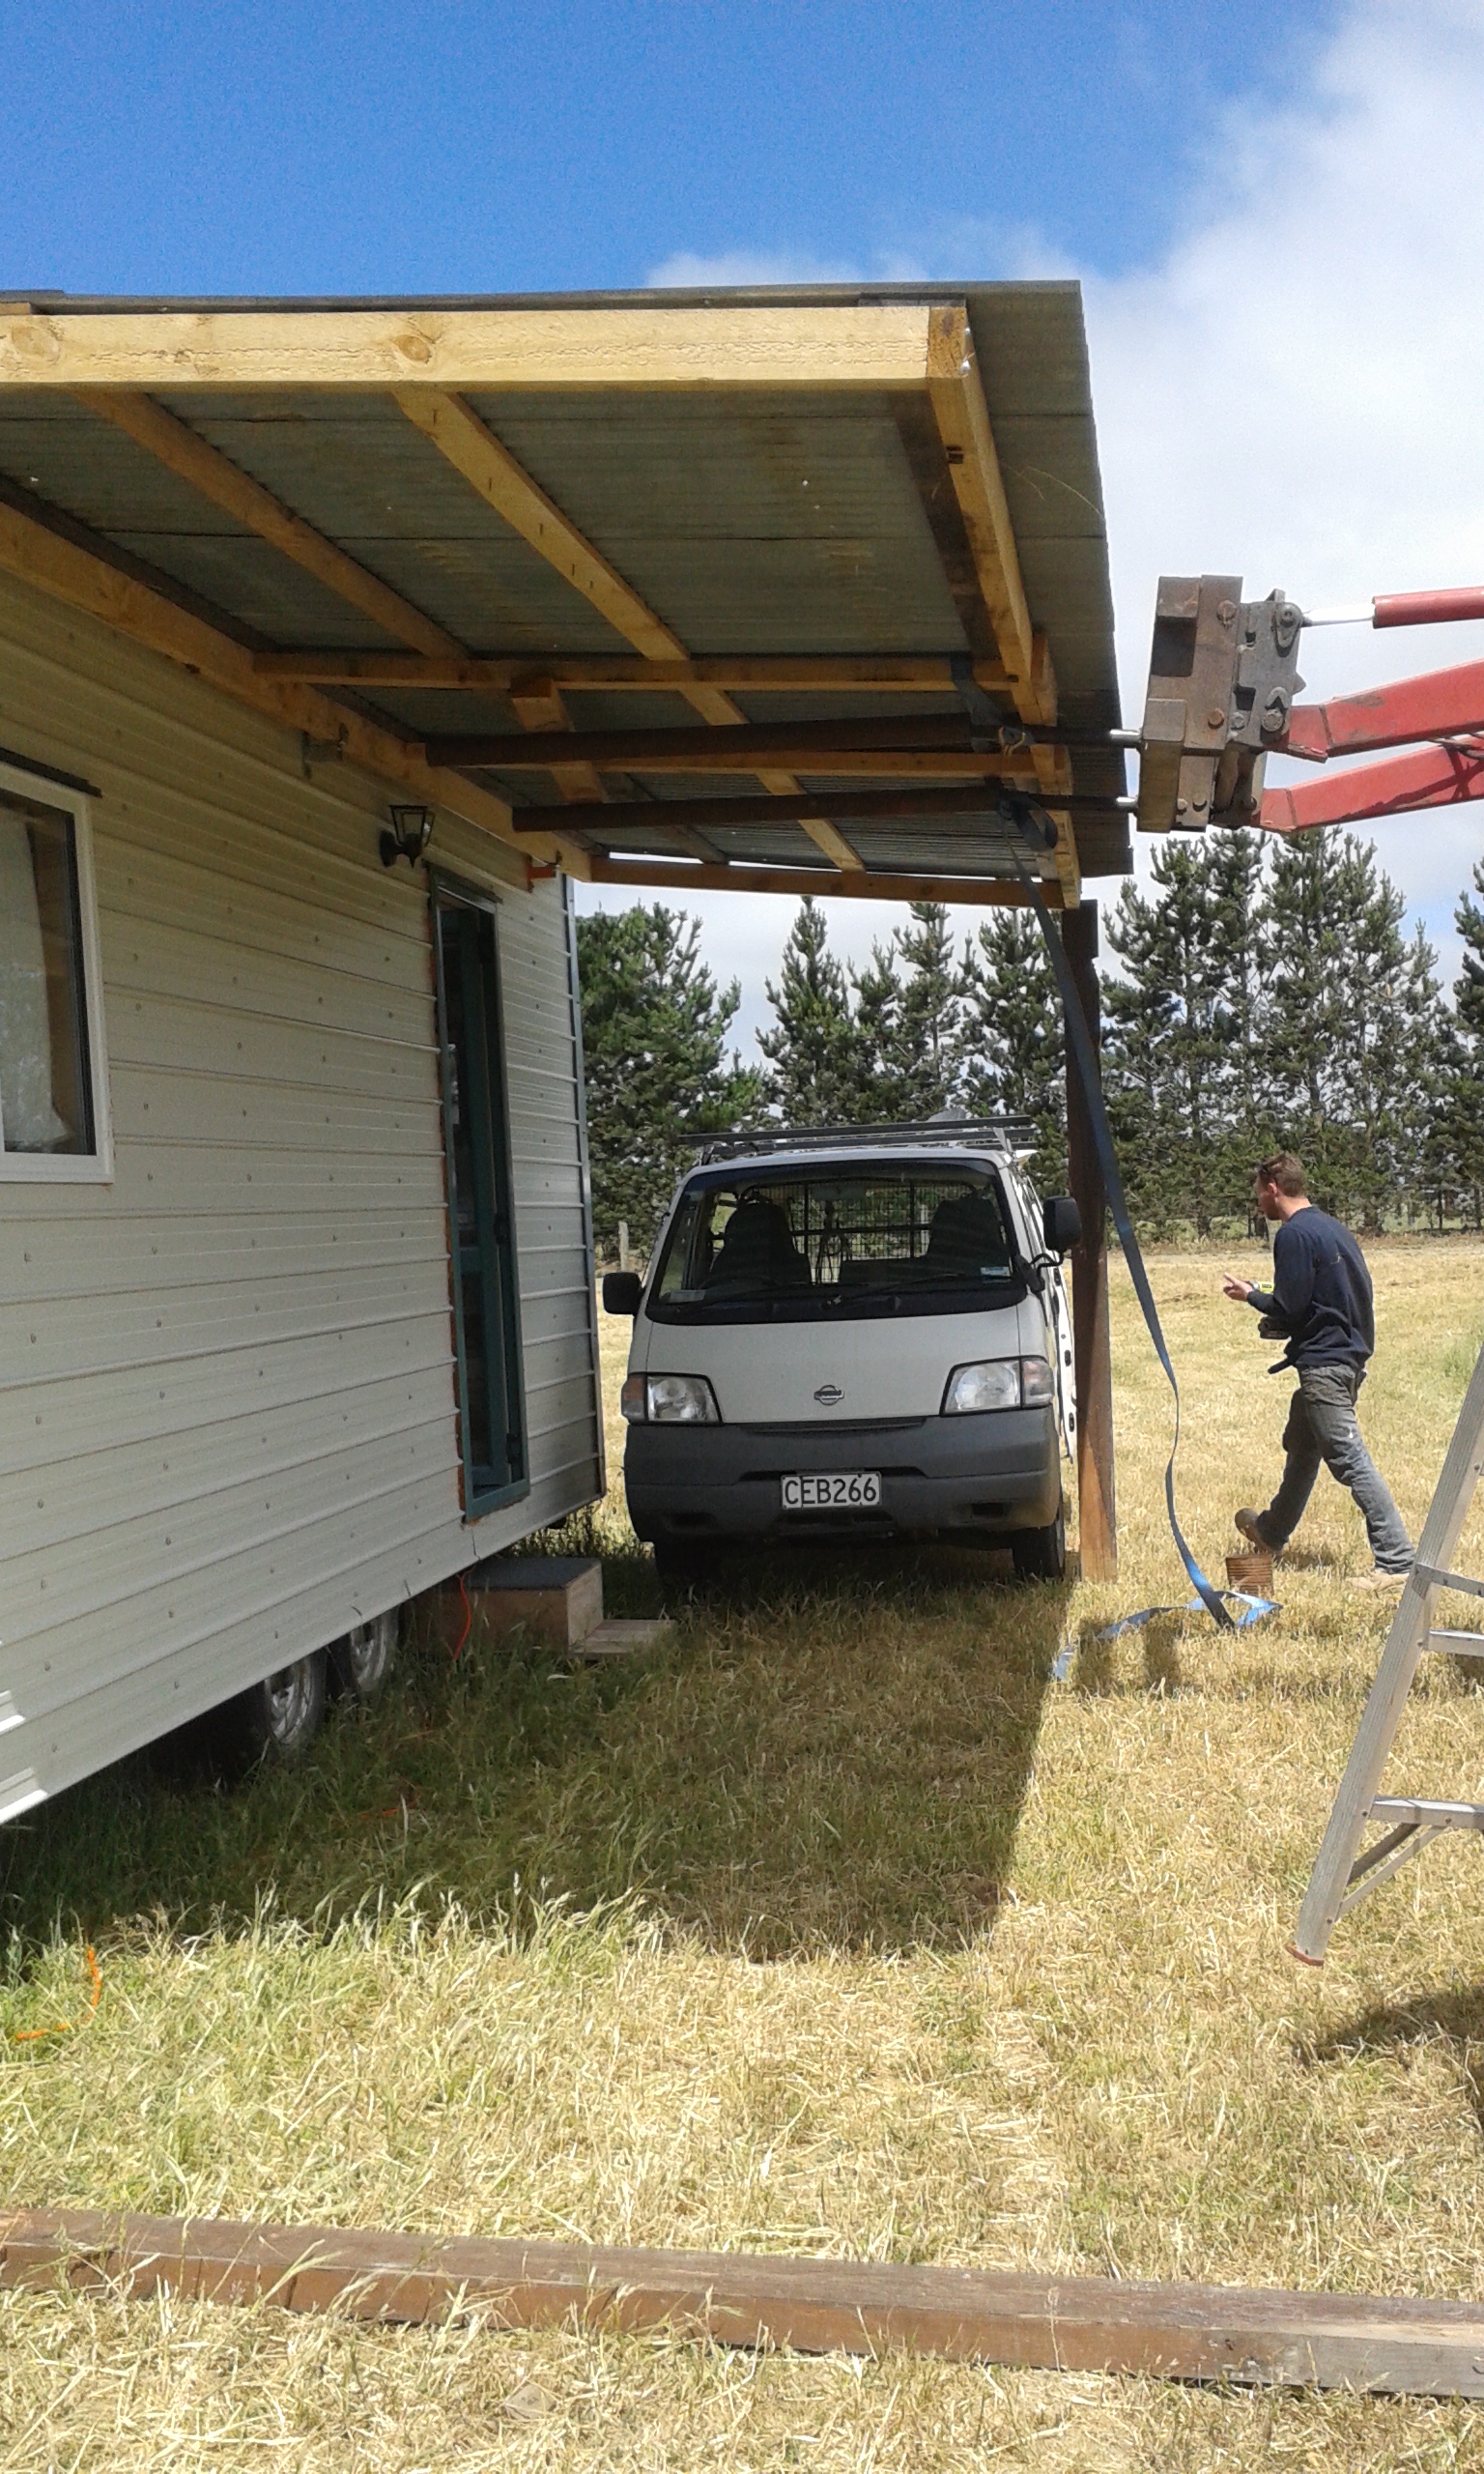
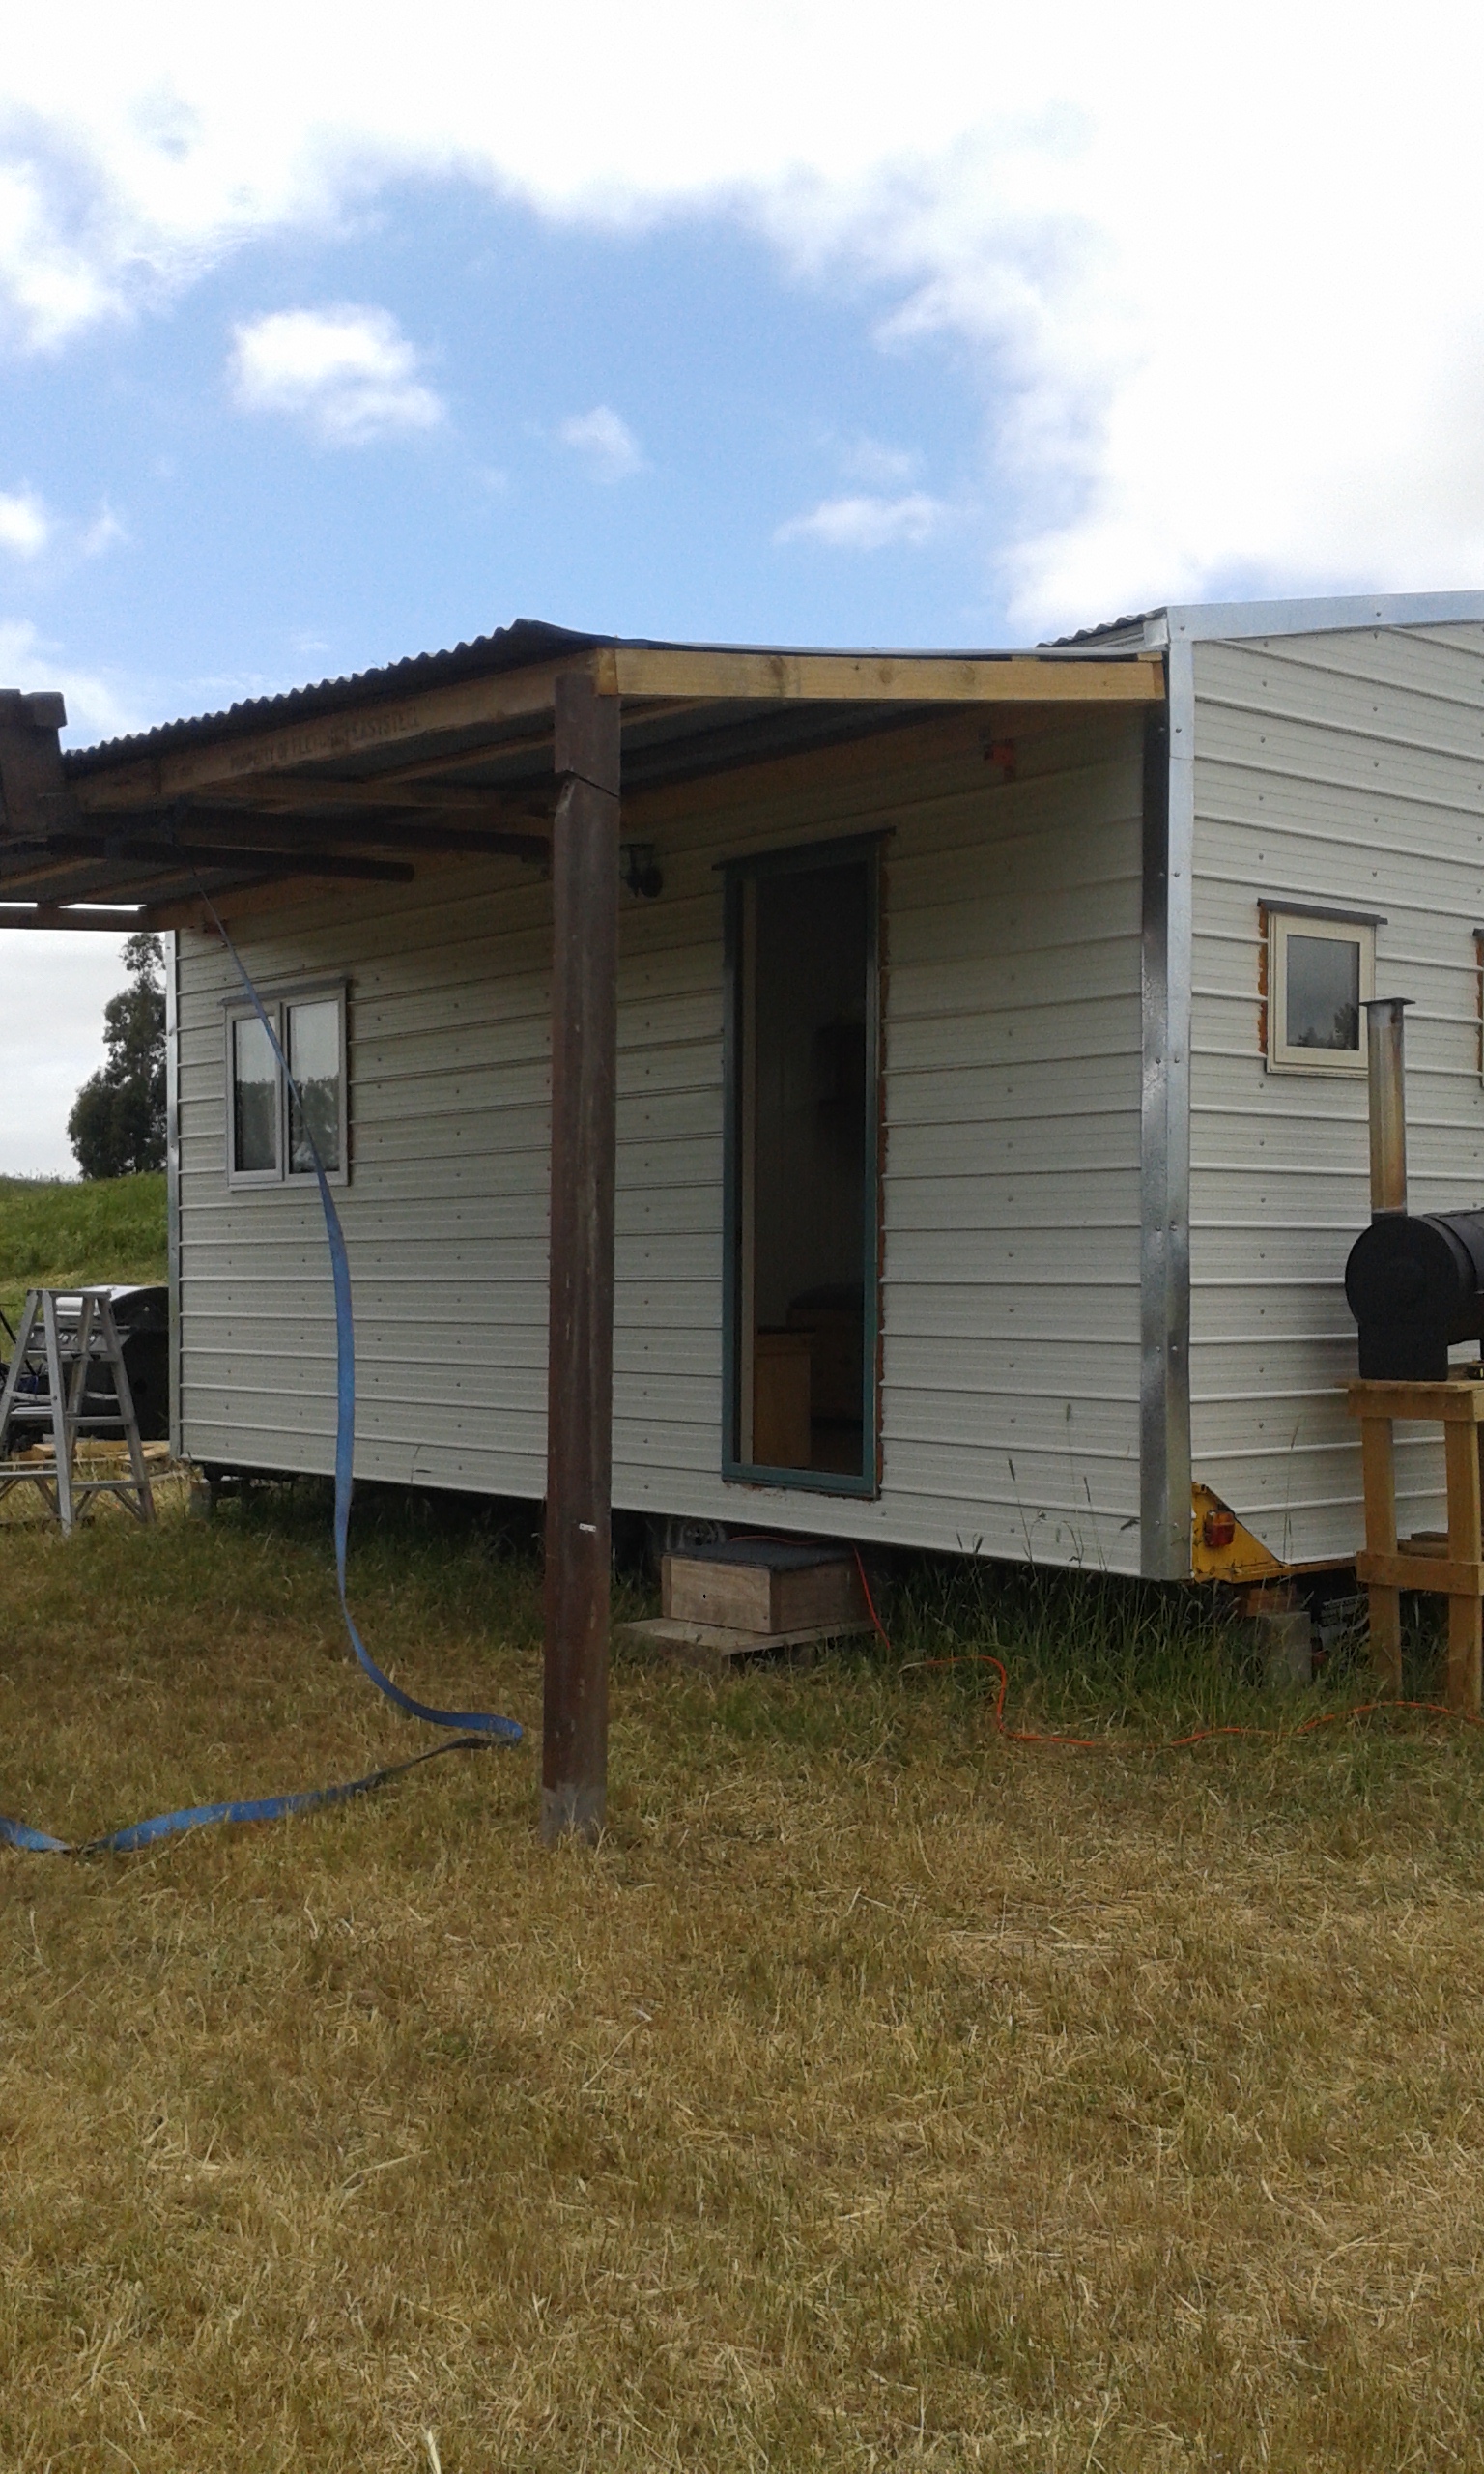
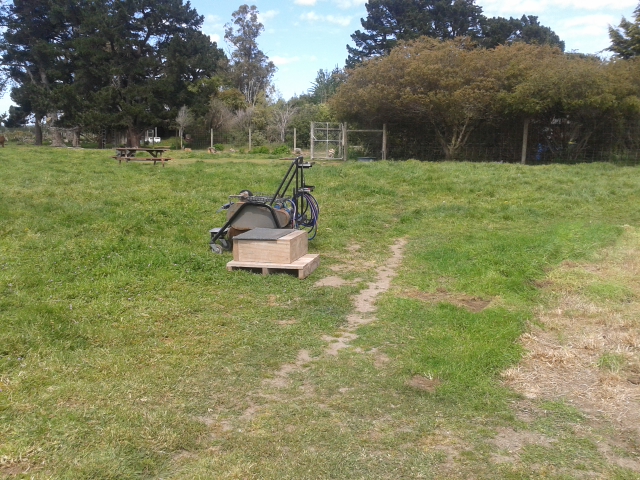
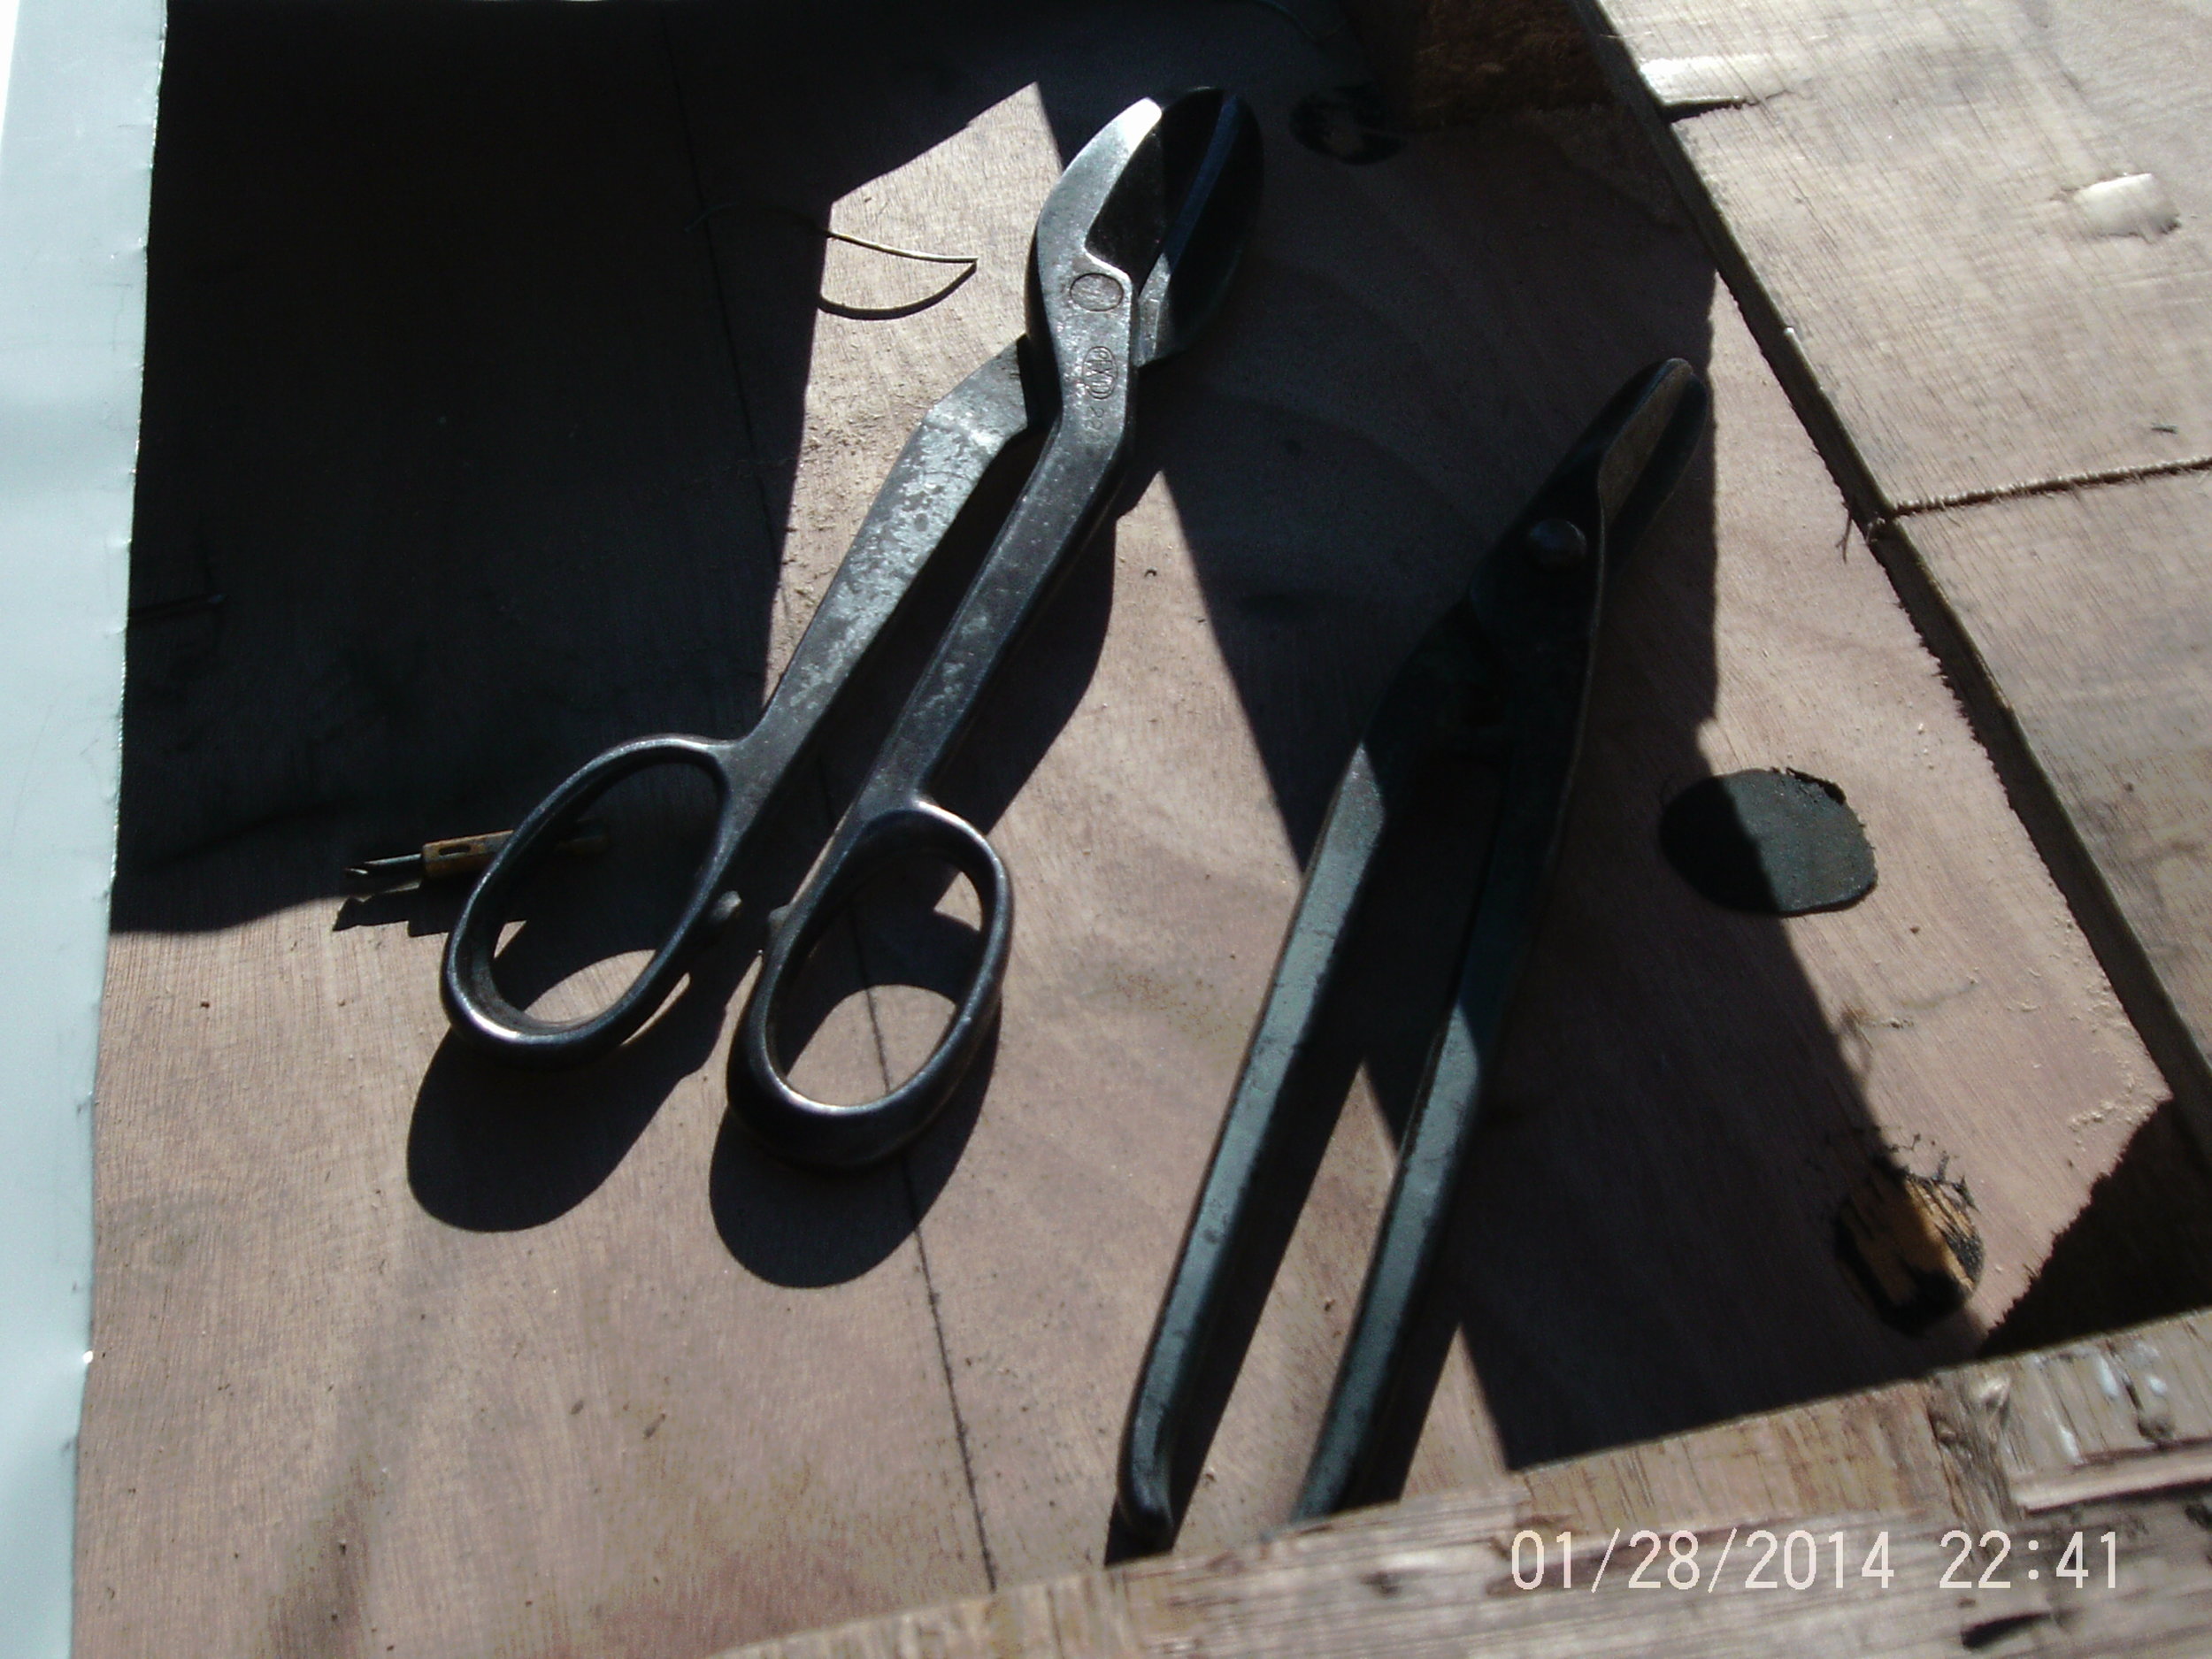
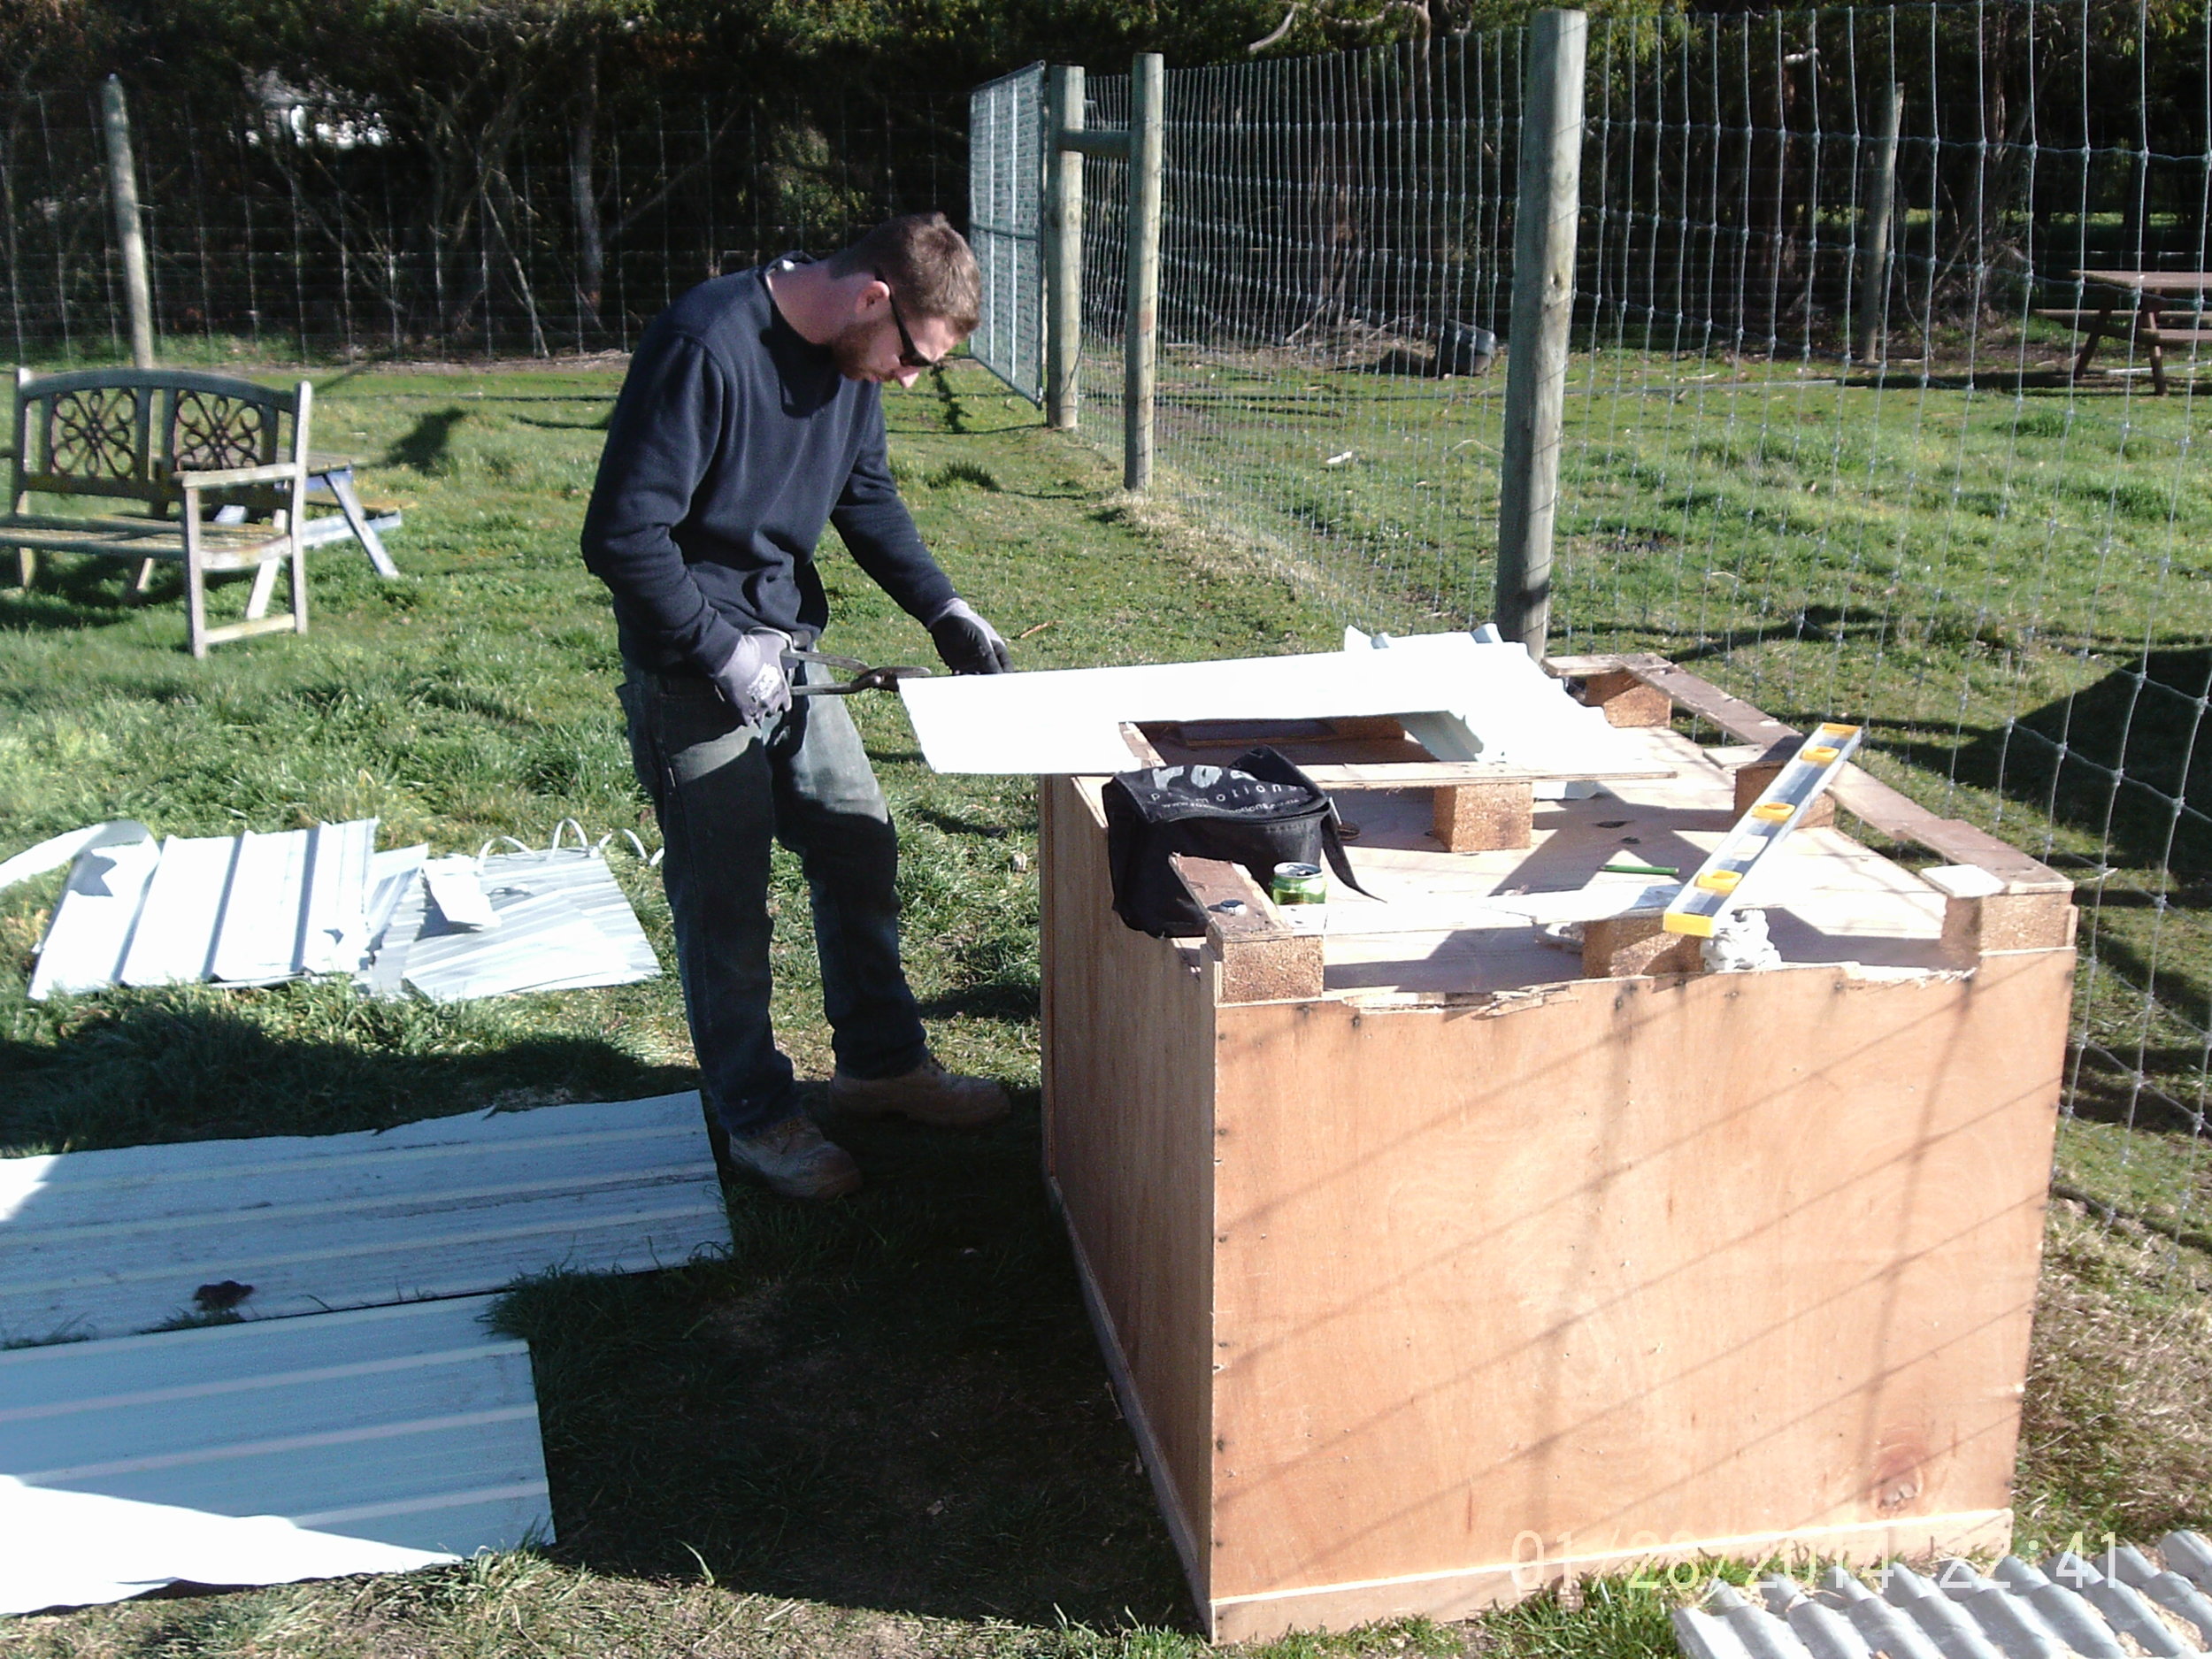
Hello Blog Readers, Today at the tiny house we took down our crappy awning and have replaced it with a more permanent roof structure. Our goal is to add more living space to our tiny house and will be complete once we finish building the attached deck.
I have built the roof out of pallets I got for free and the corrugated iron was left over from building the tiny house. I purchased three used rimu timber posts to support the roof from the ground, and some roofing screws. The total cost of the roof was about 40 dollars. We had help from our awesome land owners to lift the roof into place with his loader. Thank you so much!!

Thanks for reading and stay tuned for the composting toilet and the deck!
-Pat and Cori

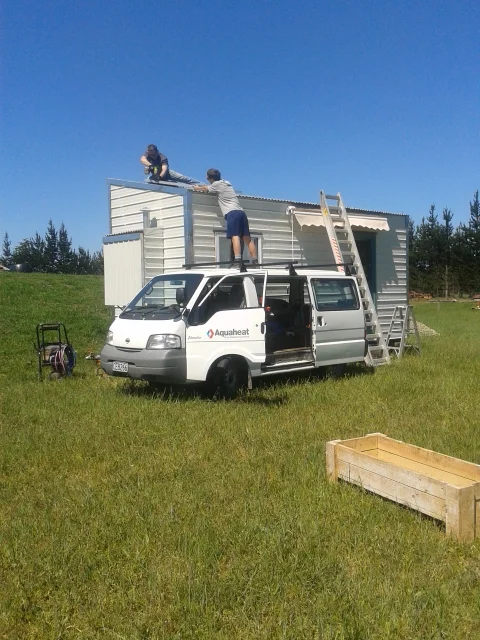
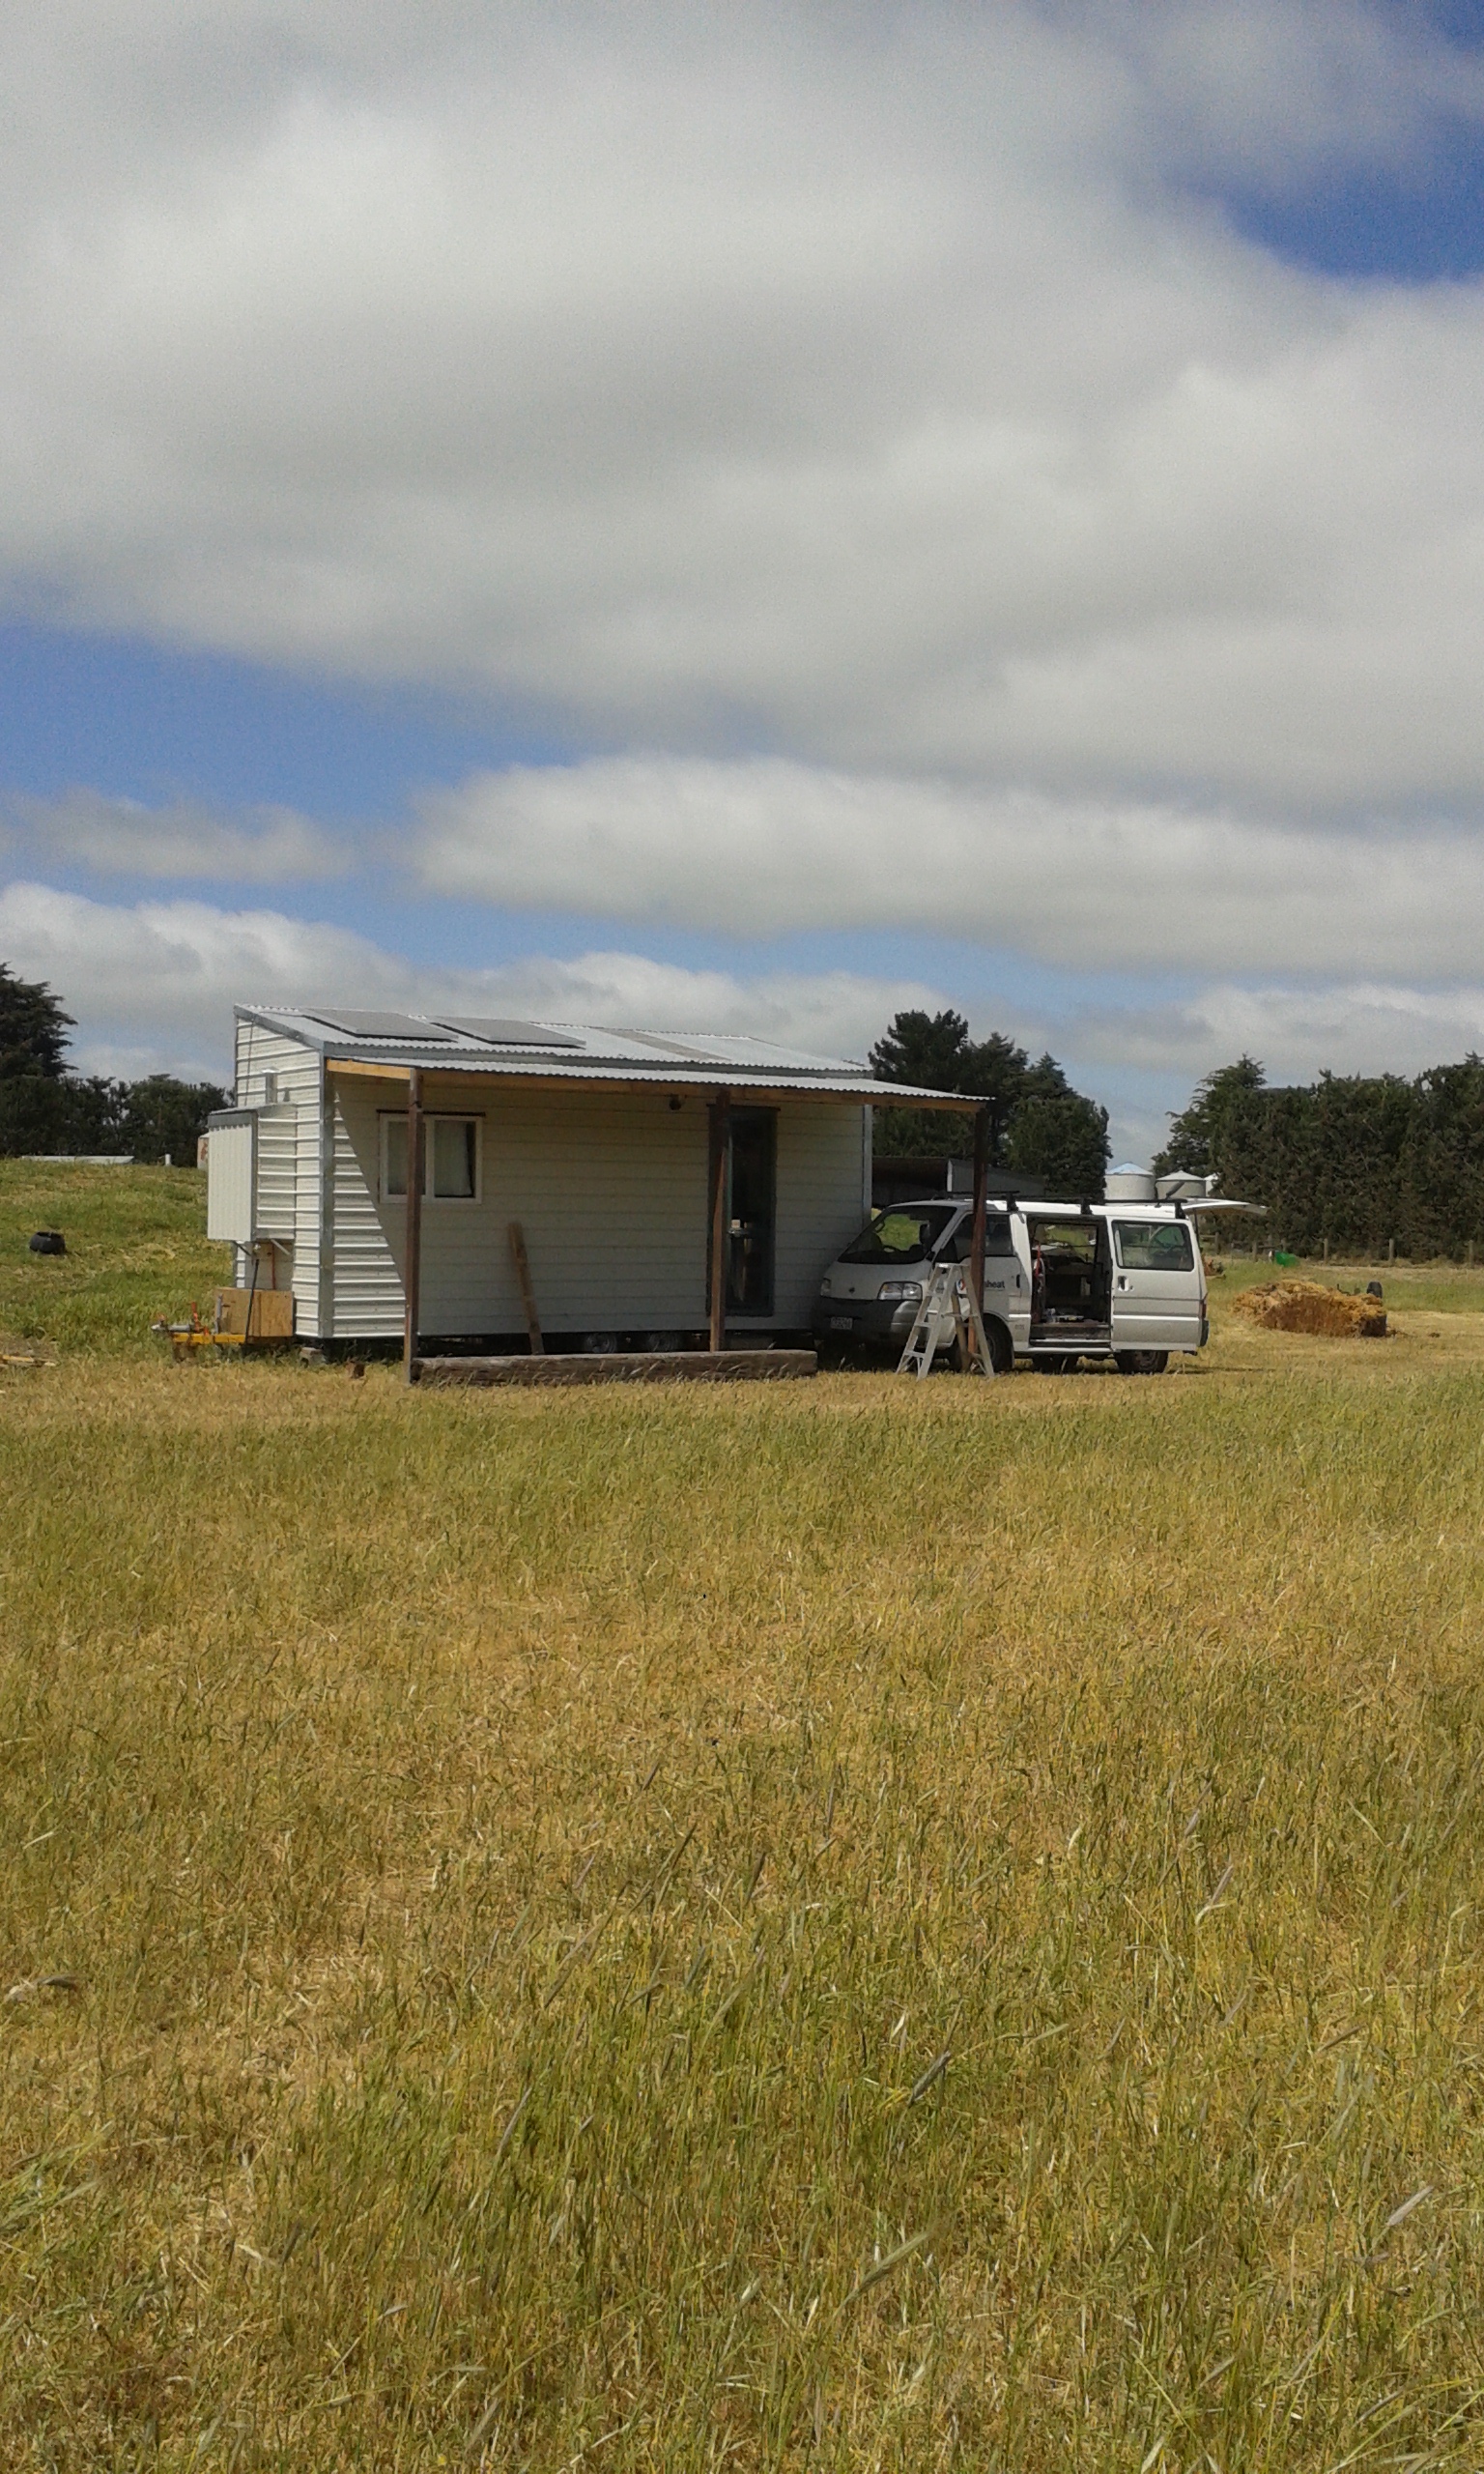
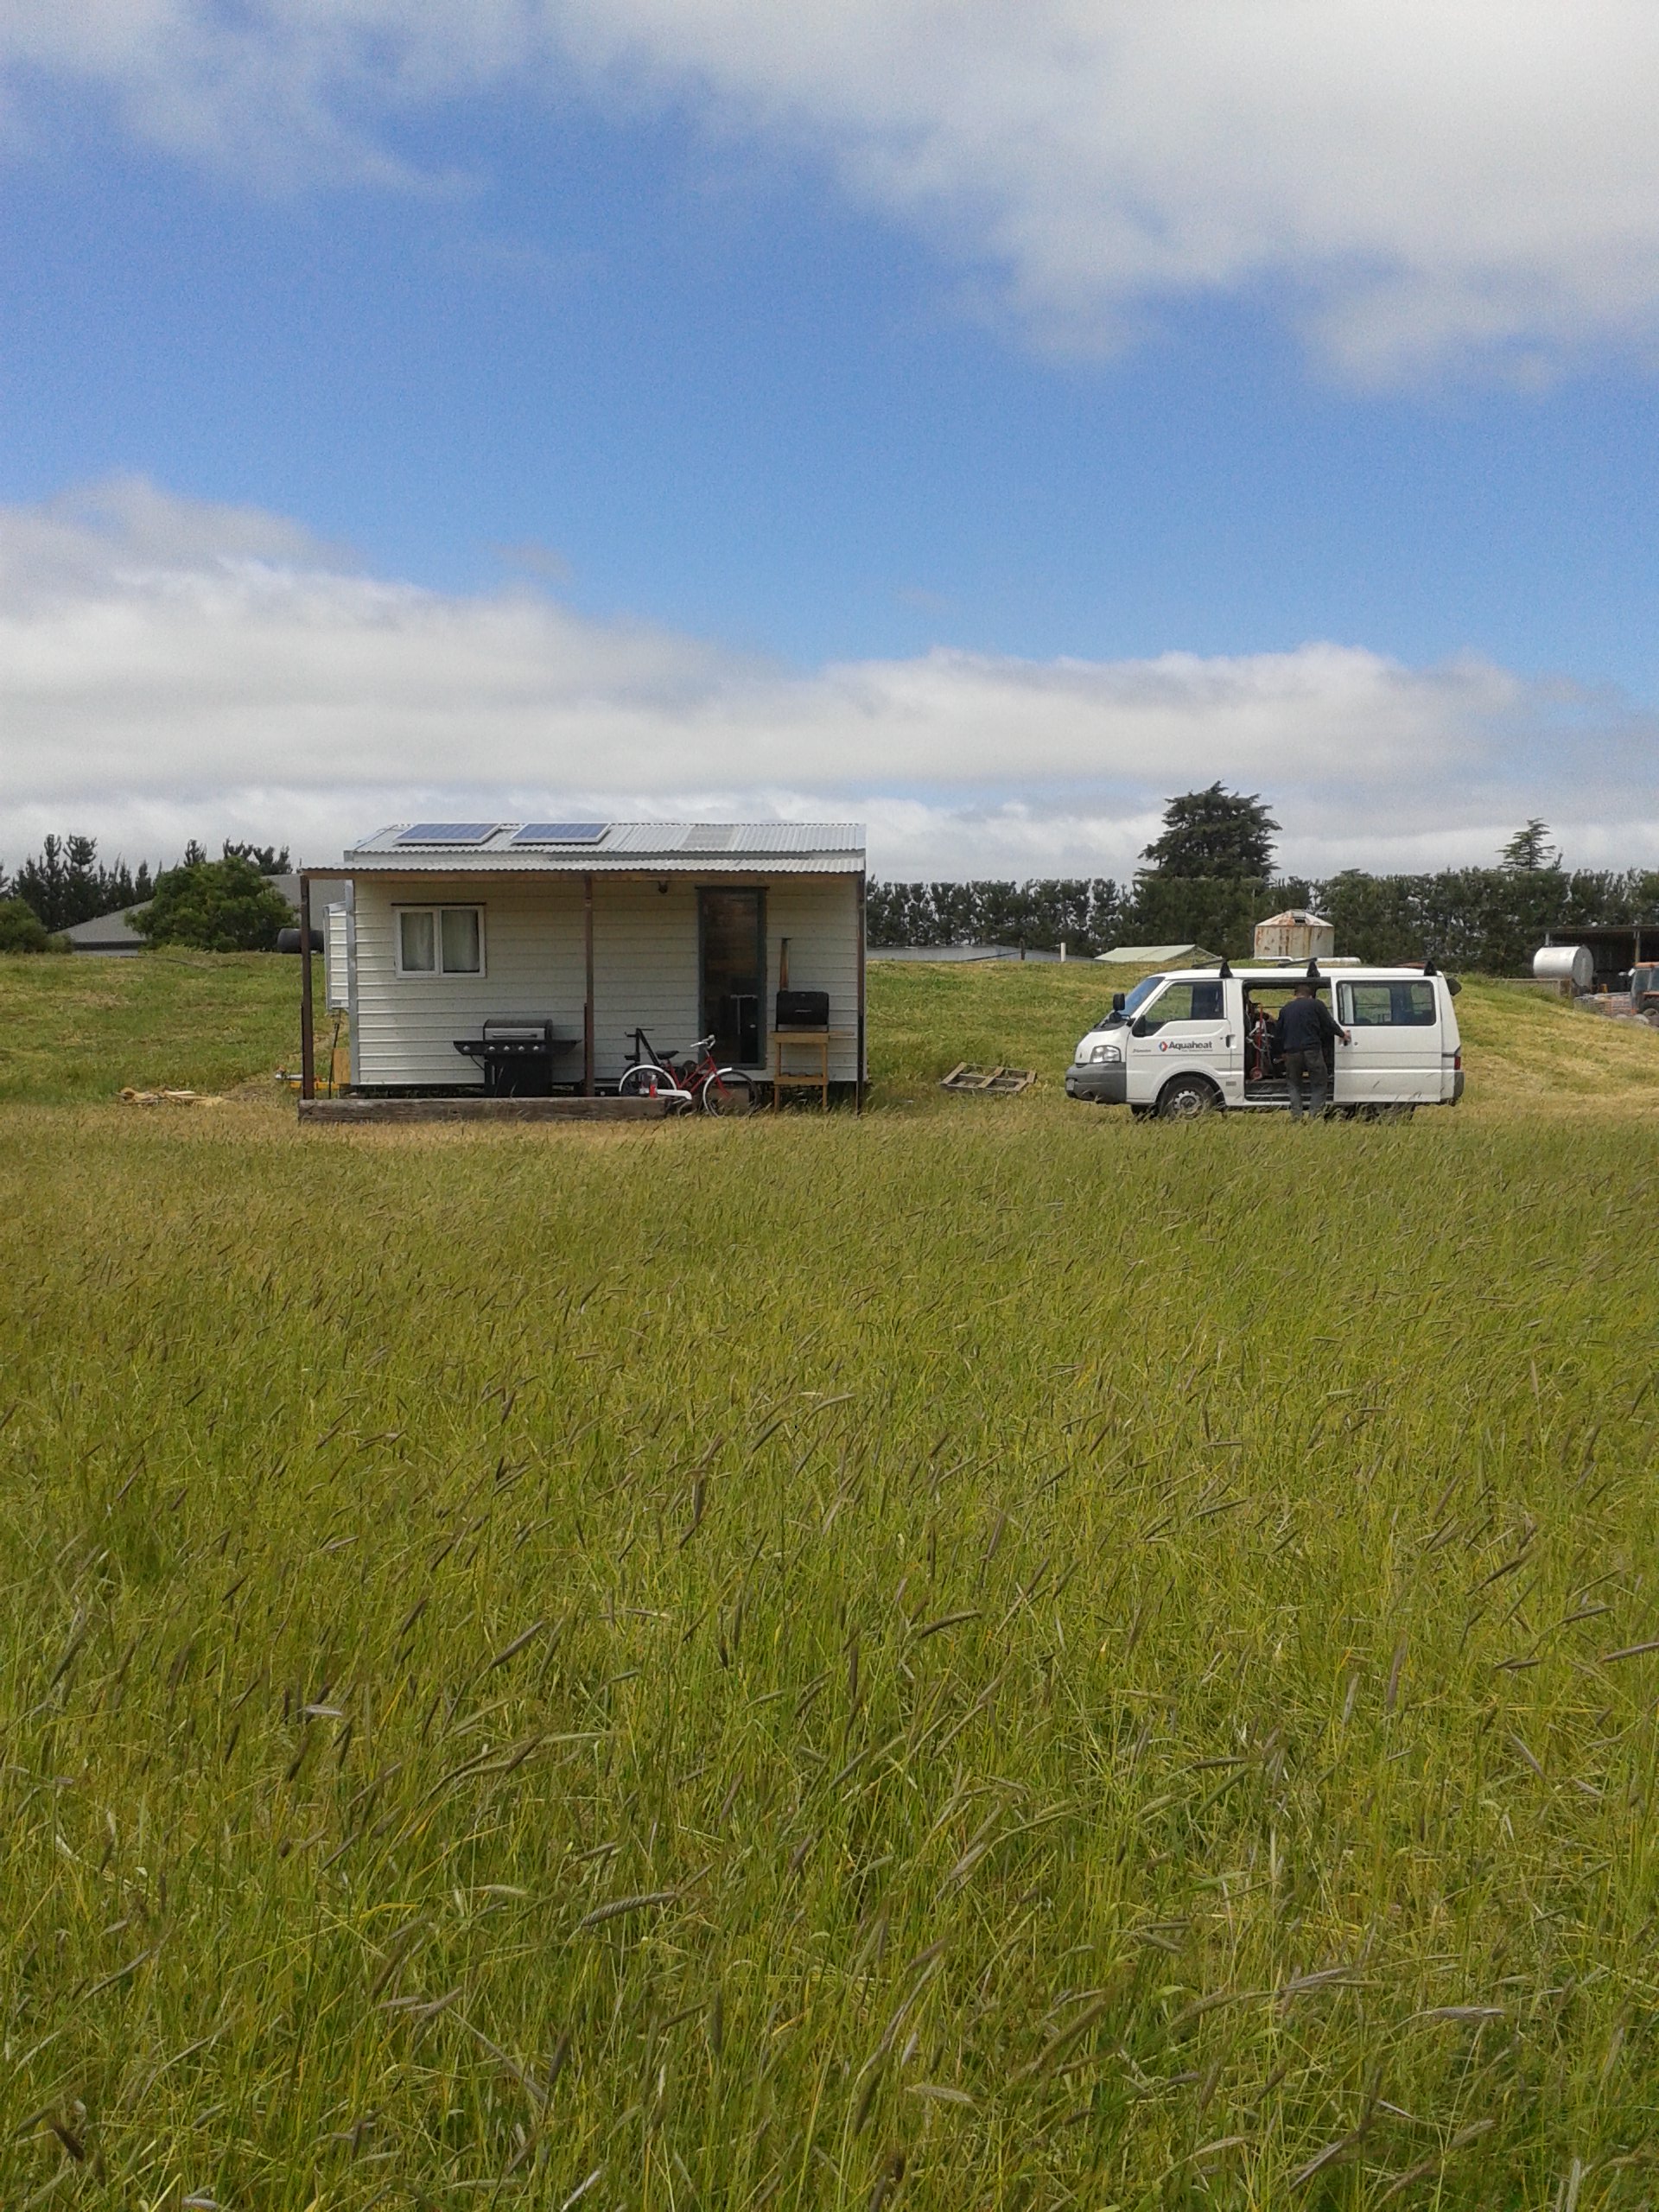
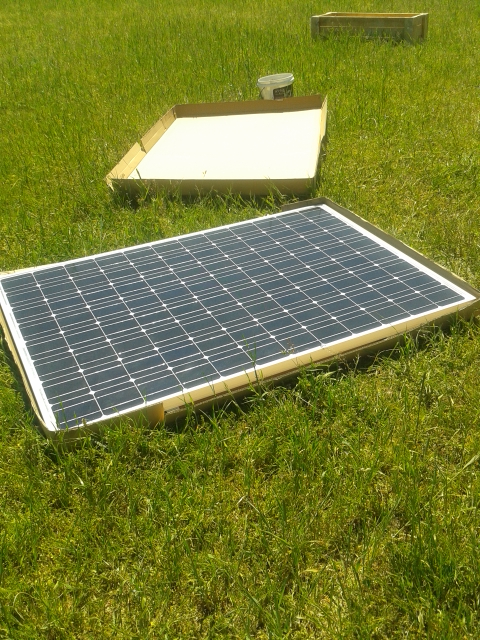
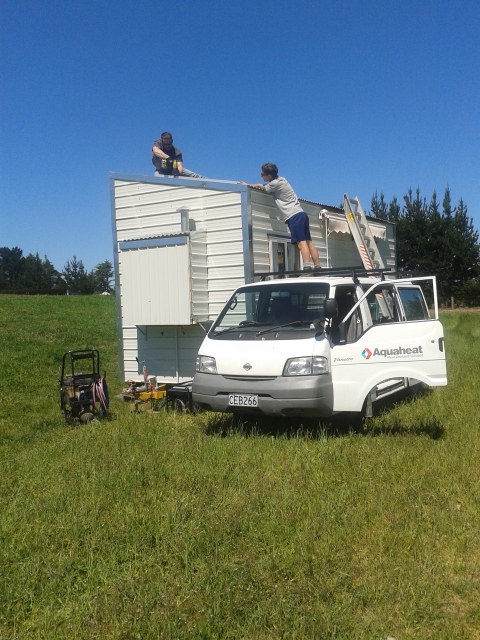
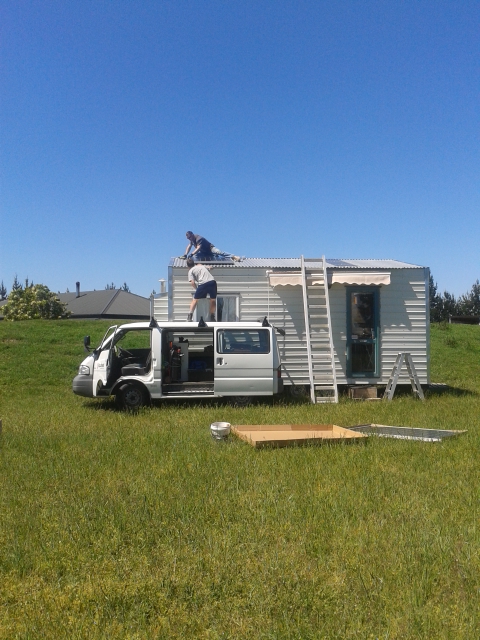
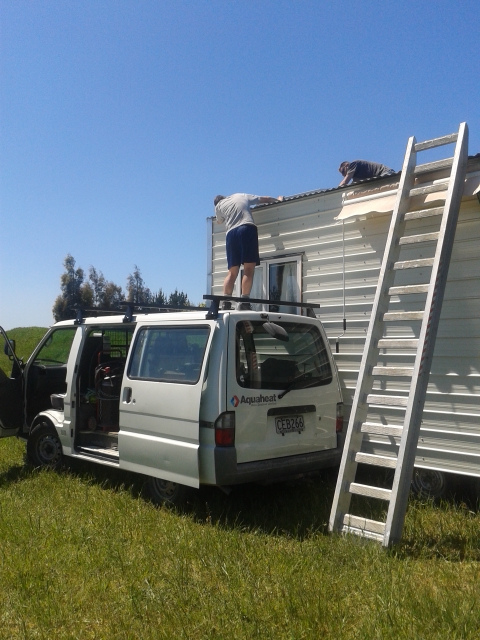
Hi Everyone, This weekend at the Tiny House we mounted our solar panels to the roof. I had help from a good friend from work and it went really smoothly. We installed two 265 watt solar panels and two 12 volt 325 amp hour batteries to create a 24 volt system. Our goal from the beginning of our build was to be free of electric bills. We are now generating our own electricity and it is amazing to see the whole thing finally come together.


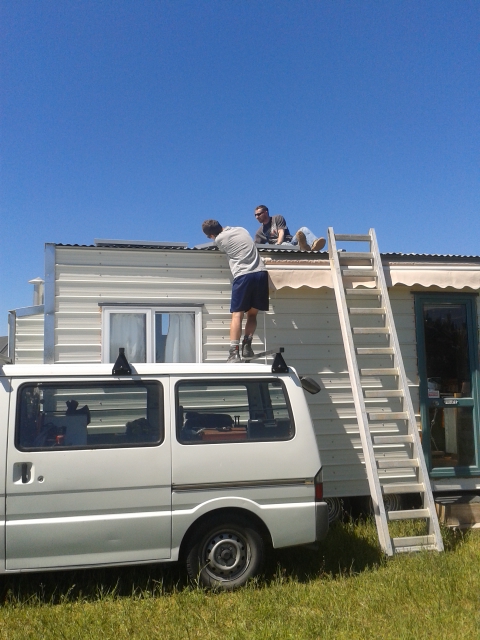


Thanks for reading! Next up- water, deck and a toilet.
-Pat and Cori
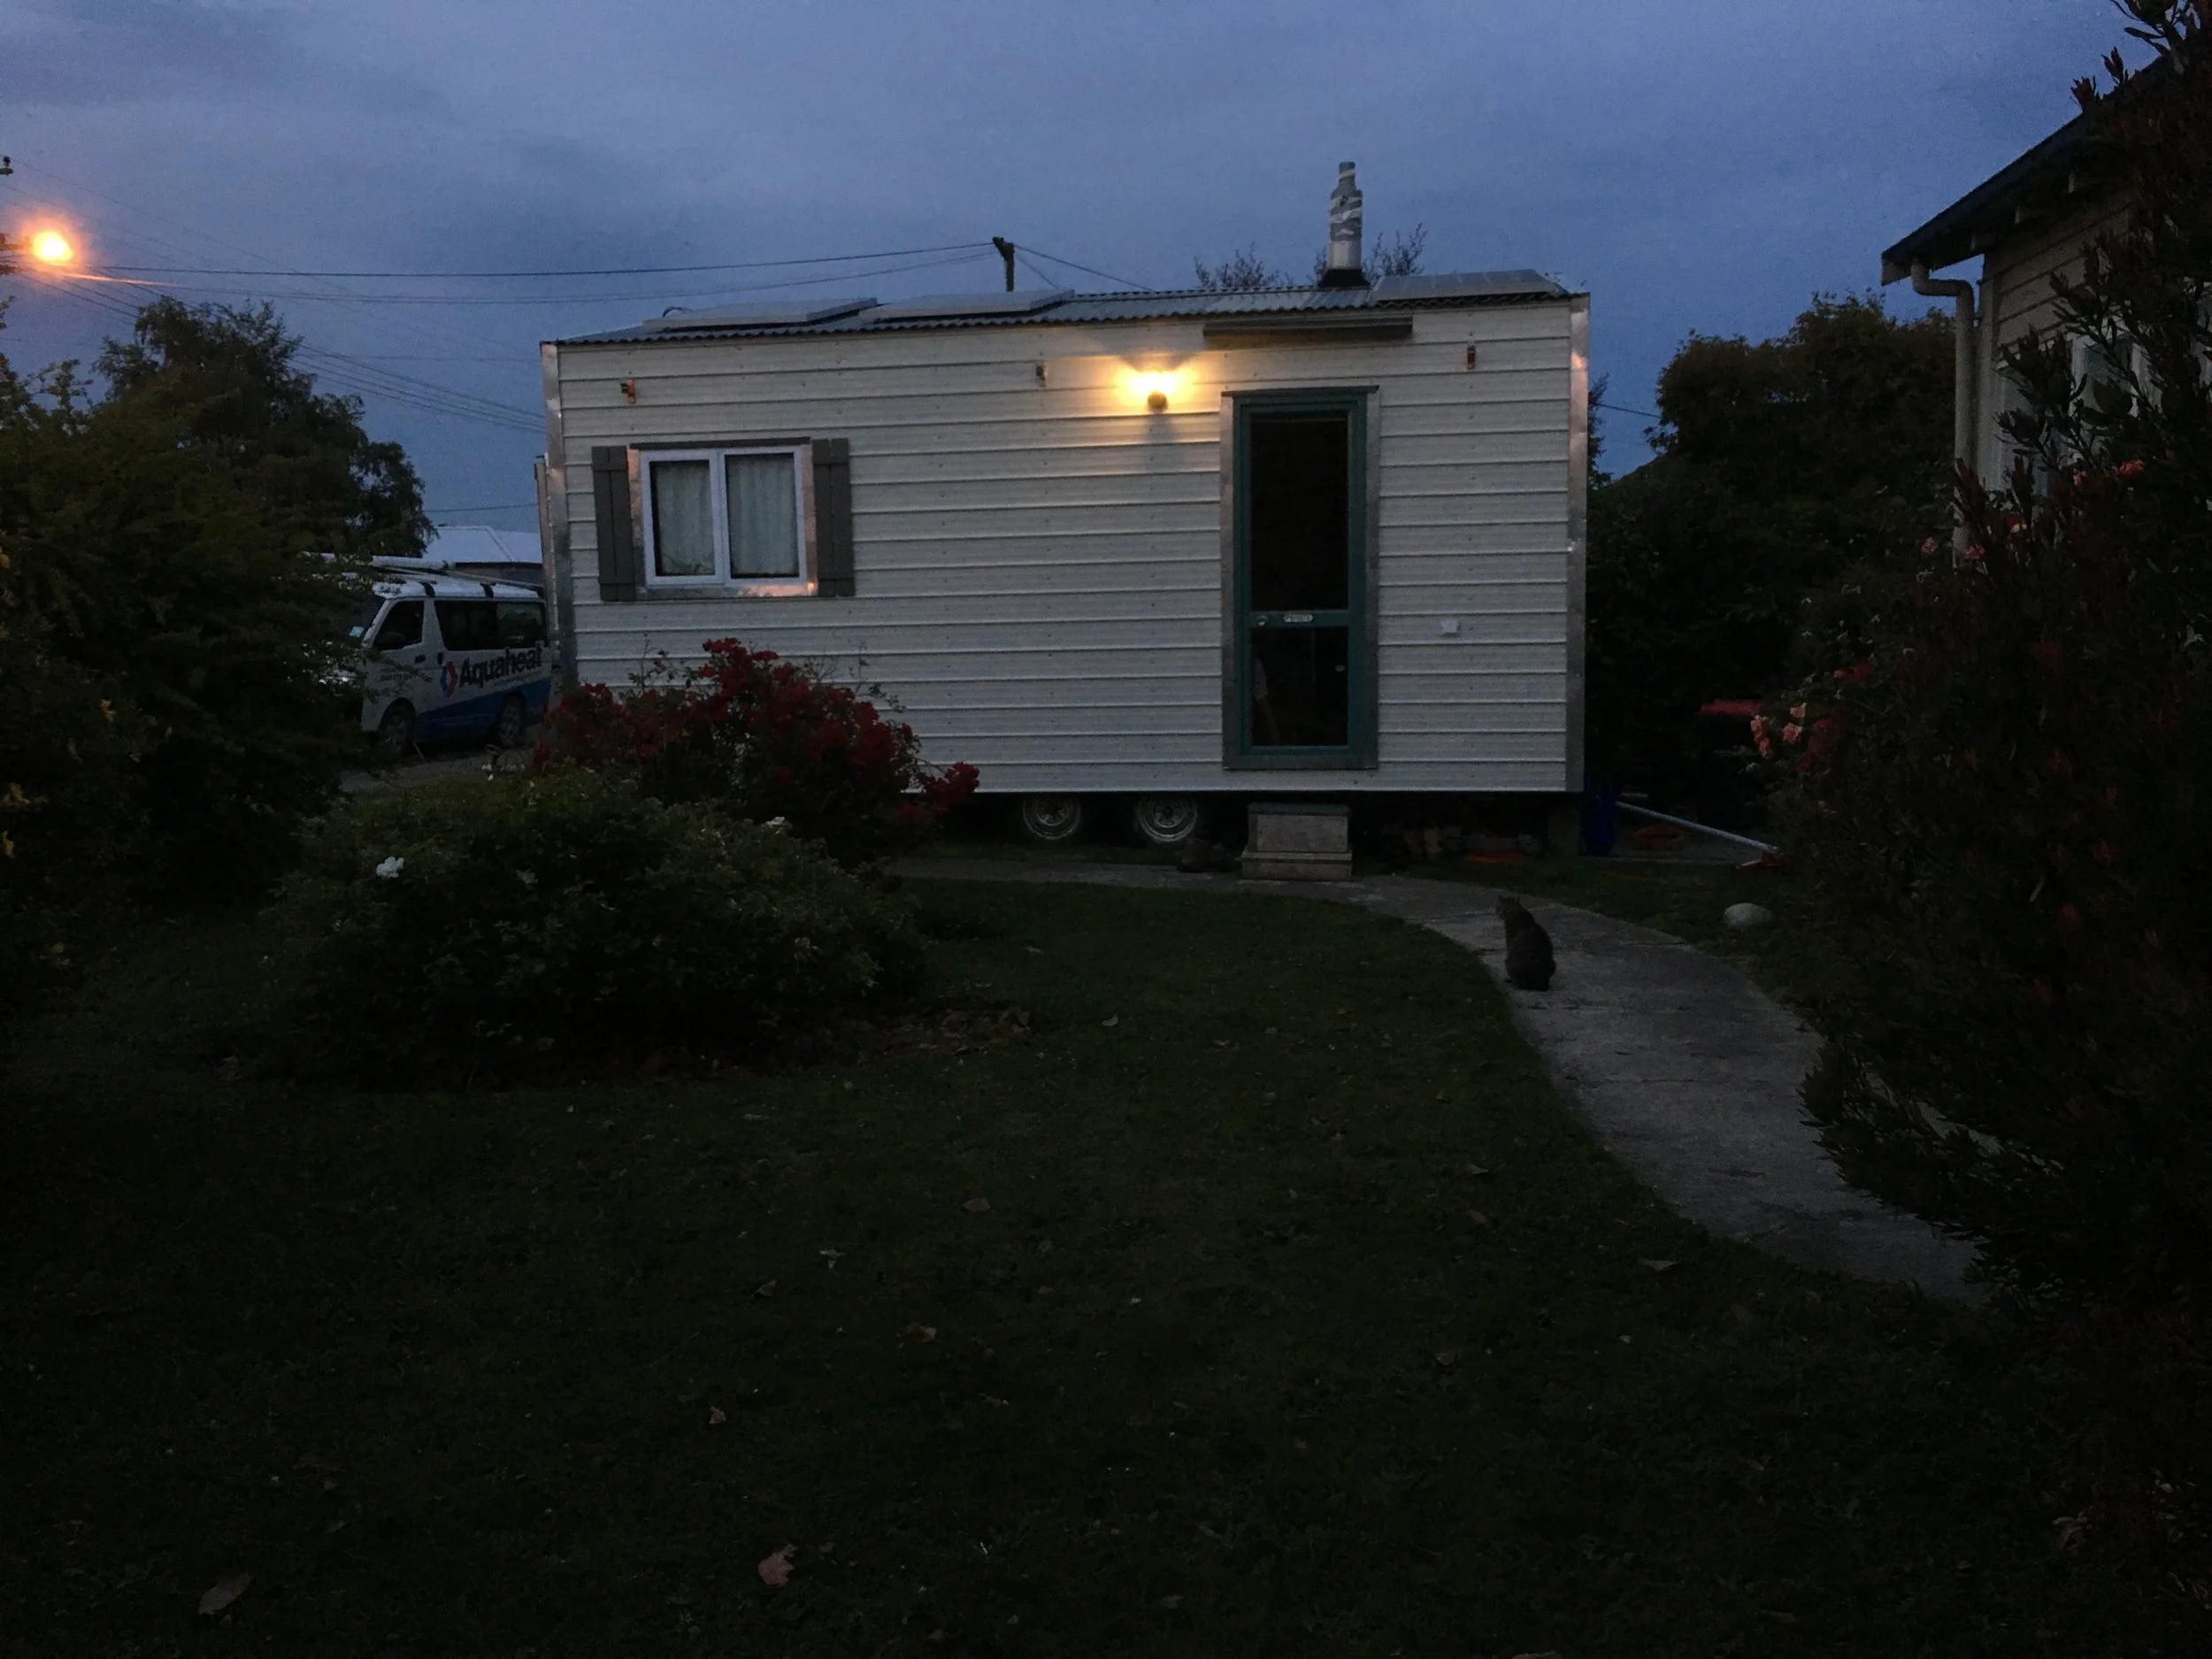
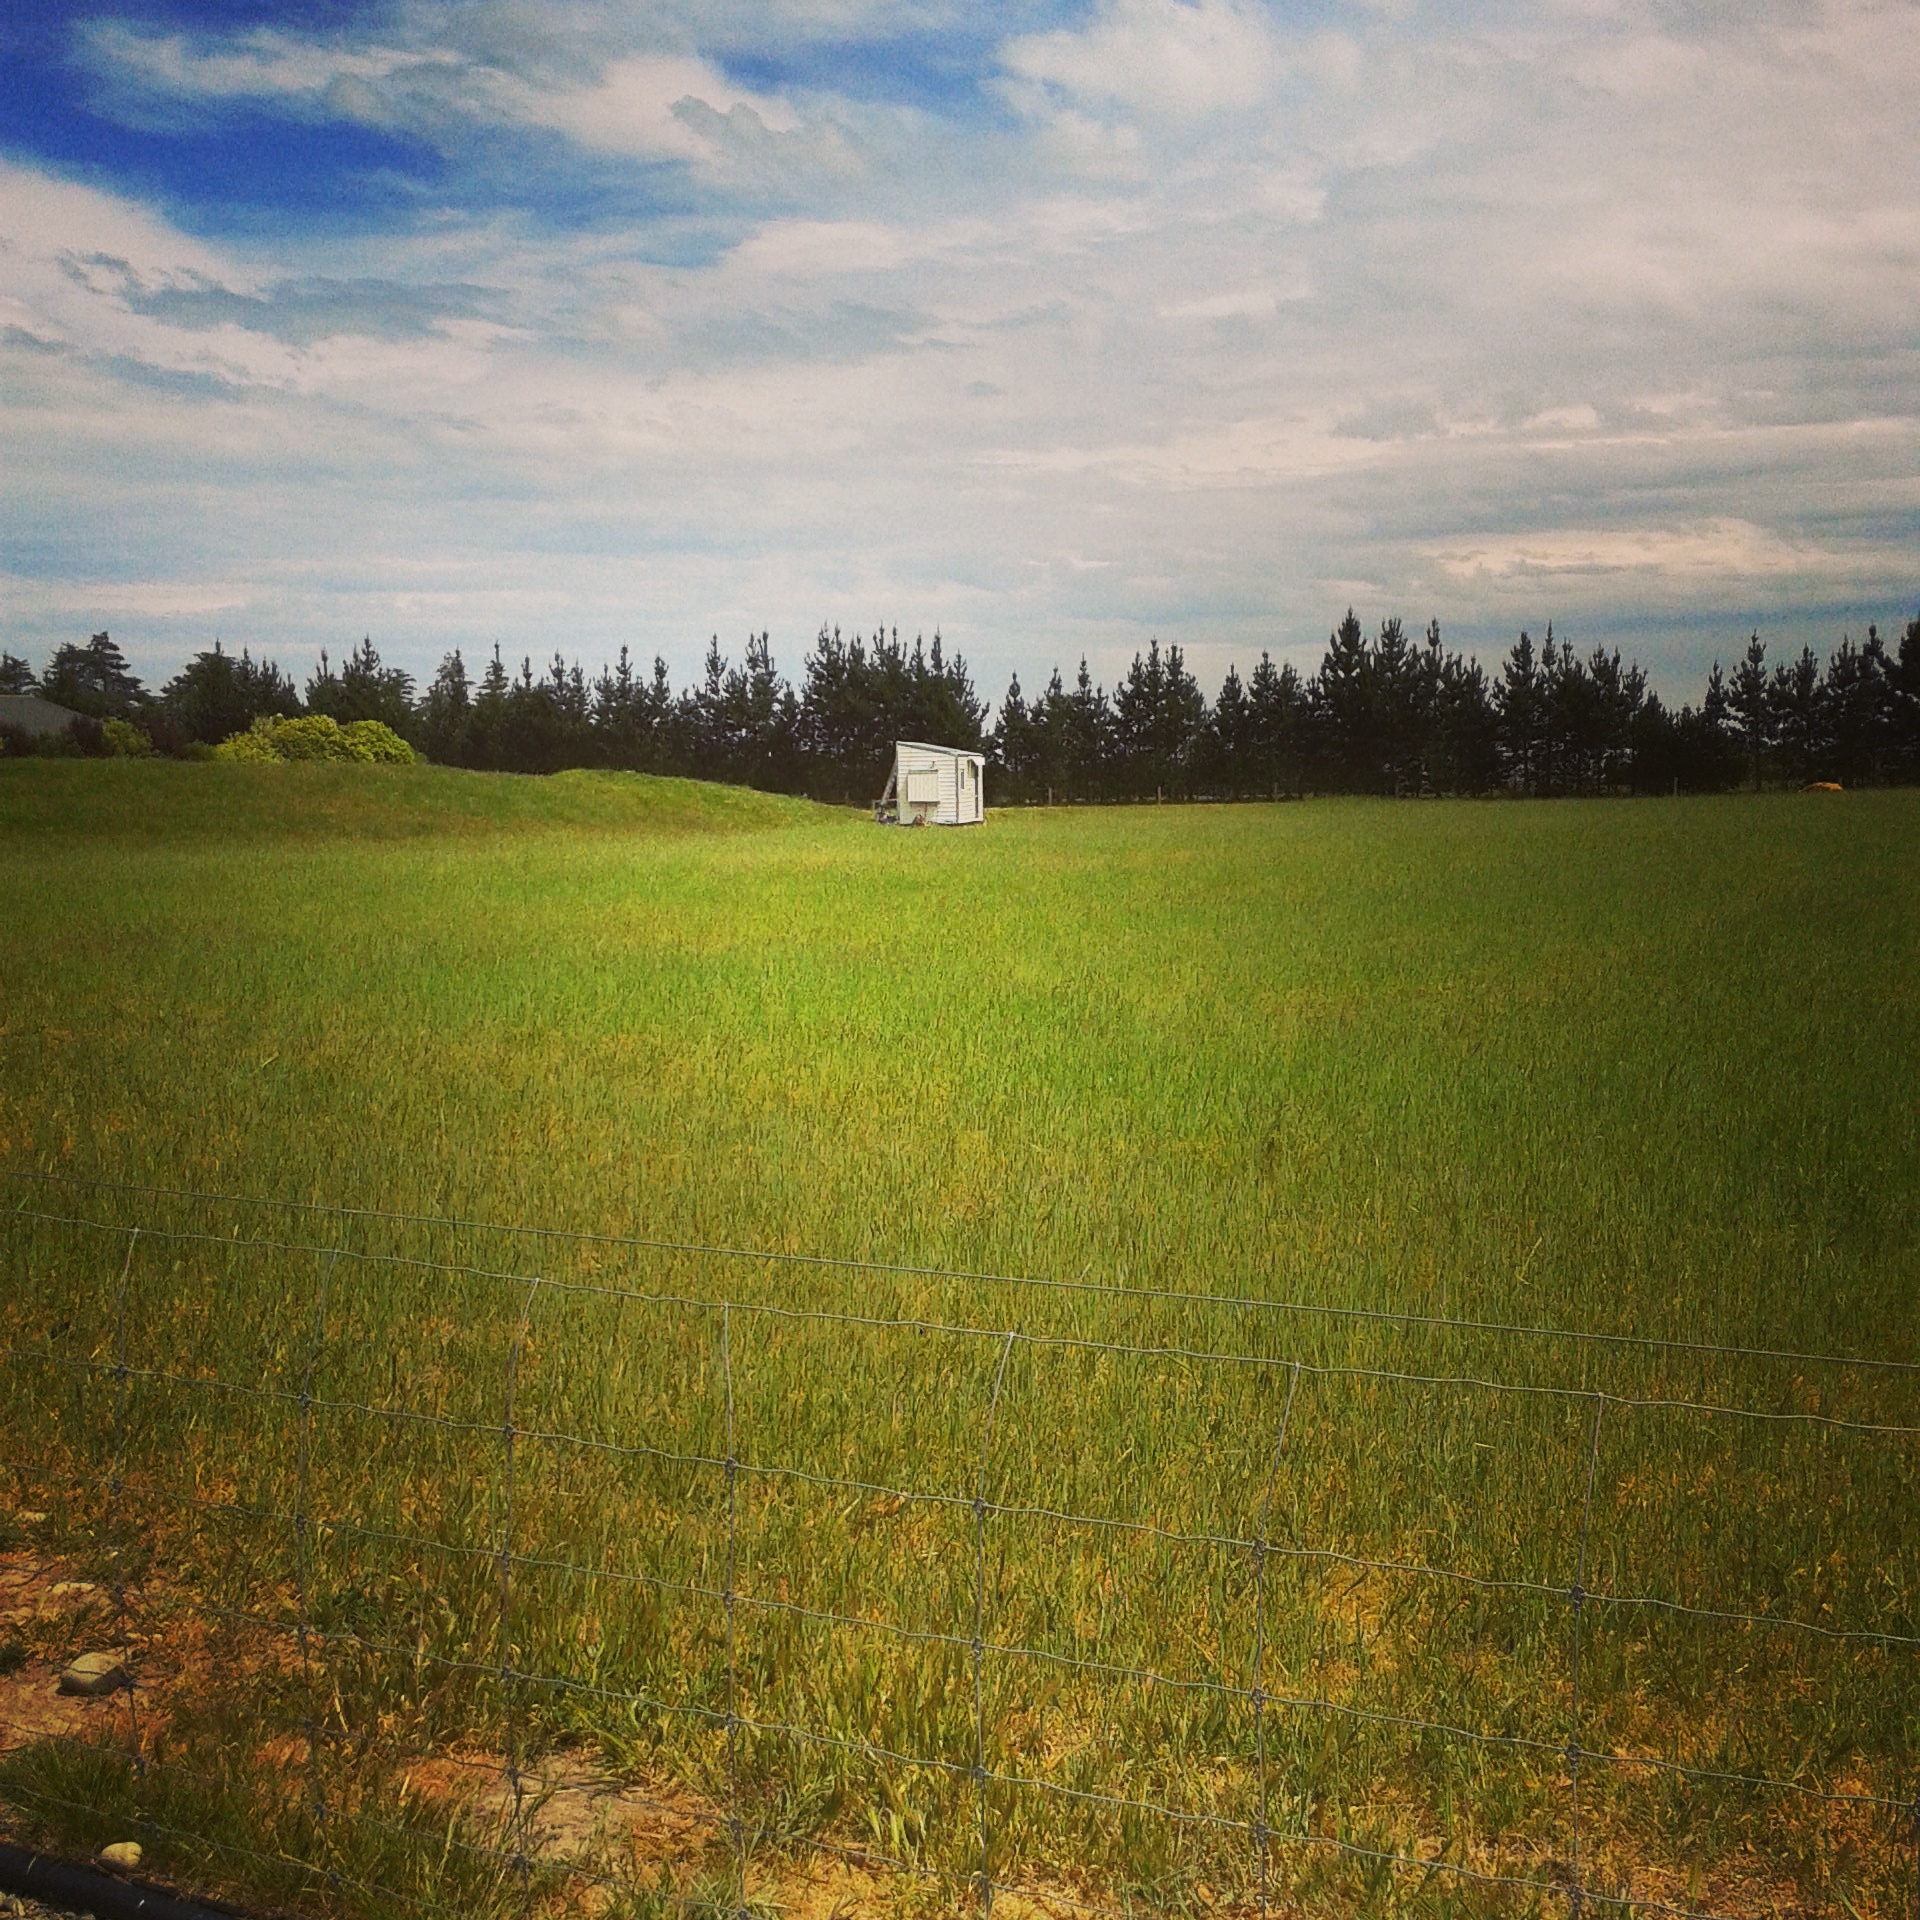
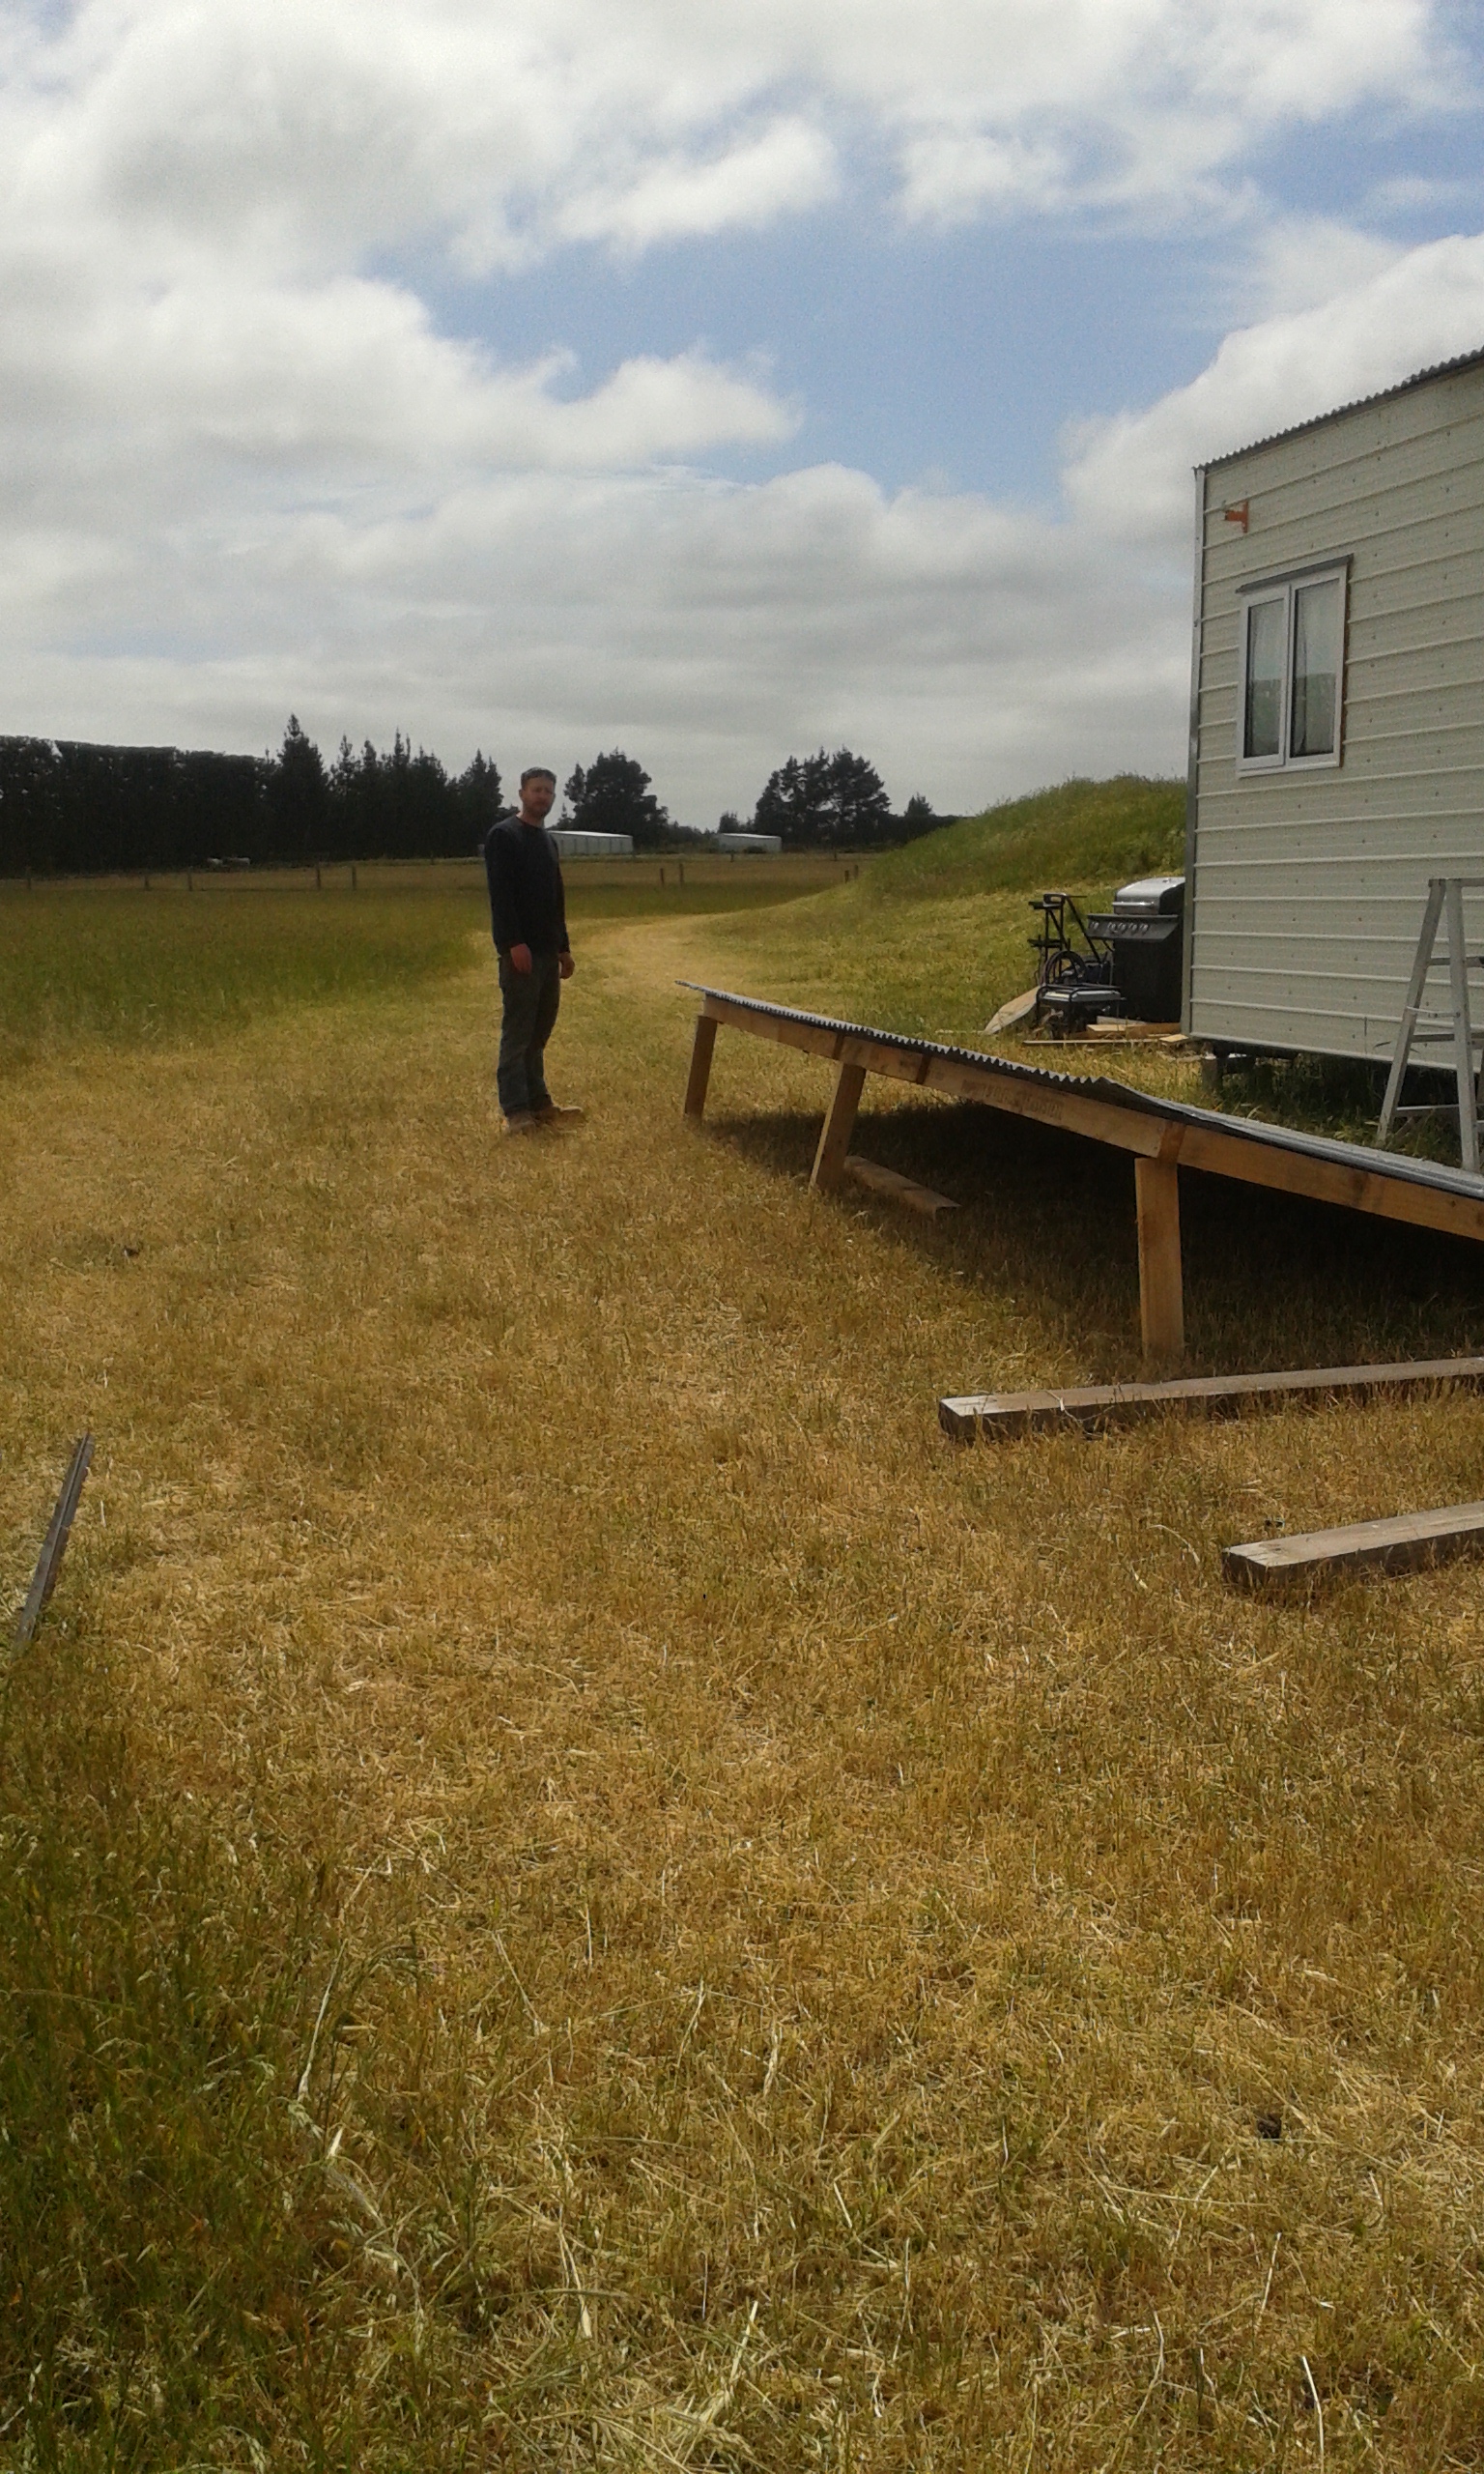
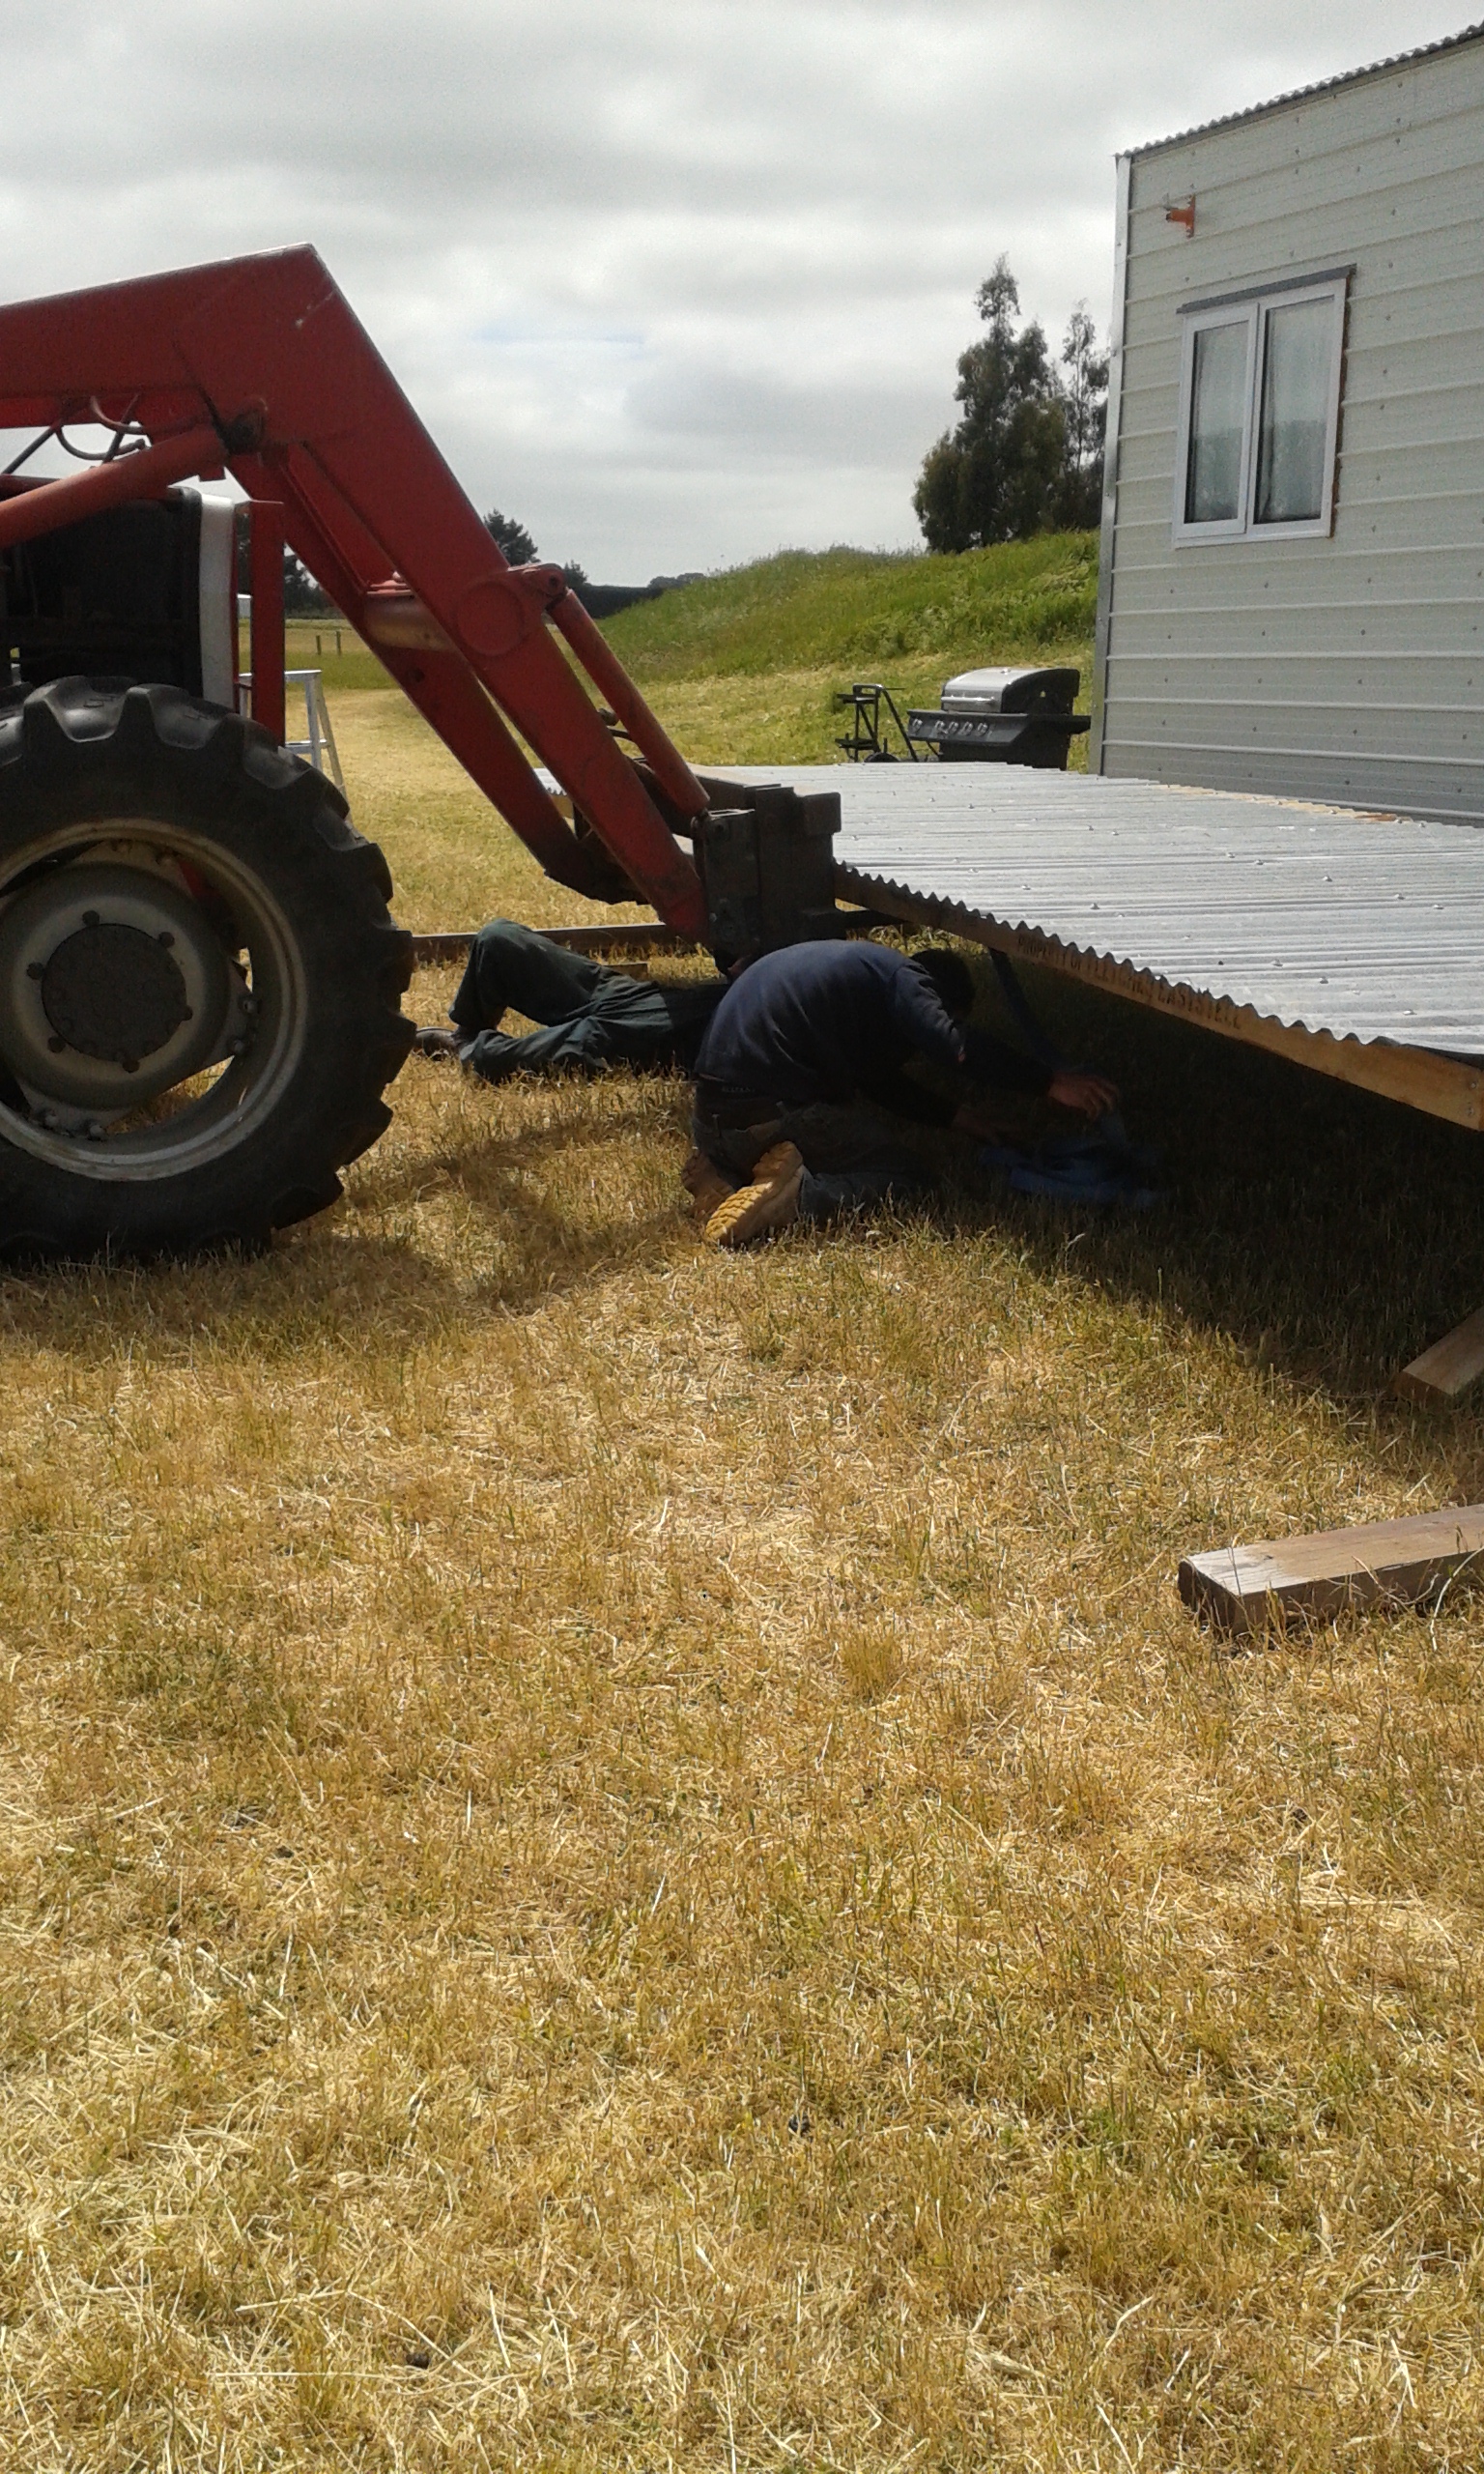
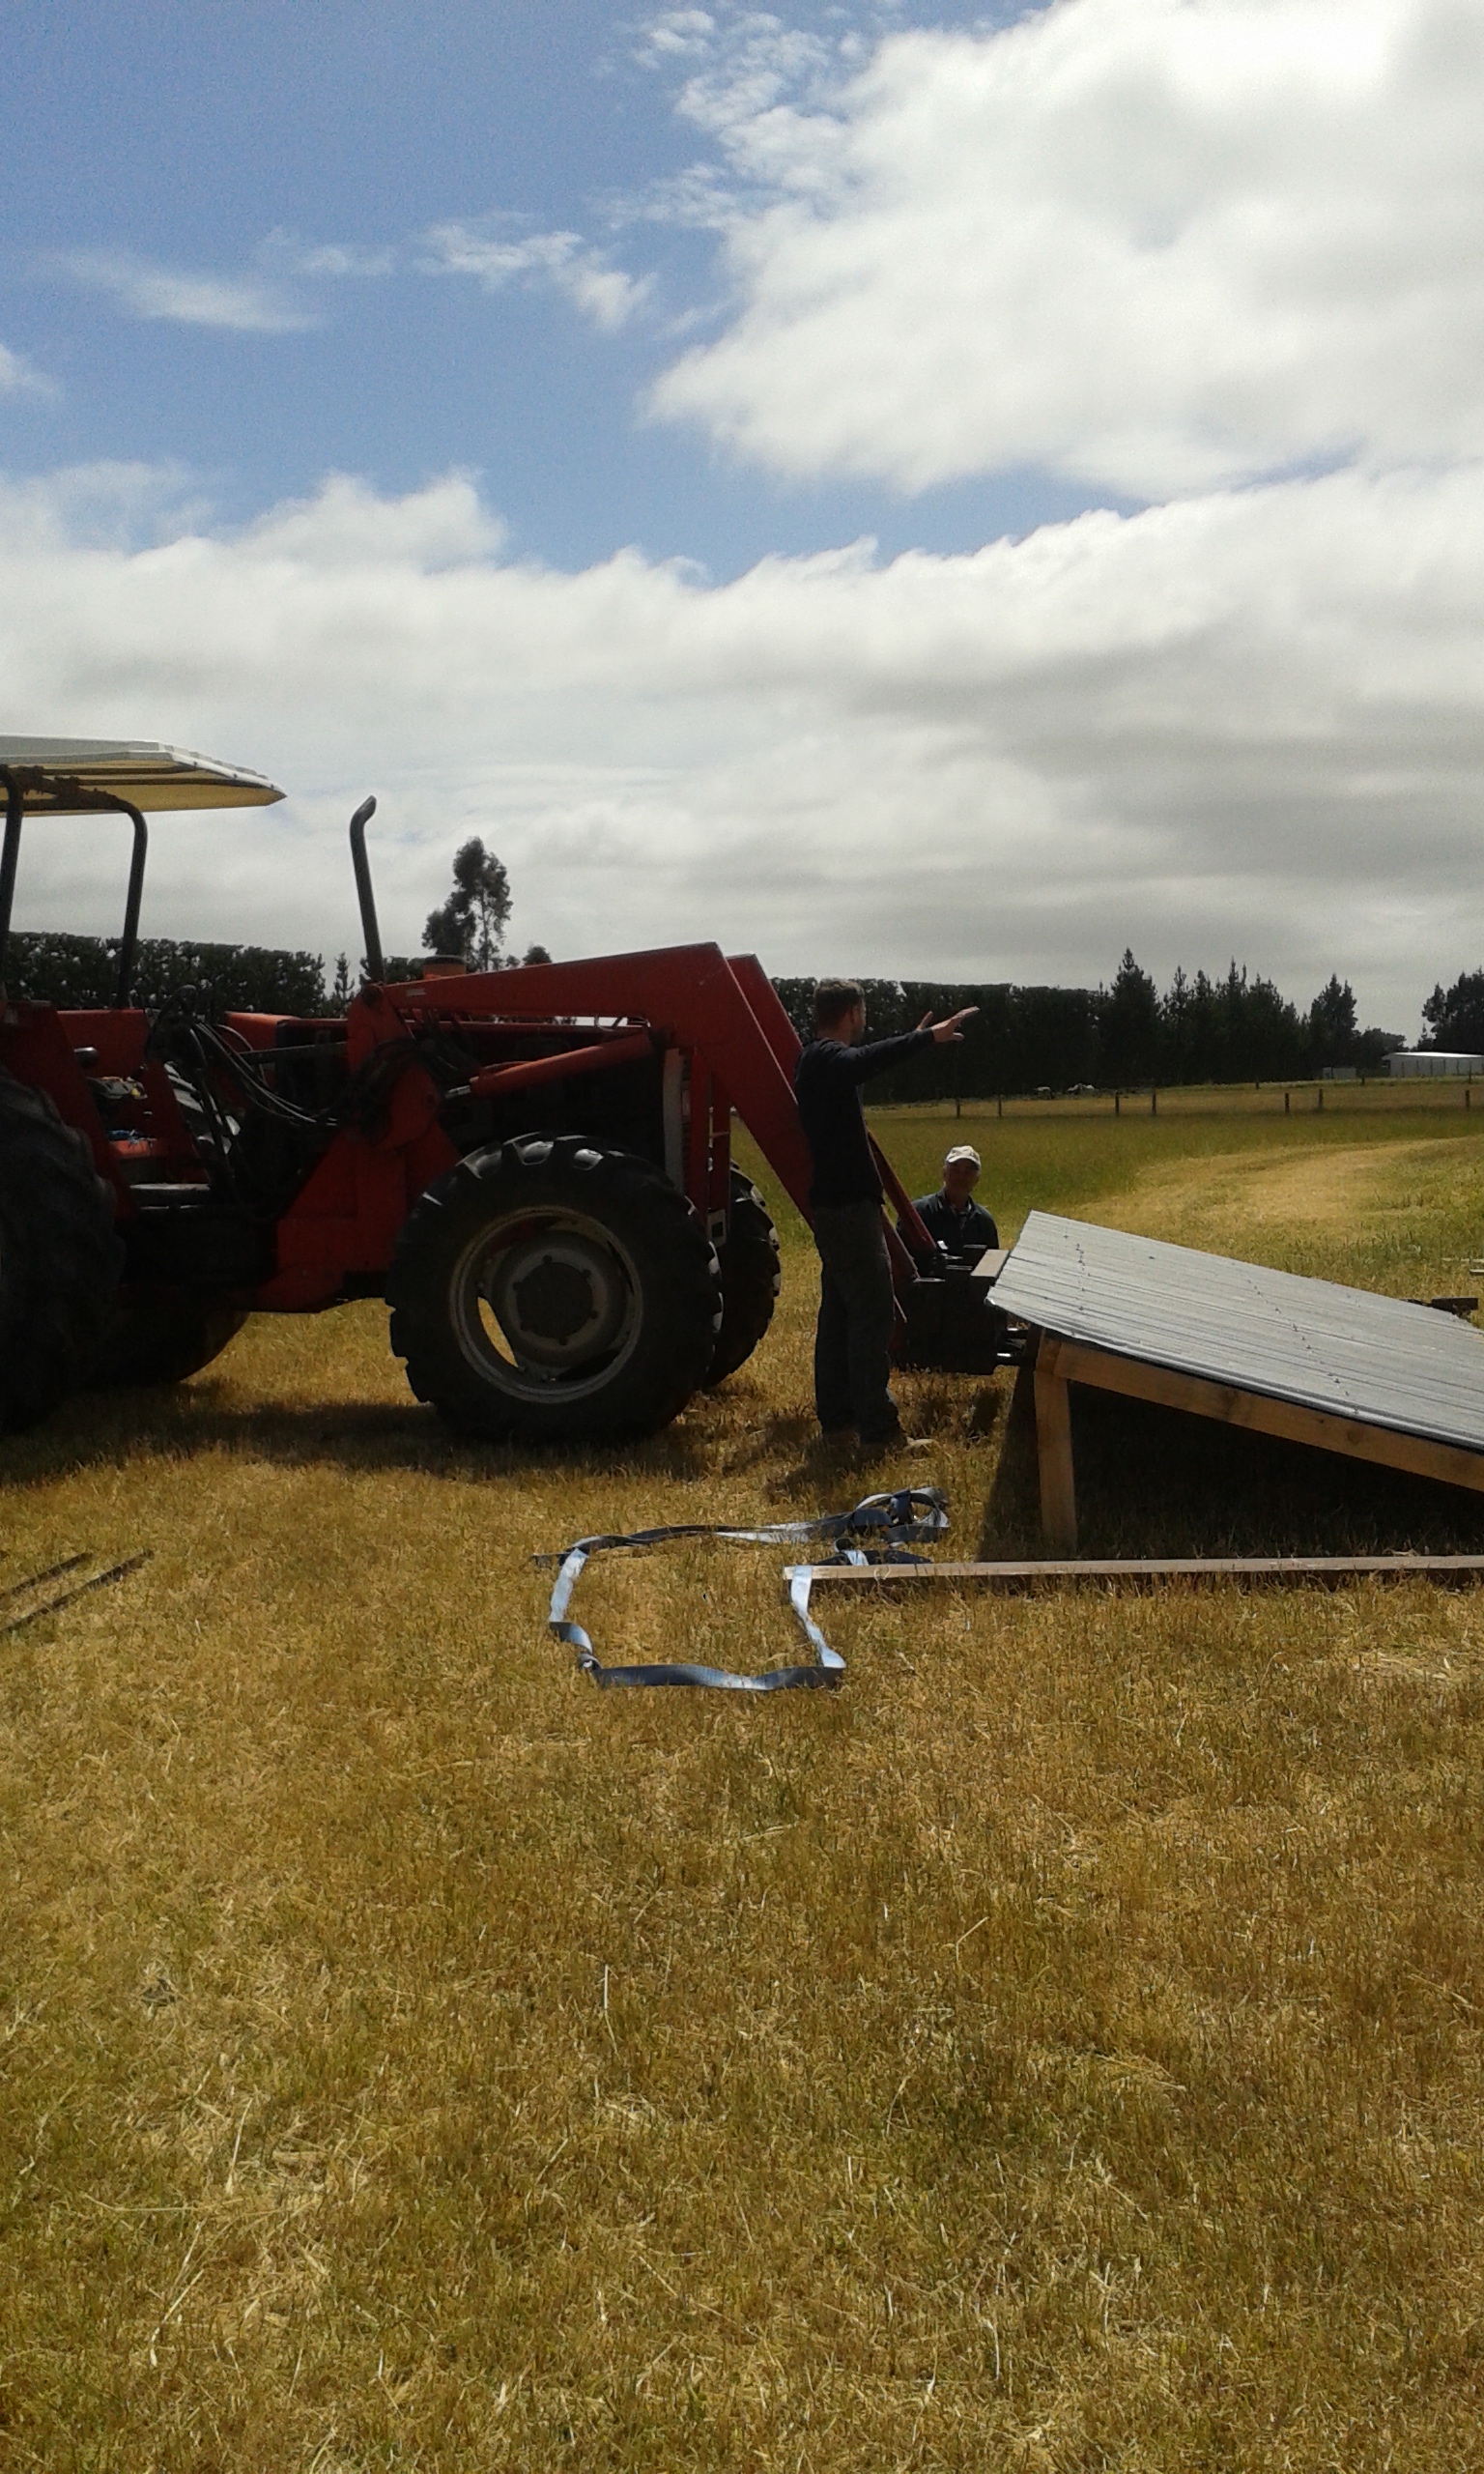
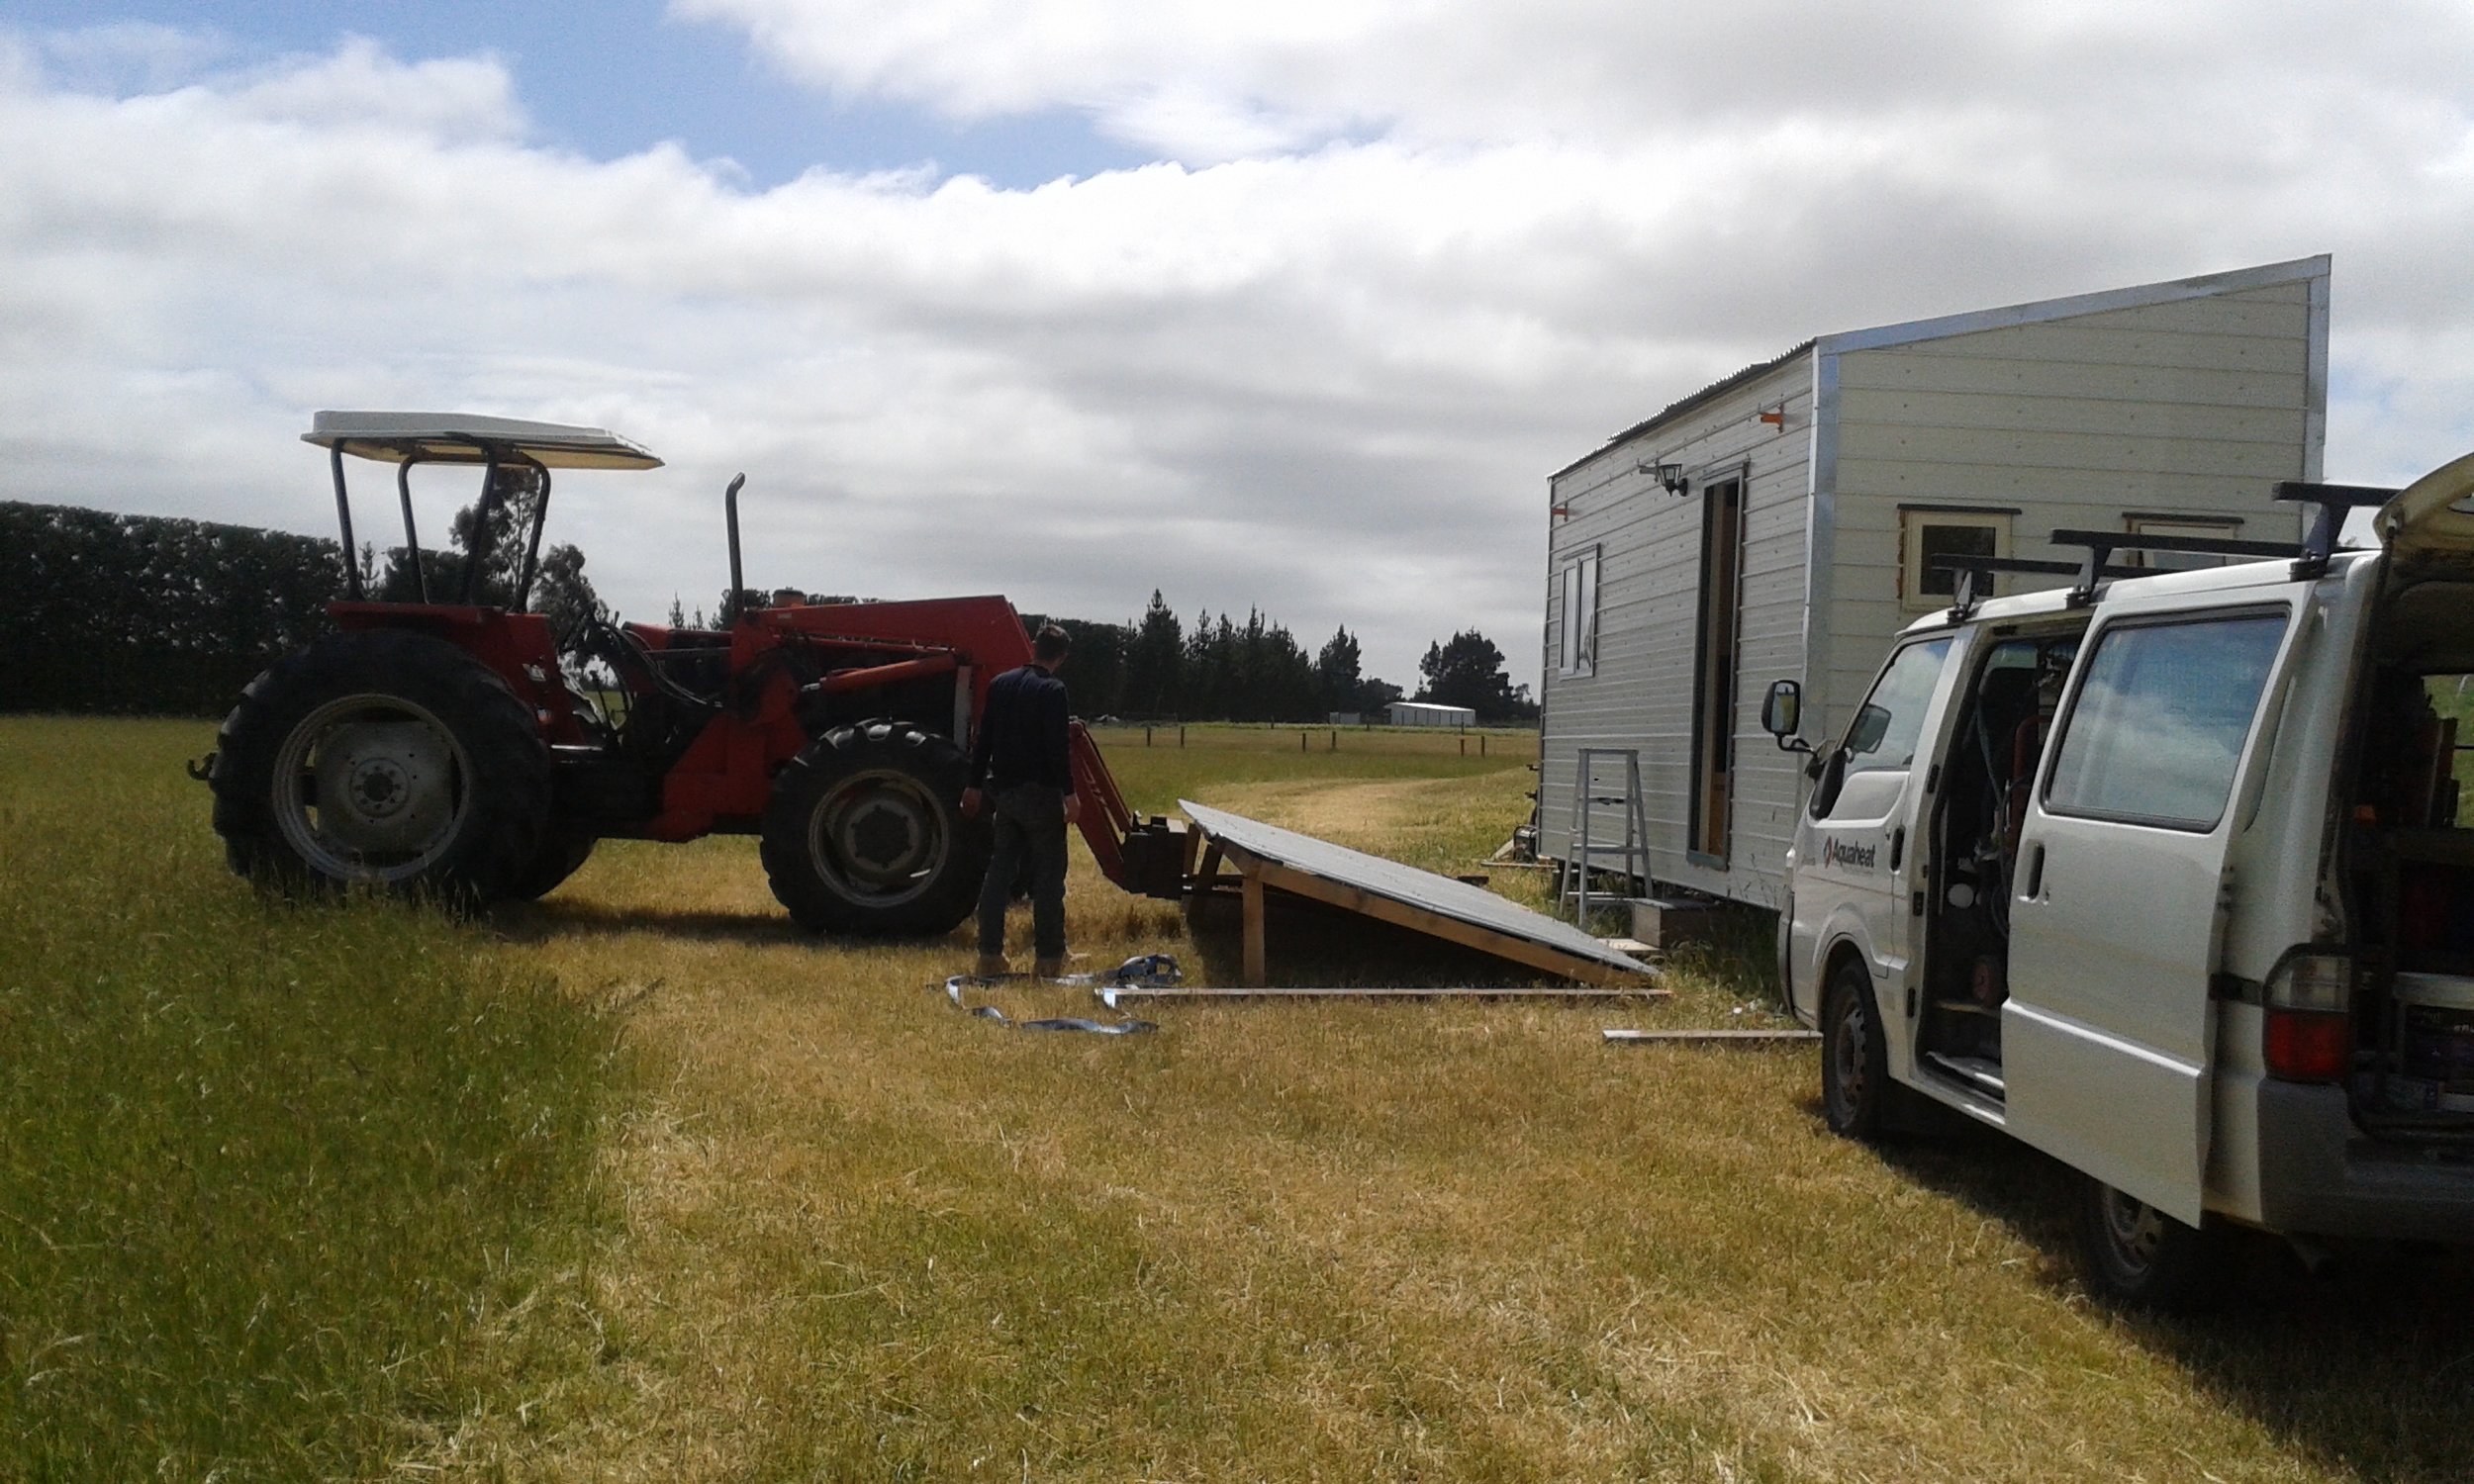
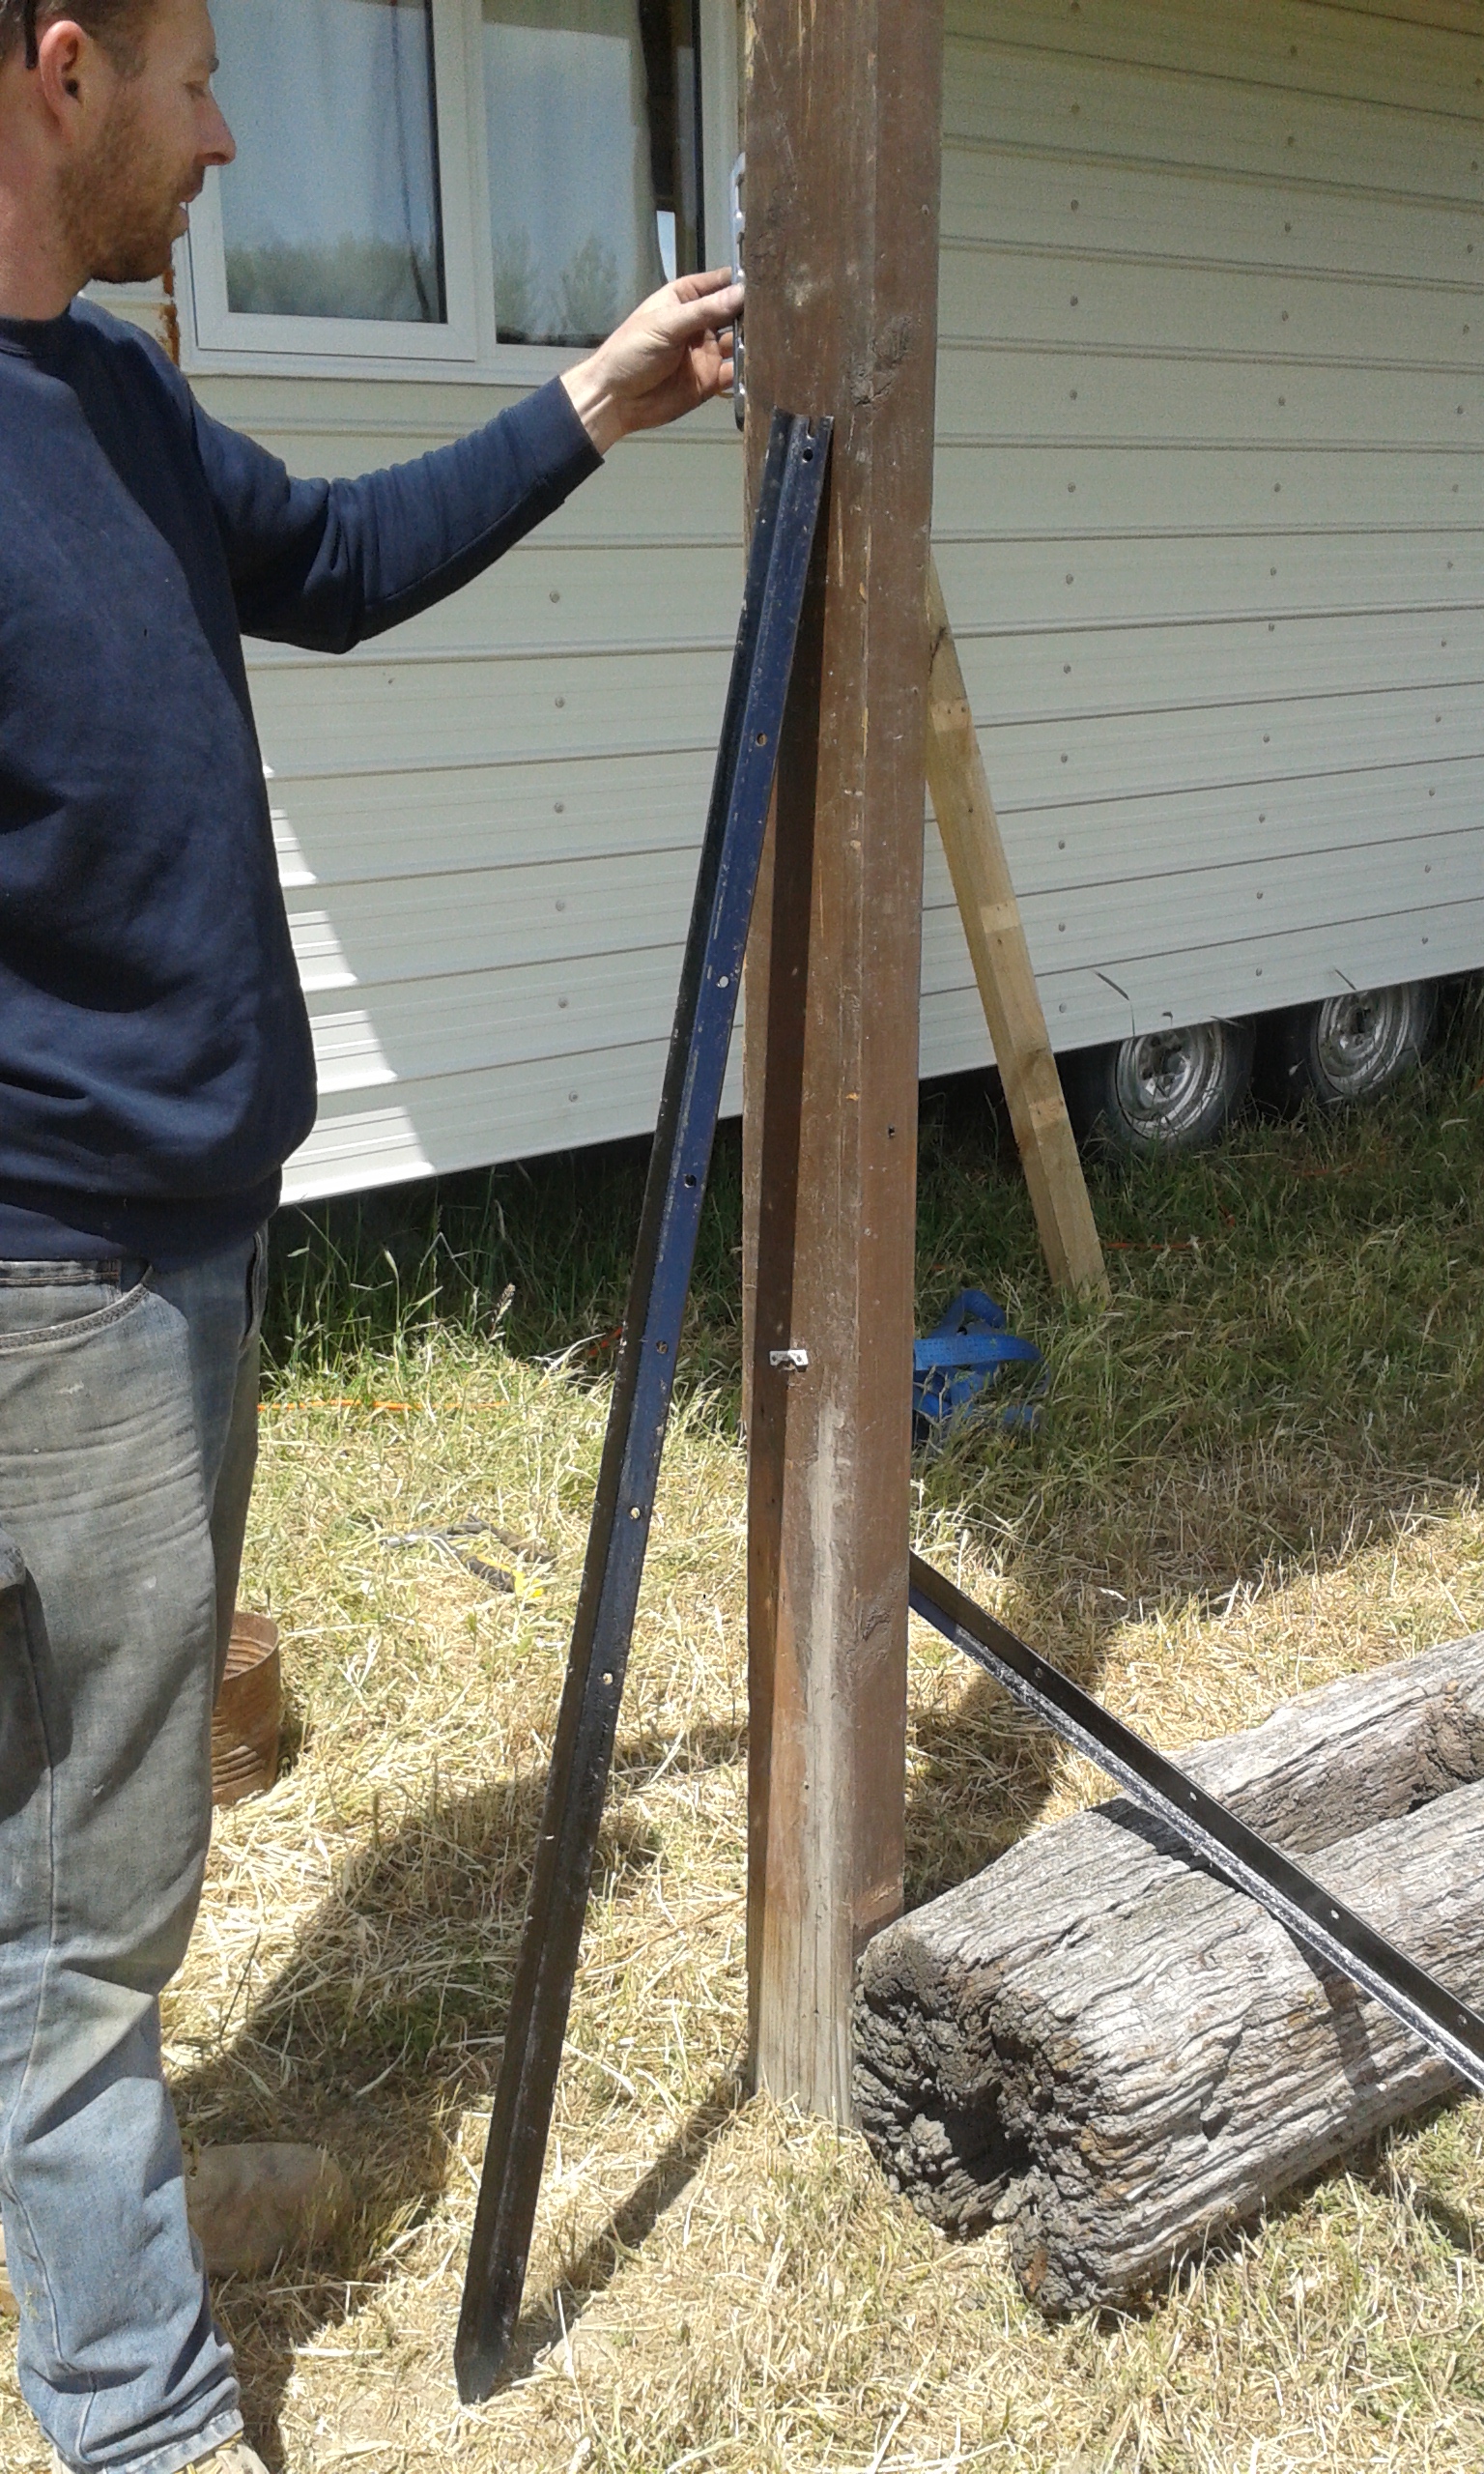
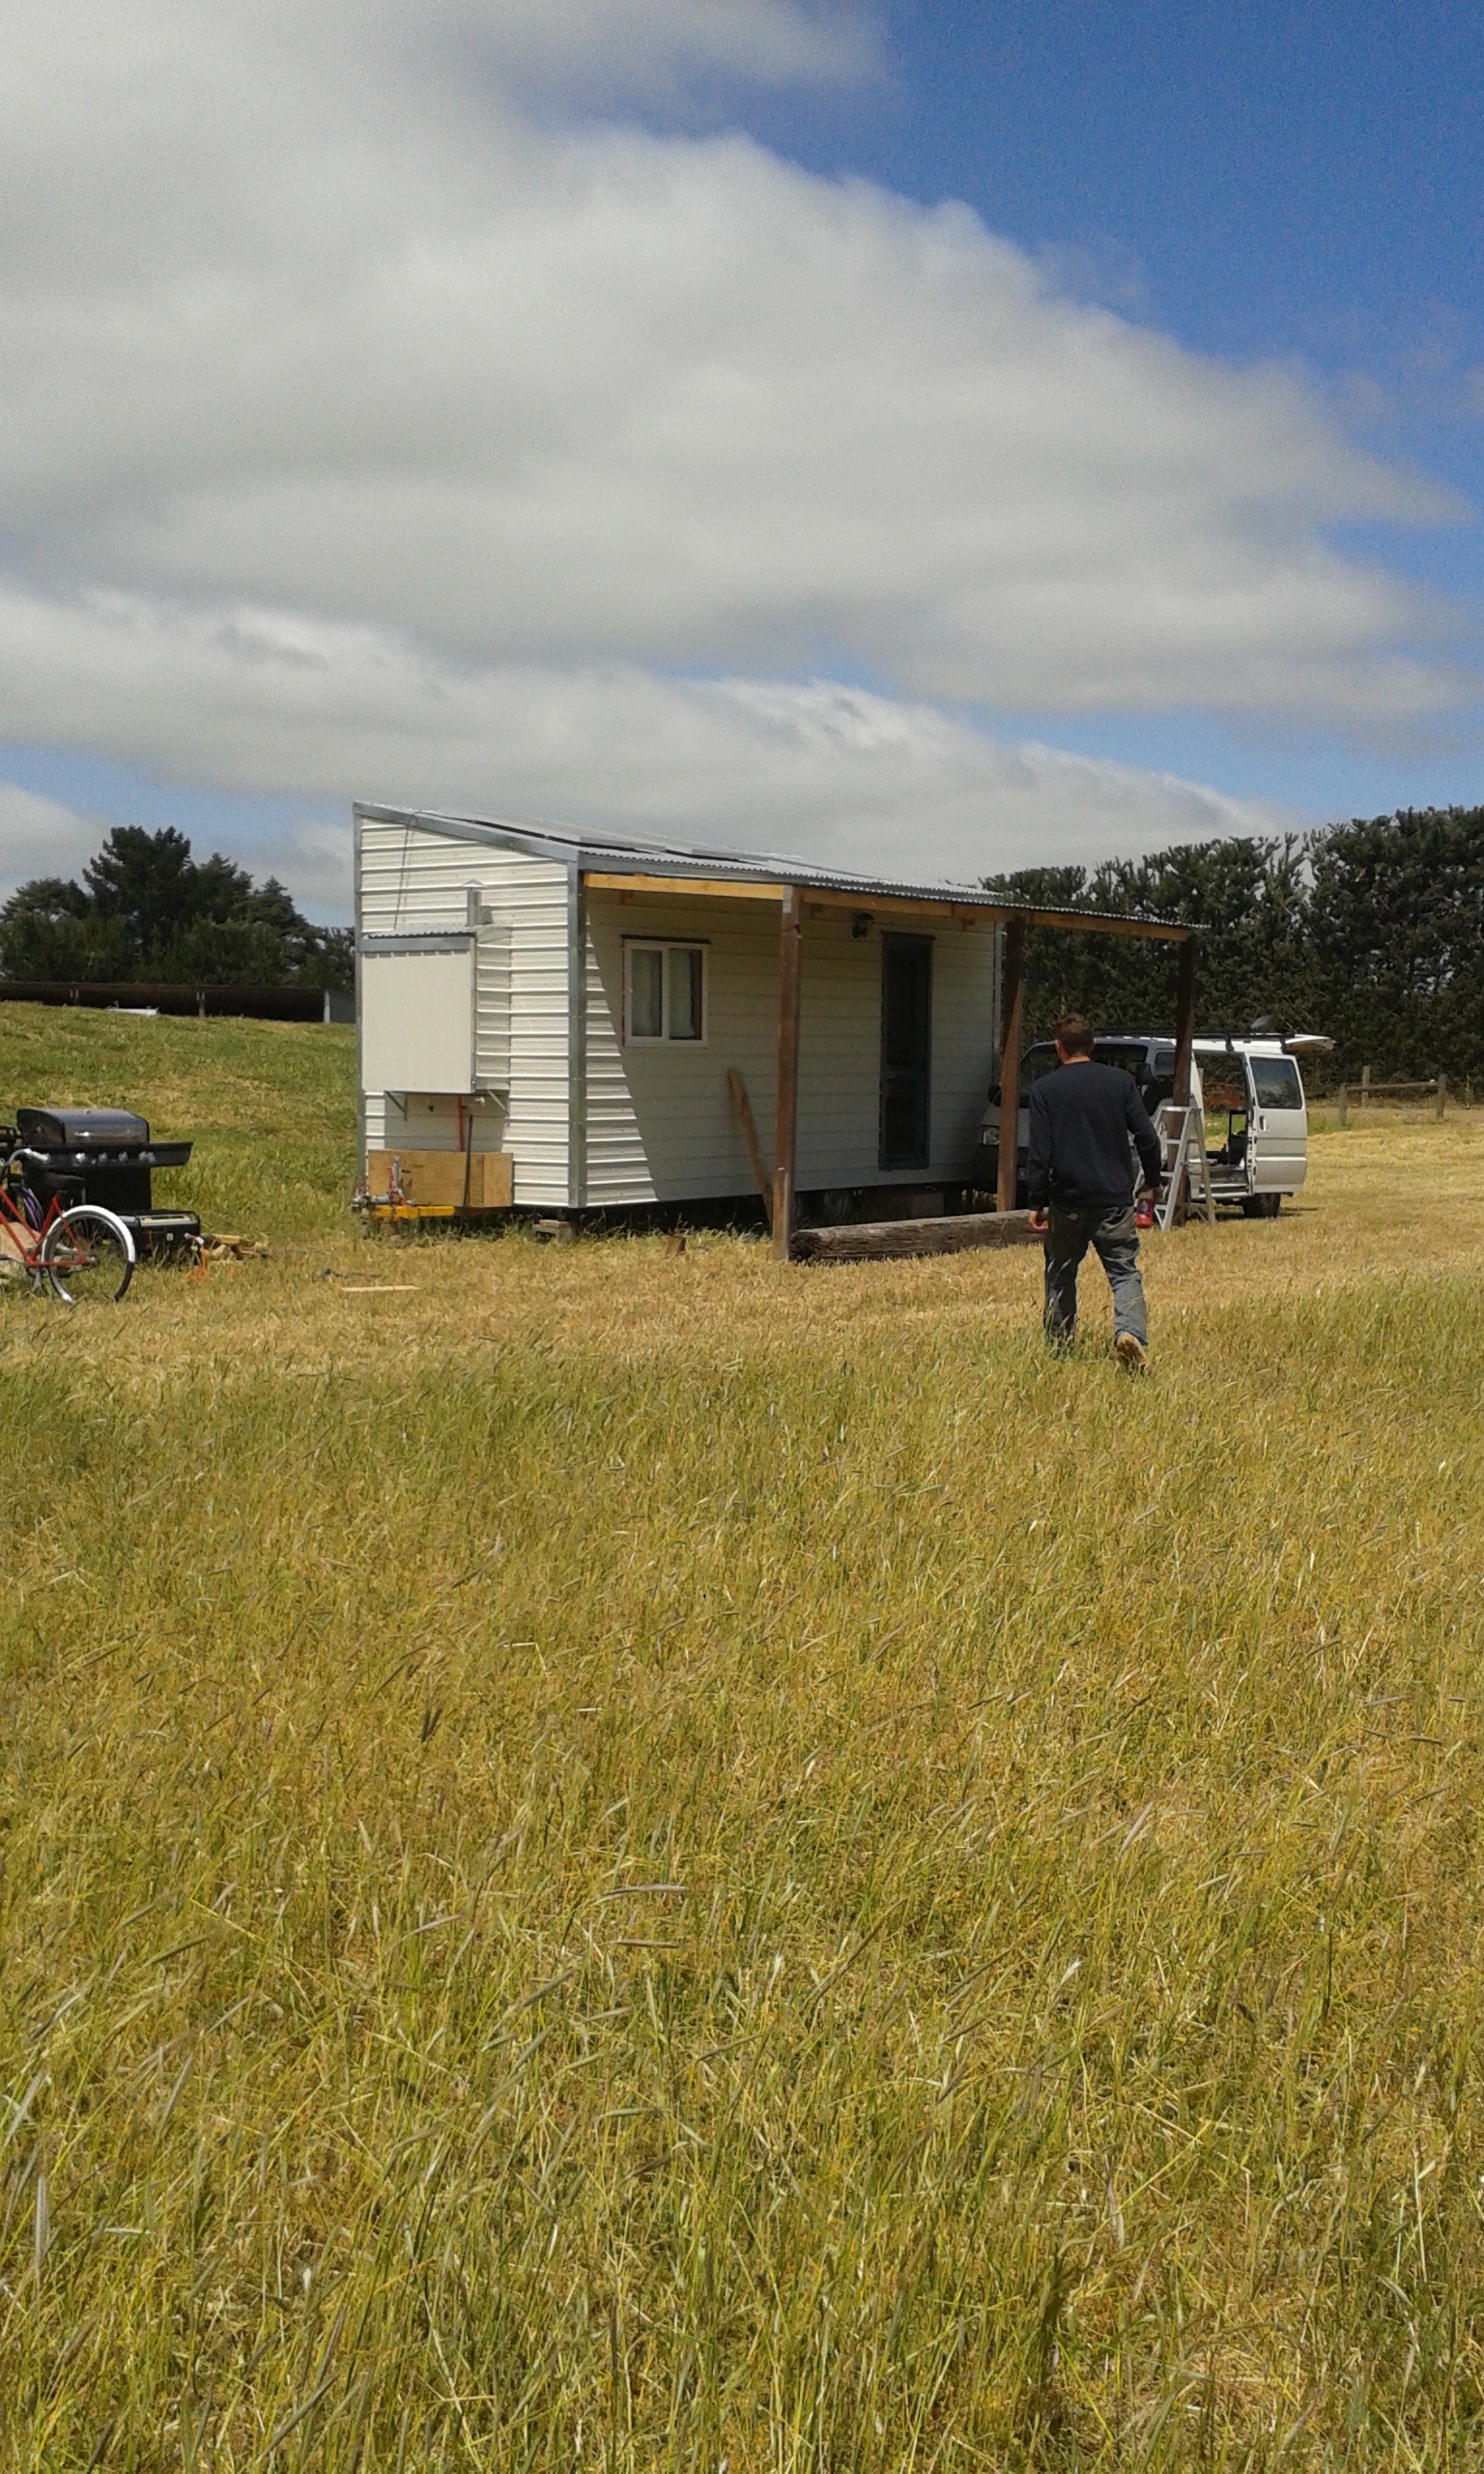
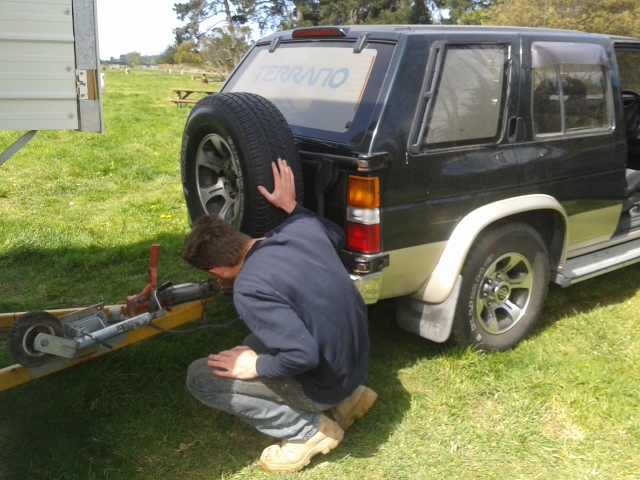
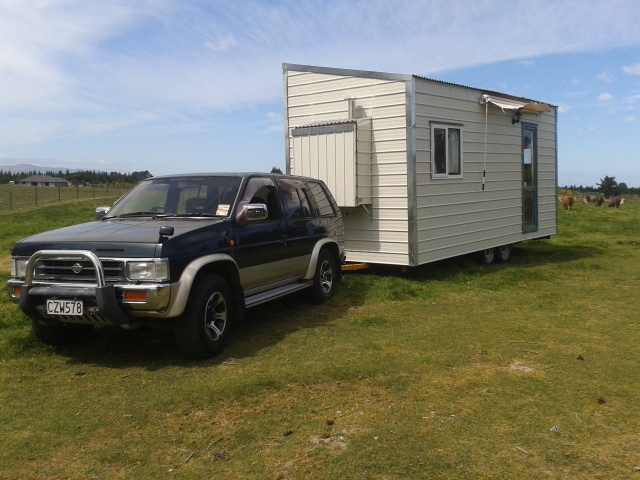
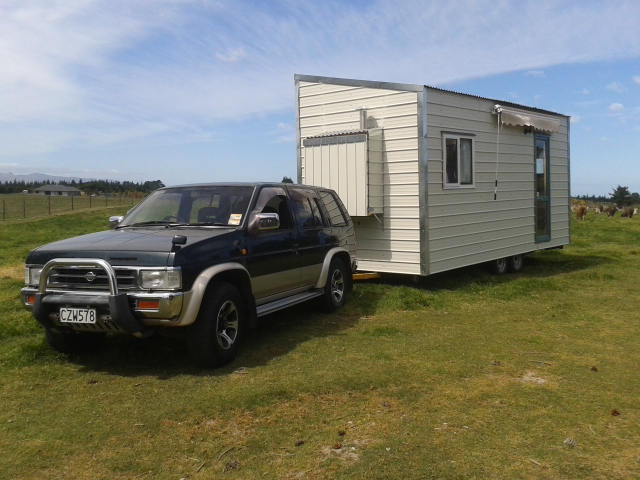
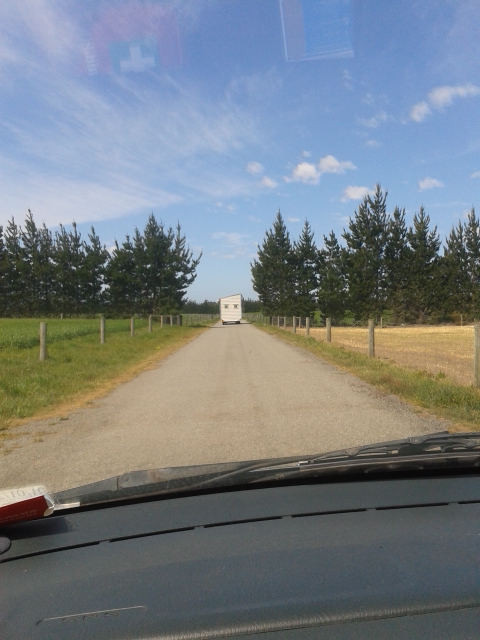
Hello everyone, Today we shifted our tiny house to its final location. The new location was only about 1 minute up the road in a great big paddock with some sheep. The move went really well and the Terrano towed it surprisingly well. The next step is to build a nice big deck on the front so we have a nice place for our grill and additional living space.


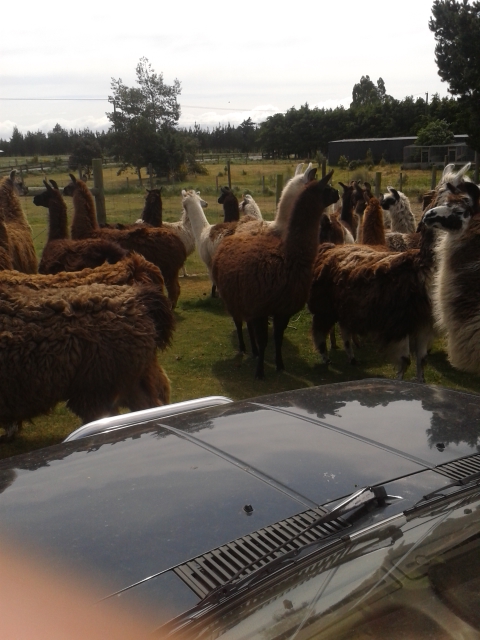
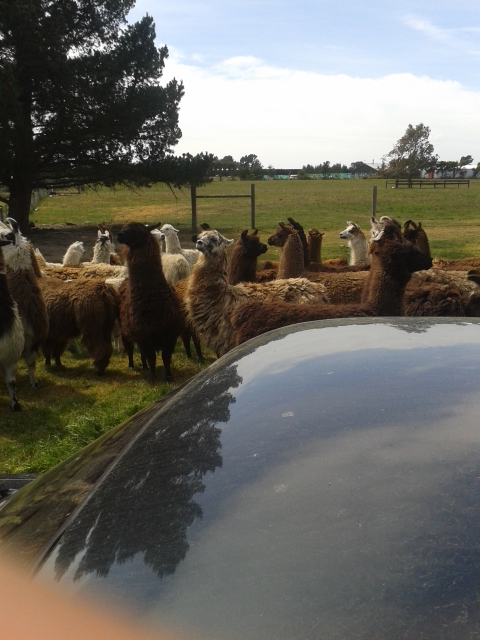
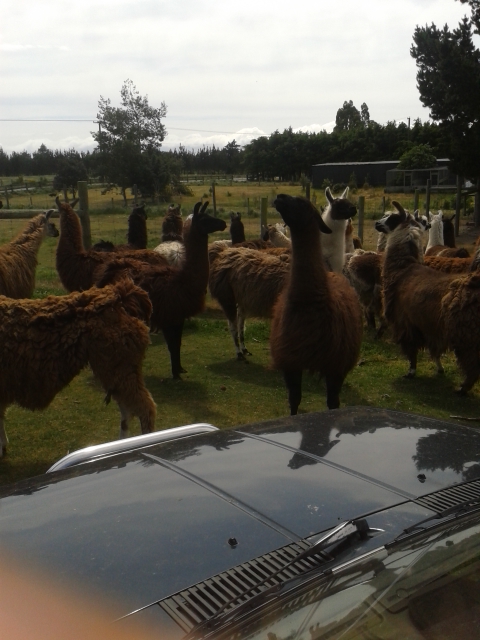
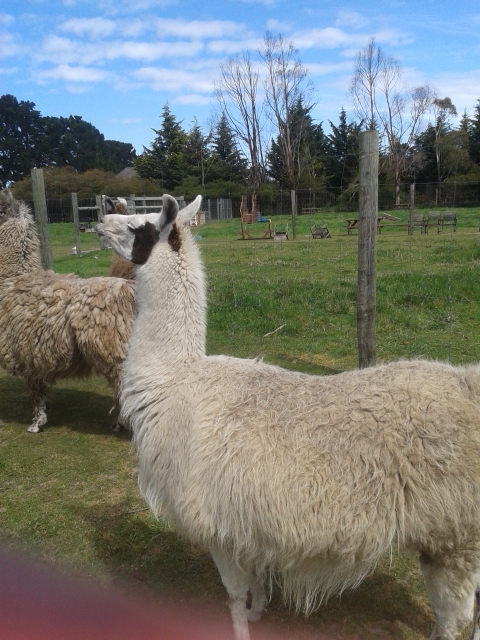
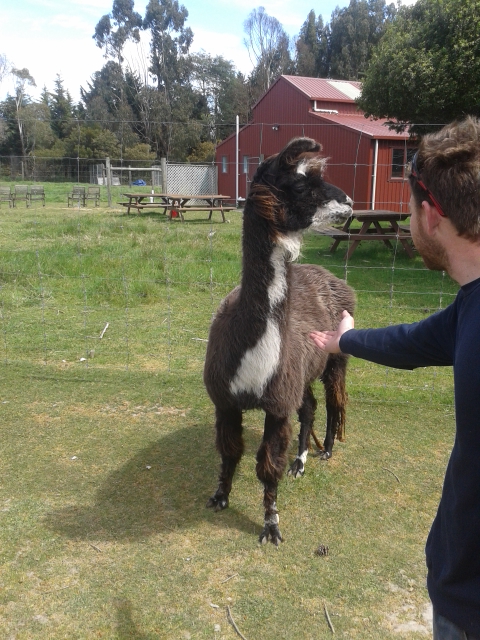
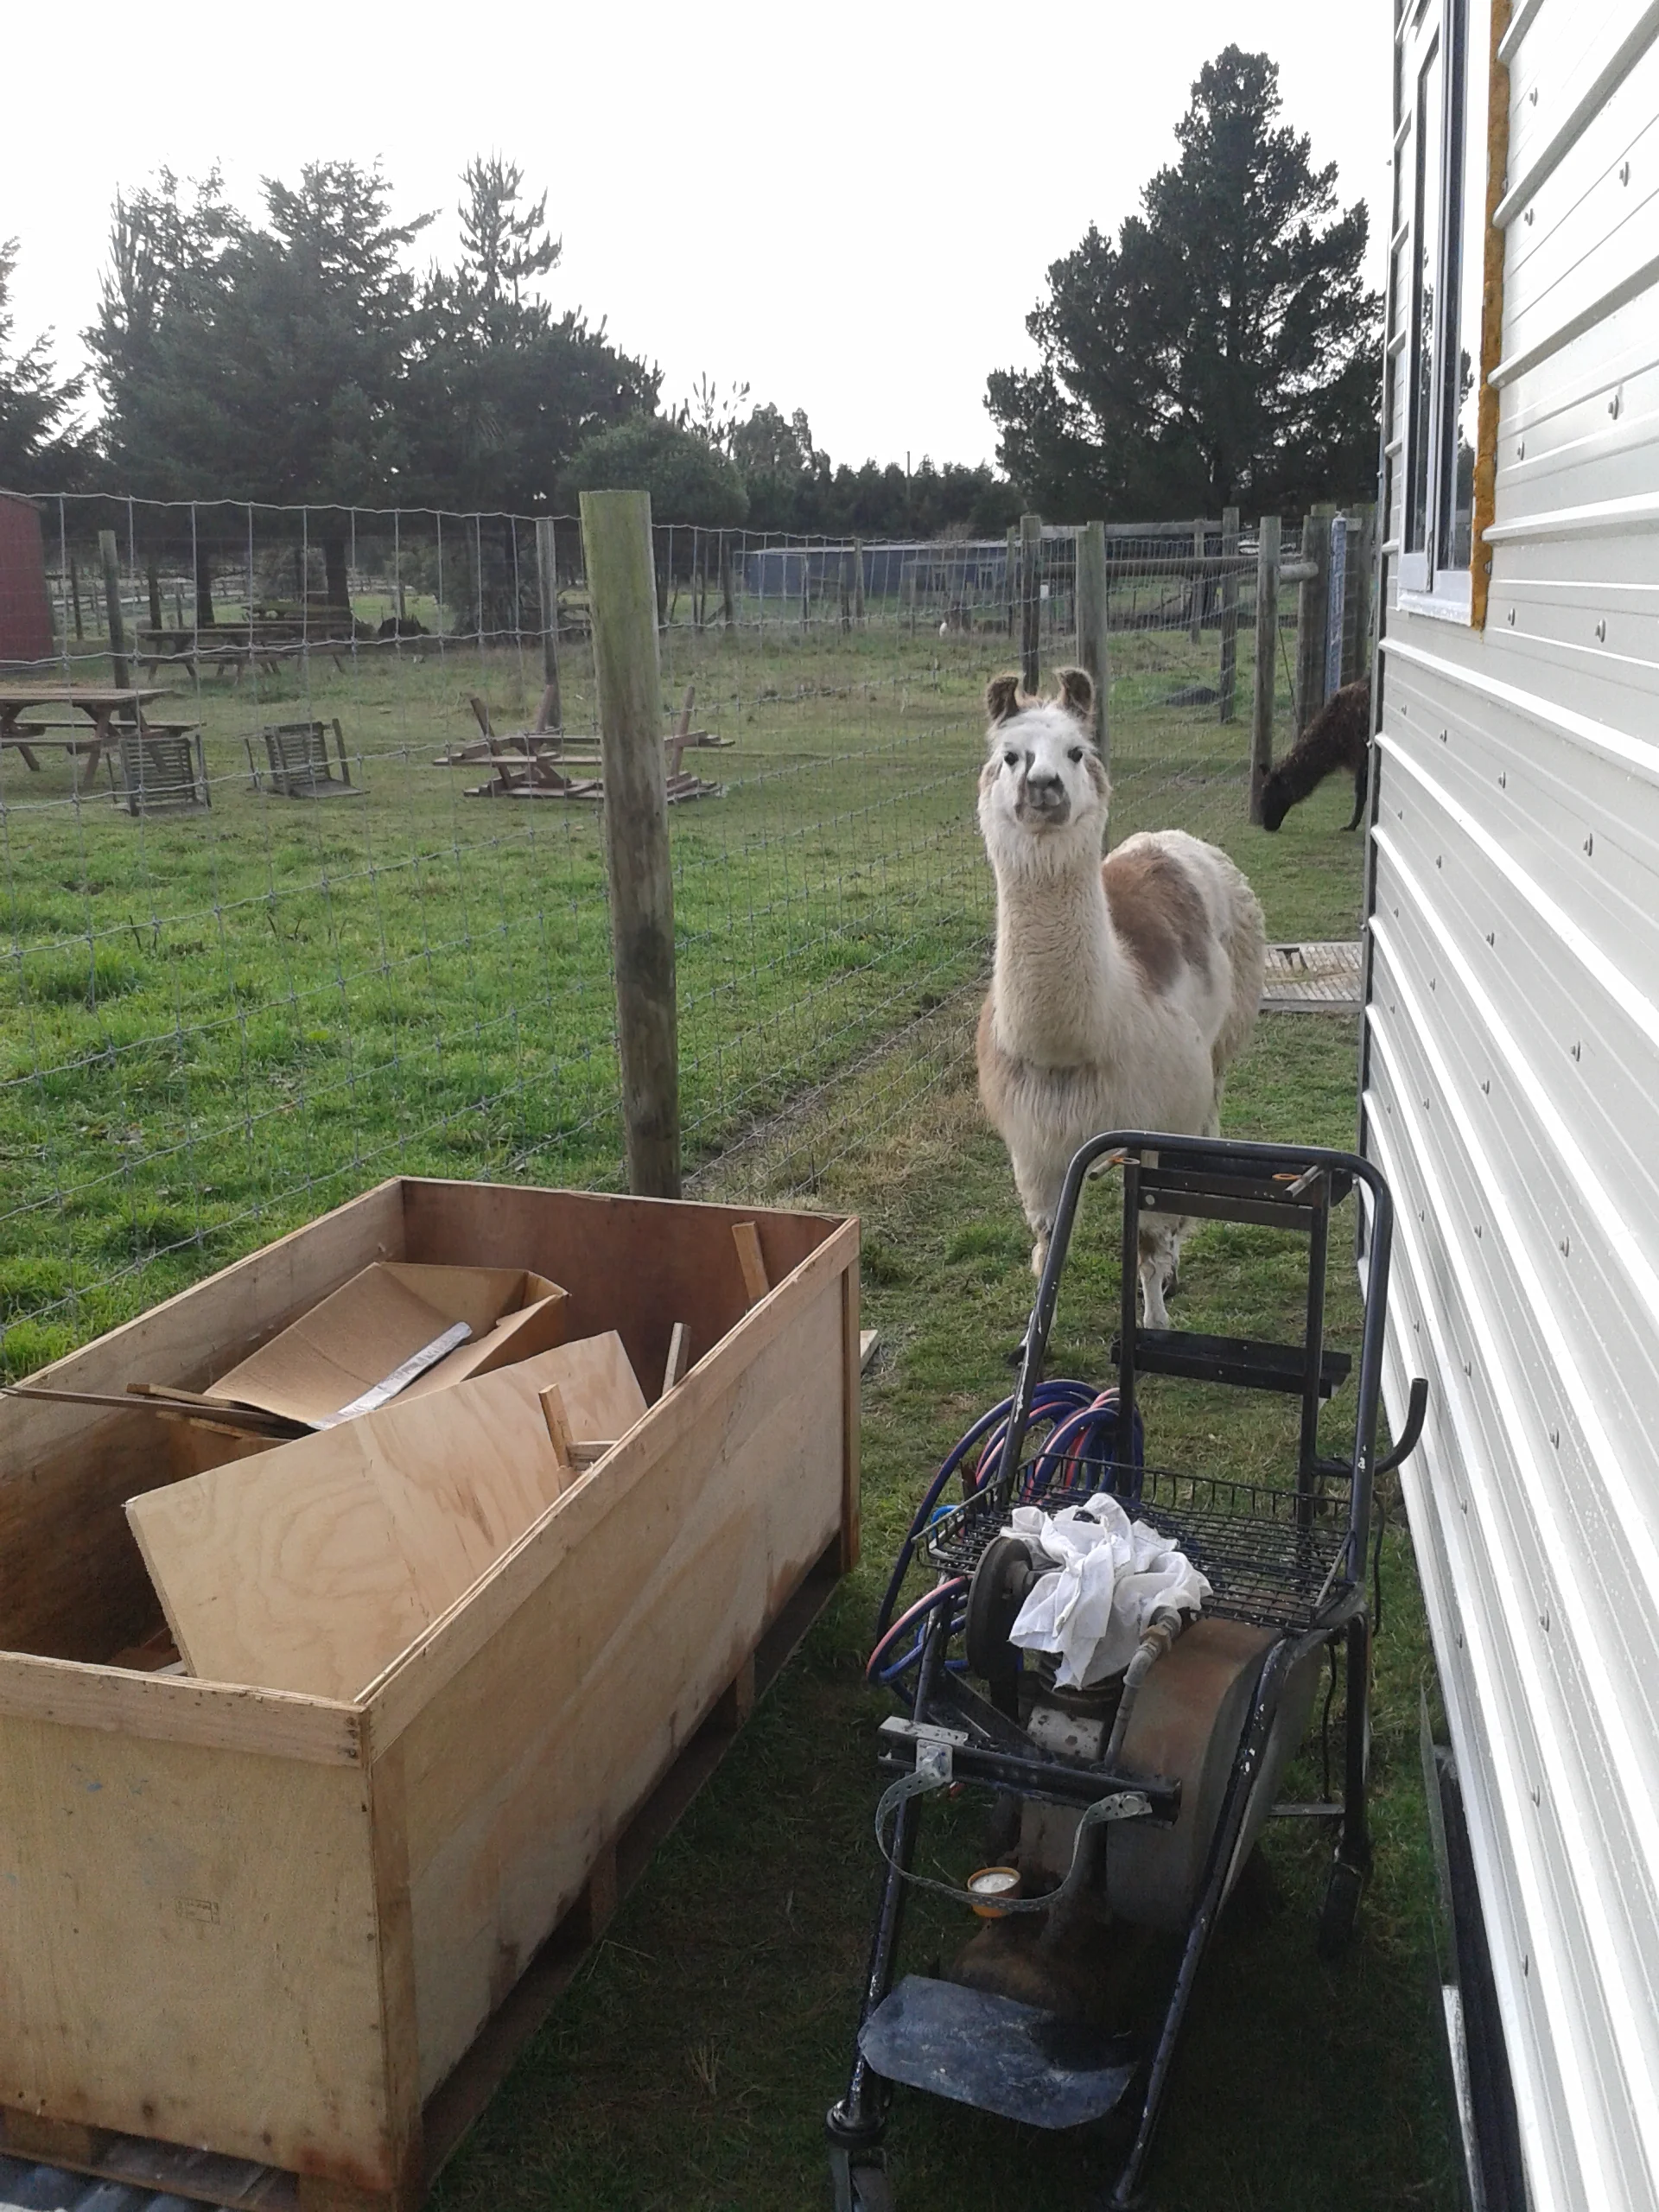
As soon as we got the tiny house lined up at the gate all the llamas just had to come over. Nosey pricks.


The llamas were very excited to finally see the Tiny House move! They all came over for a visit.


Pat just took off as soon as the coast was clear.

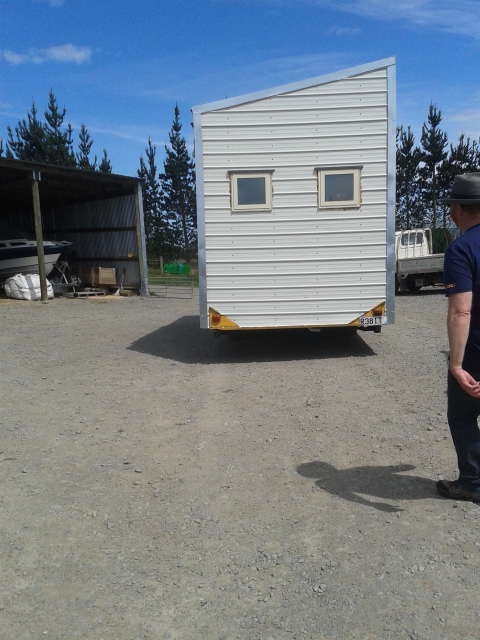

Into the paddock it goes.


It looks so tiny! We feel so much better now that we safely moved it with no issue. Now we can actually start putting things on shelves and organizing our lives. Thanks for reading! Stay tuned for more tiny house action. And also we should address the common question, "So is it done yet?" the answer is no, It will probably always be a work in progress. But for the time being our goal is to get it livable. We need a toilet, water, electrical and gas. Everything is tested, all we need to hook everything up!
Also shout out to all my wellesley girls/badonderz/CFYM and our family and friends, thank you for your interest and excitement, I (cori) had a great time at home and miss everyone already.
LOVE LOVE LOVE to everyone!
-Cori and Pat
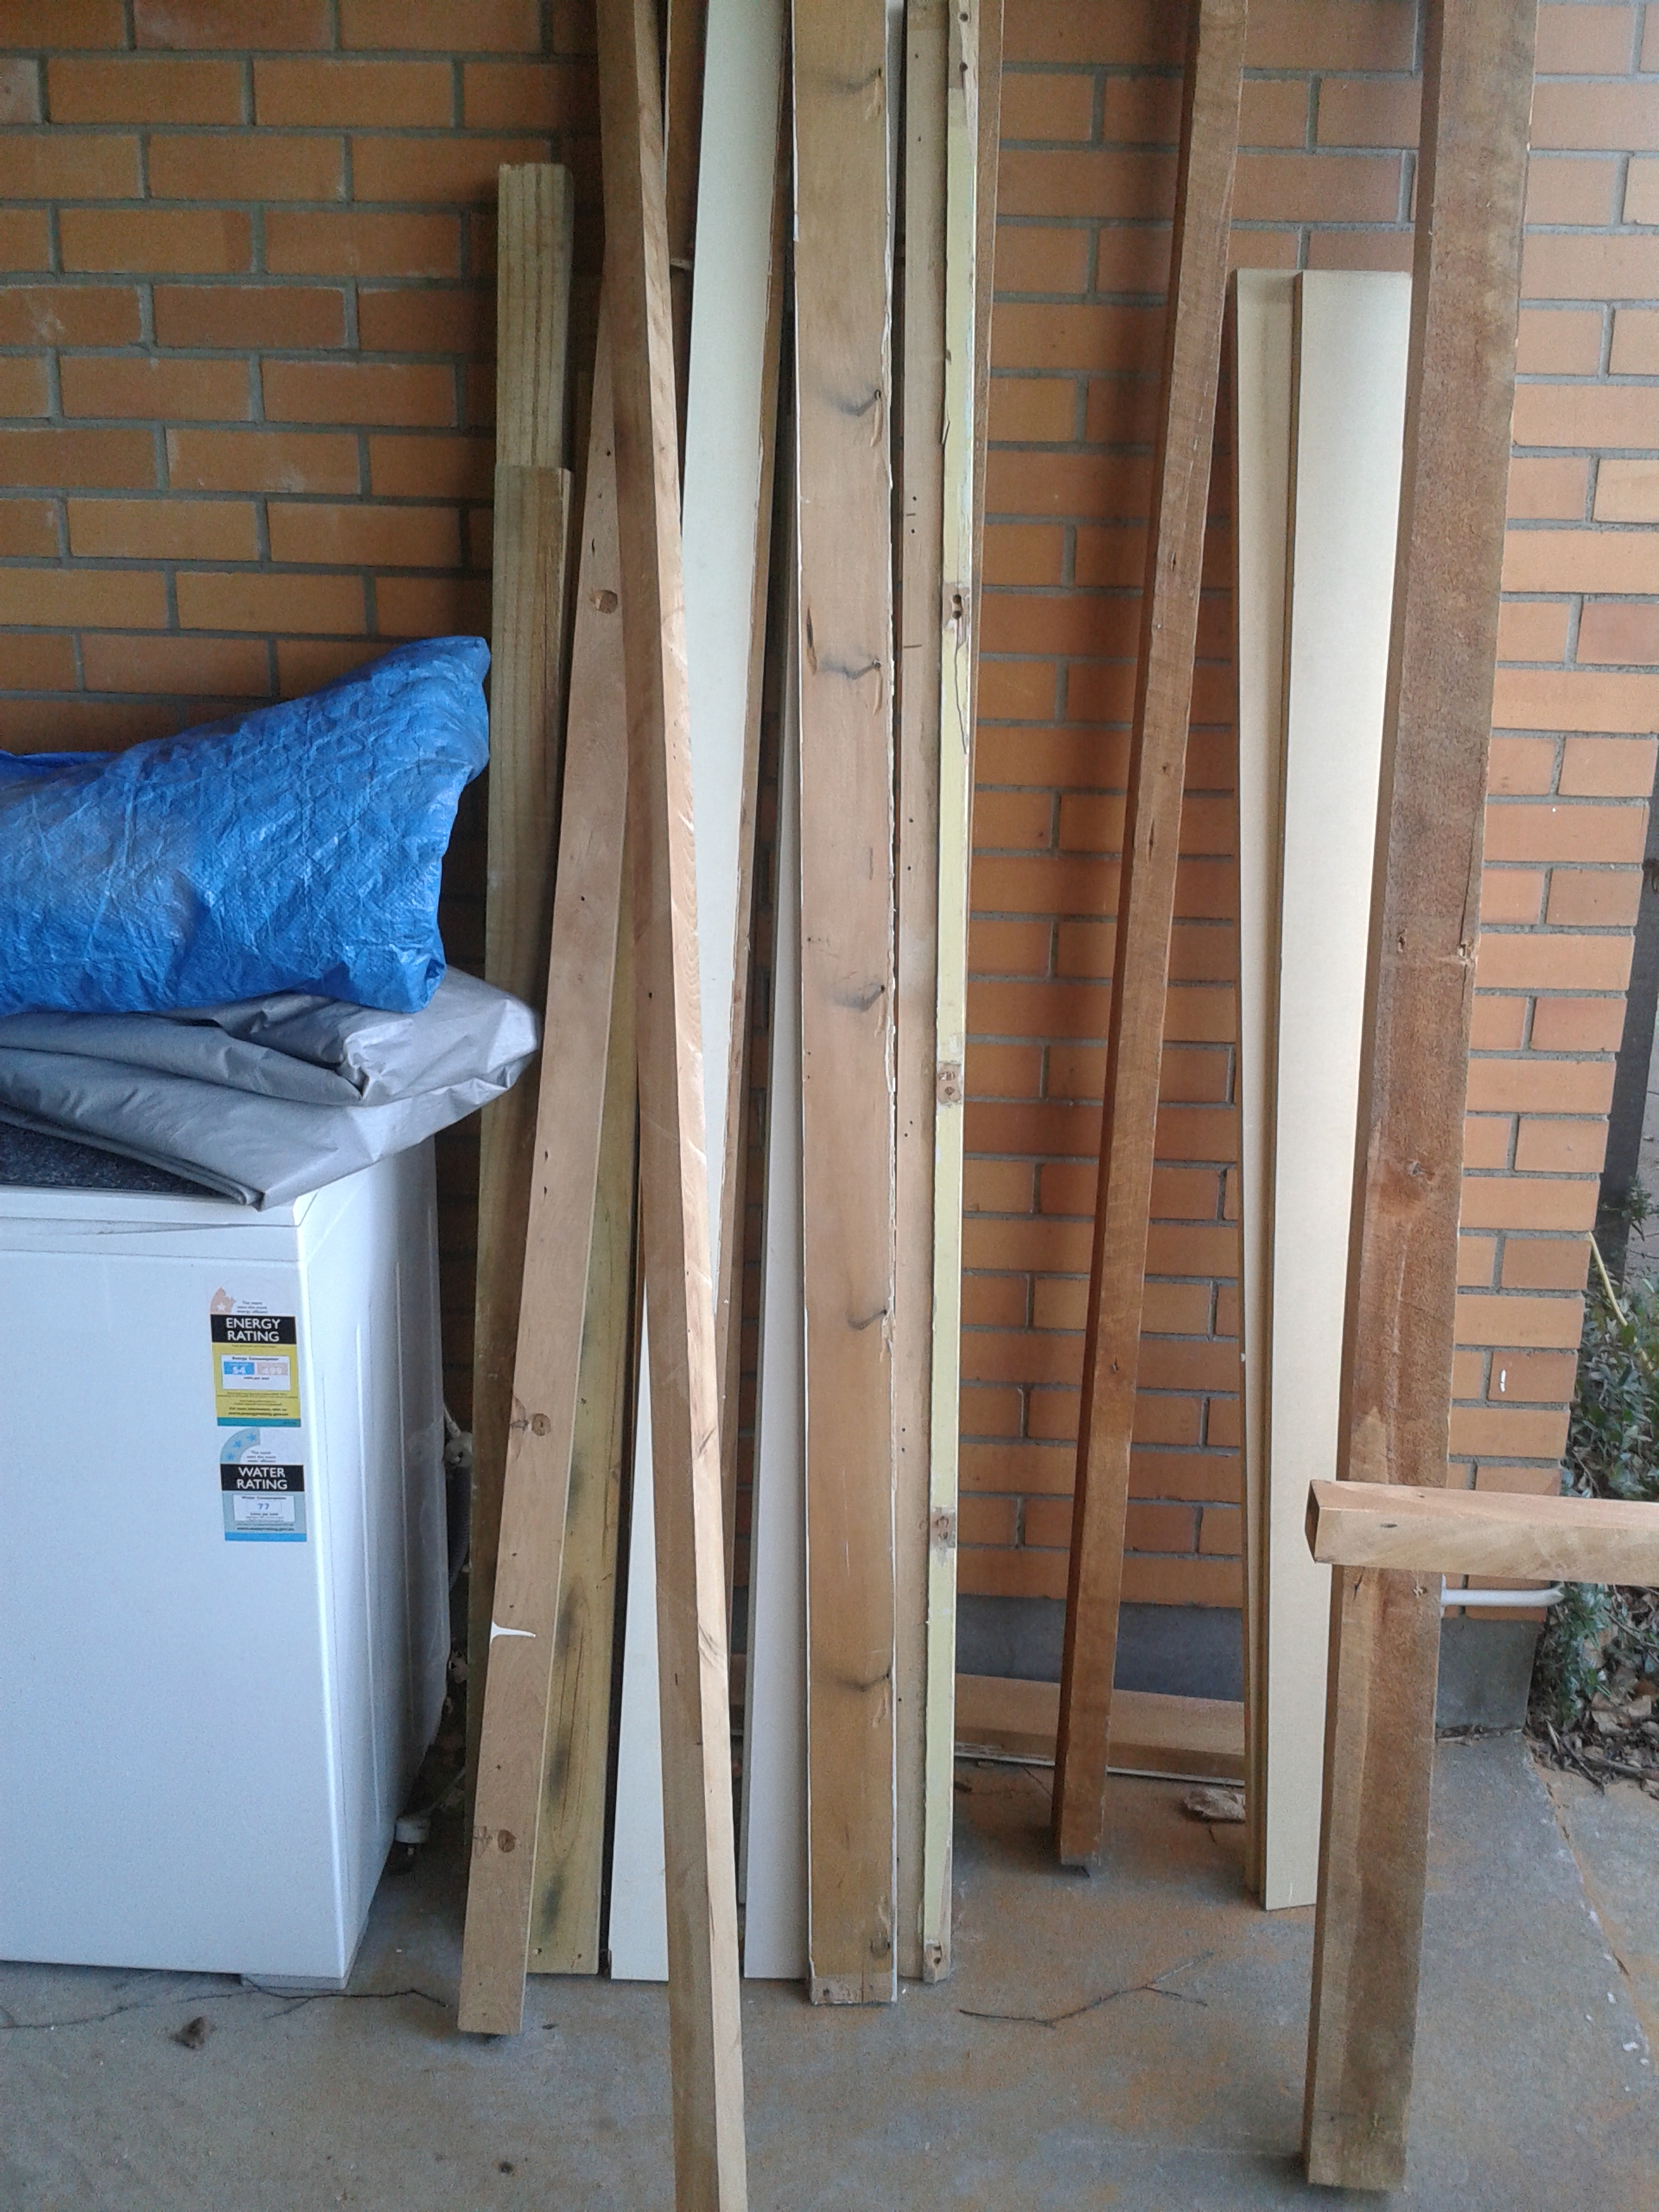
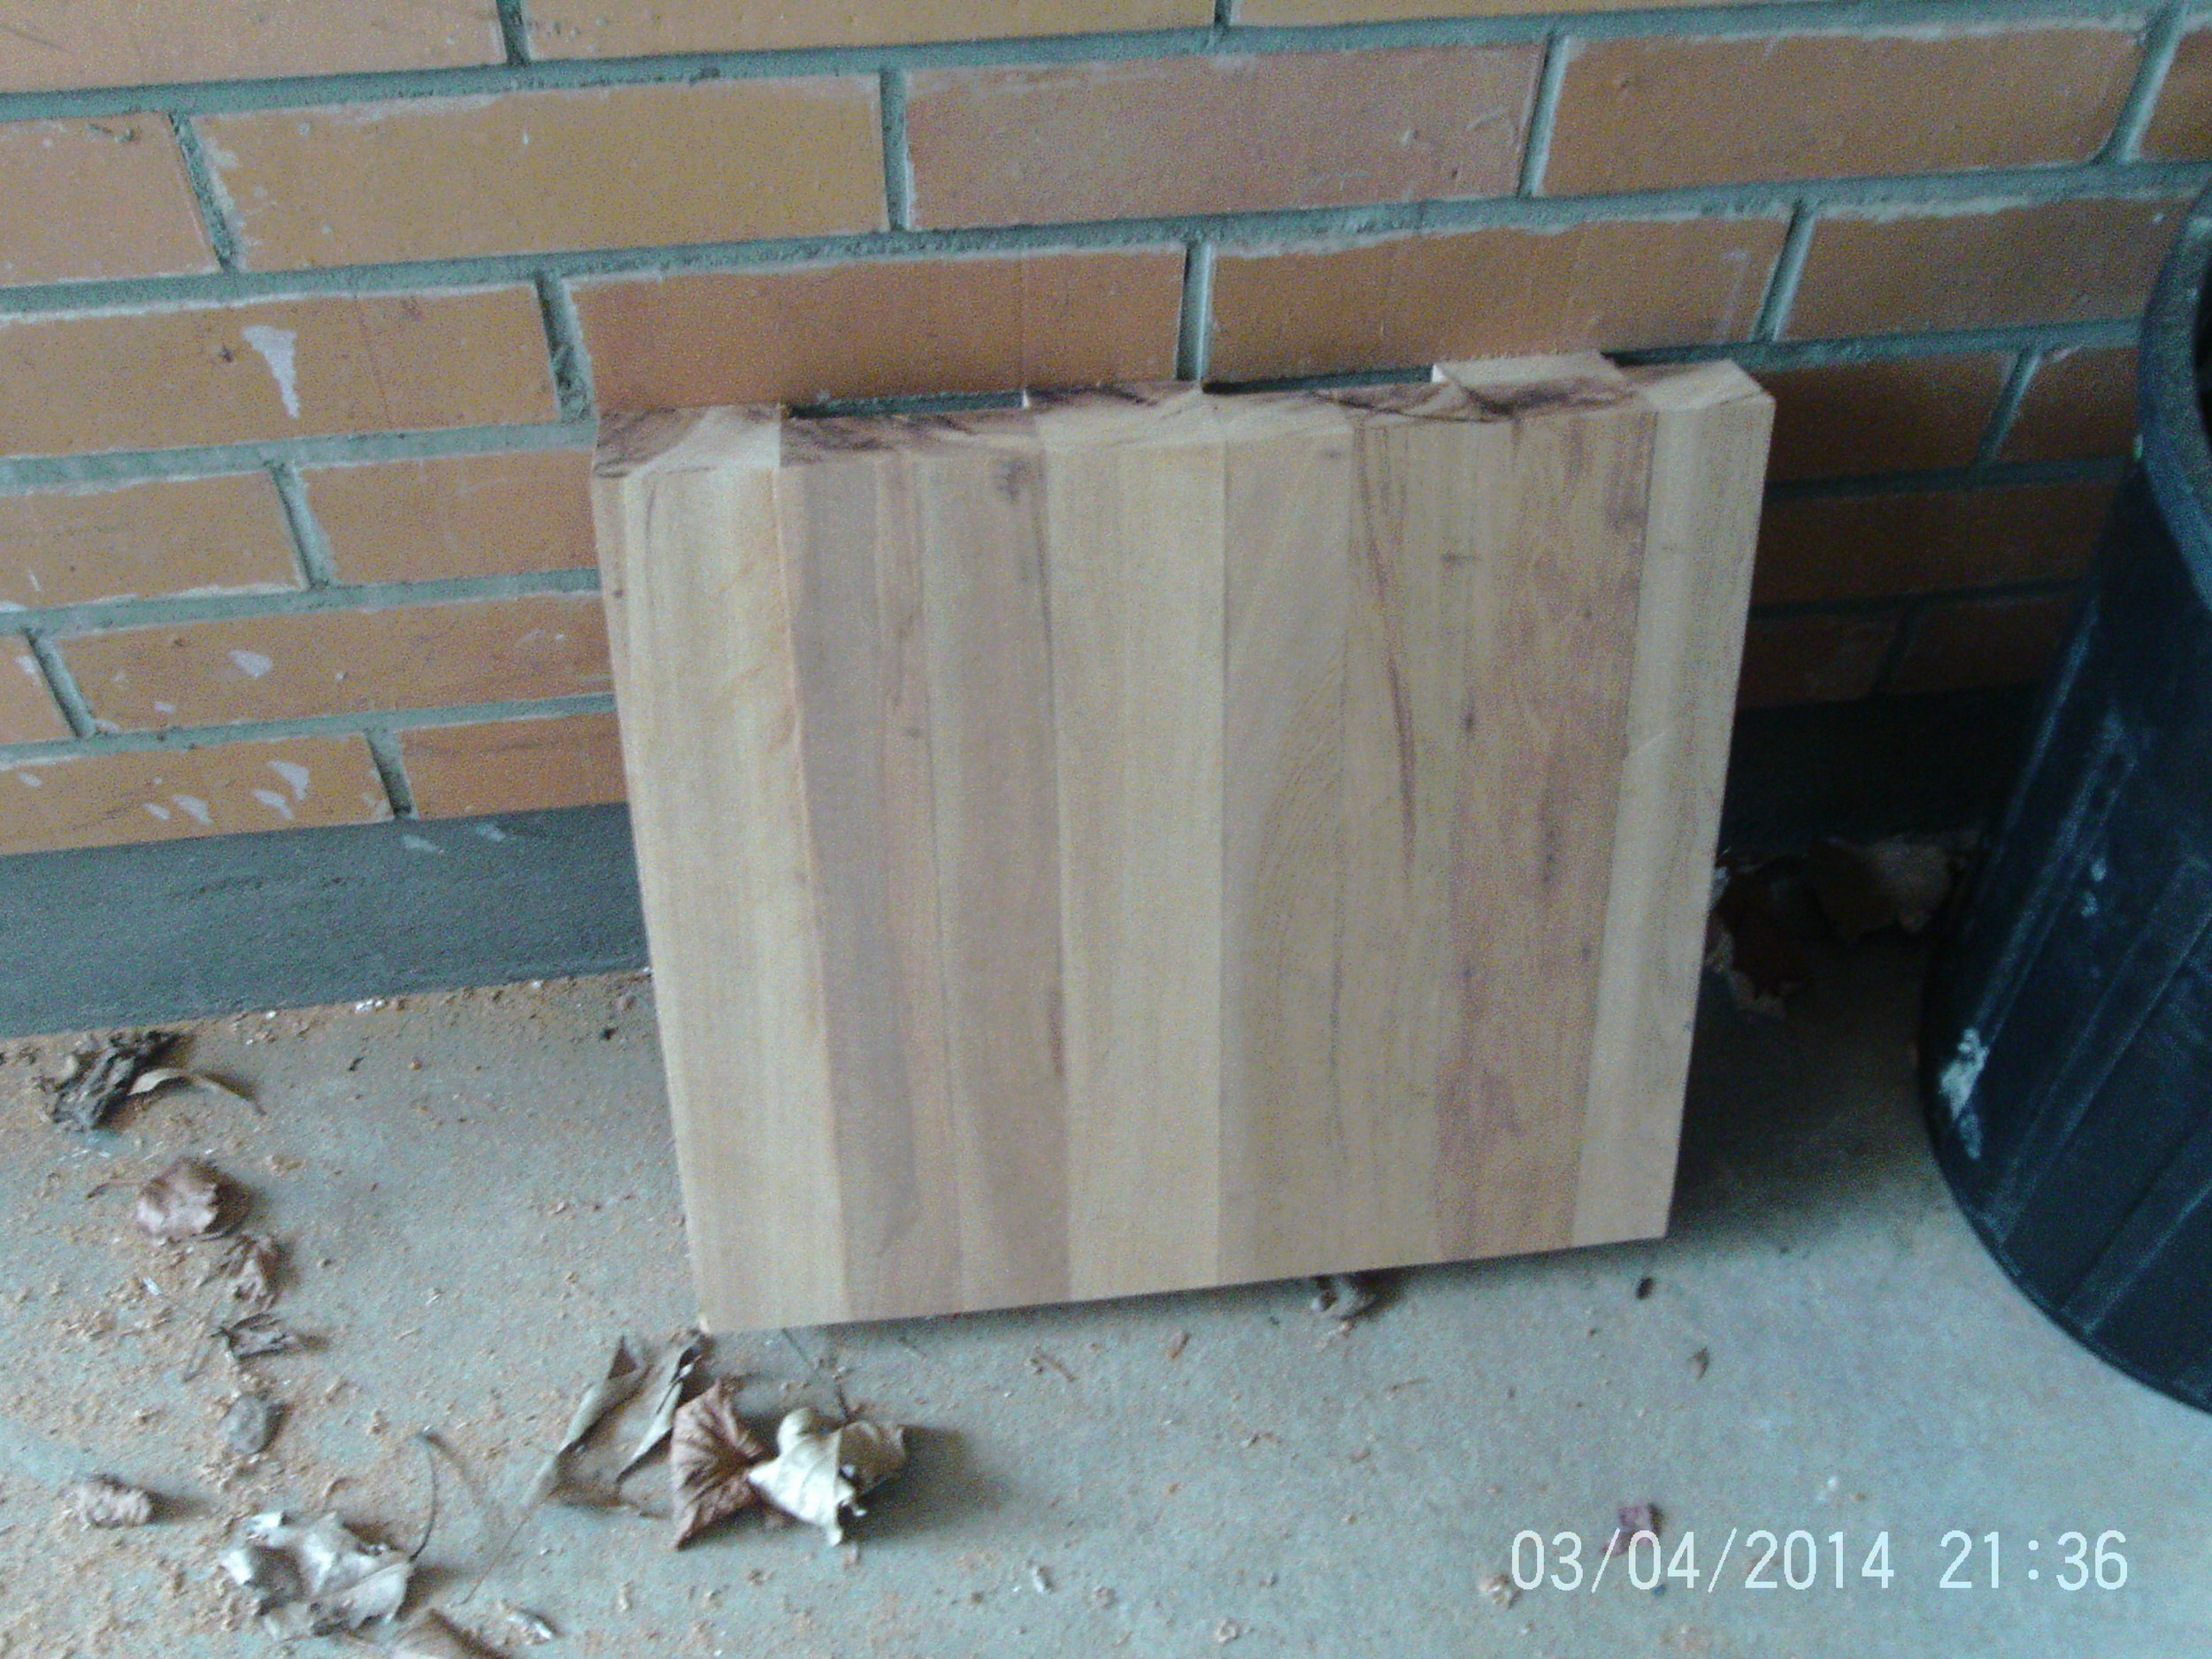
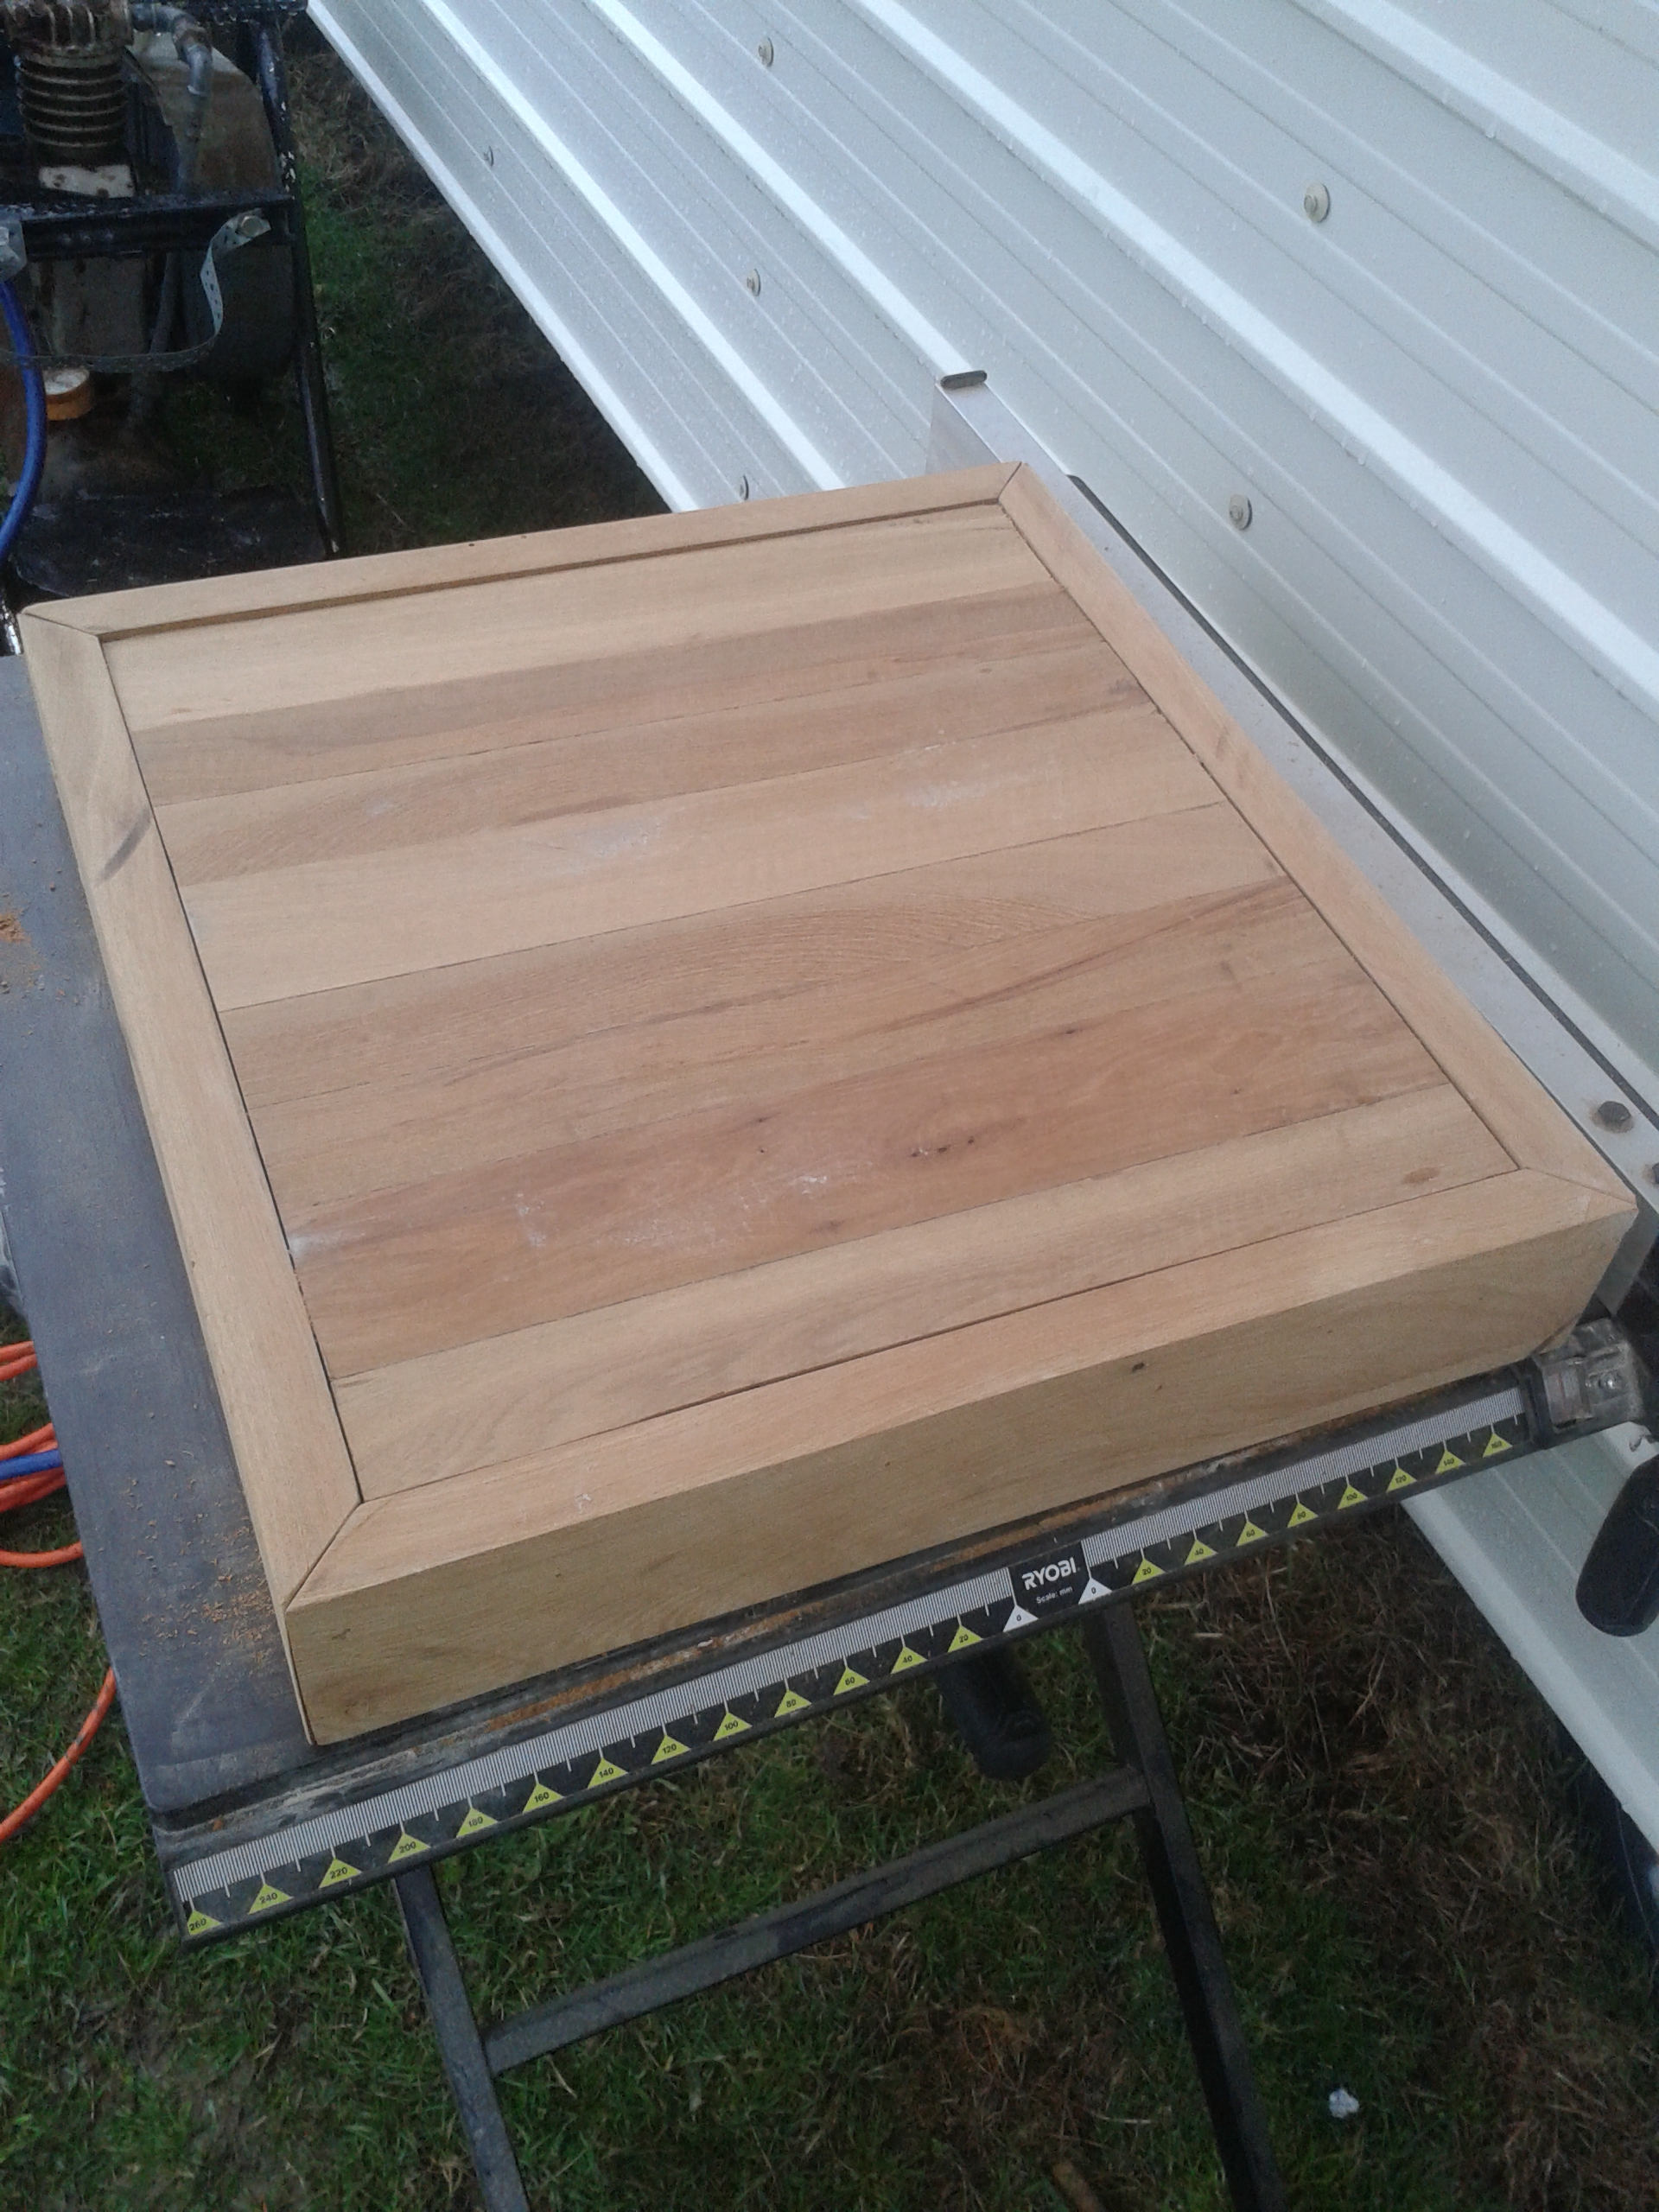
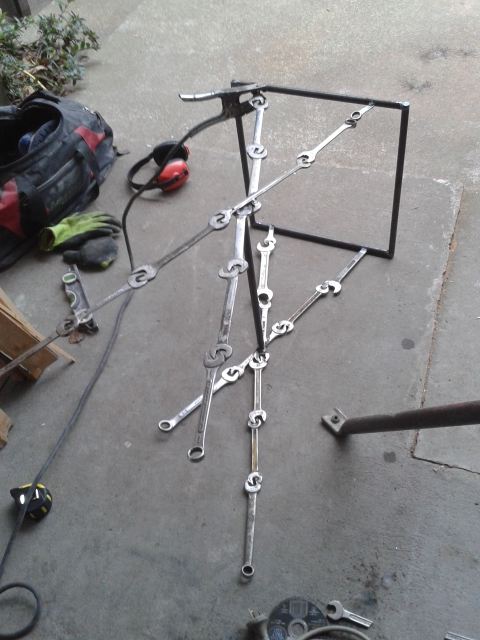
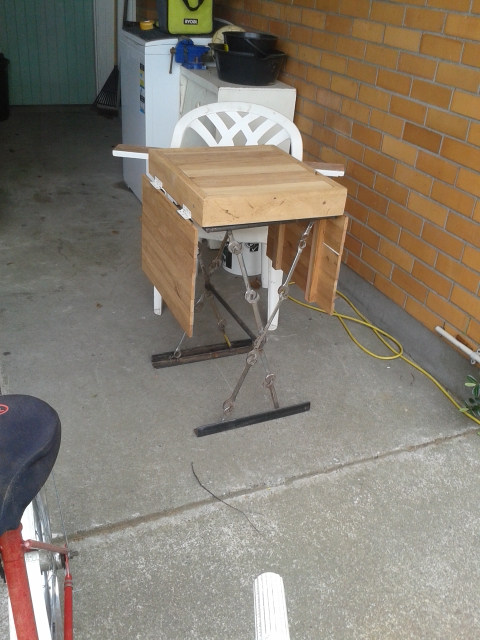
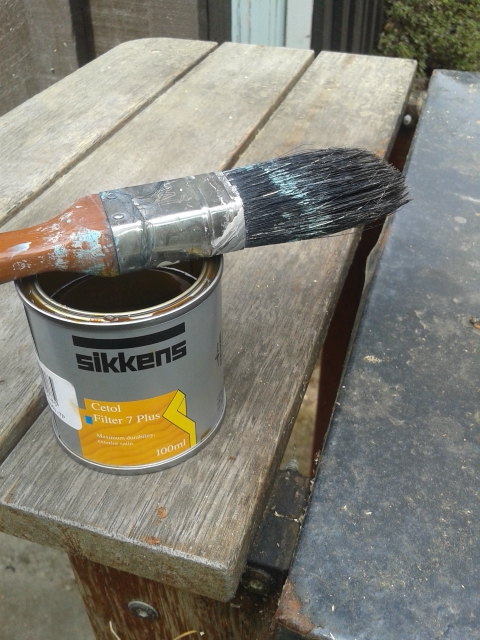
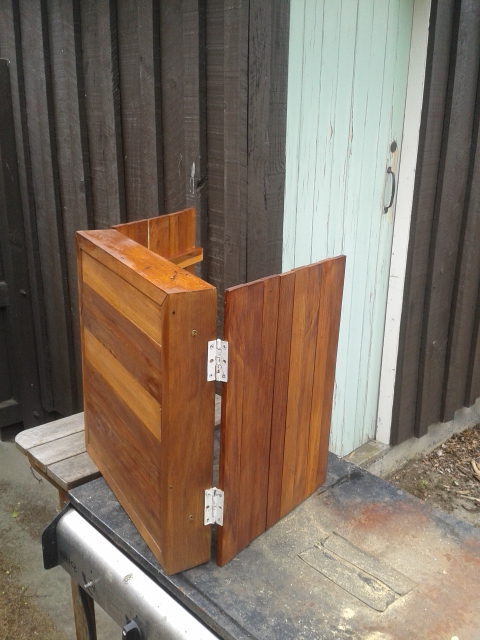
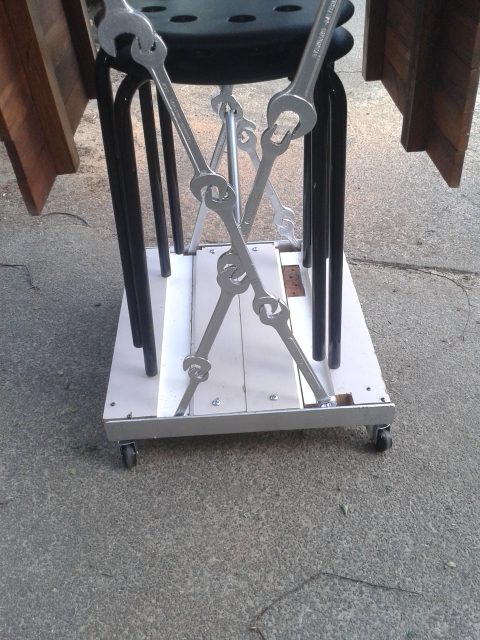
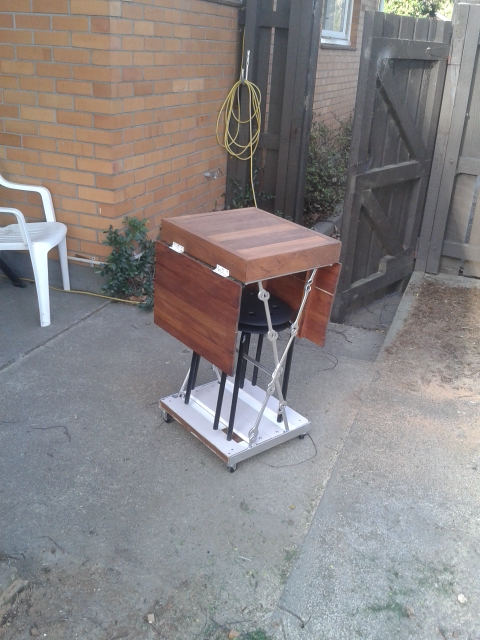
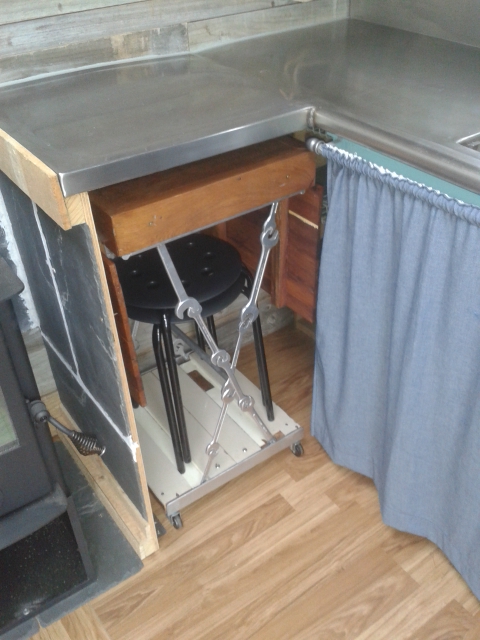
Hello blog readers, I have been working on building a homemade butcher block from completely recycled materials. Thank you Tom and Maria for the beautiful rimu timber. I bought a 5 gallon bucket of used wrenches for 40 dollars and used them to build the frame. The end product has one coat of stain and three coats of polyurethane. The only new material I bought was the wheels. I hope you enjoy.


Hello bloggers, It certainly is spring. This is the second weekend we have been rained out, making things at the tiny house difficult. We have still managed to get things done though.
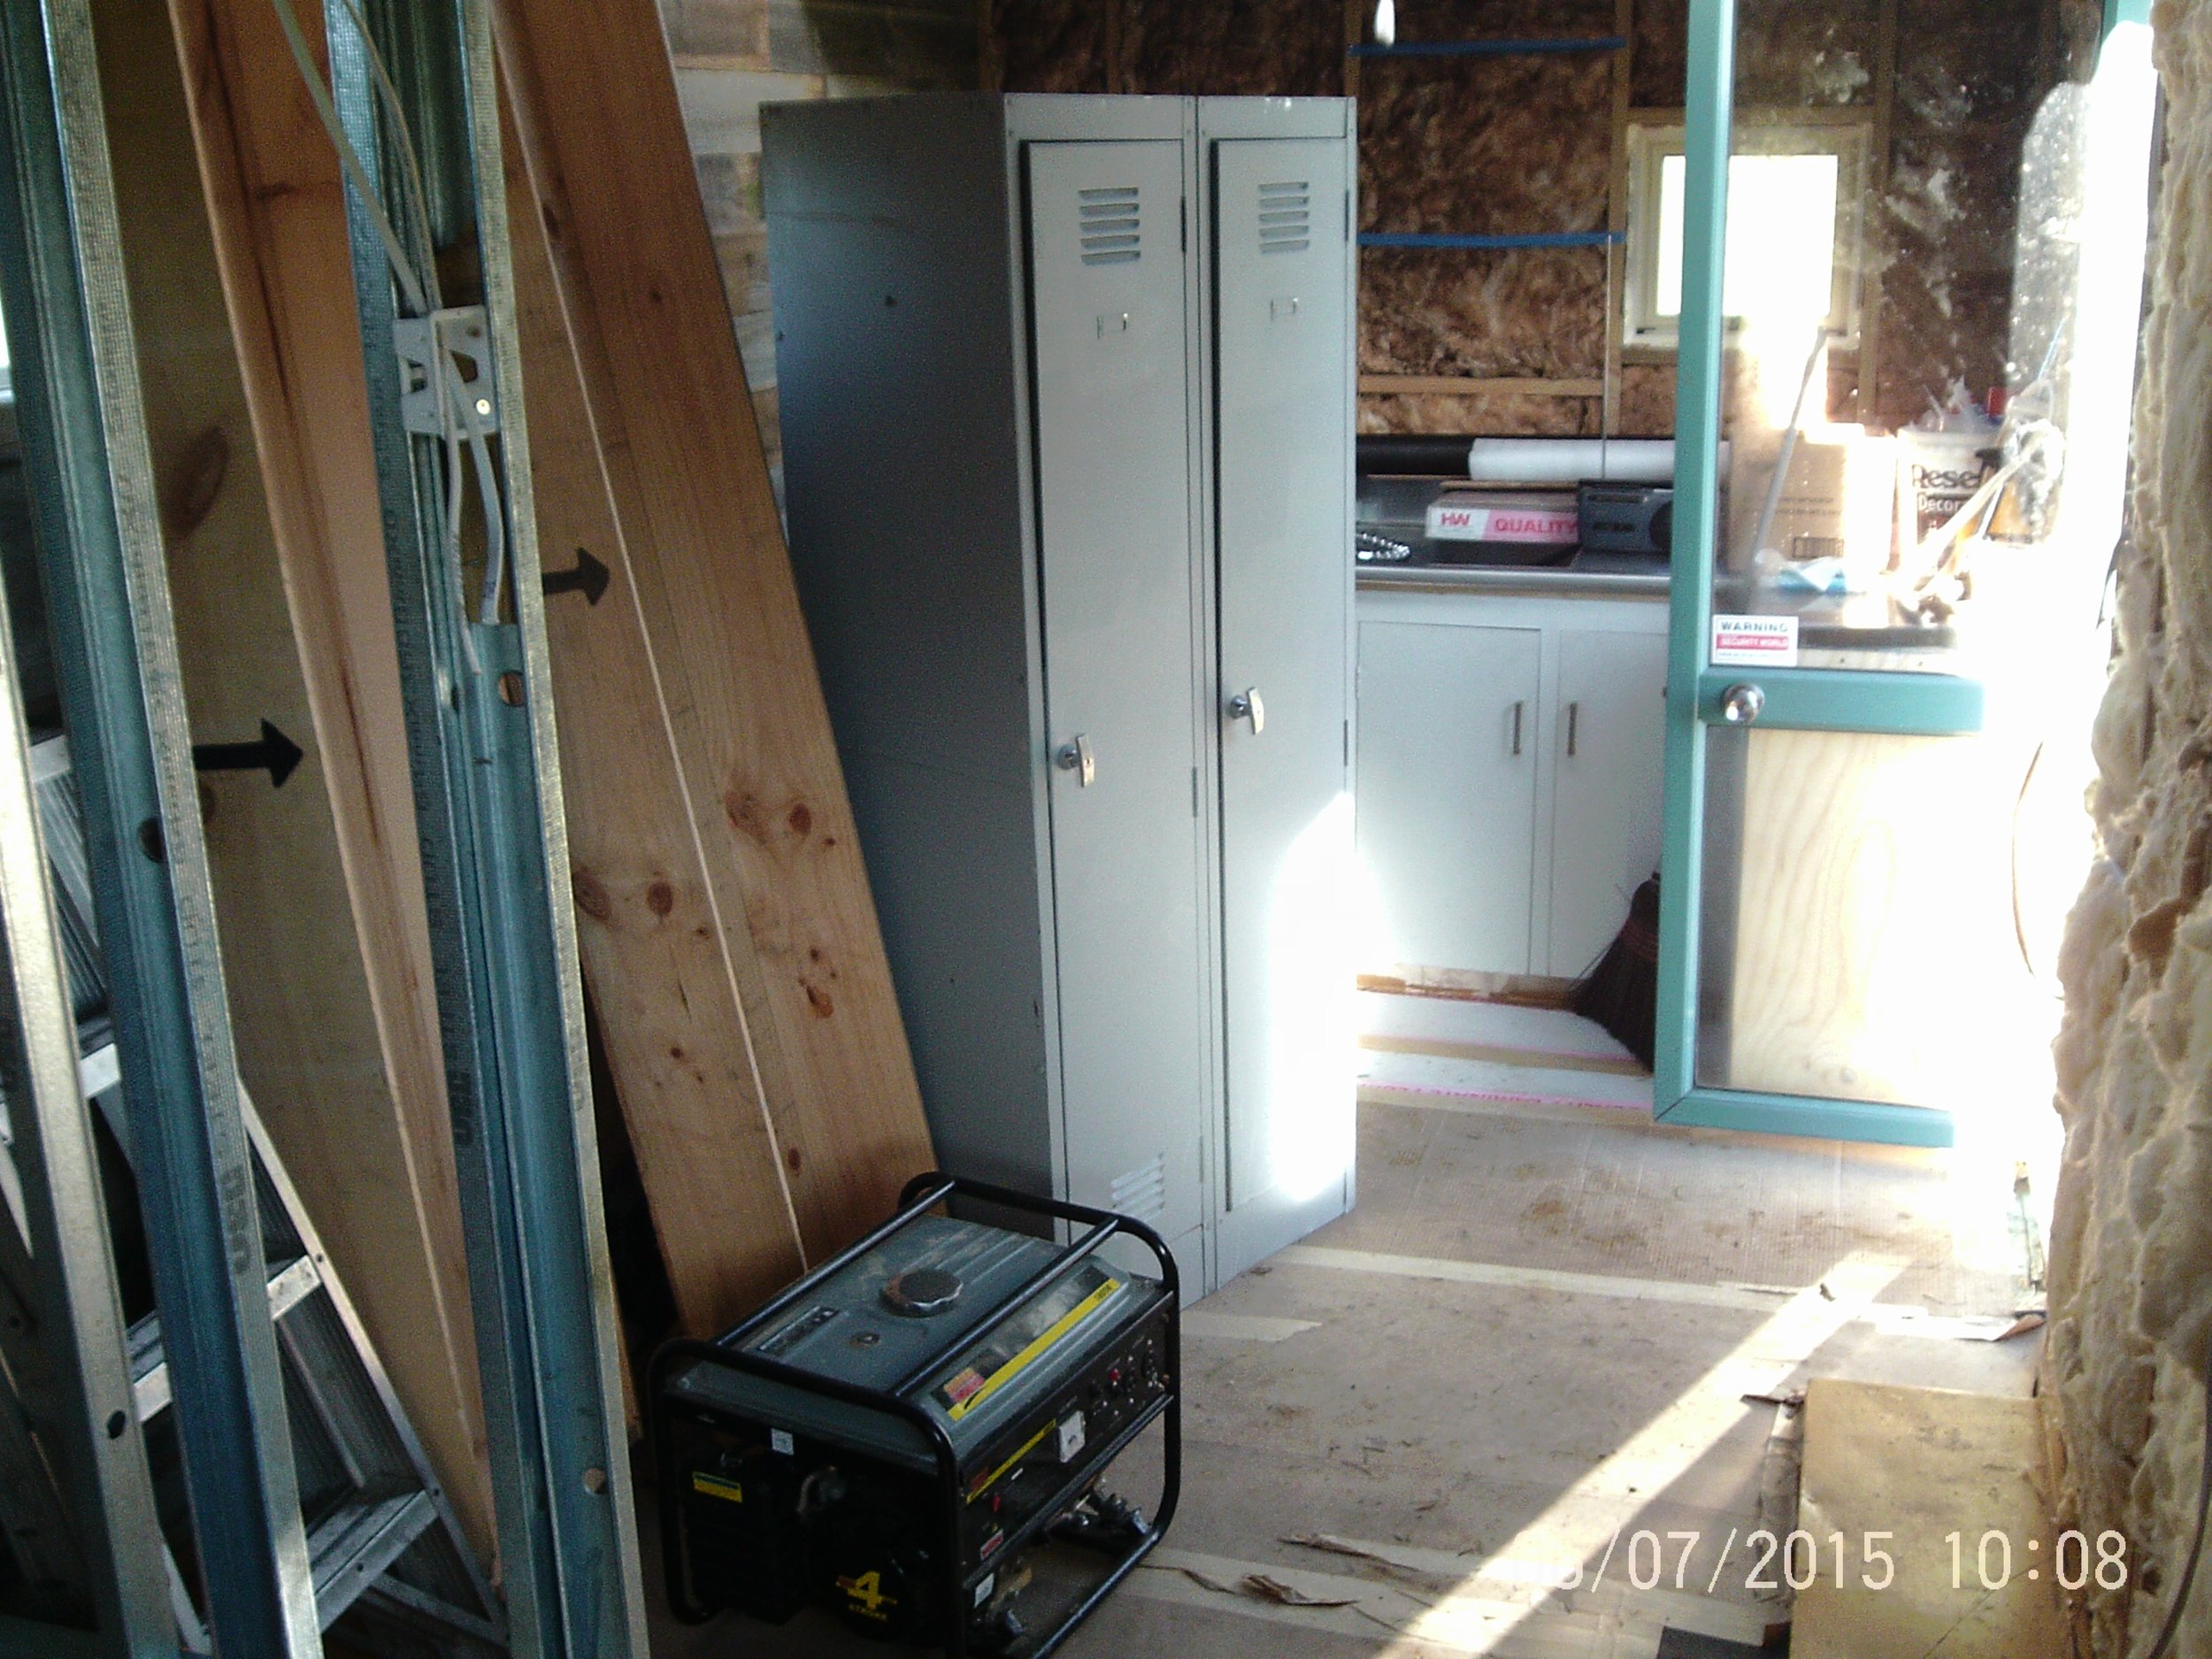
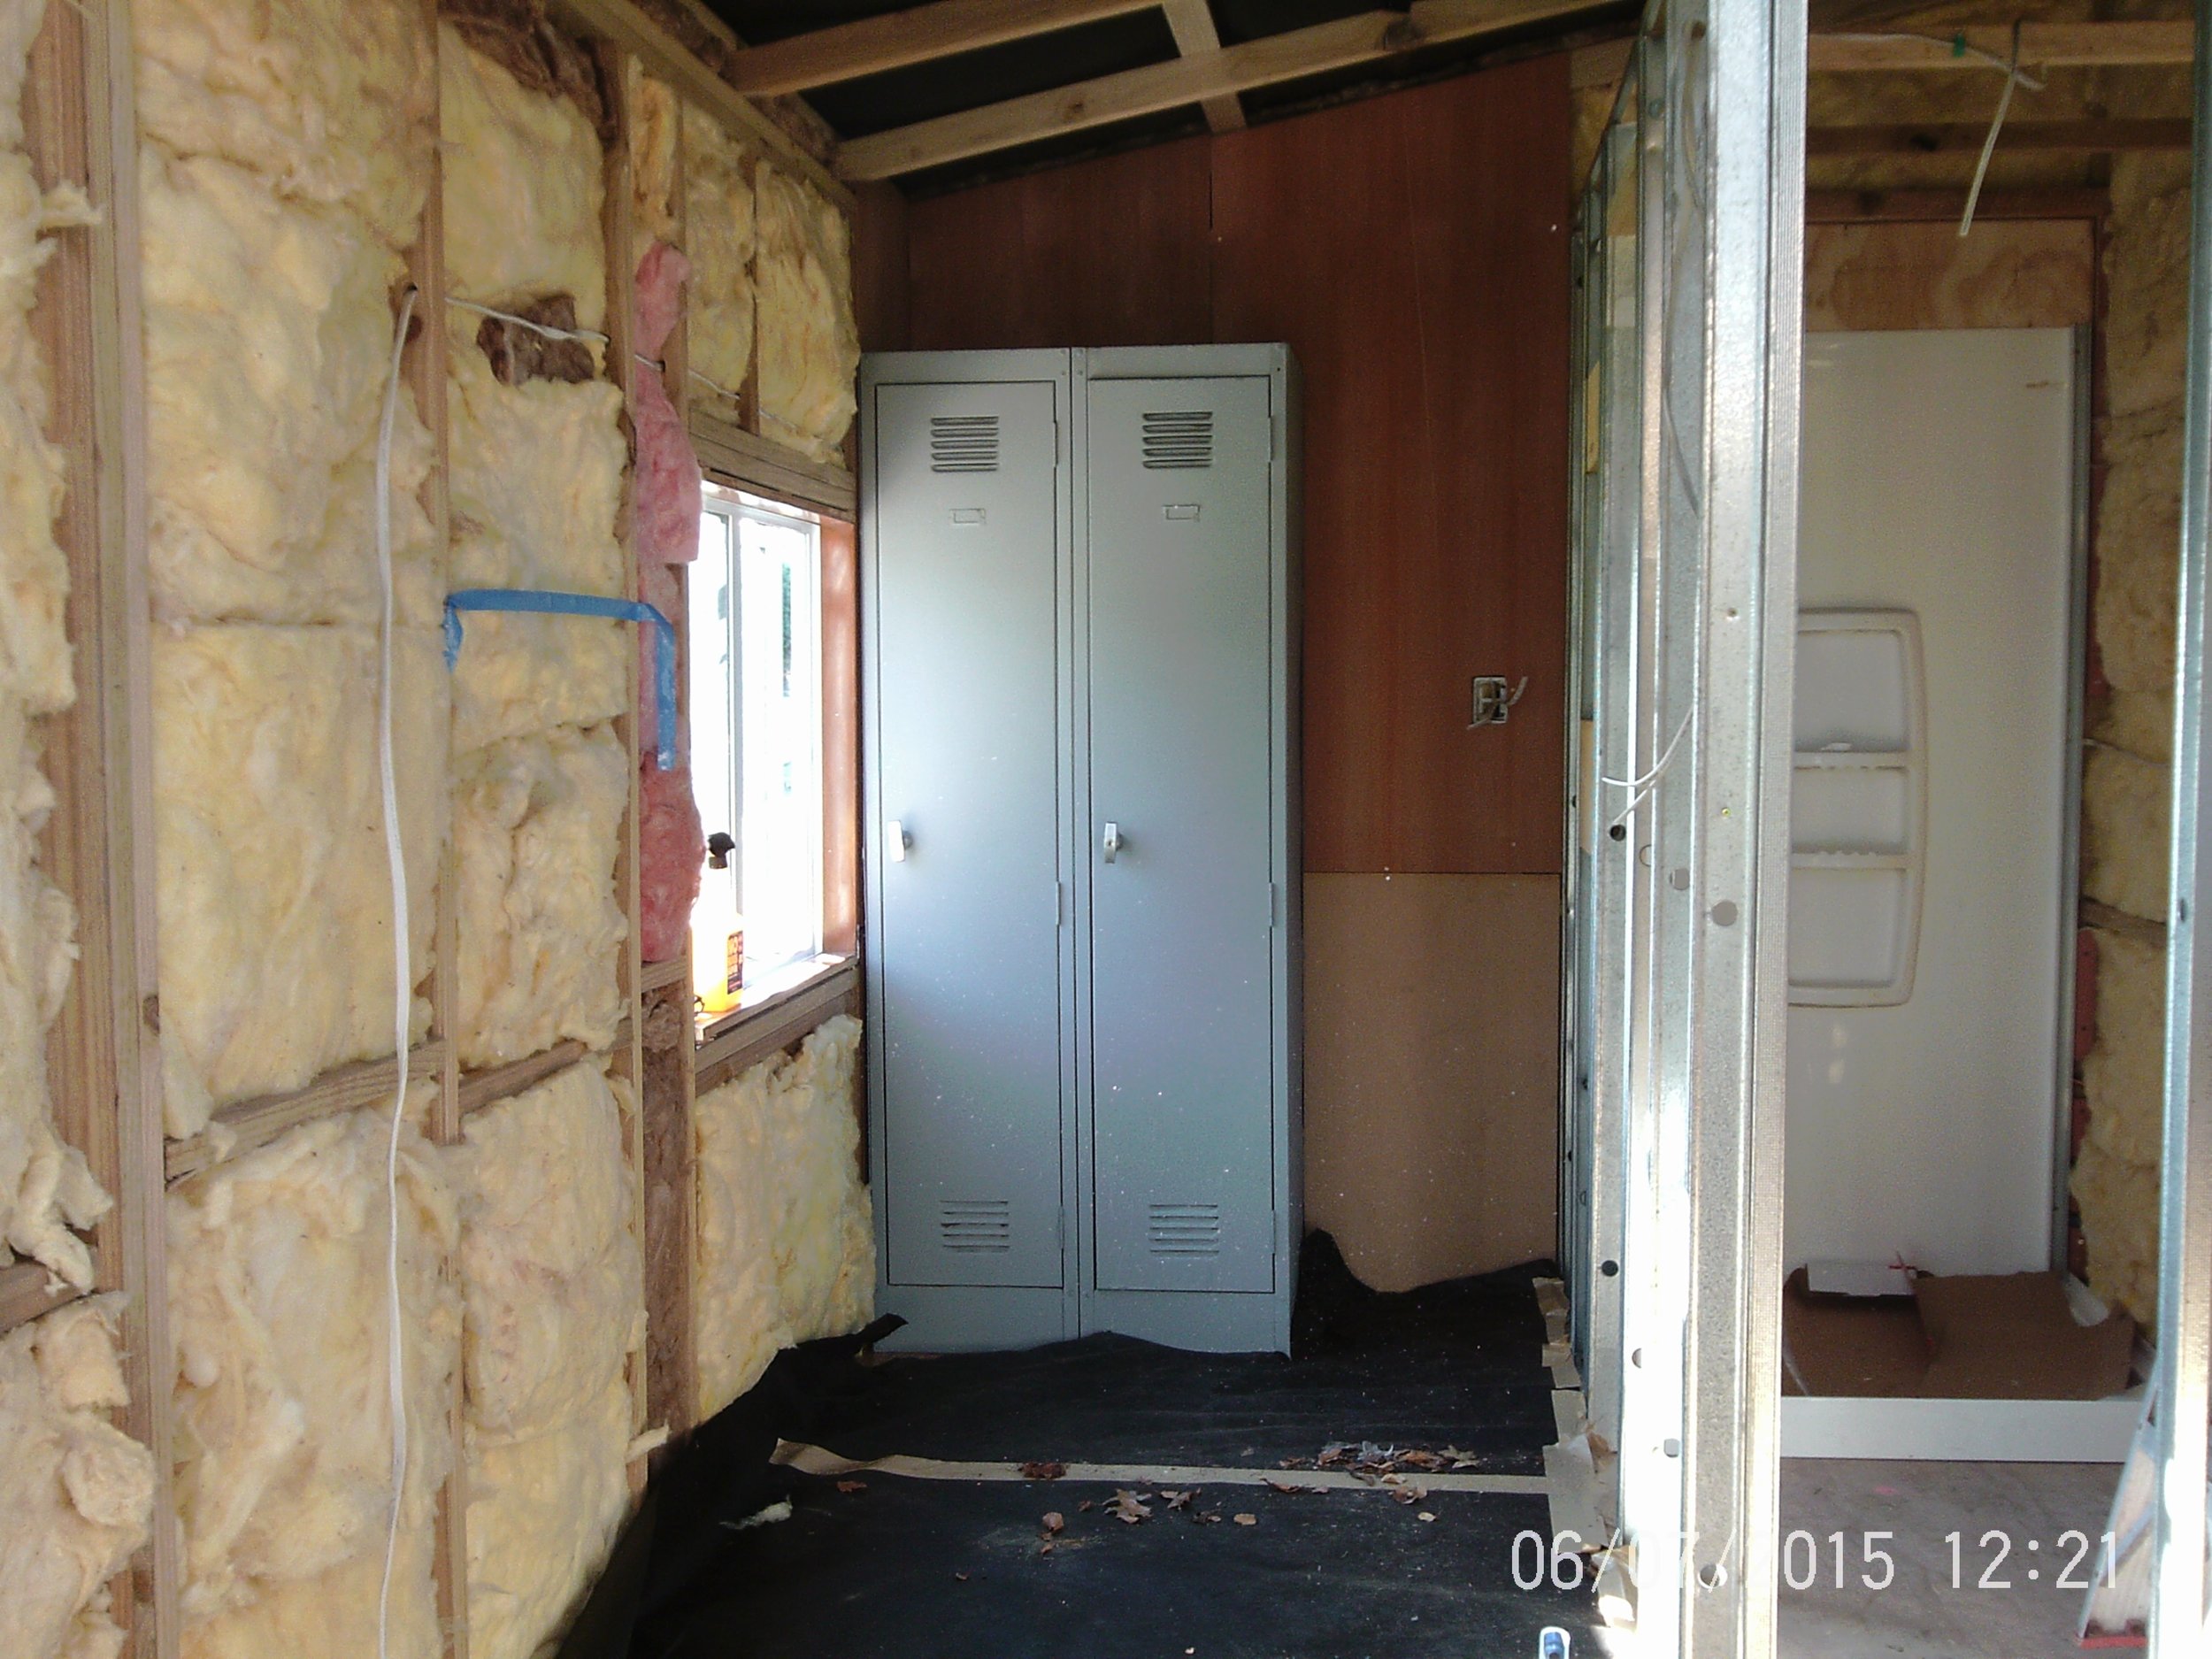
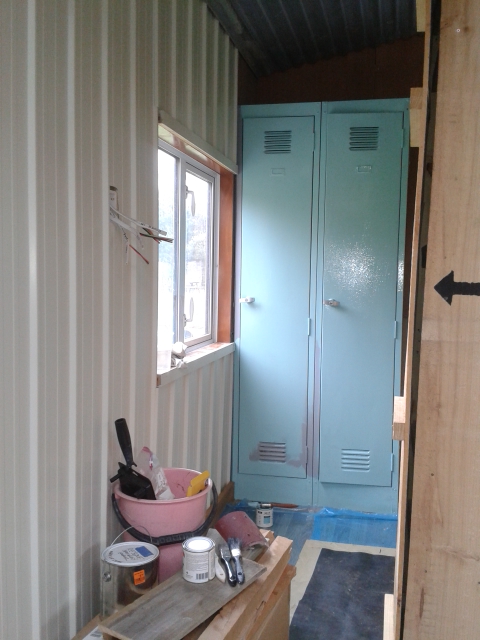
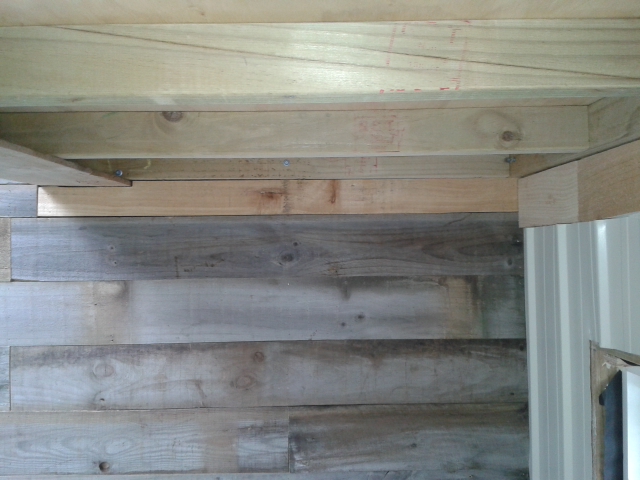
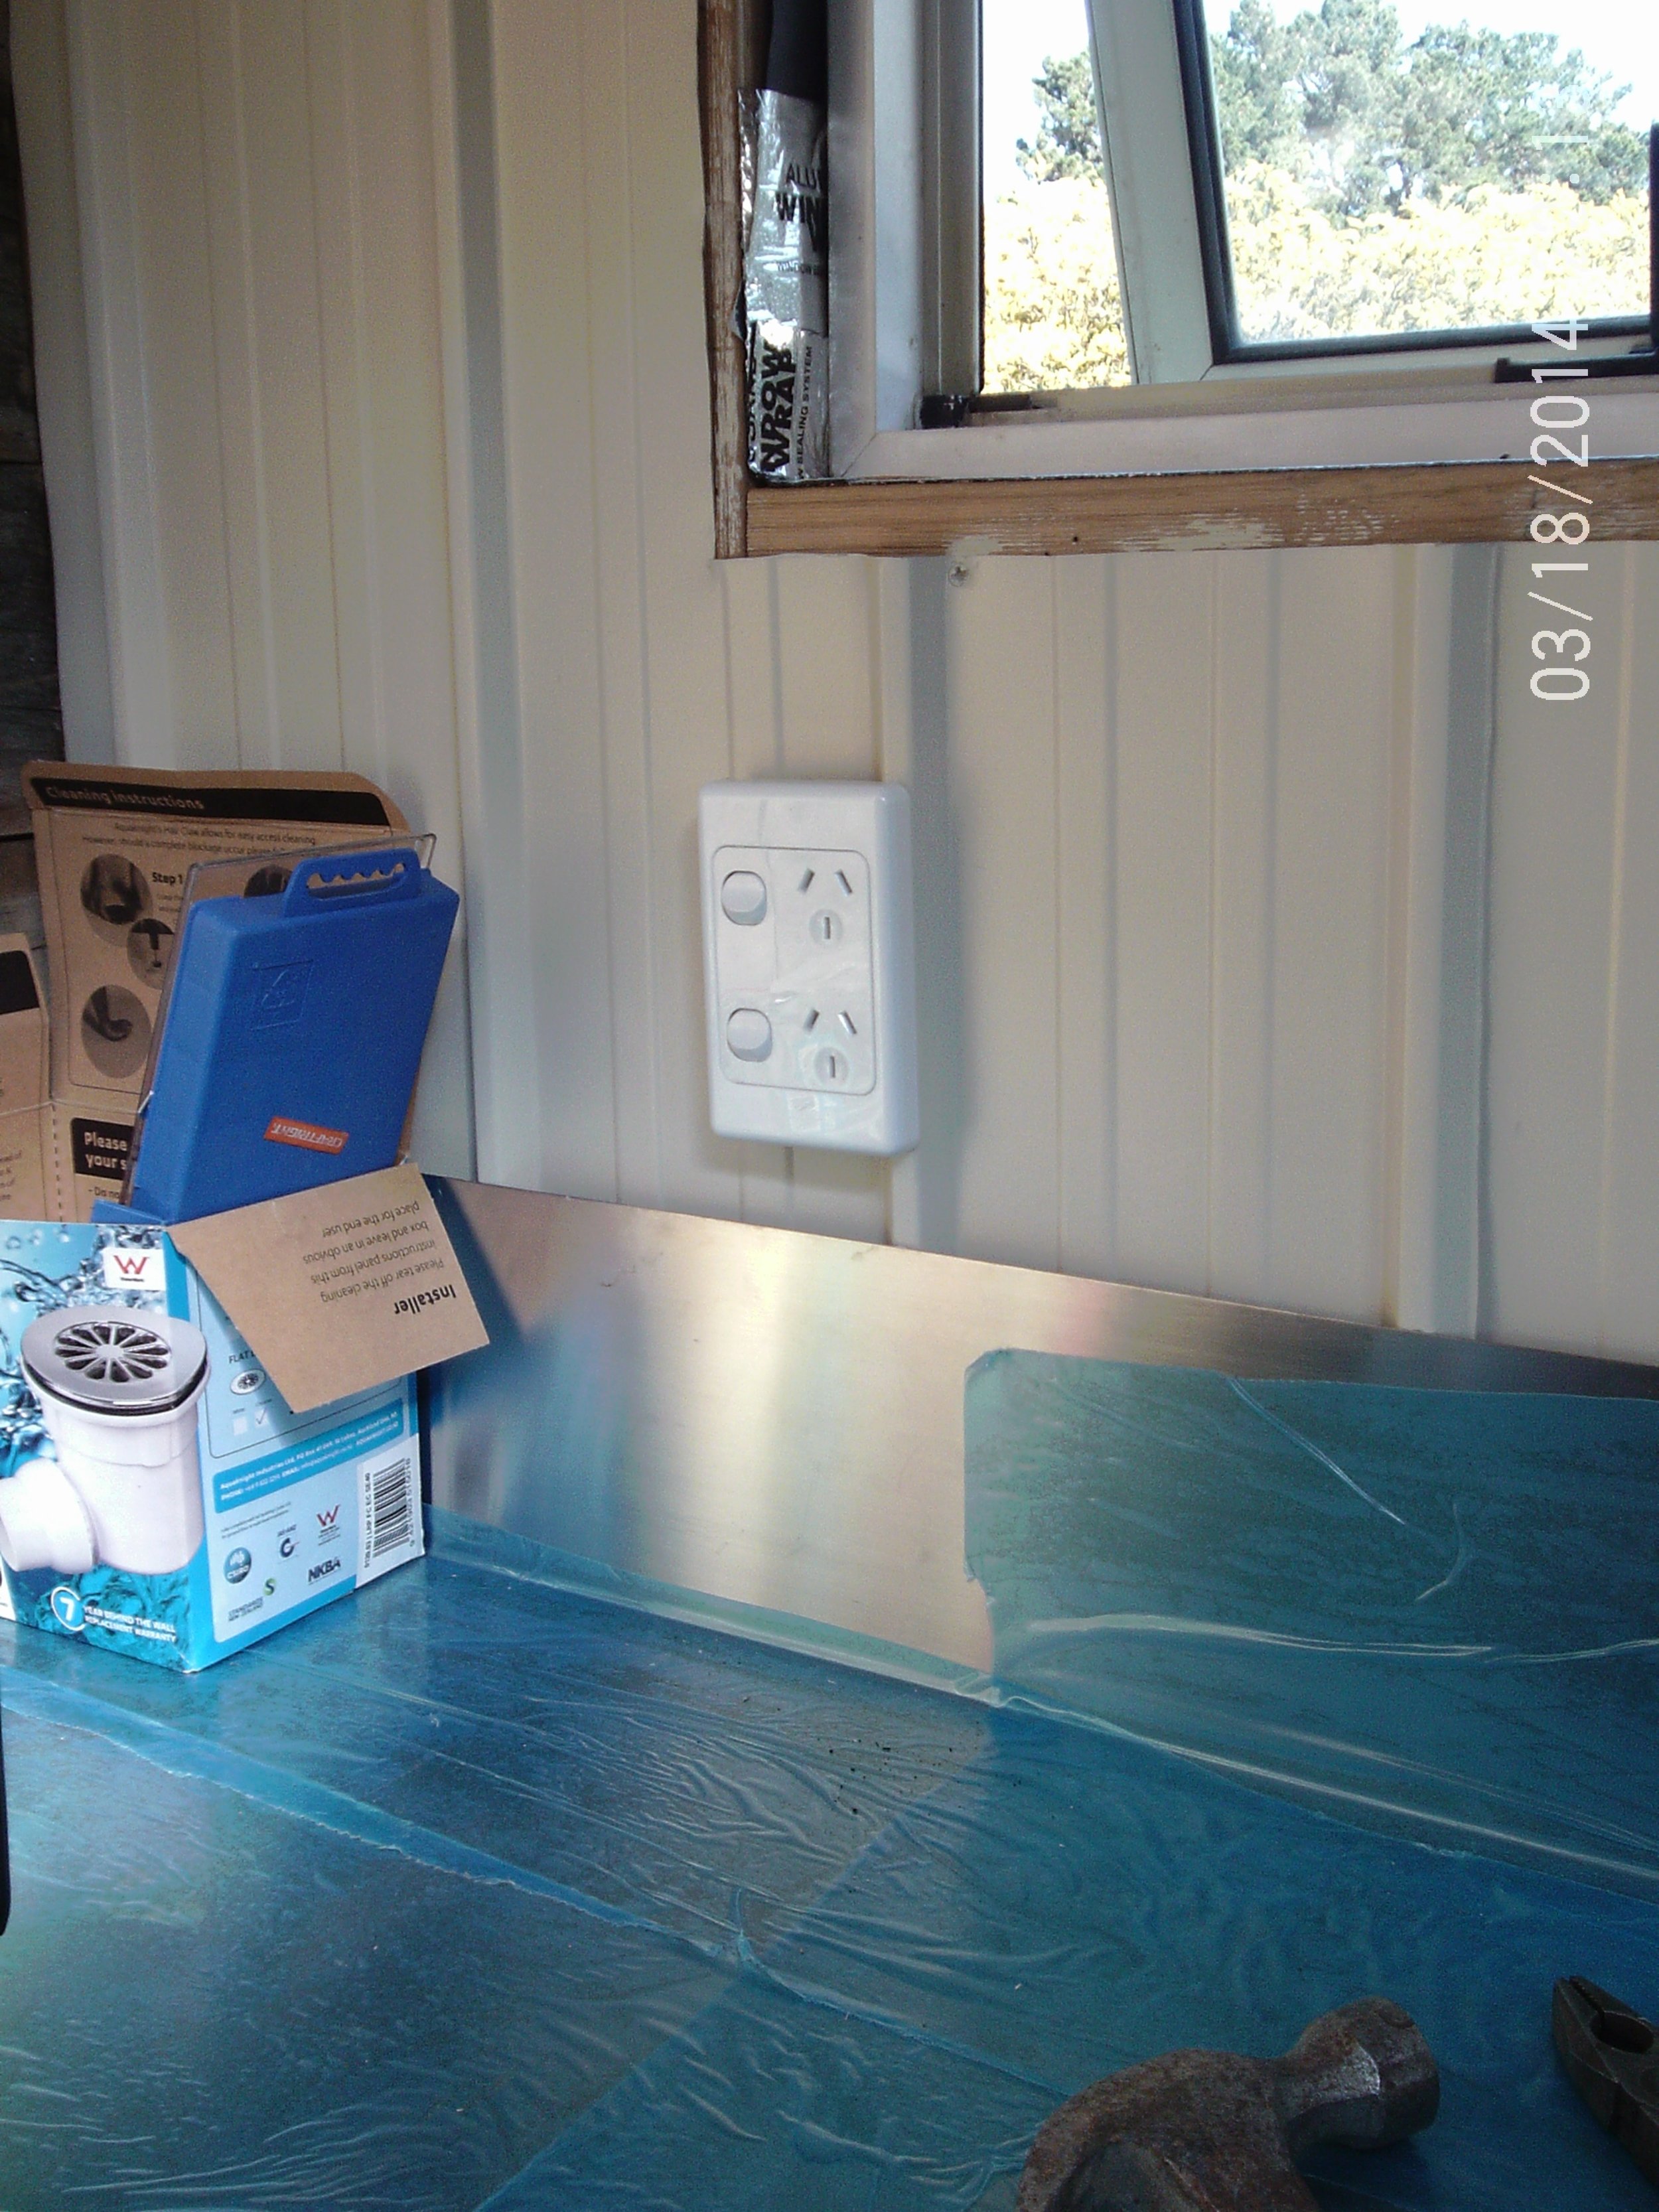
We painted our lockers, storage cabinet, and kitchen cabinets. I also have been hooking up some of the electrical outlets and switches as I go along. We did the trim above the kitchen all out of recycled timber. At this stage it is really difficult to use recycled materials to do the finishing work because their imperfections make it difficult to be satisfied with the result. This is new territory for the both of us and we keep losing our patience. Building a tiny house is hard work but we had a unexpected visitor today which boosted our morale.


And that's All Folks!
It doesn't seem like much but it is coming along. We did some more major clean up because our tiny house is going to be a part of Eco Week! A sustainable themed week long series of events hosted by the University of Canterbury. Following Eco Week we will be moving our tiny house to our newly rented lot in Christchurch. Everything is happening so soon! Stay tuned for more ;)
Pat and Cori
Hi Readers! Last weekend was one of the first weekends we worked on the tiny house that was cut short by bad weather. But Pat still managed to paint the beige walls (you probably can't tell from the pictures but the walls were scratched and dented). So this weekend we made a huge push to make up for our lost day!
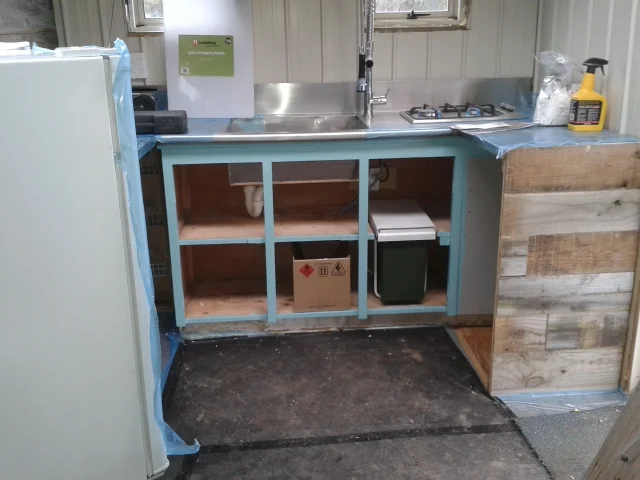
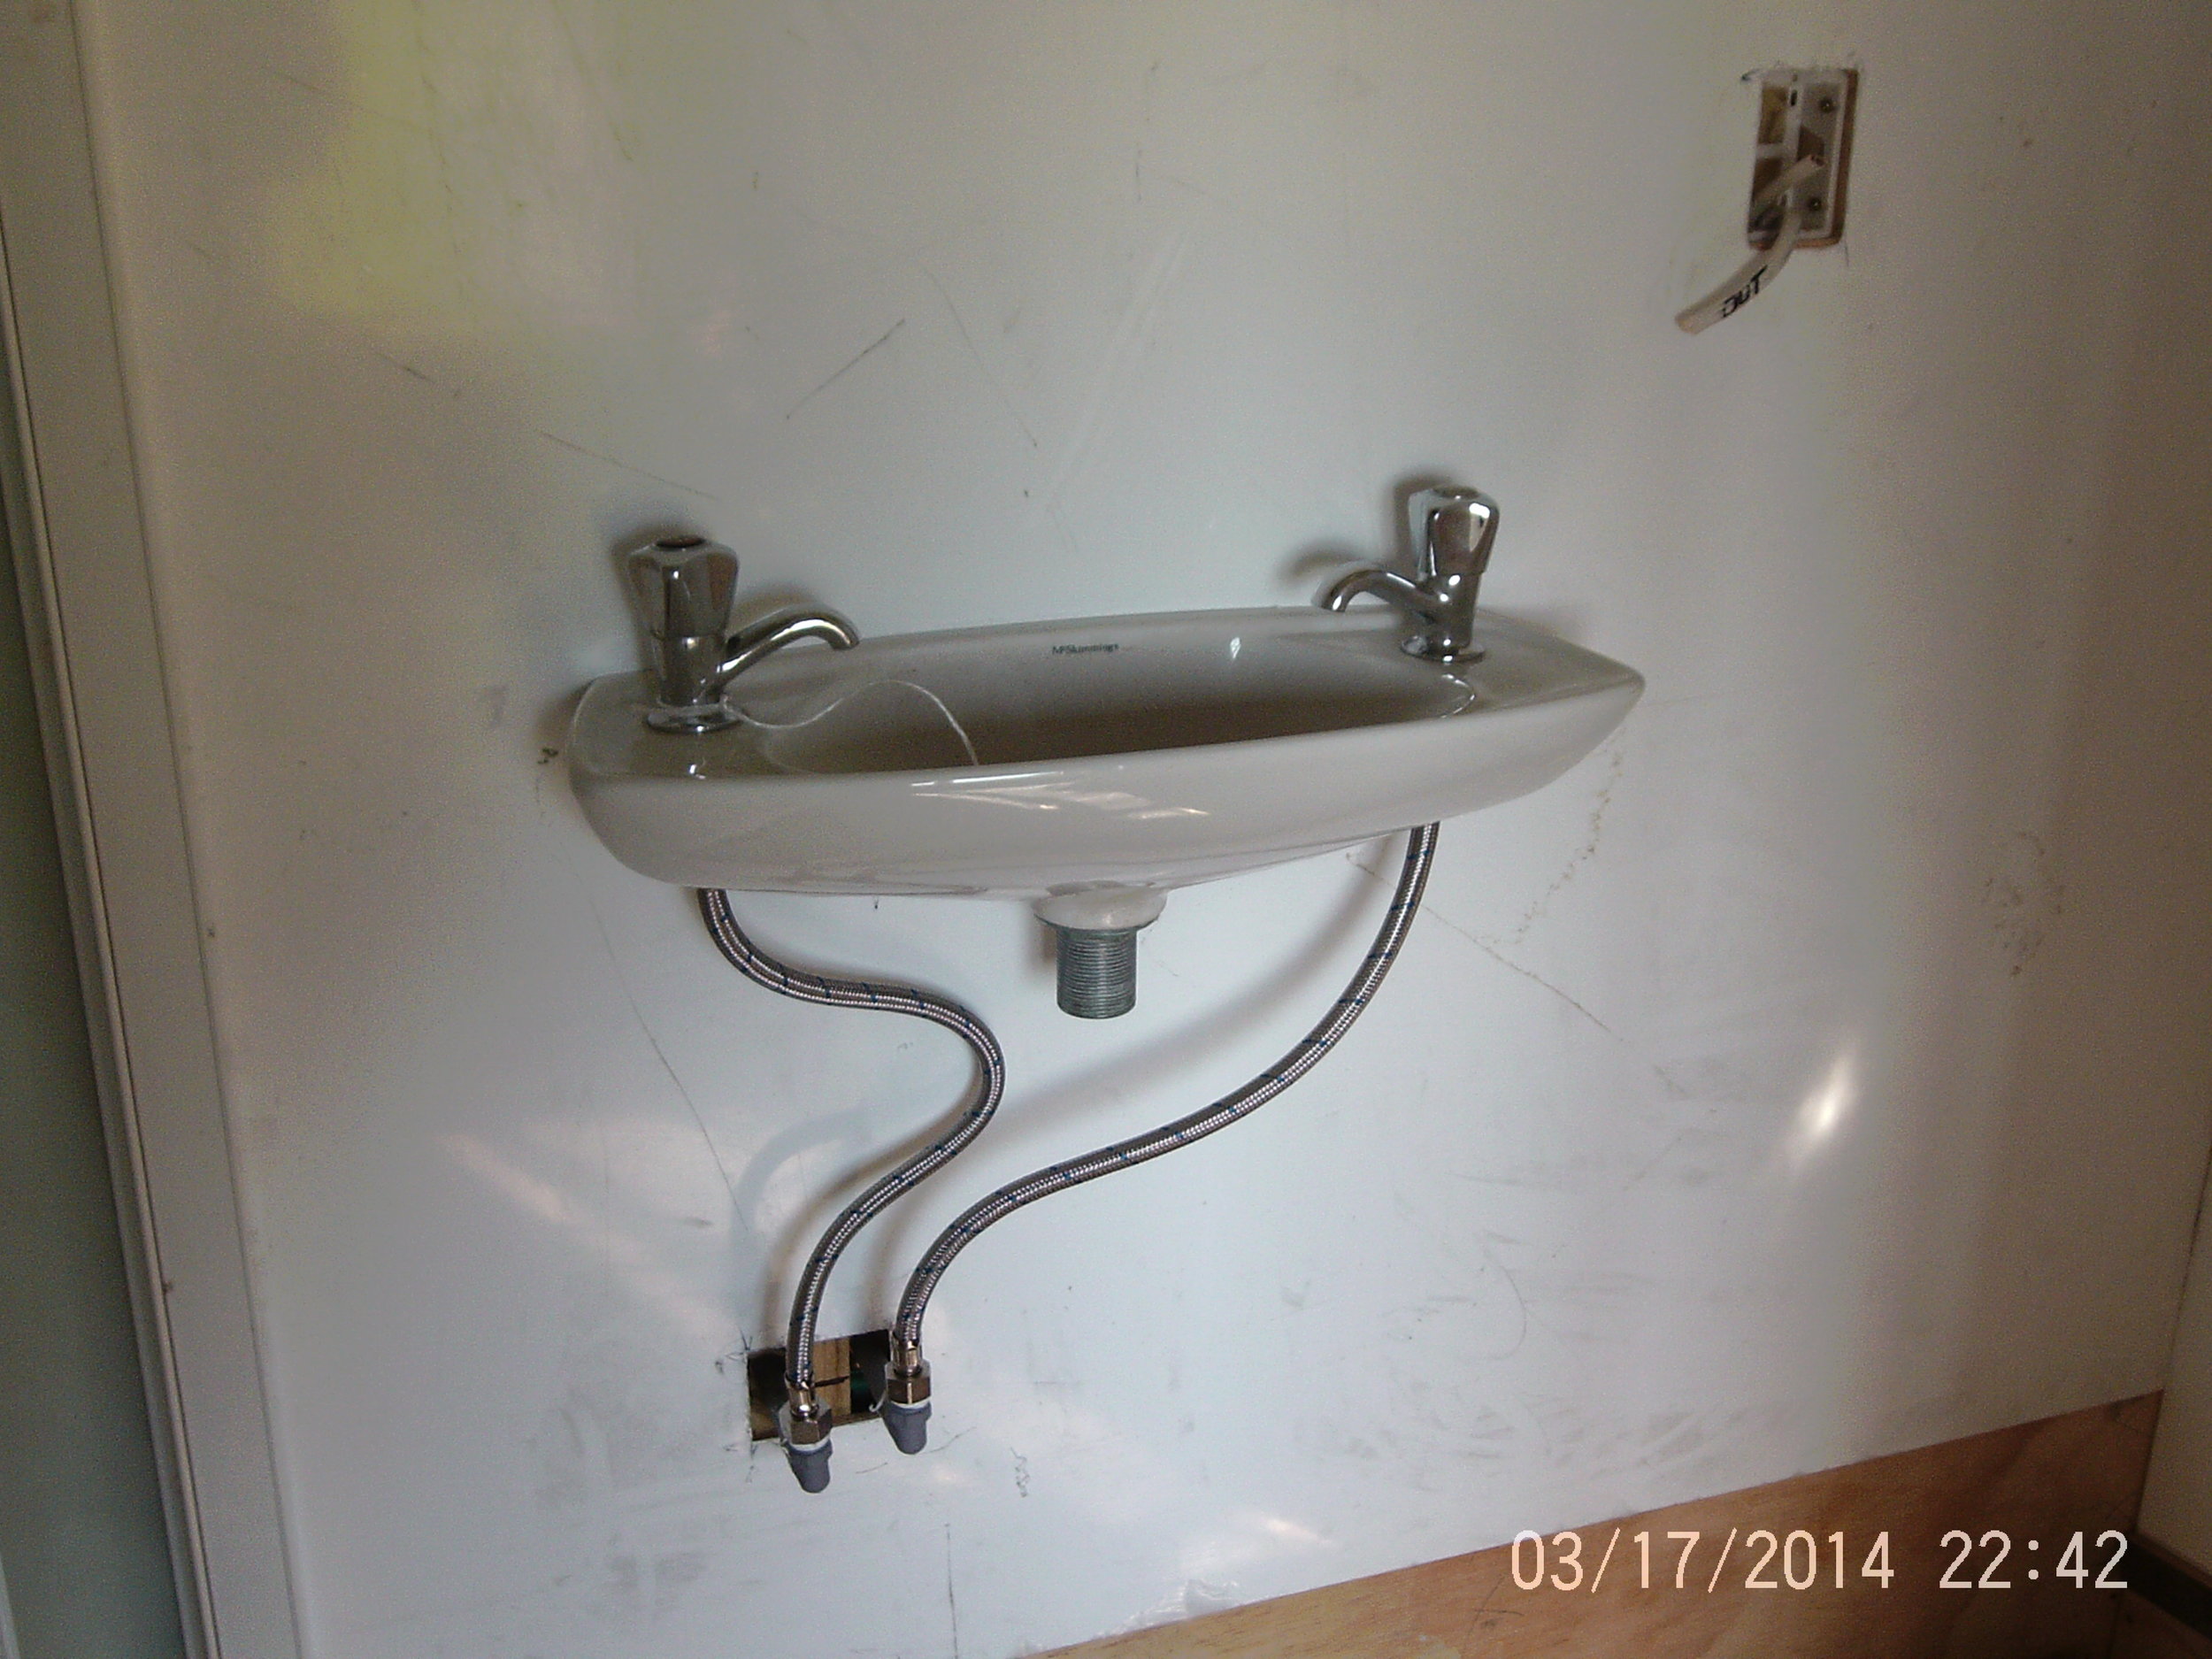
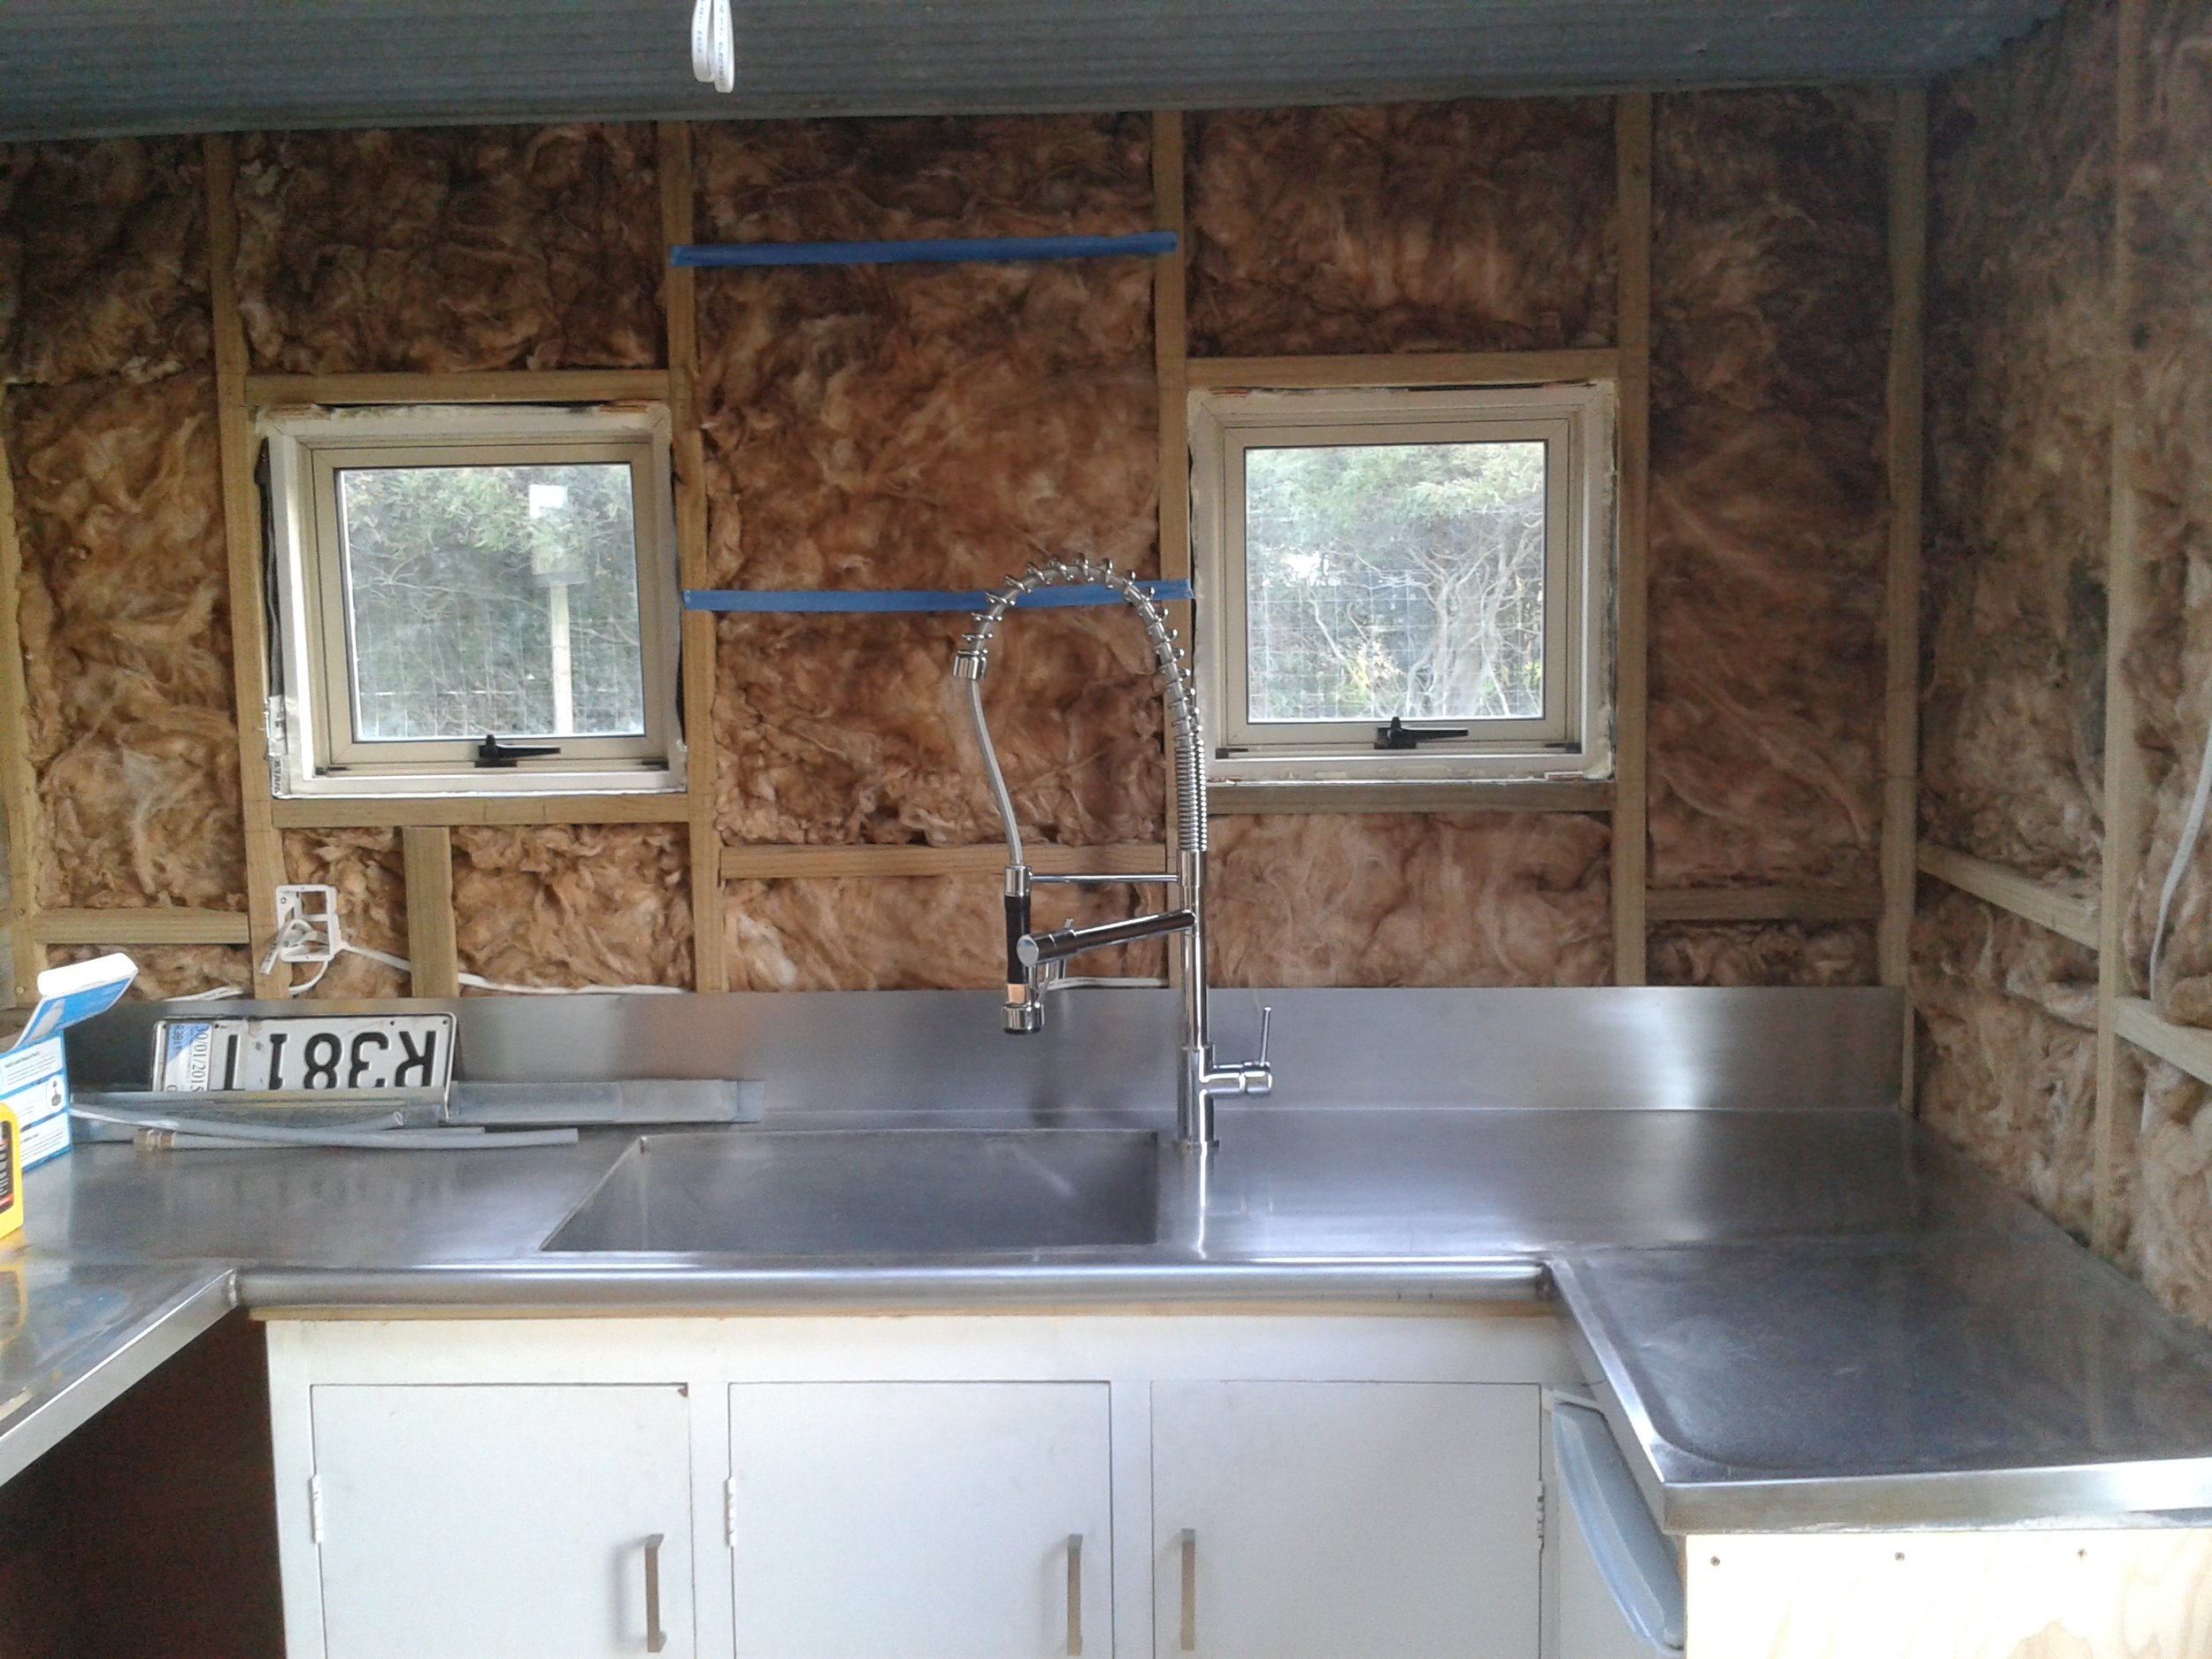
This Saturday we lined our bathroom with plastic we got for free from a friend. We didn't have enough to cover the ceiling as well so once again we used up some scraps! At least our whole house (inside and outside) matches! We also had time to install our sink that had been lying dejected in our shower for ages!


This is the floor I did a while back, finally you can see it ! Previously we had used cardboard to protect the flooring but this weekend we brought the vacuum cleaner along with us. 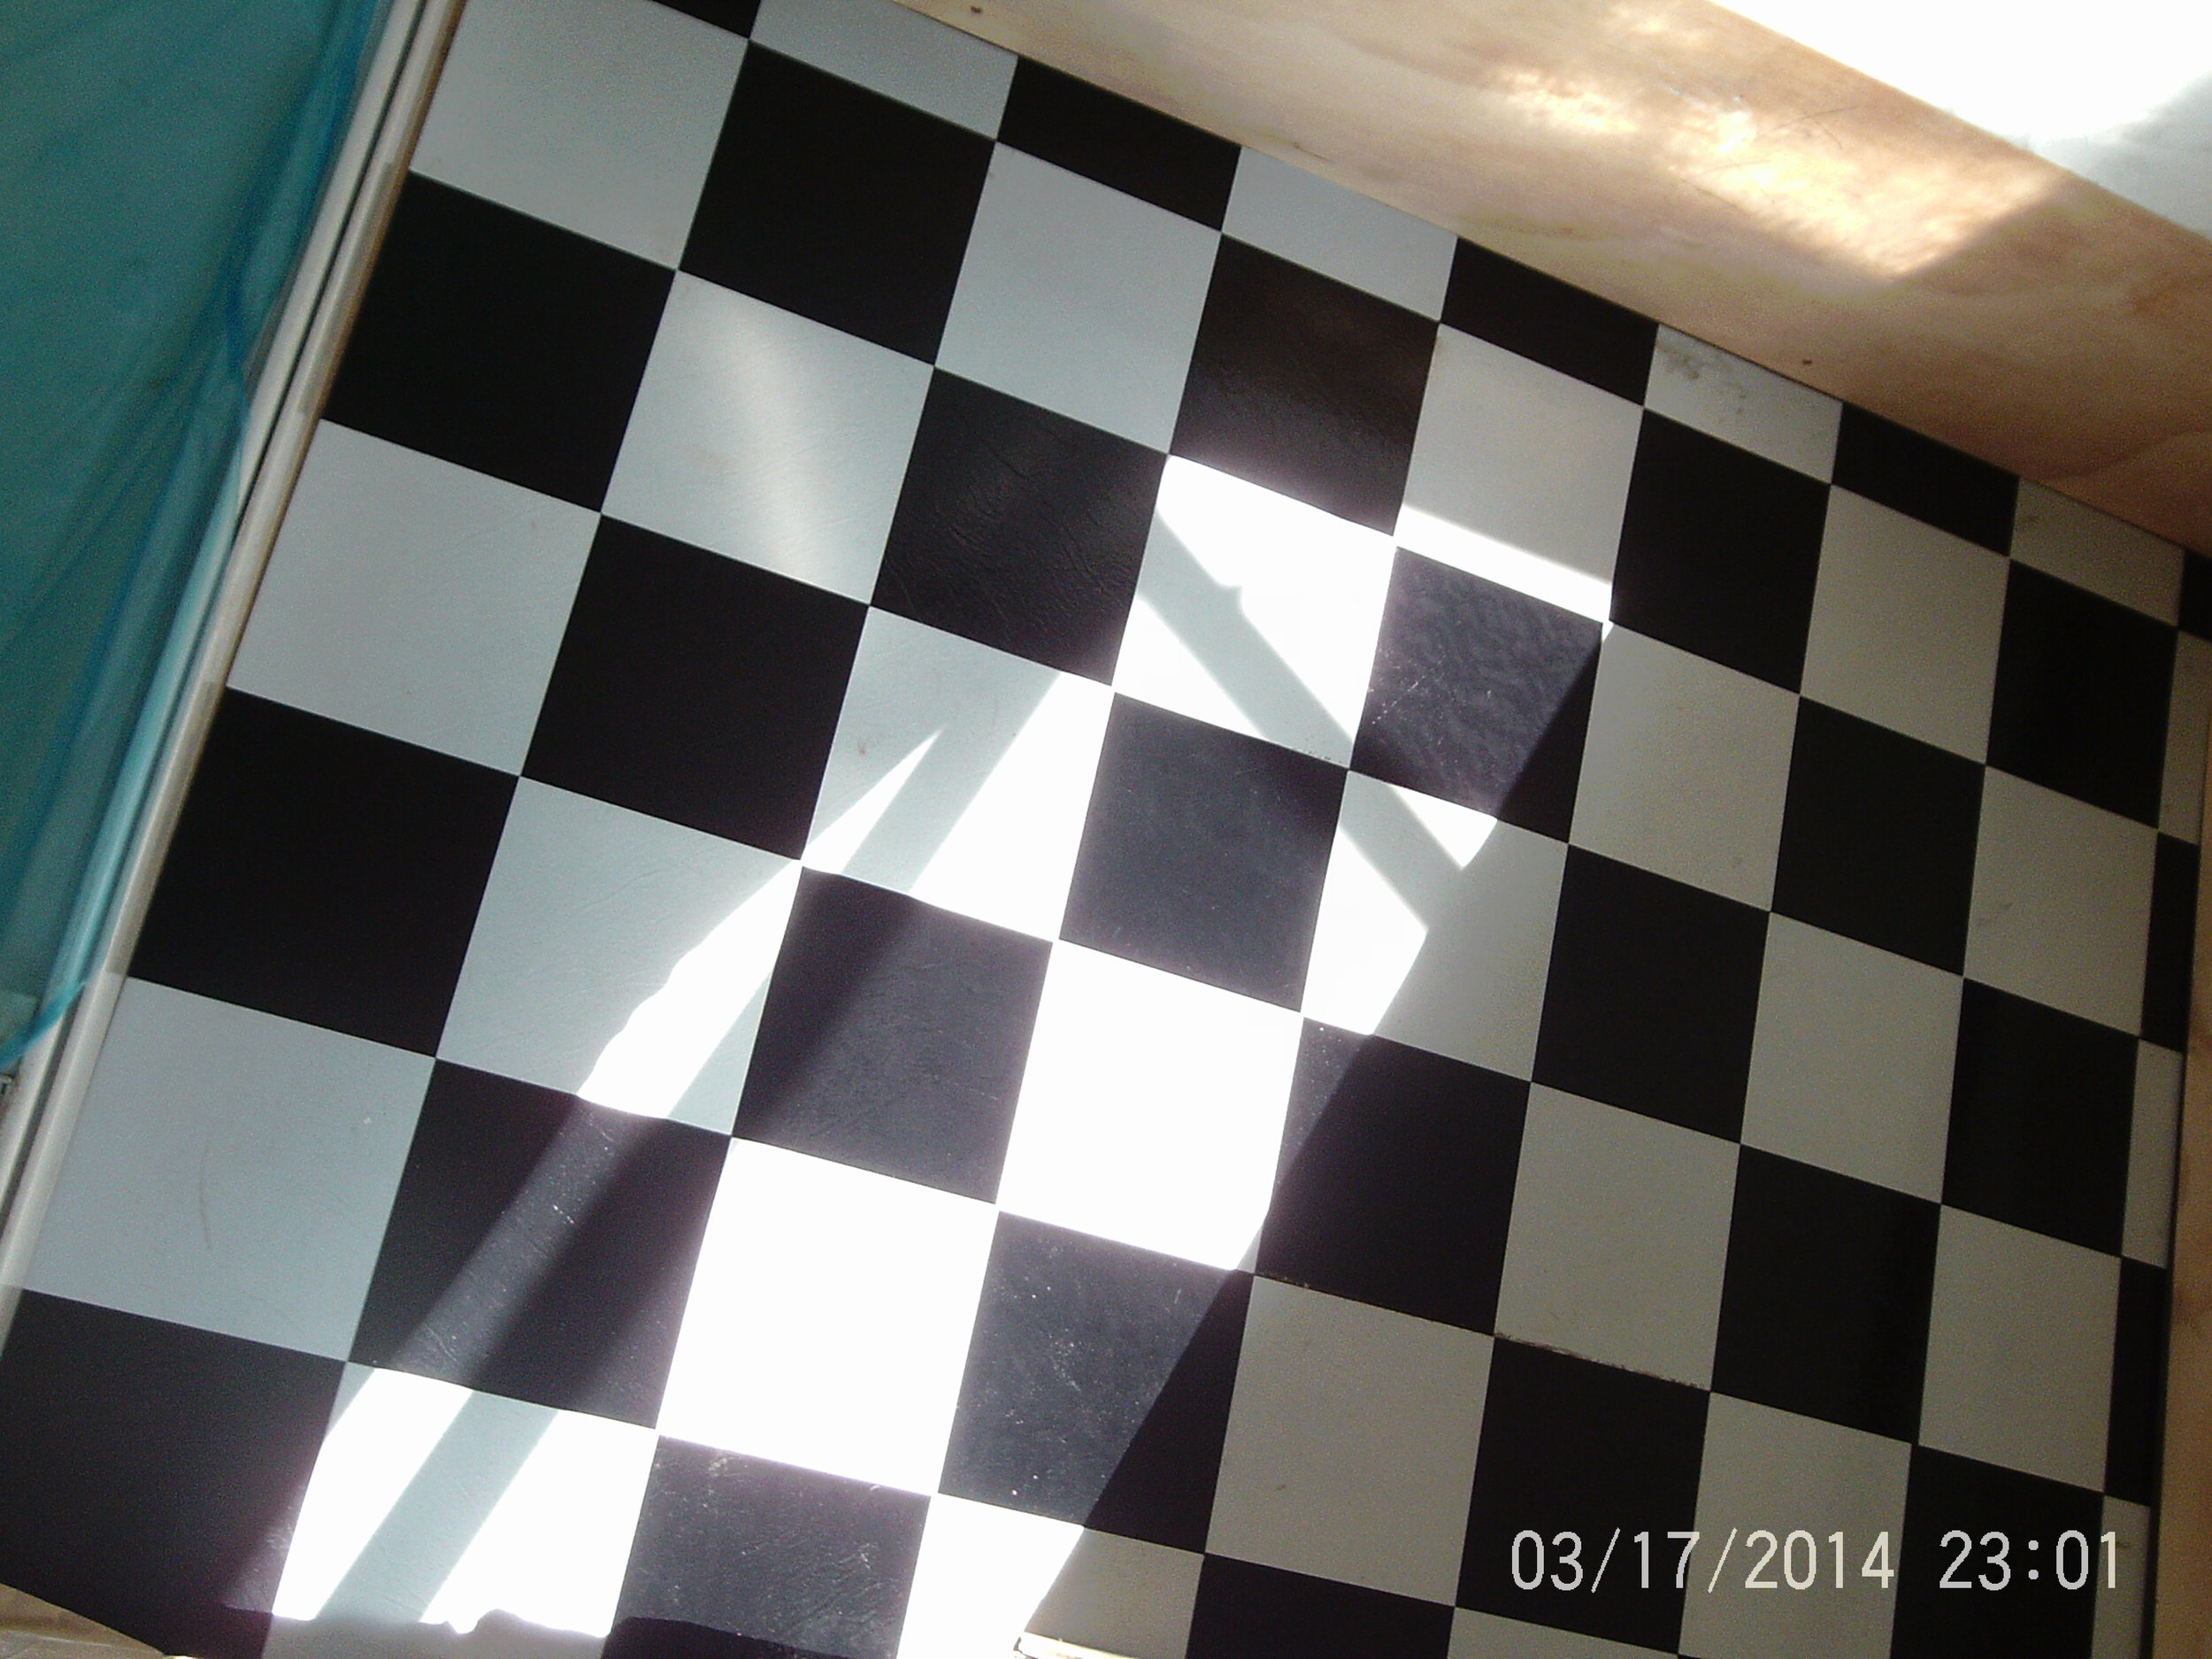

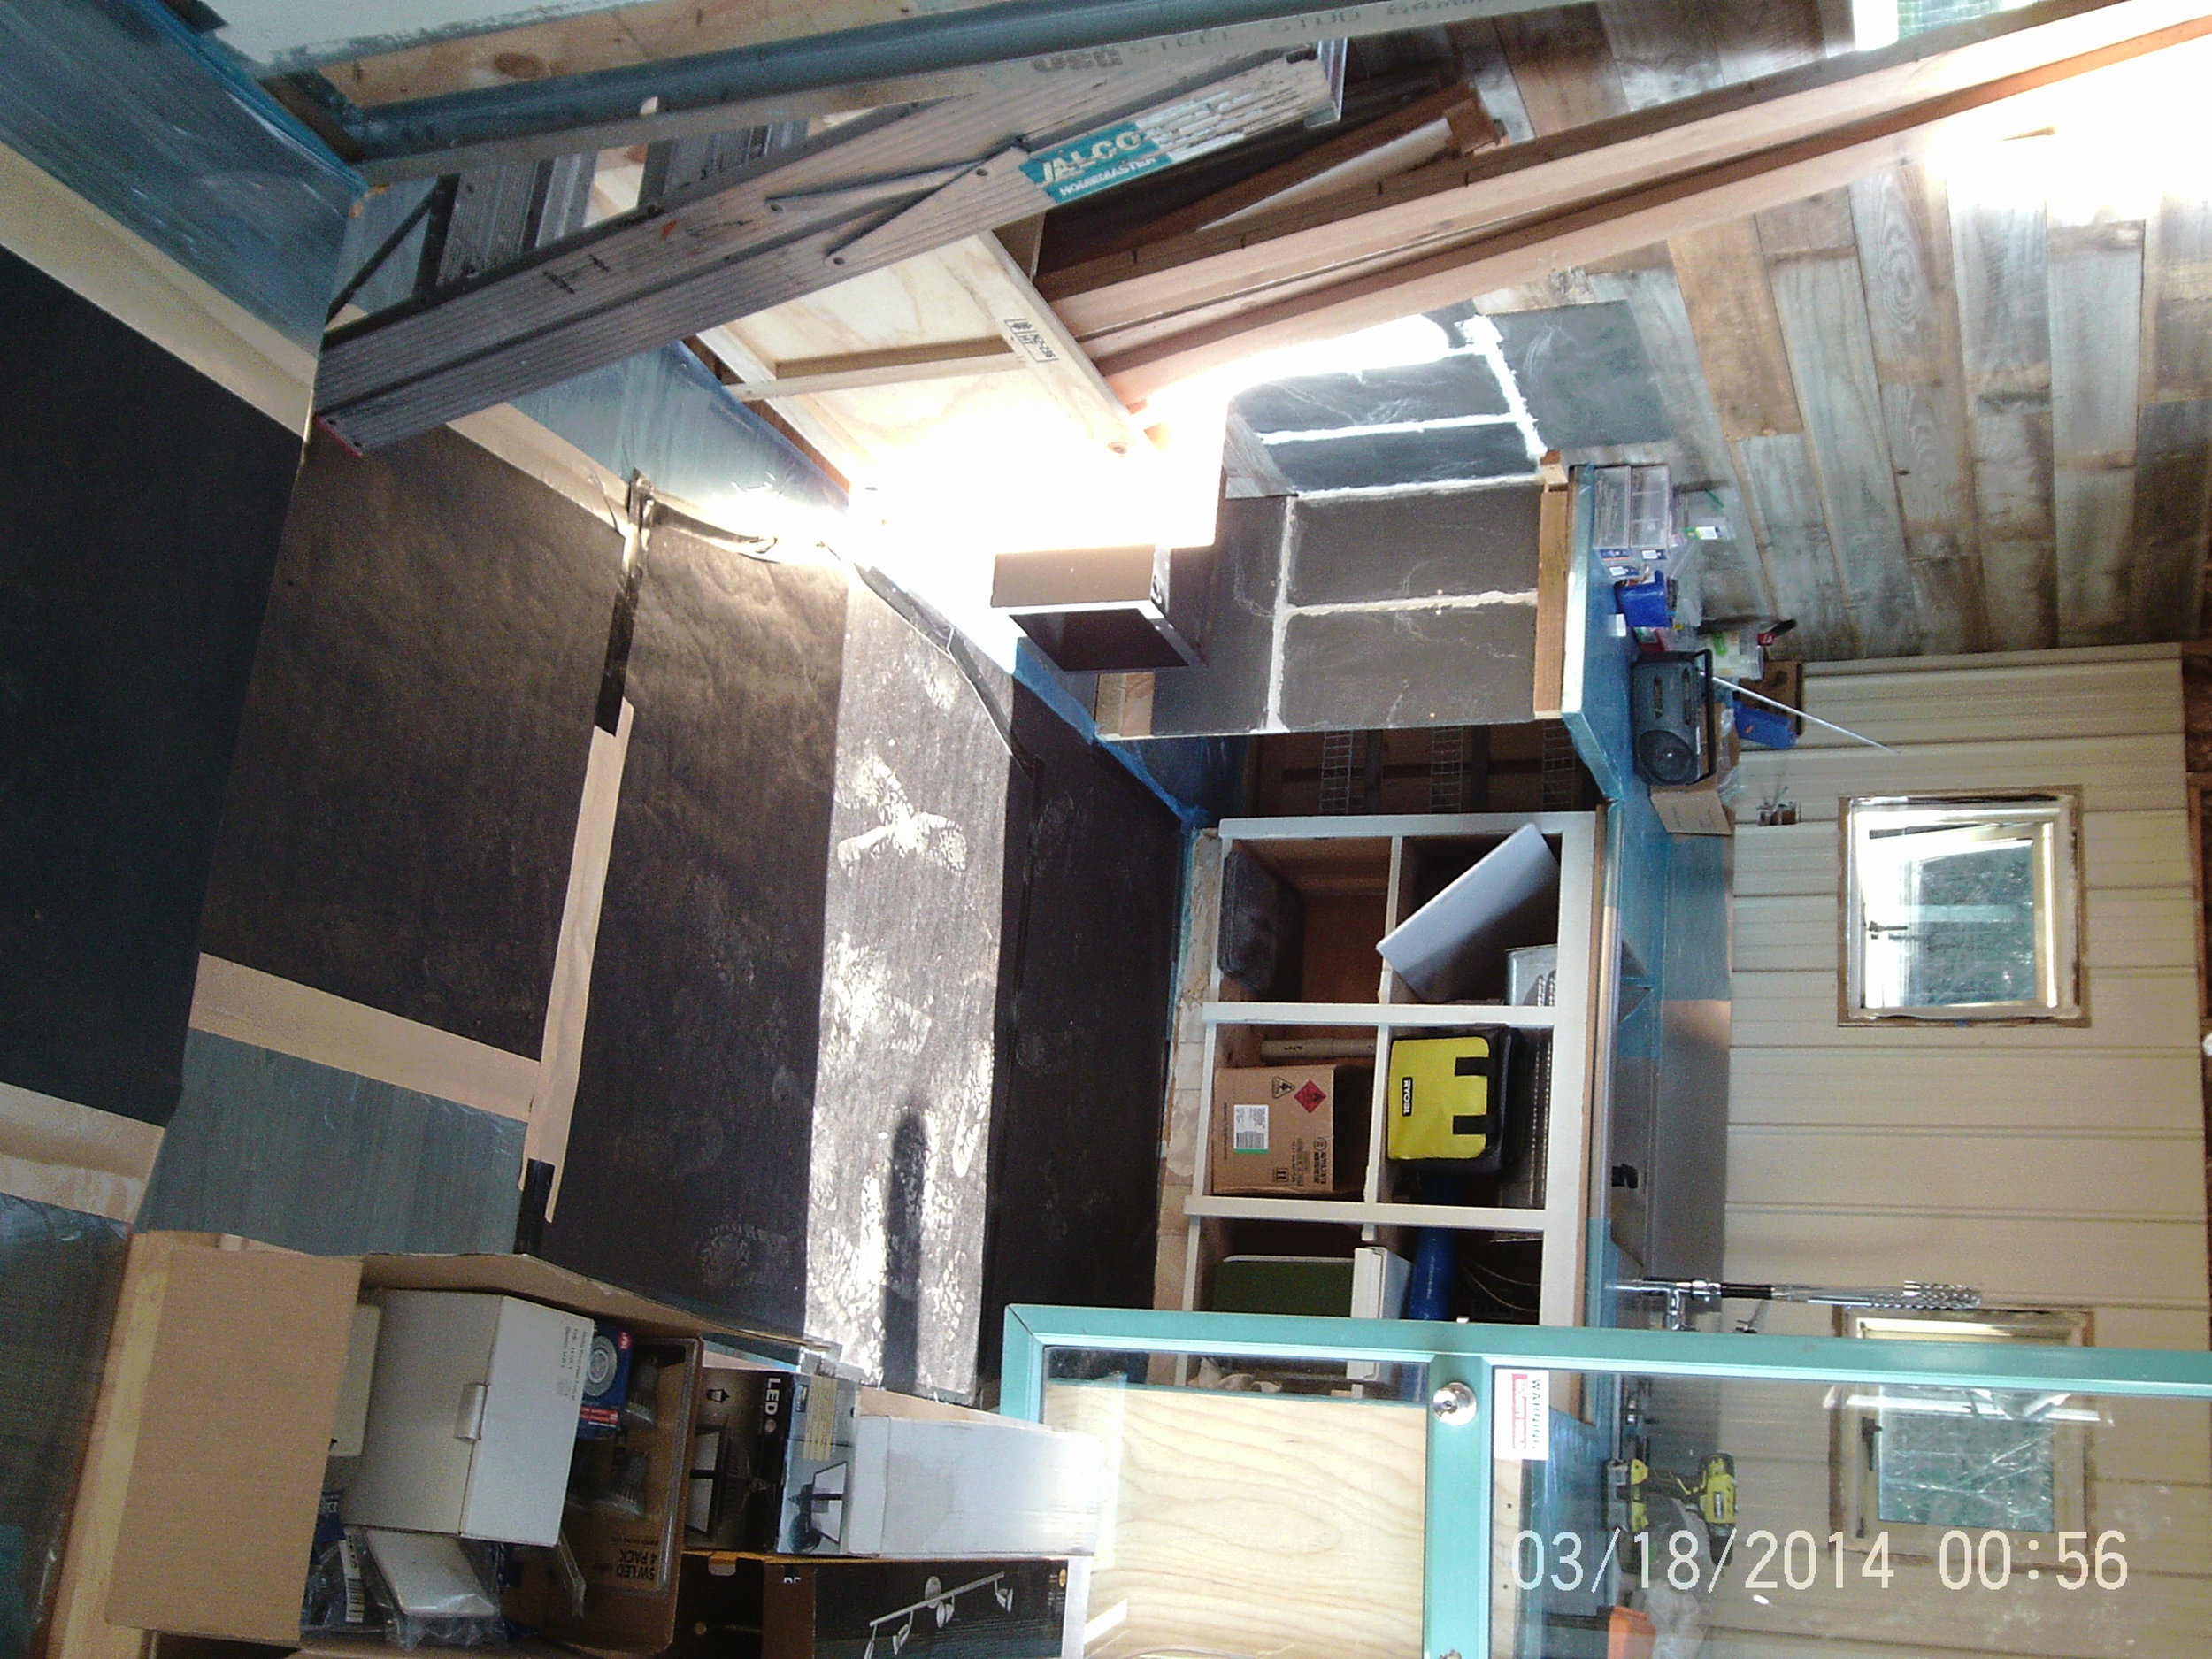
We spent the rest of the day cleaning, laying down blue plastic and checking on our bathroom walls.
Sunday was a later start. We got began by hooking up our plug outlets and our lights. Check out the difference it makes!


We finished up the day by finally putting a door on our storage cabinet (we also shortened it!)
It def needs some tweaks but it is on its way! We had a great weekend with lovely weather and our house looks and smells brand new!
Thanks for reading, next weekend hopefully we will have a couch installed and some more trim!
Please enjoy our first attempts at using the panaromic feature on Pat's phone ;)

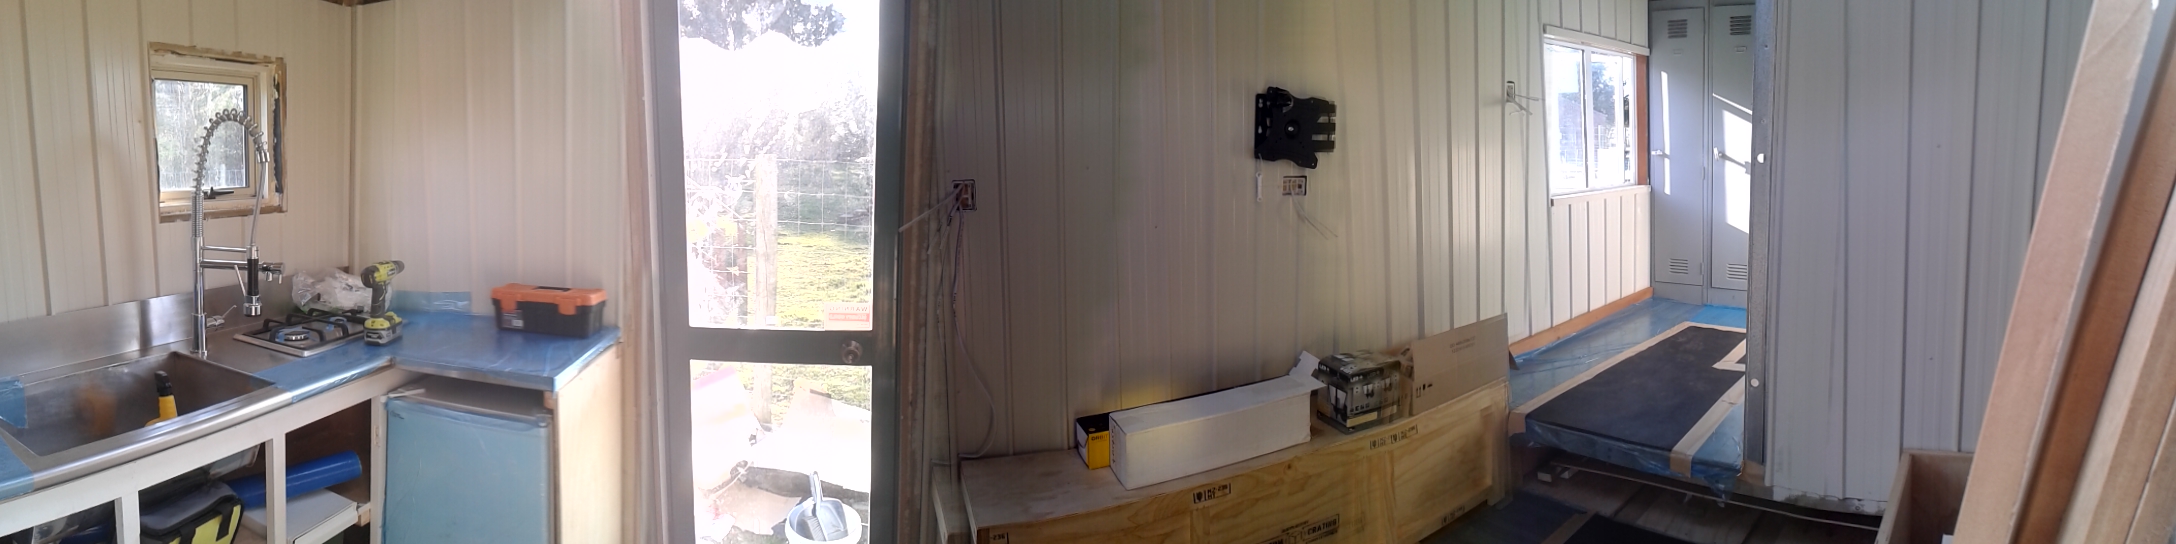
Signing off!
Pat and Cori

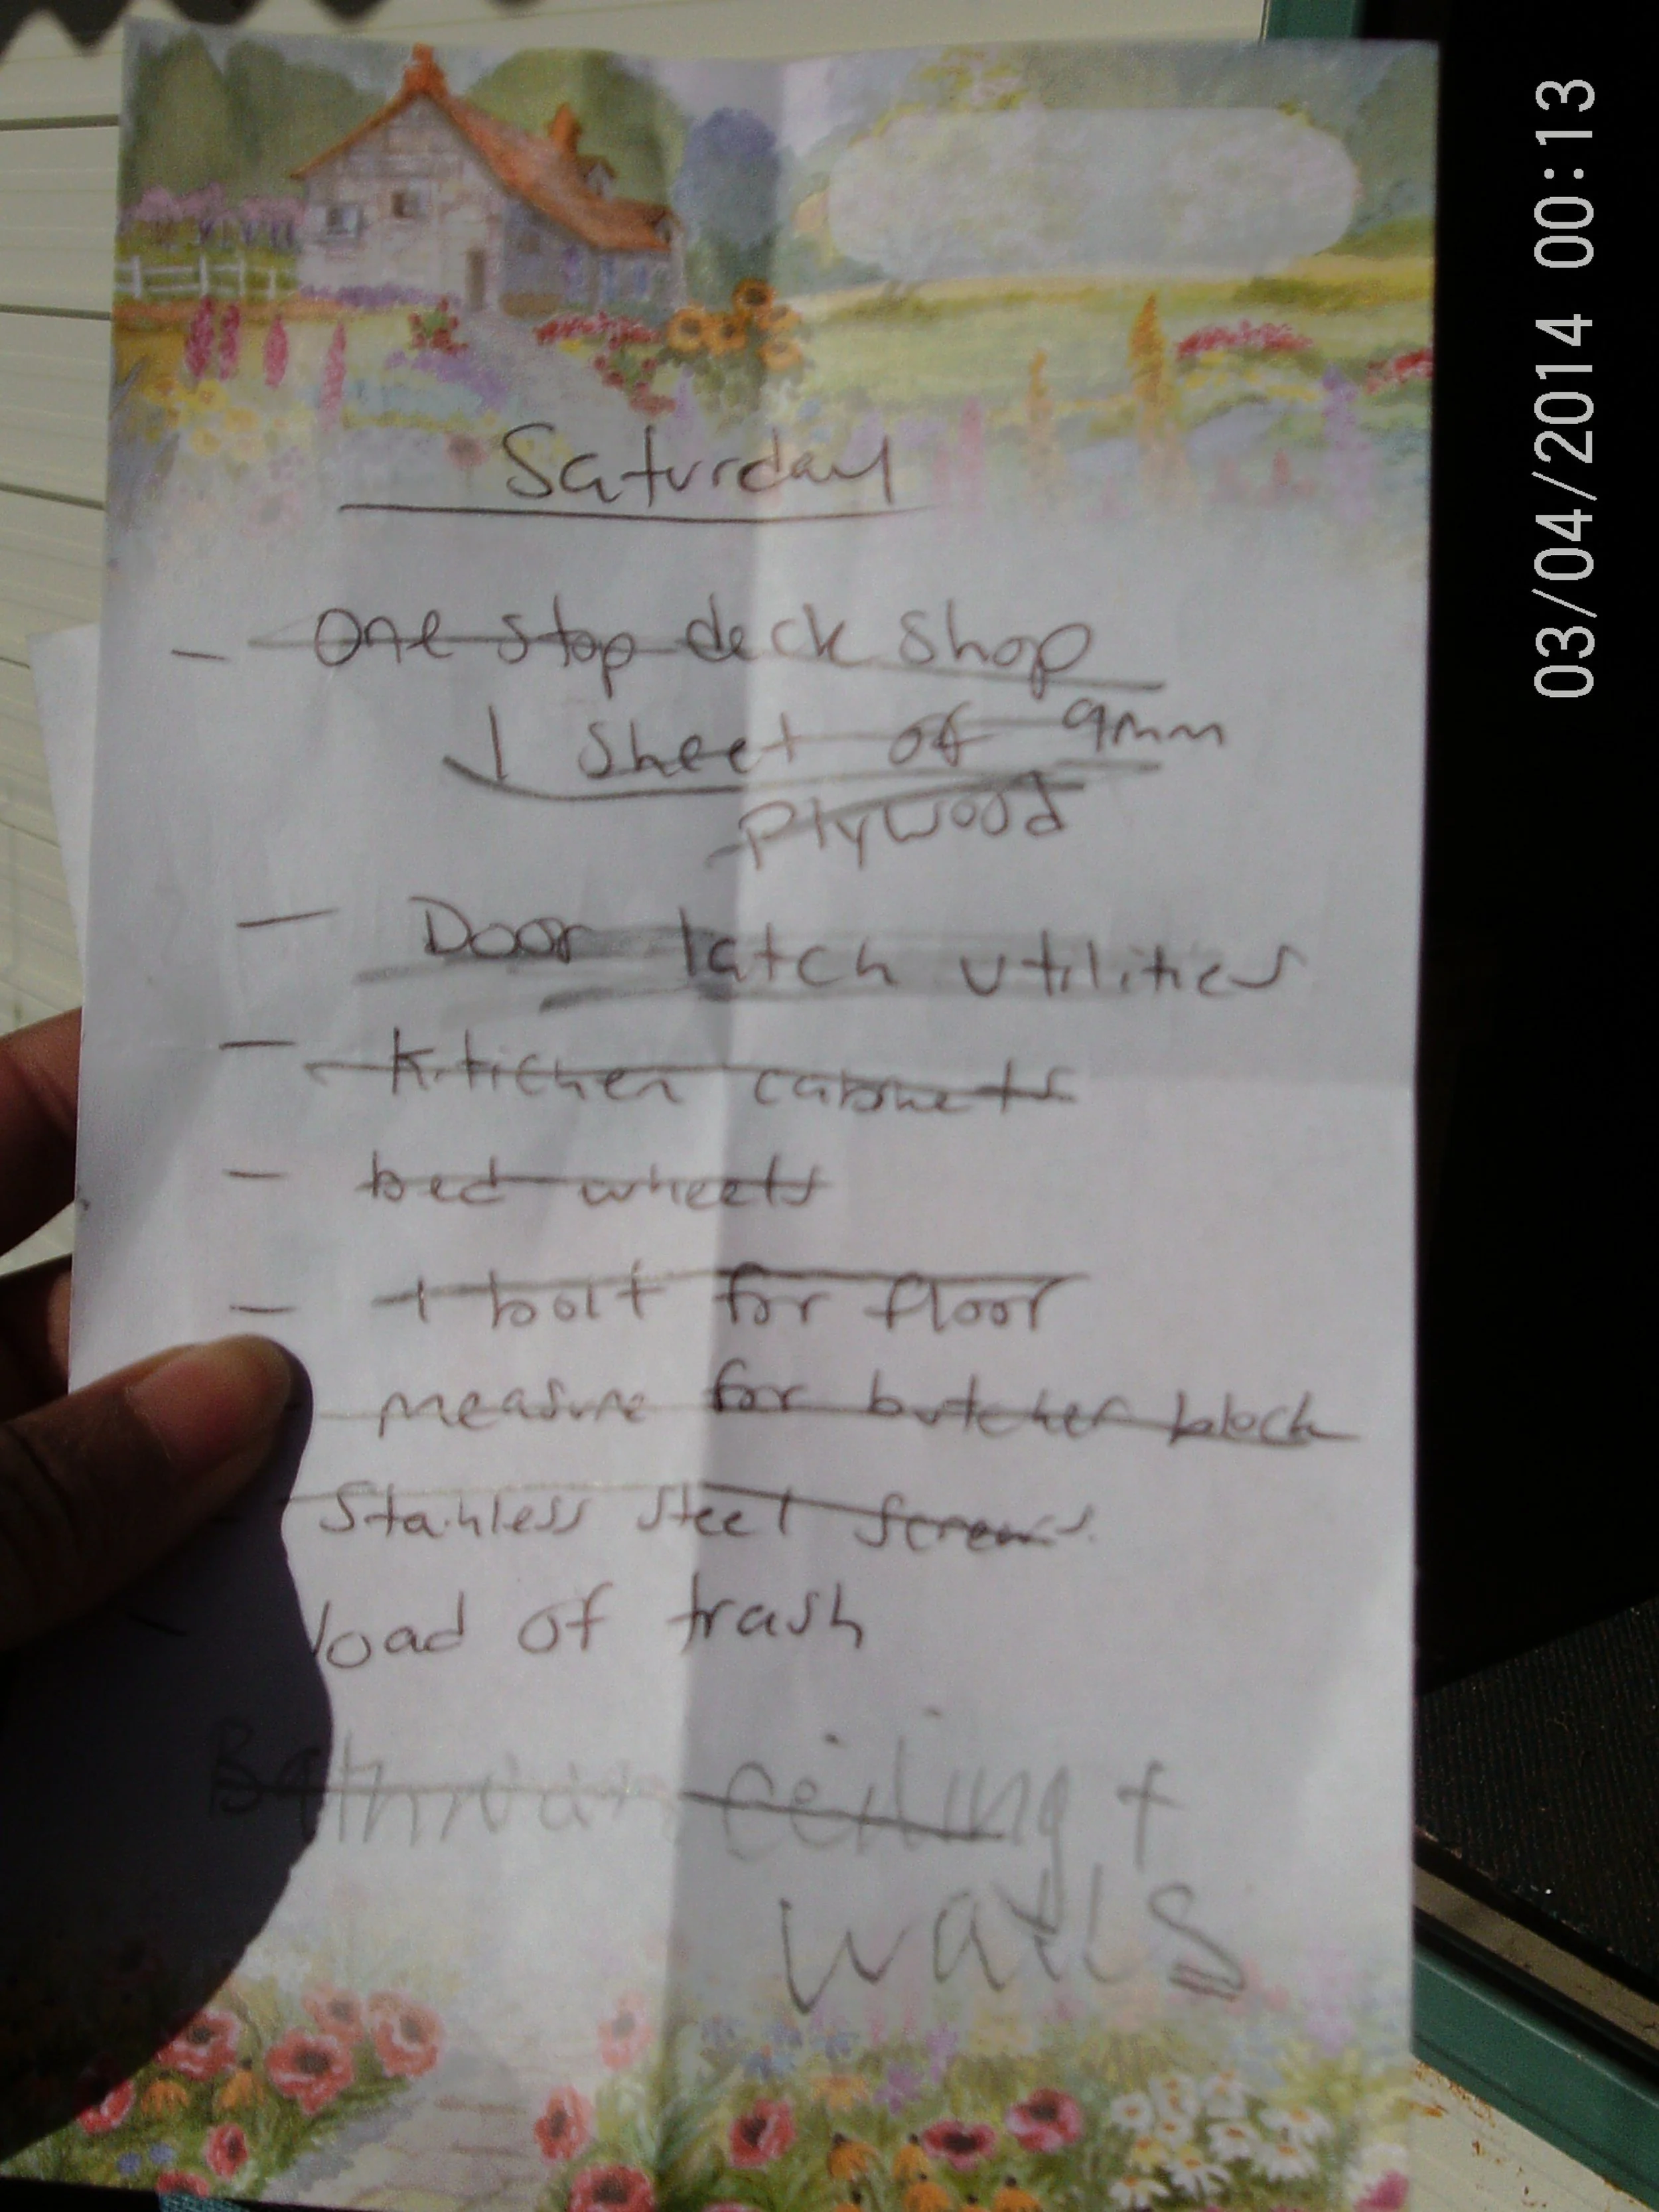
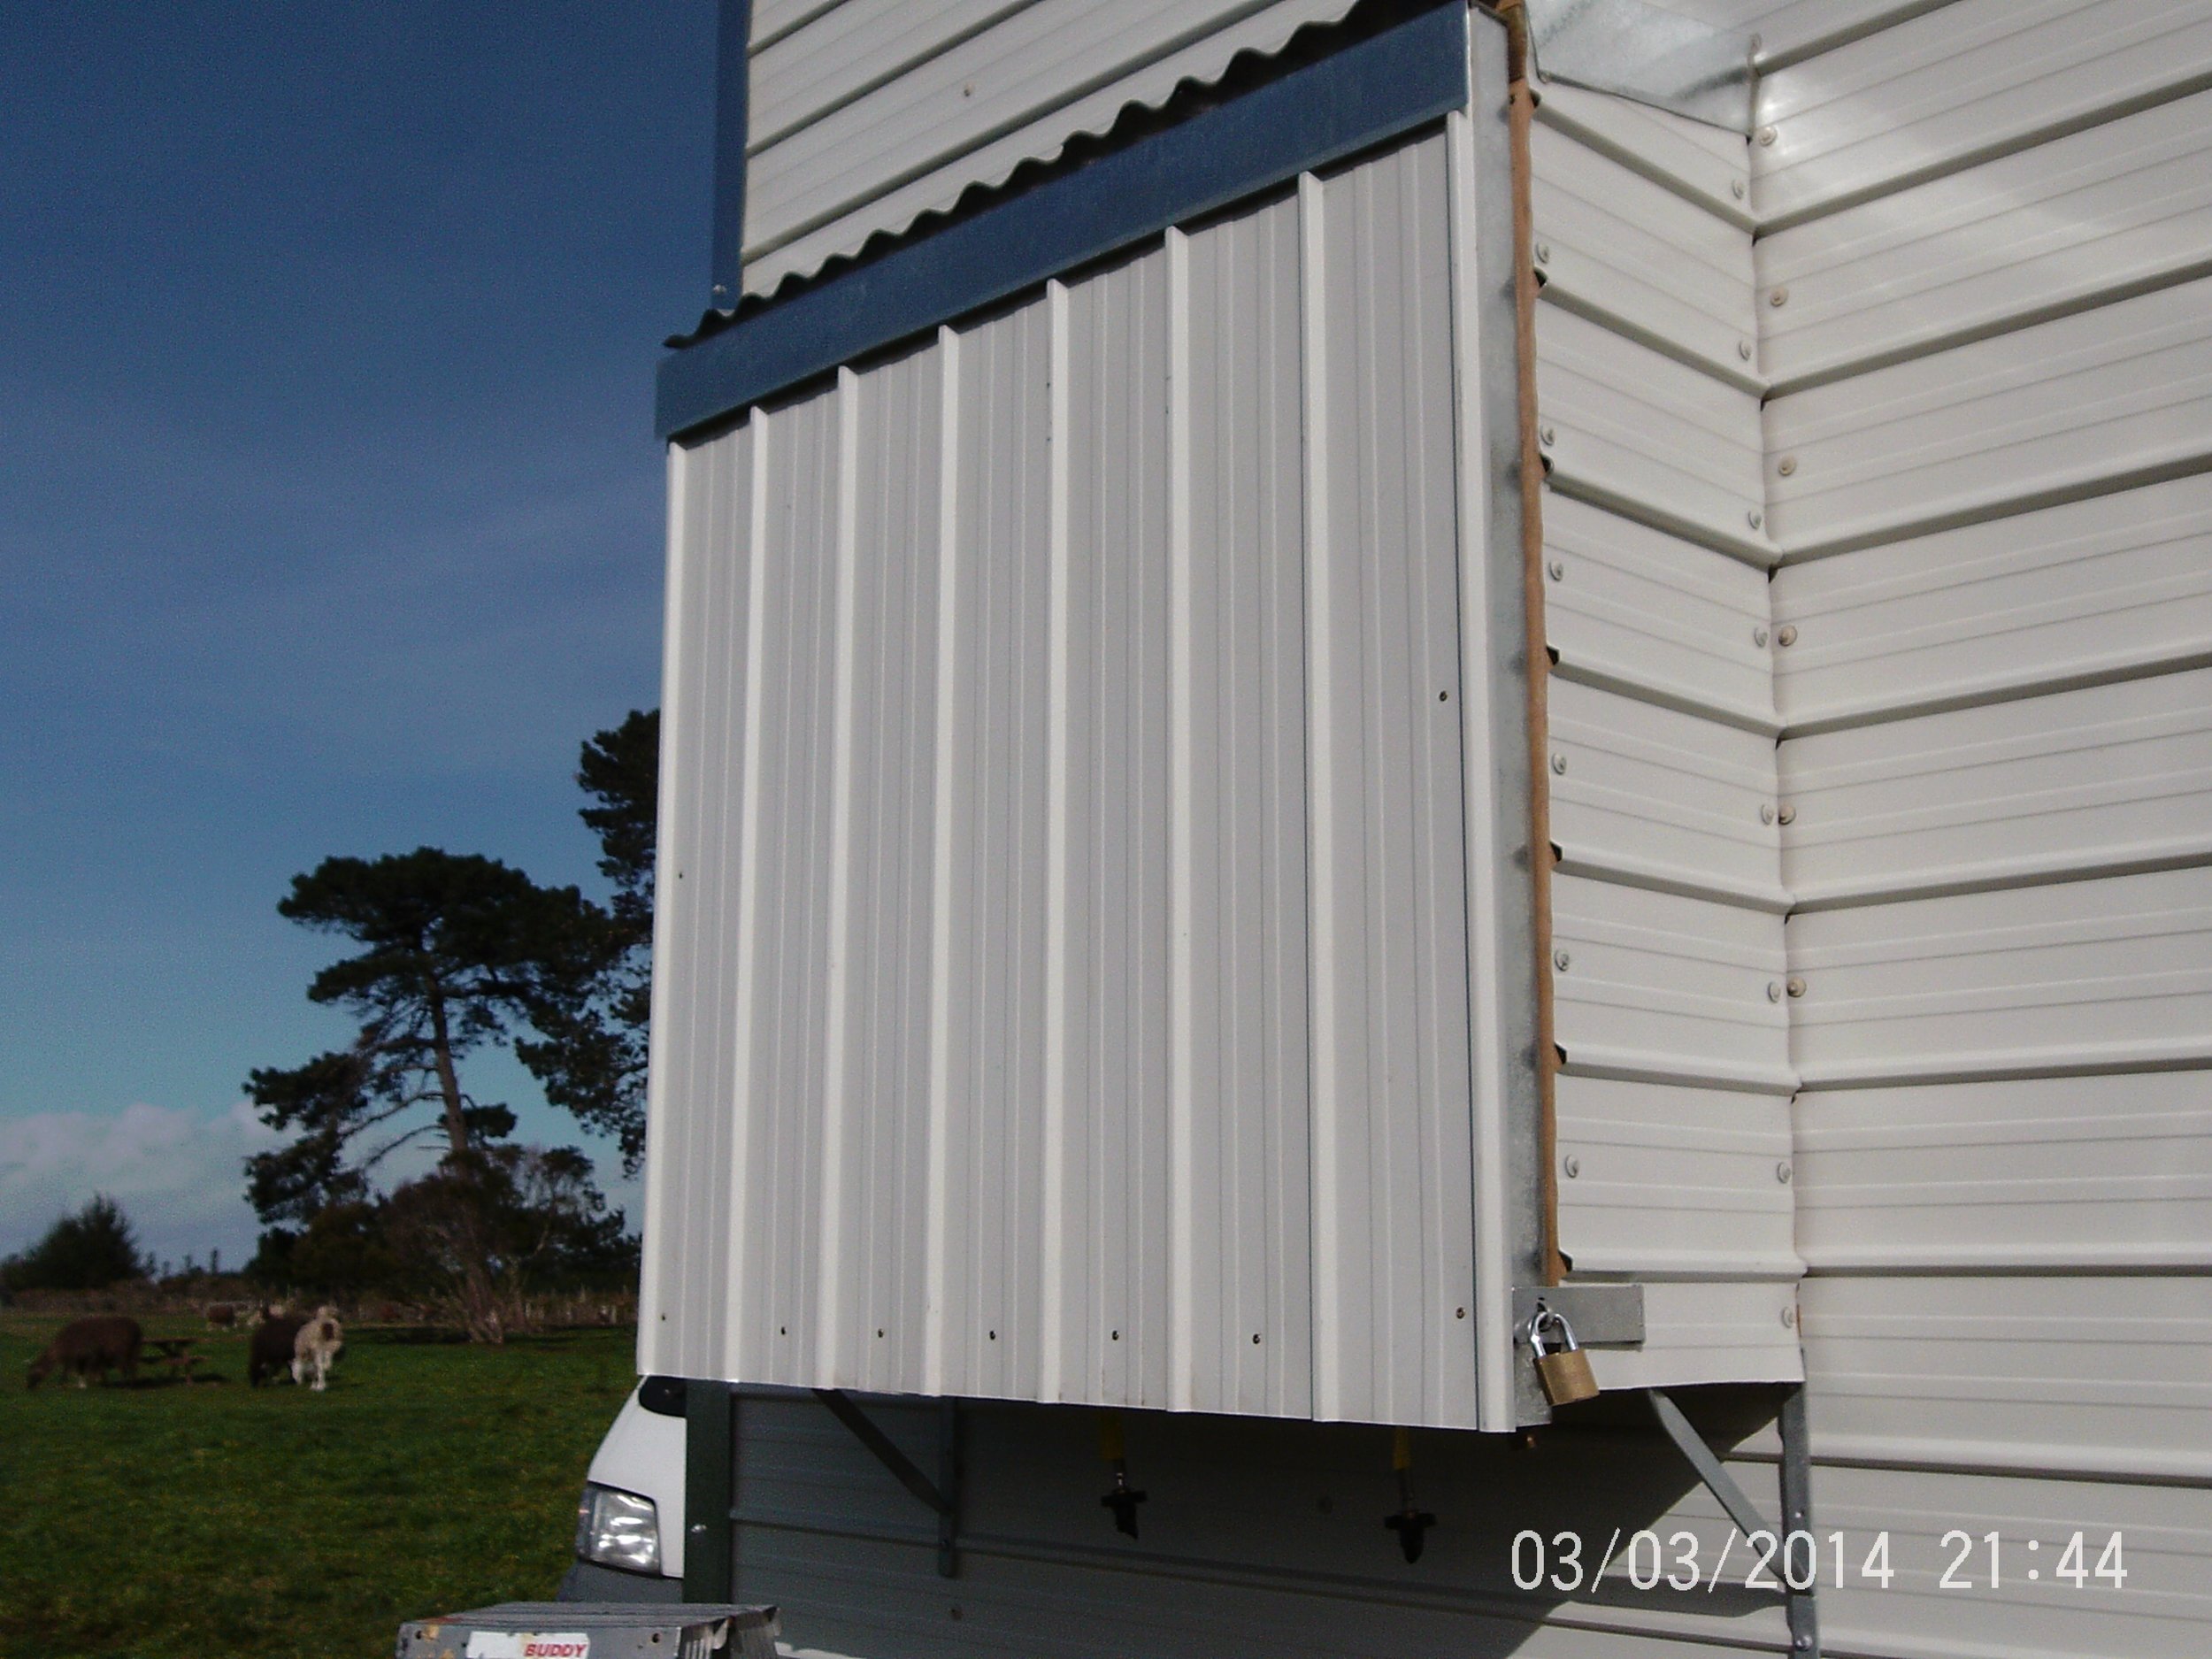
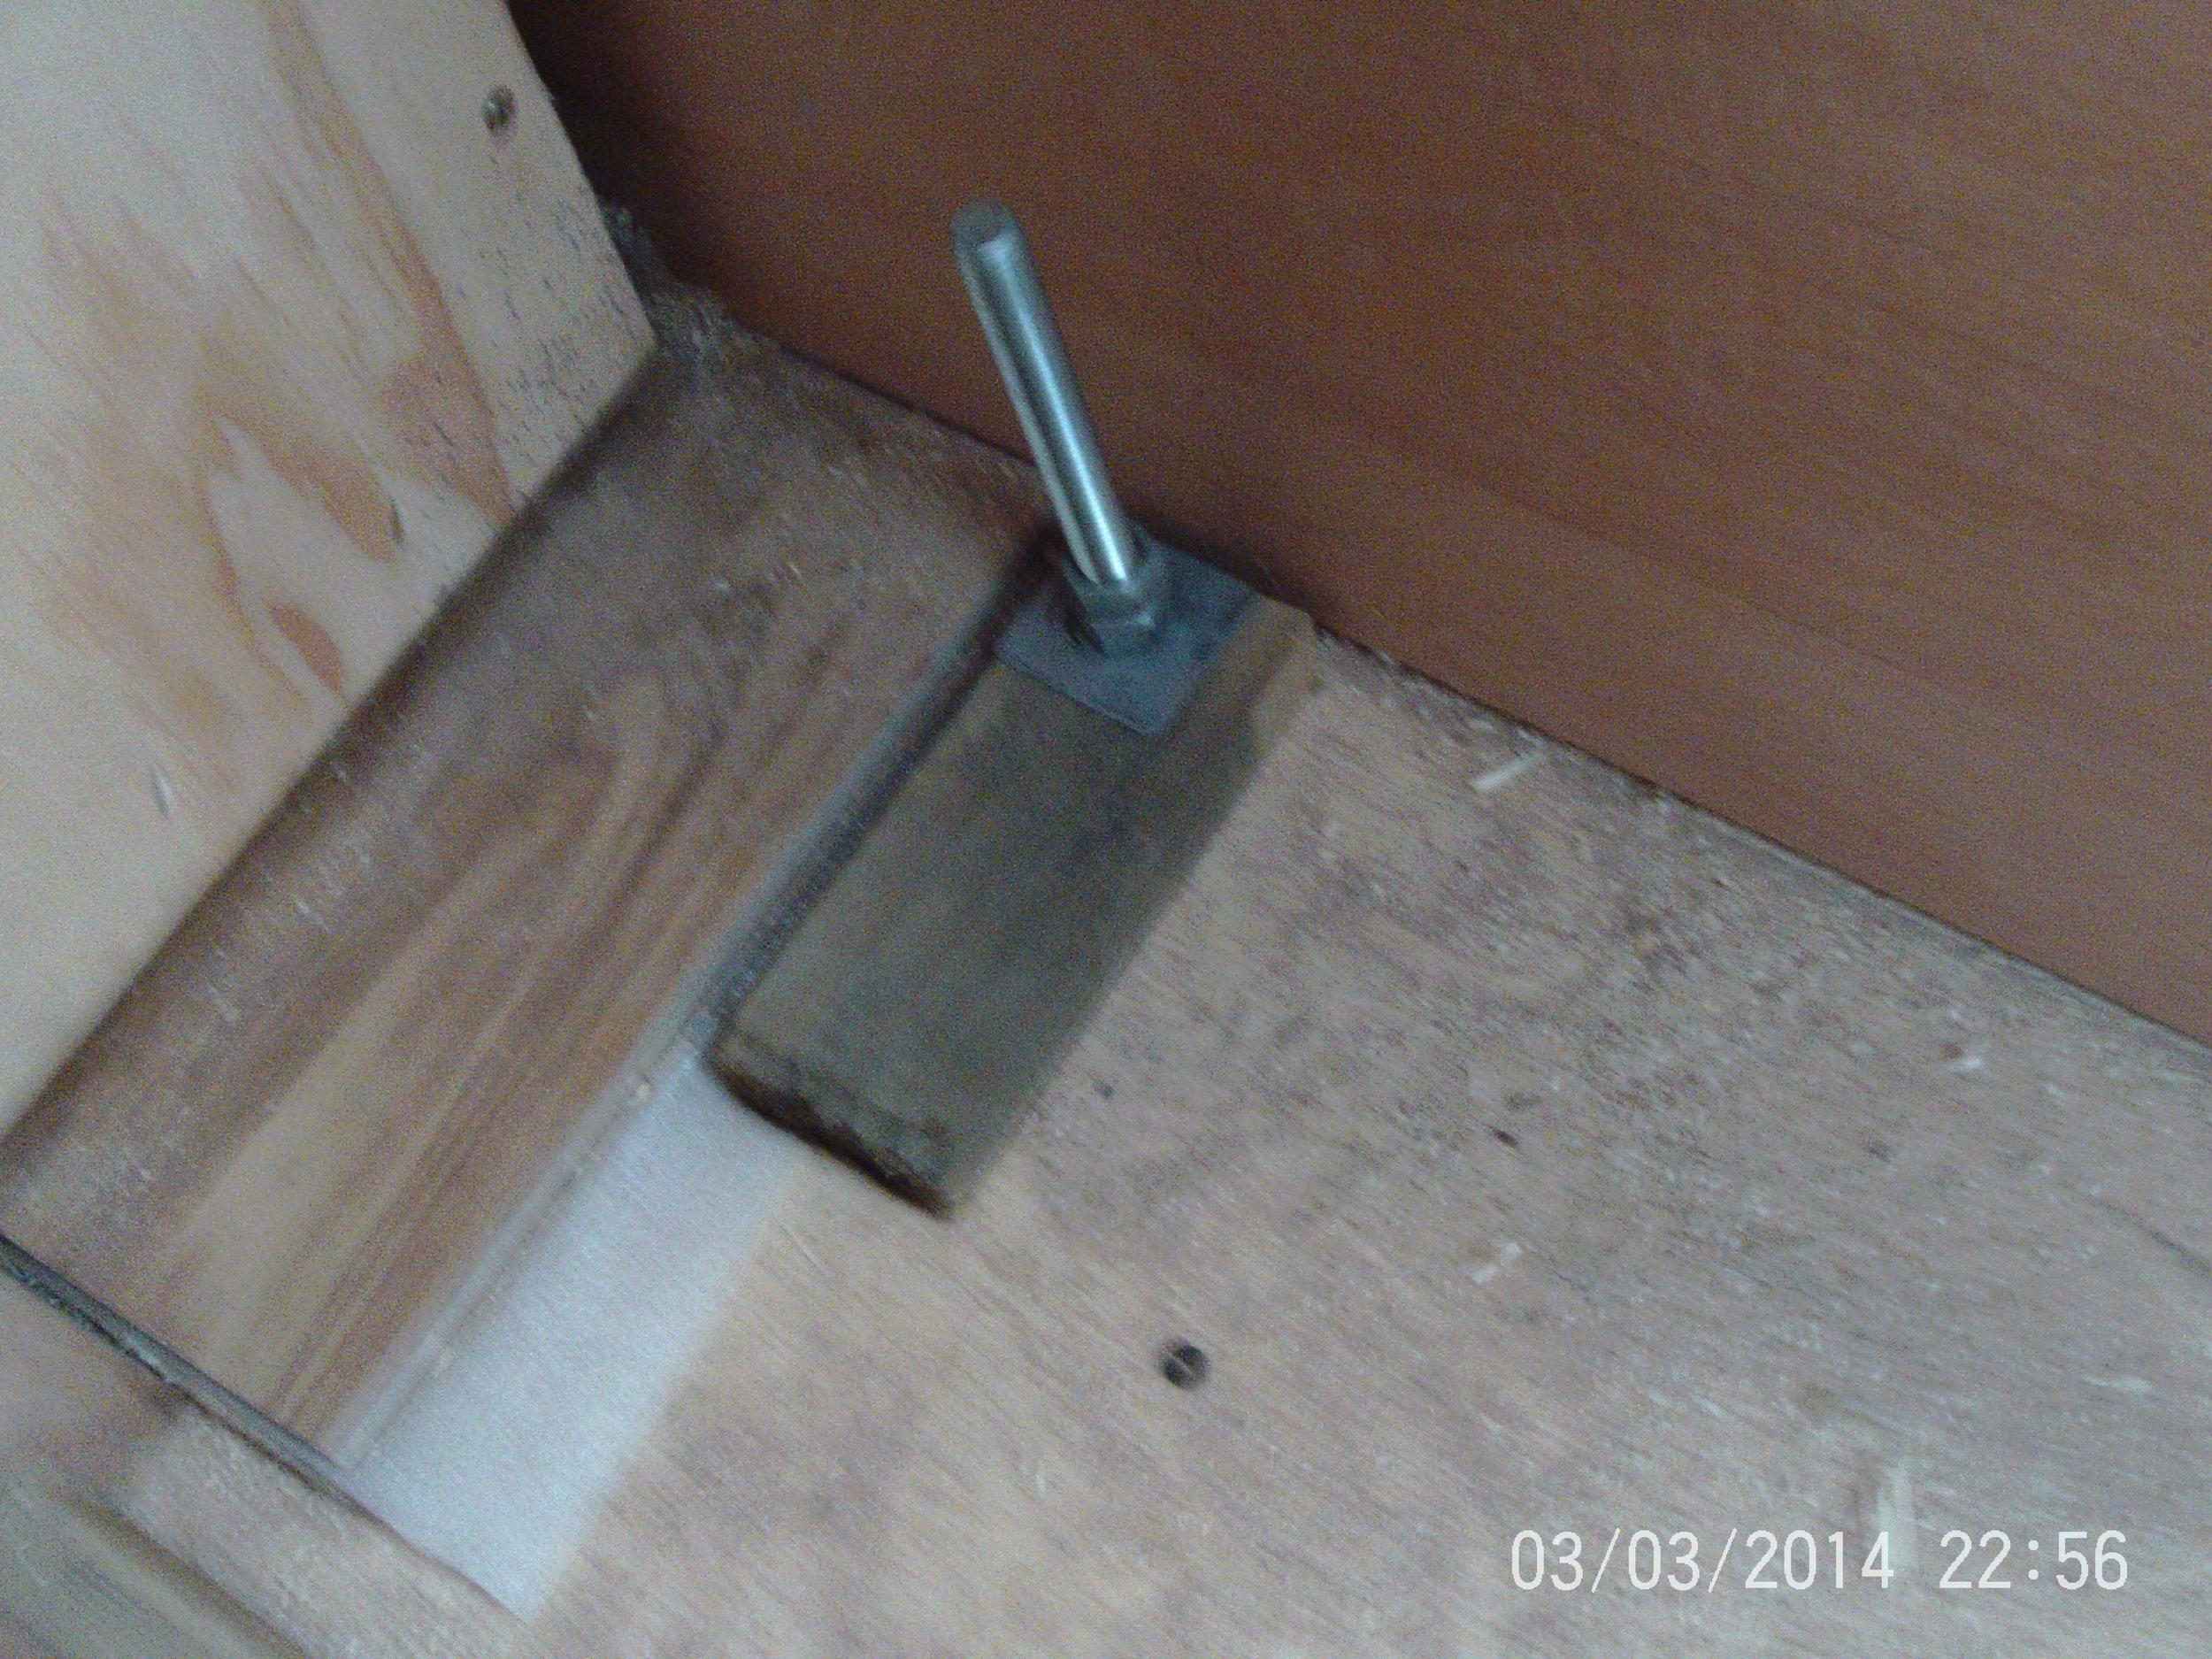
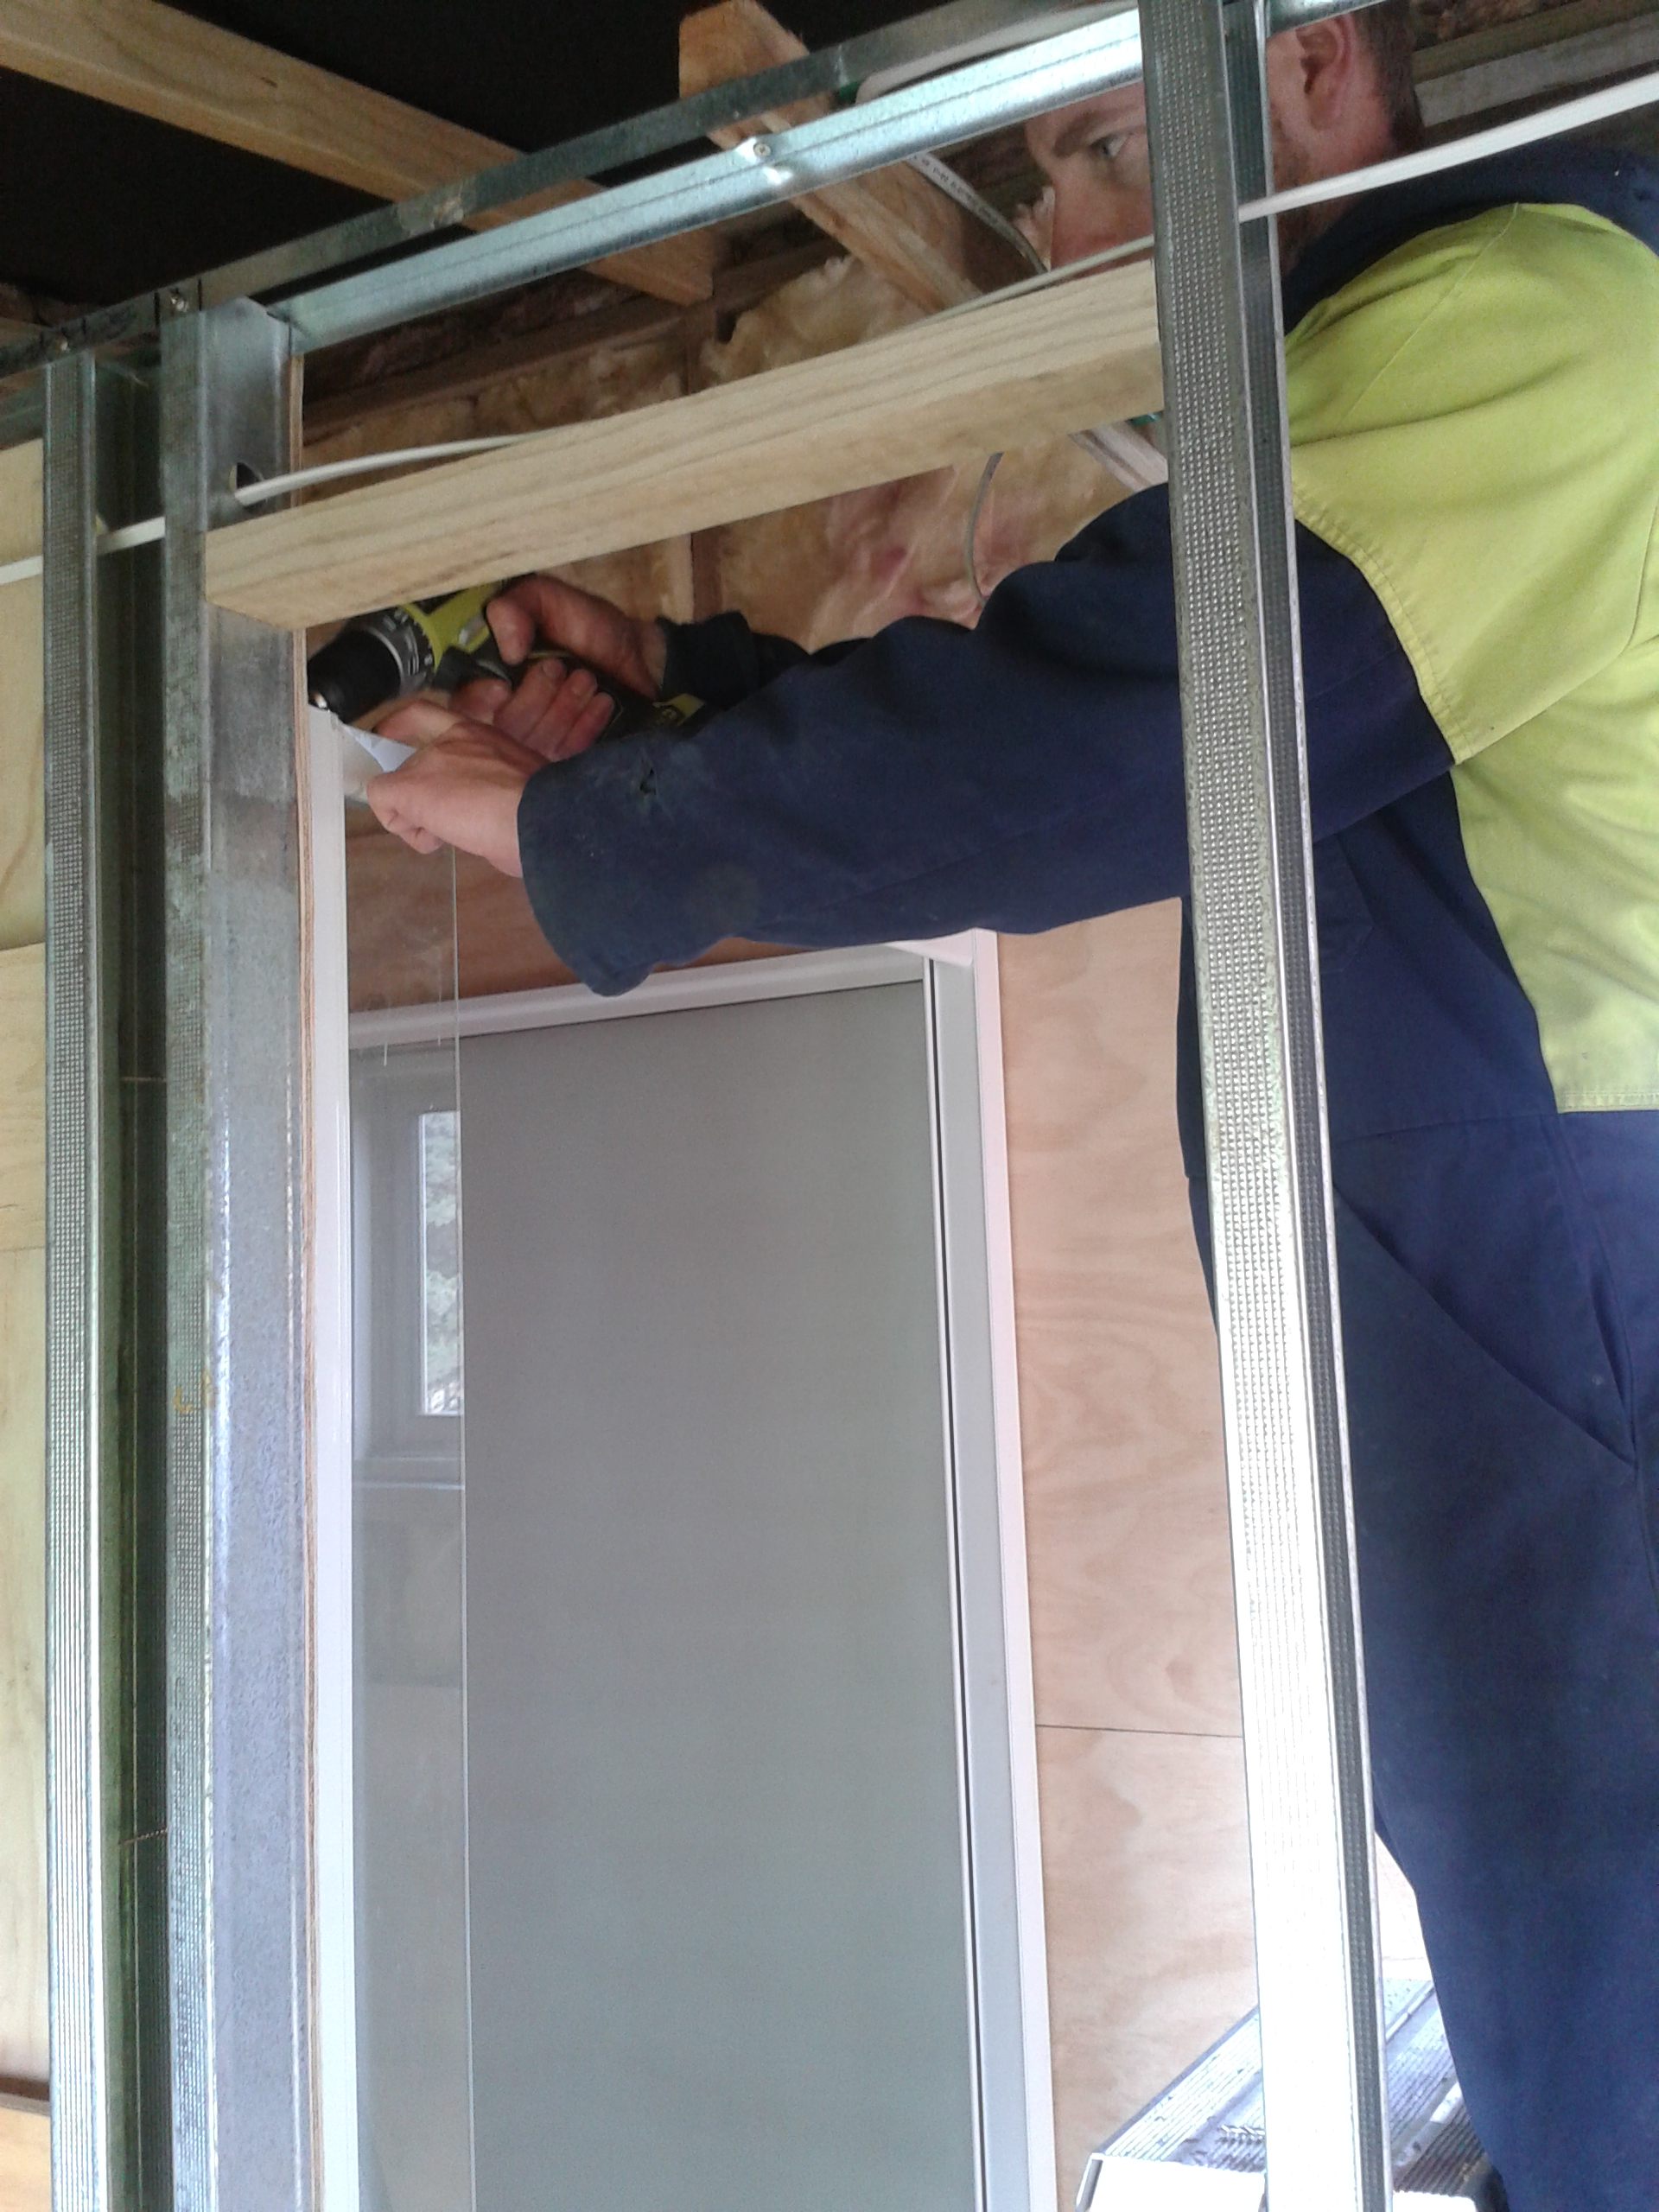
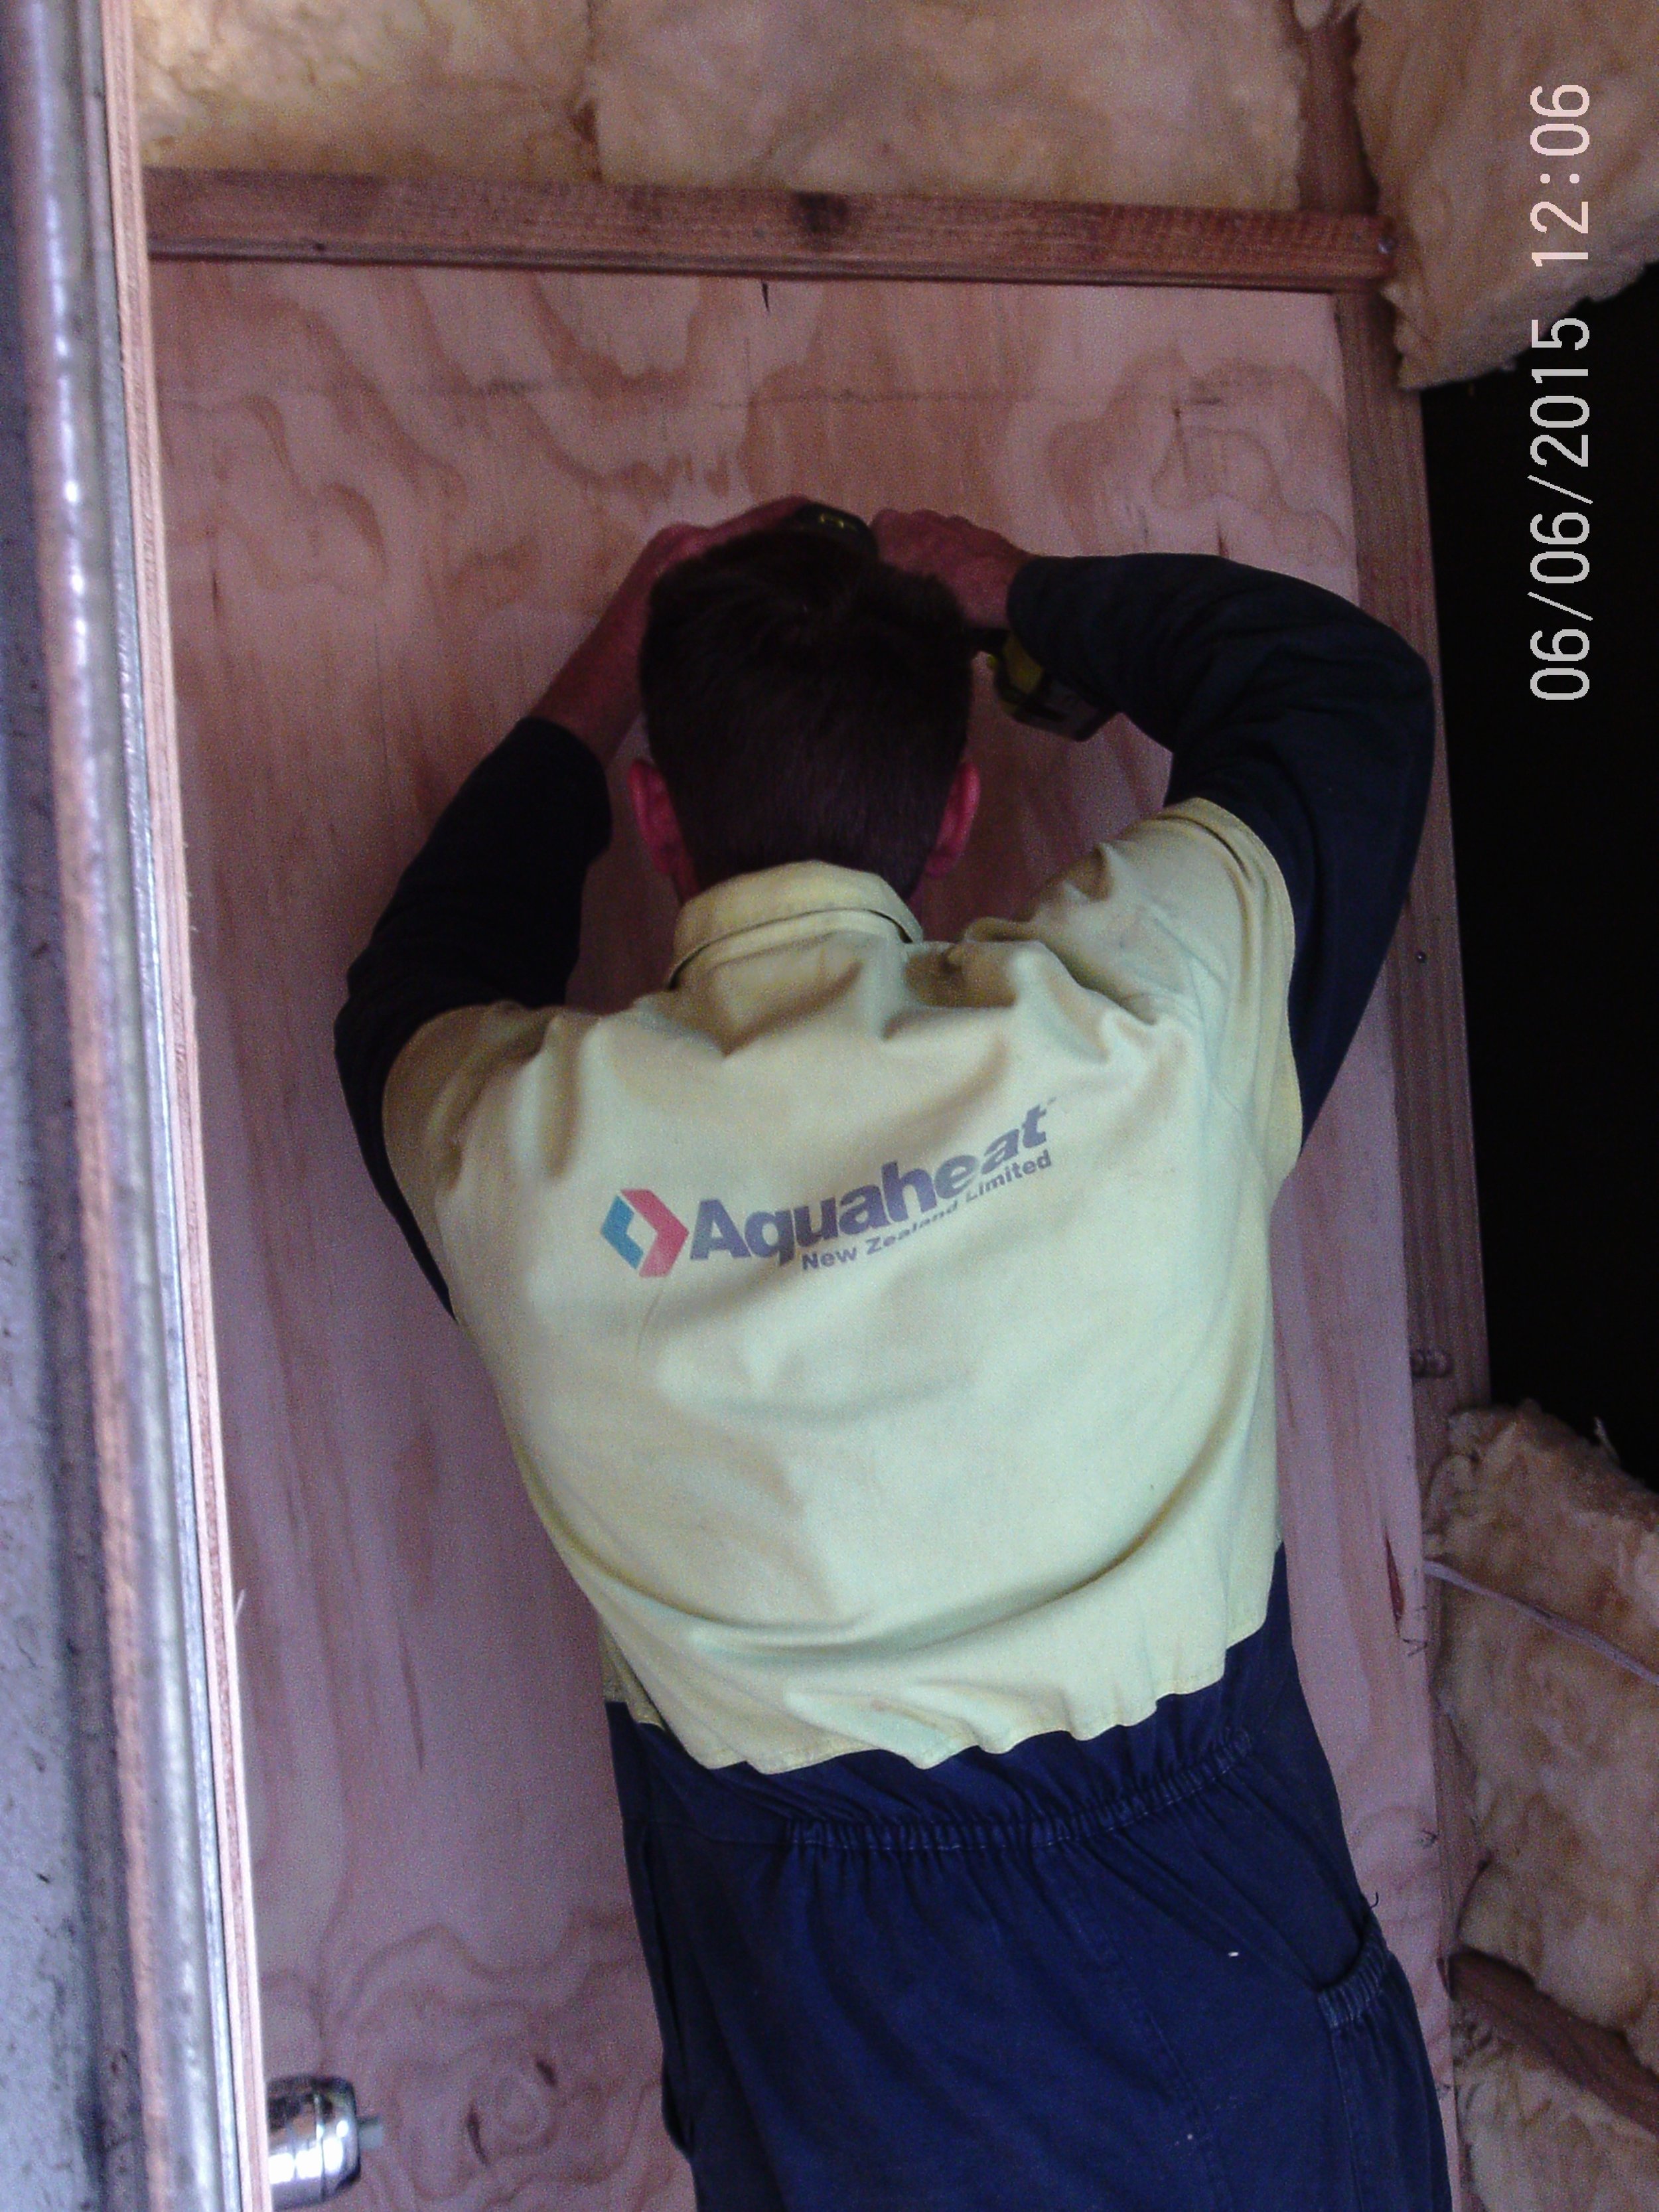
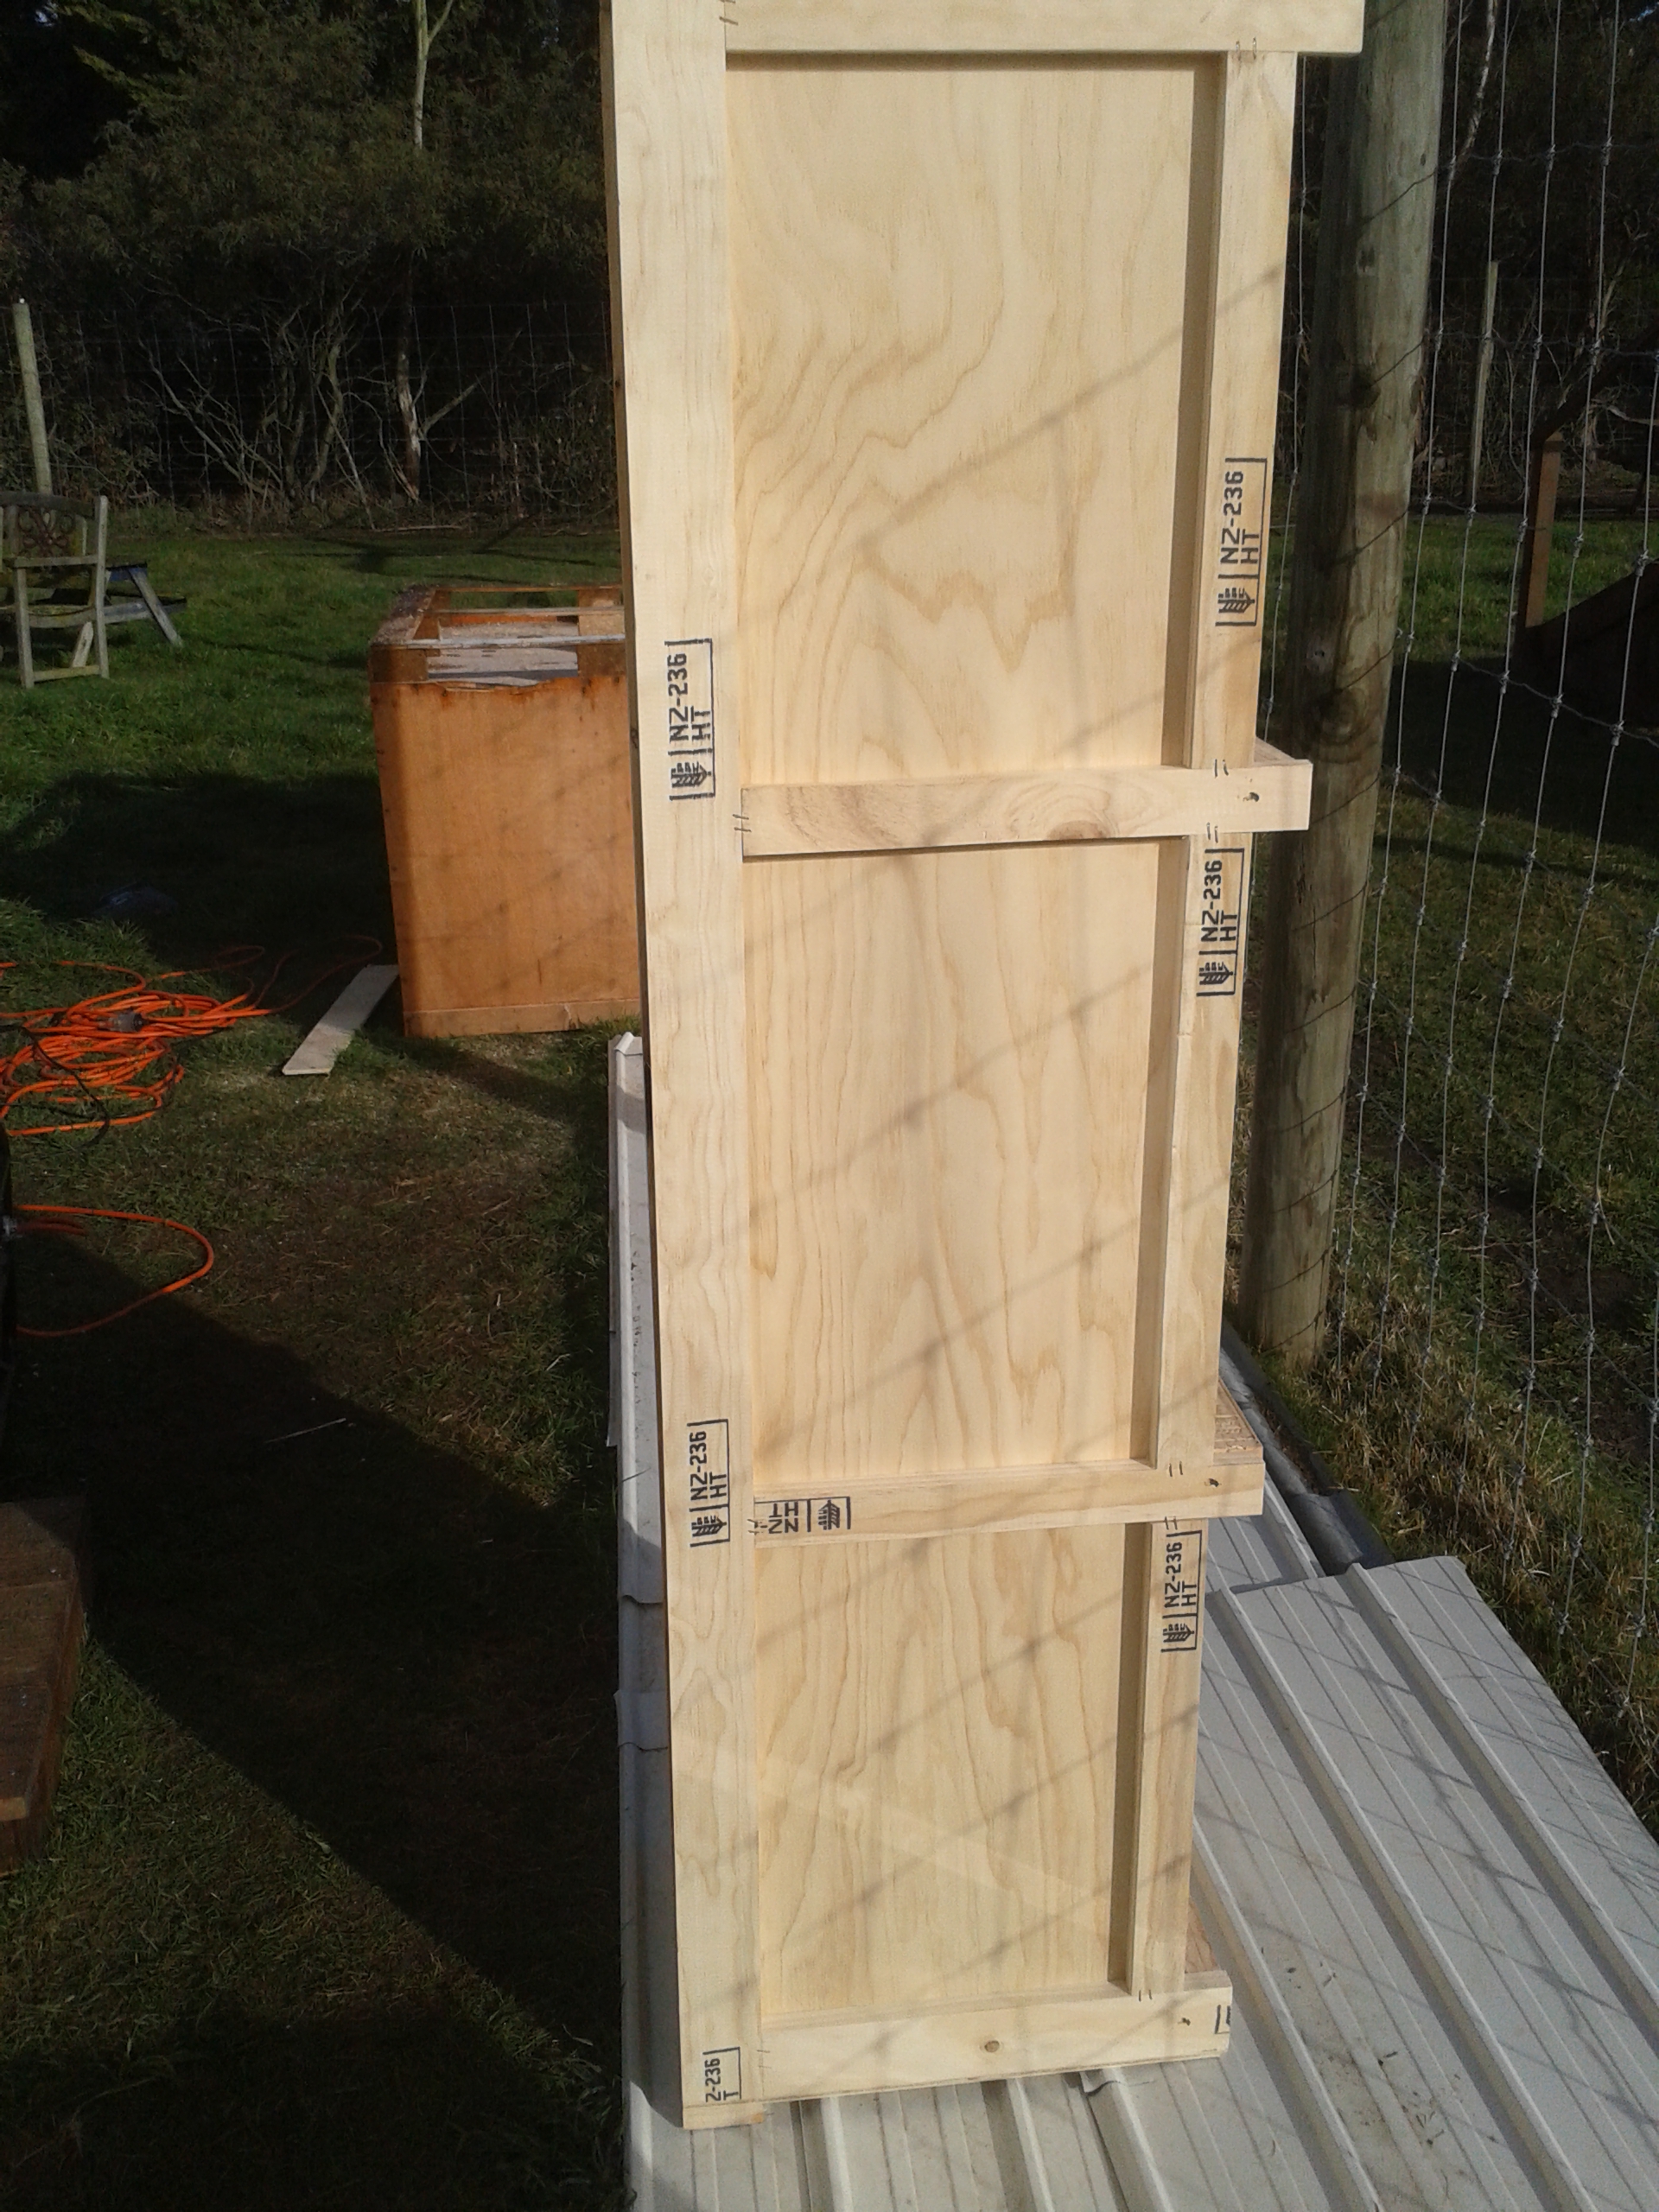
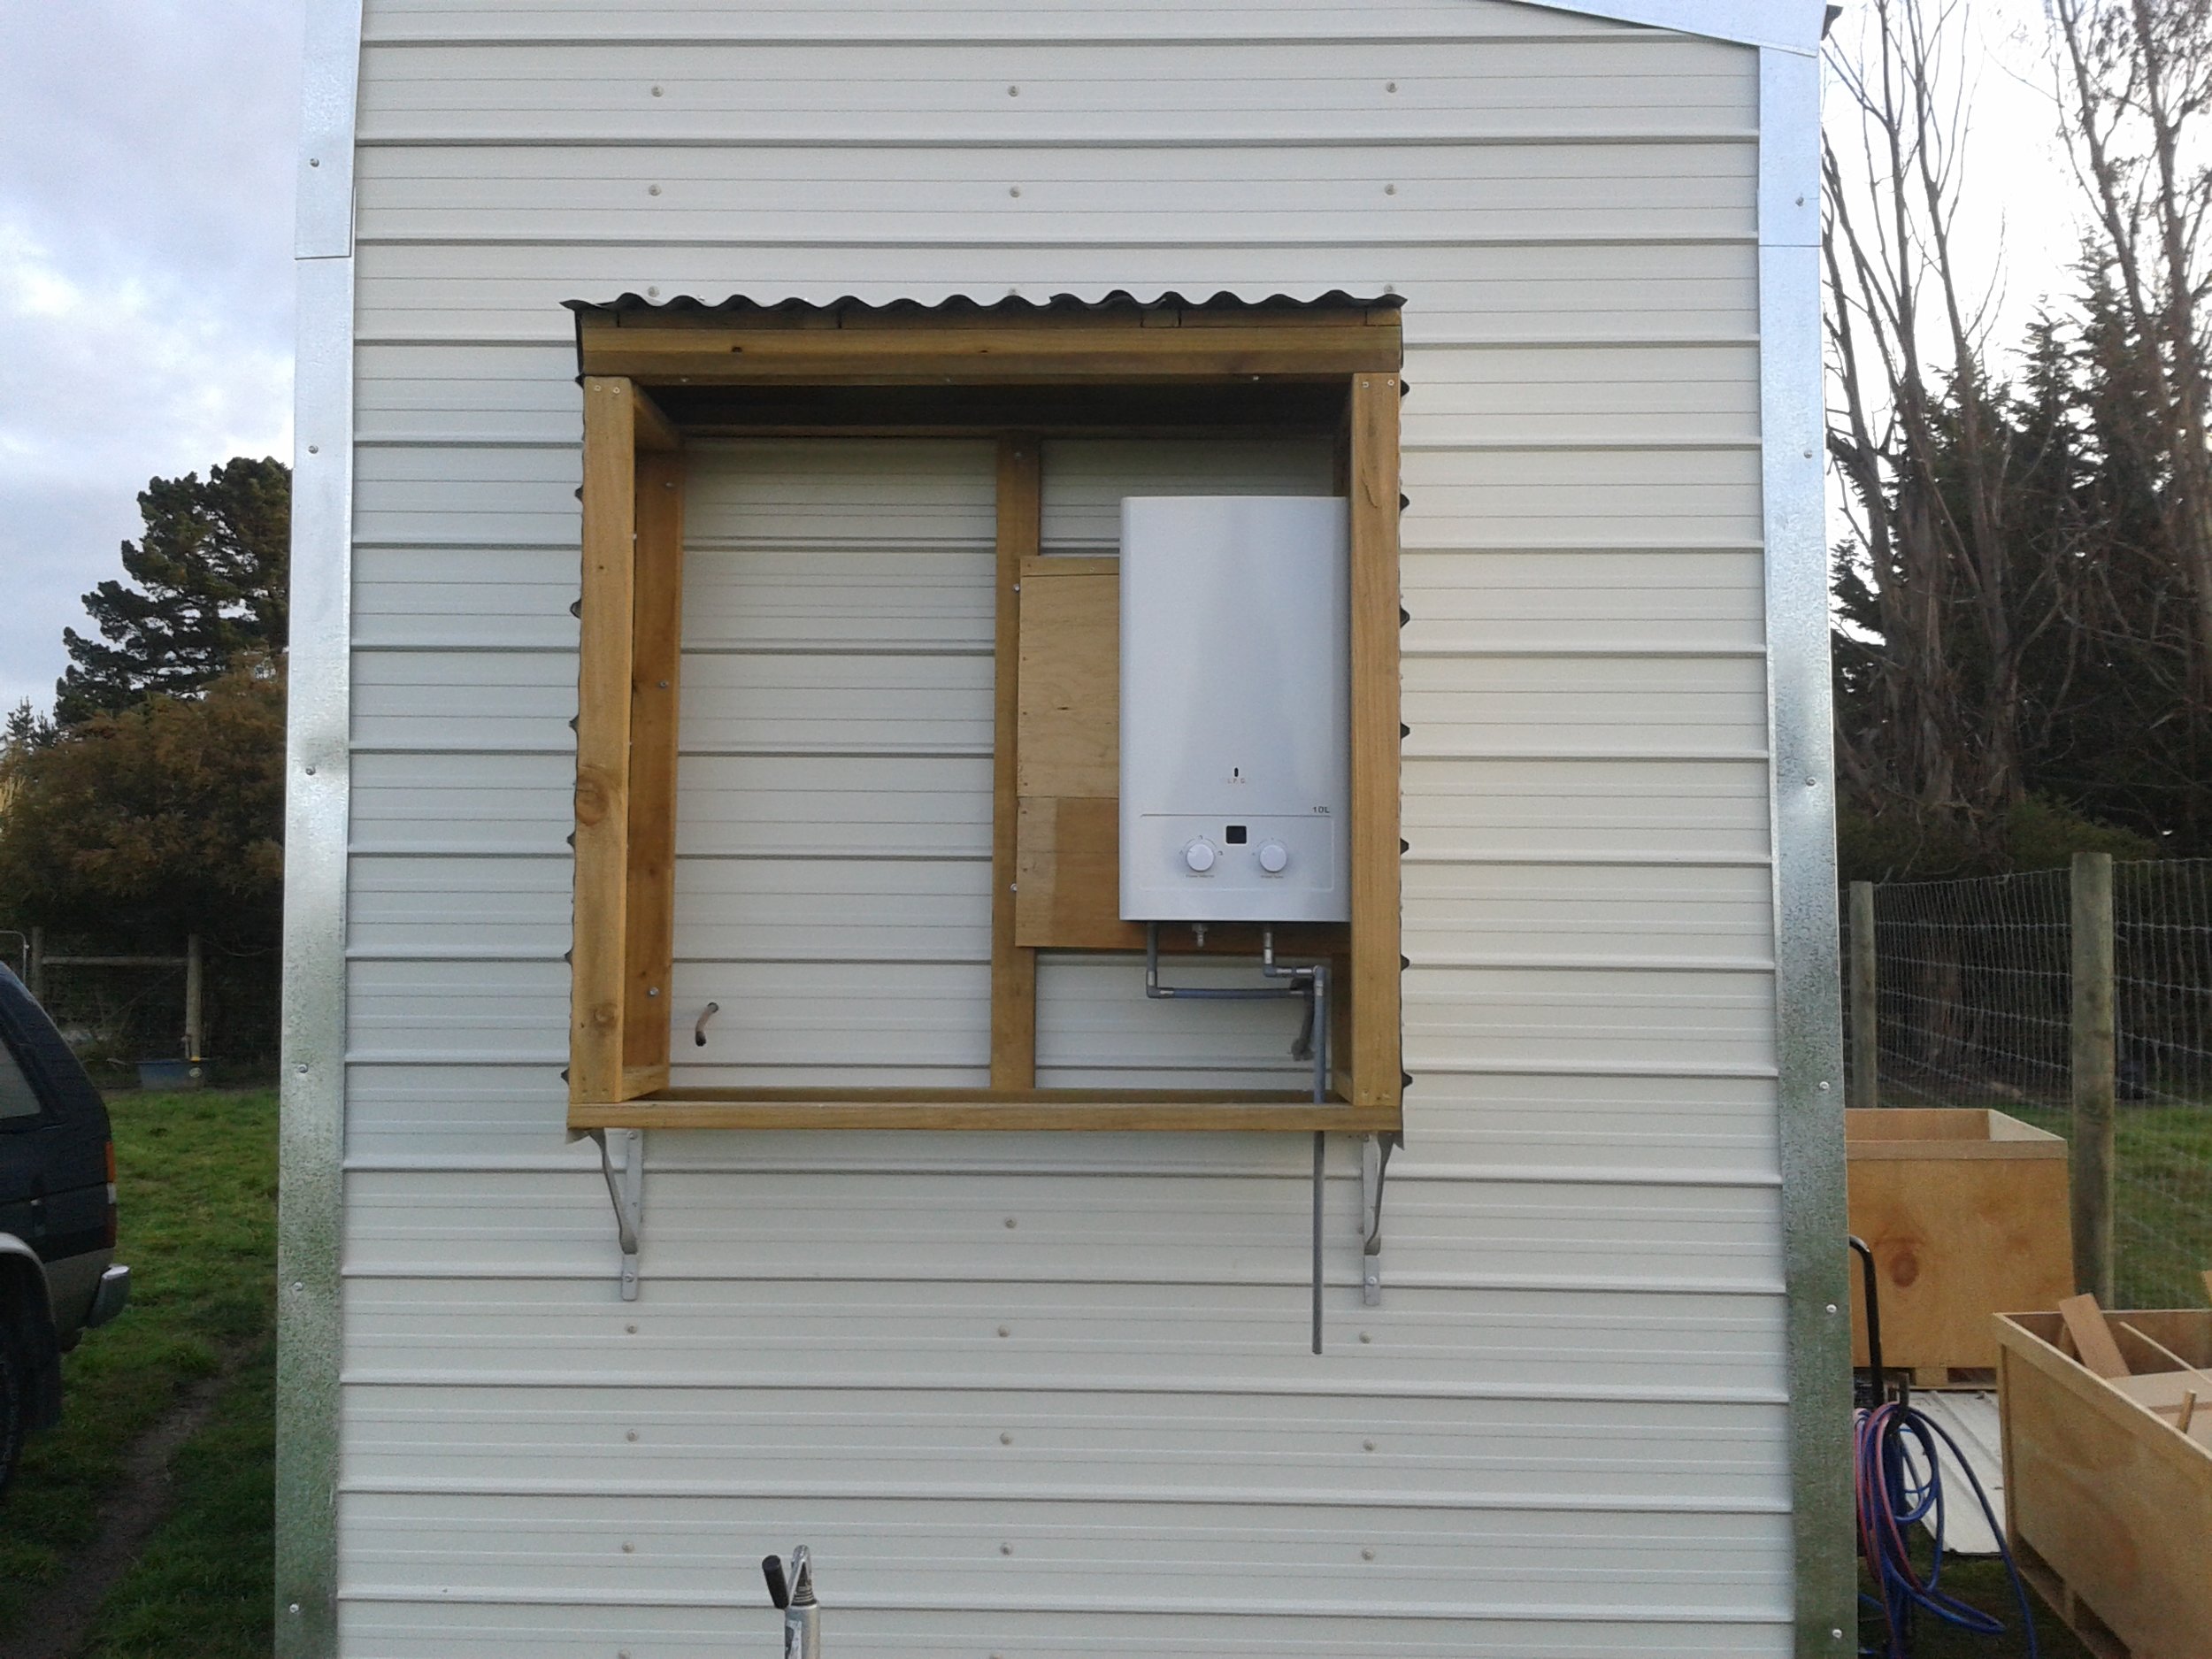
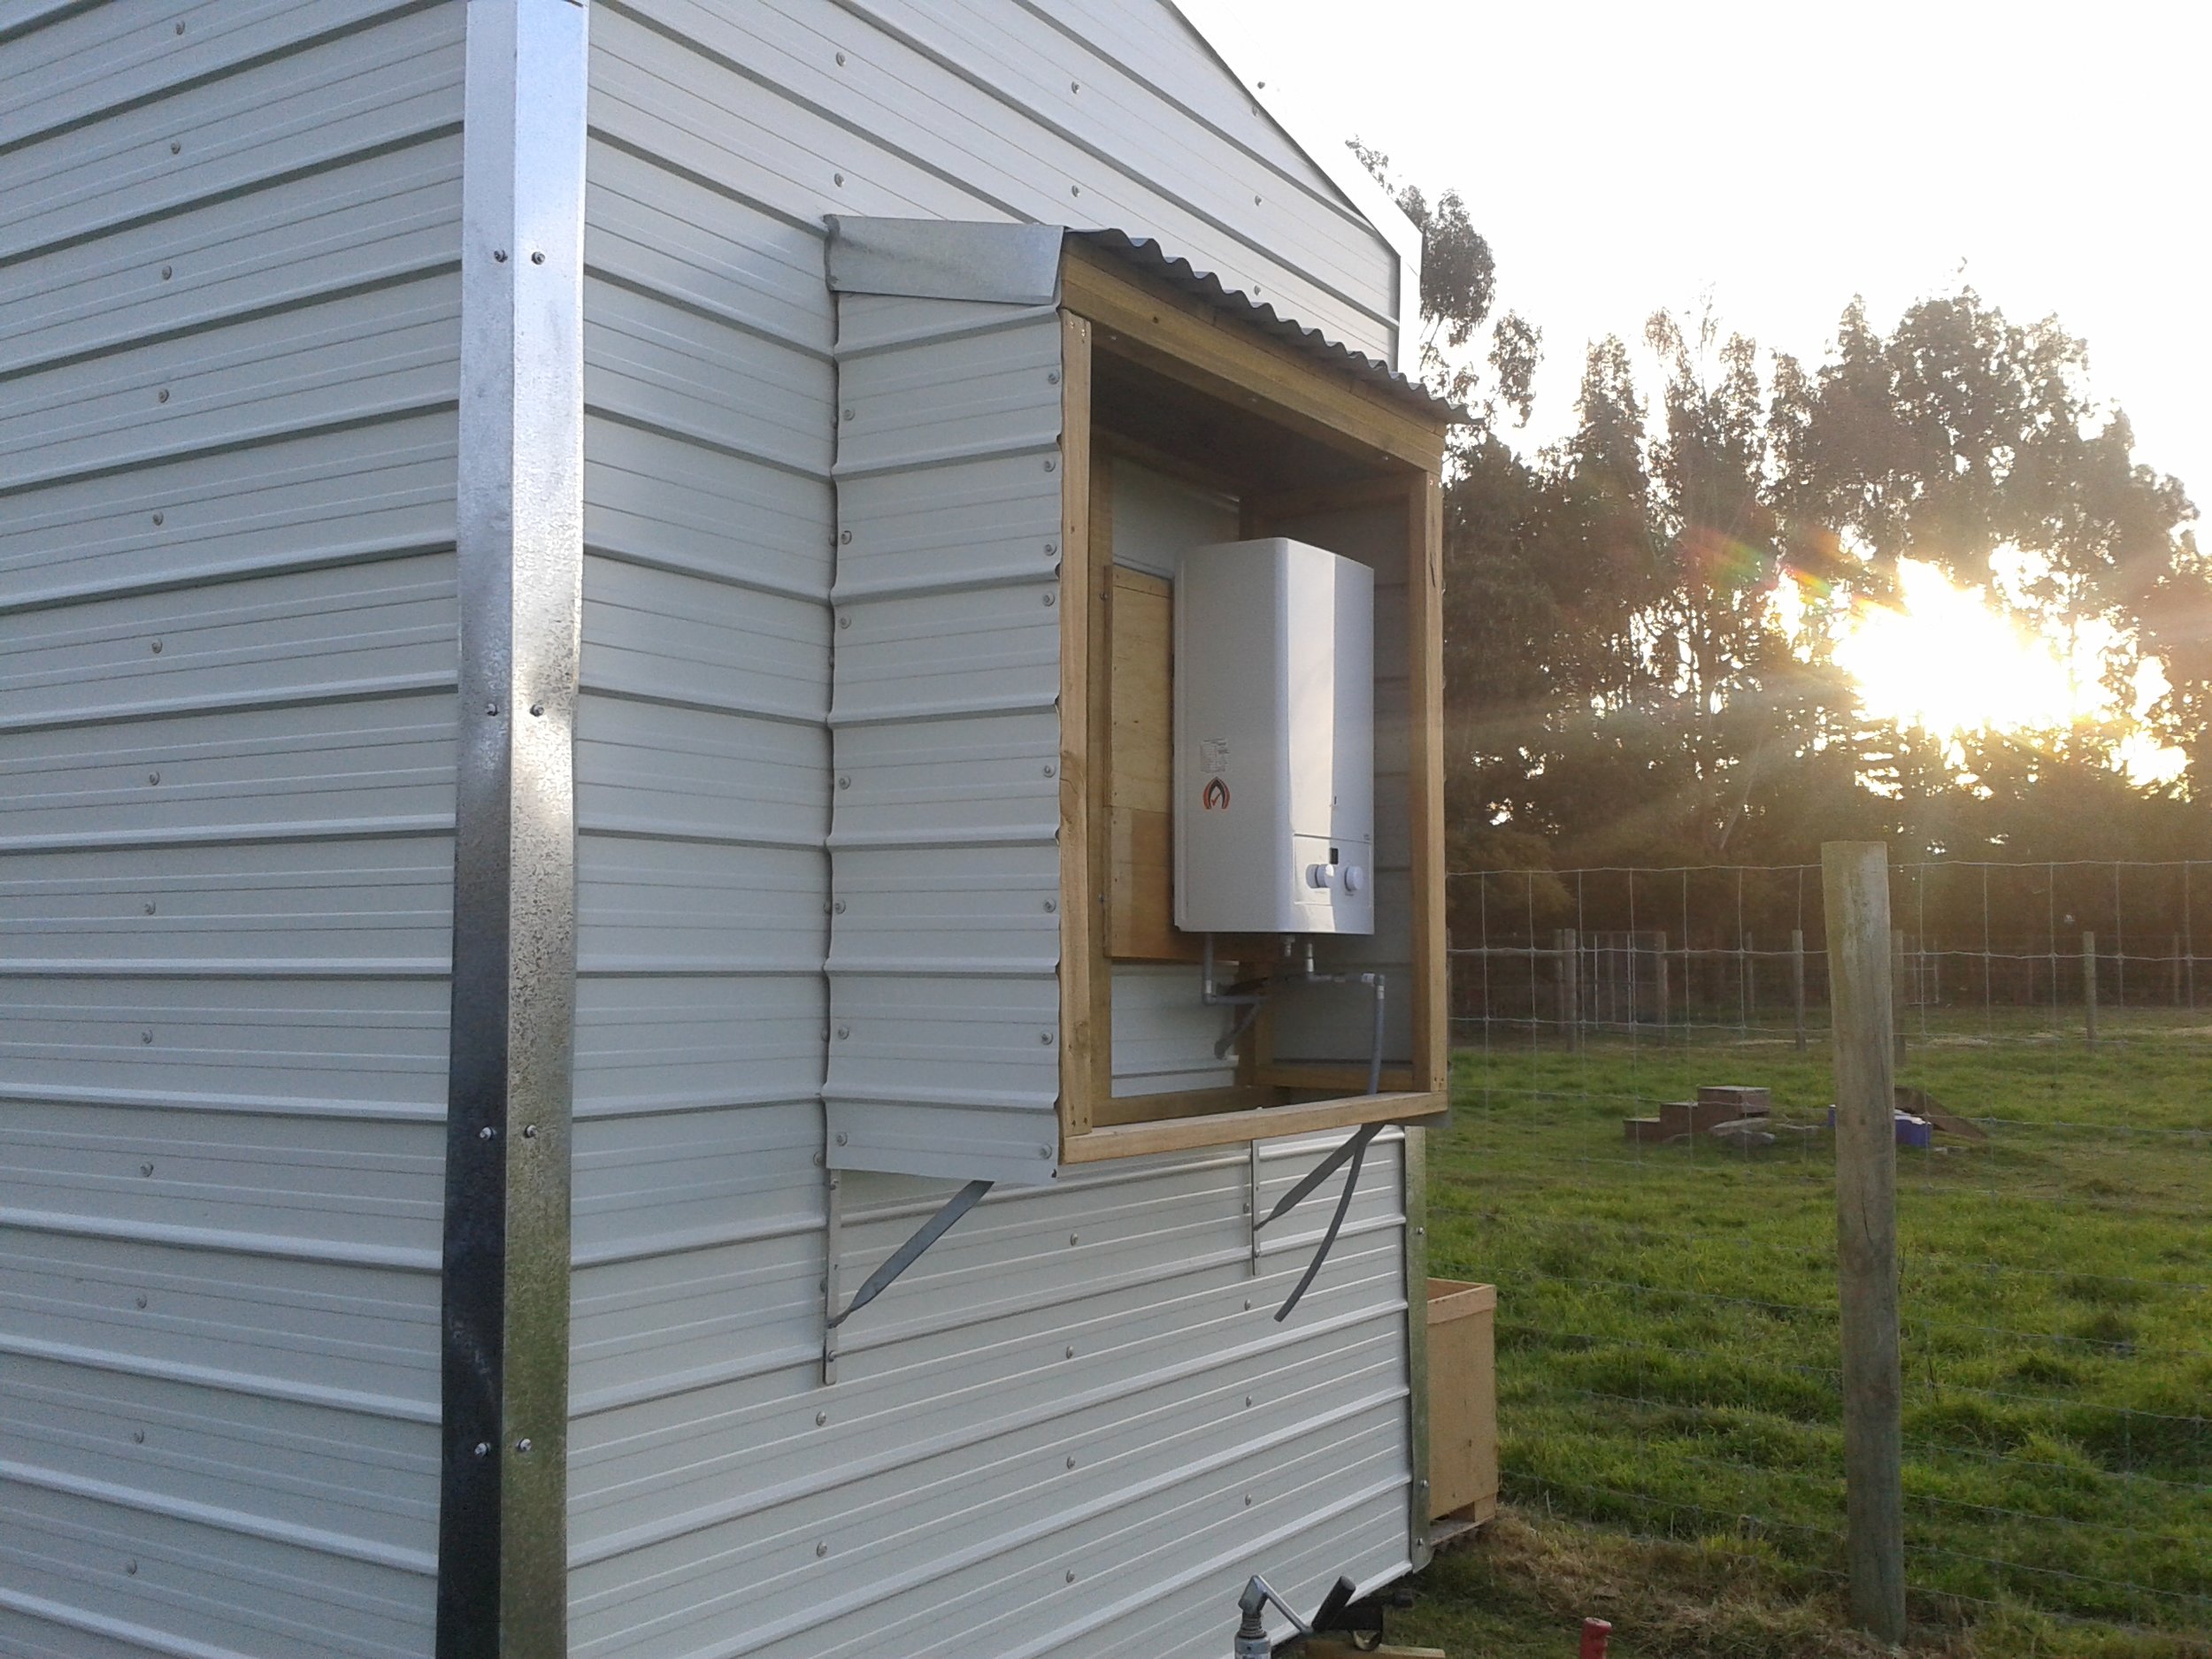
Hello blog followers, Today at the tiny house we finished off the door for the utilities box, secured the last bolt fixing the house to the trailer, removed our kitchen cabinets to sand and repaint, and built a small shelf for the kitchen out of some free items we had laying around. The weather turned out to be really nice!


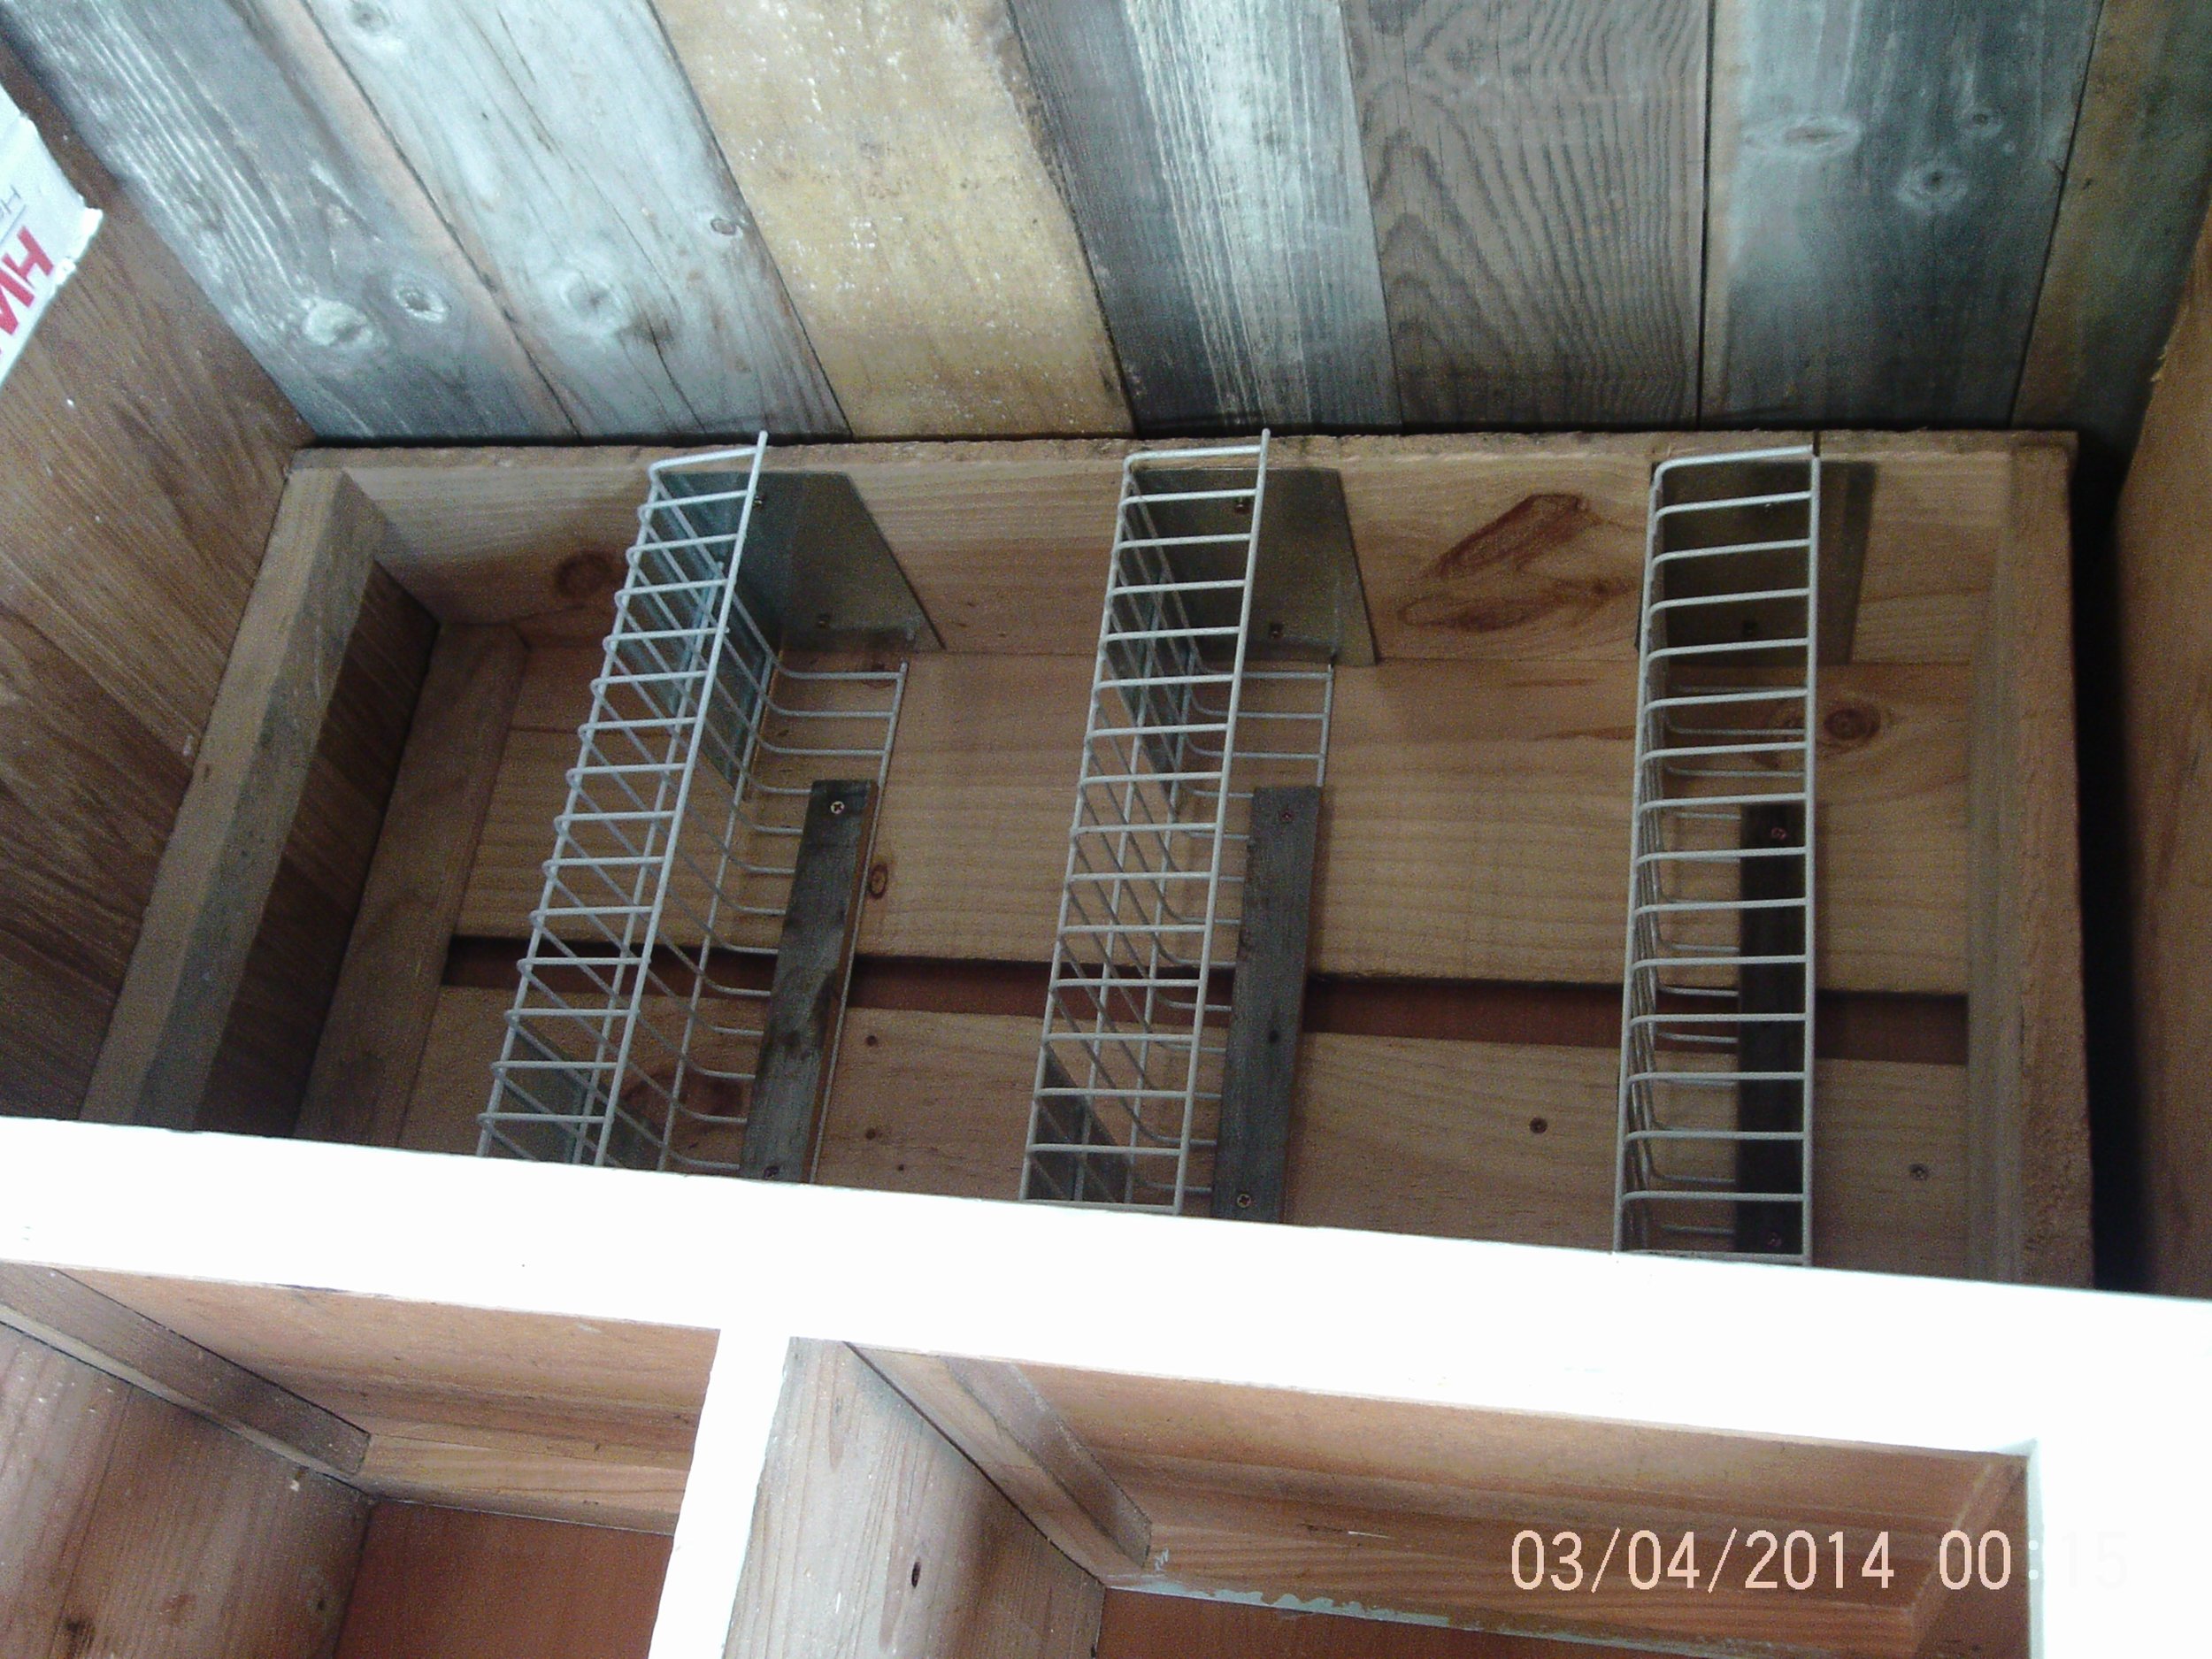
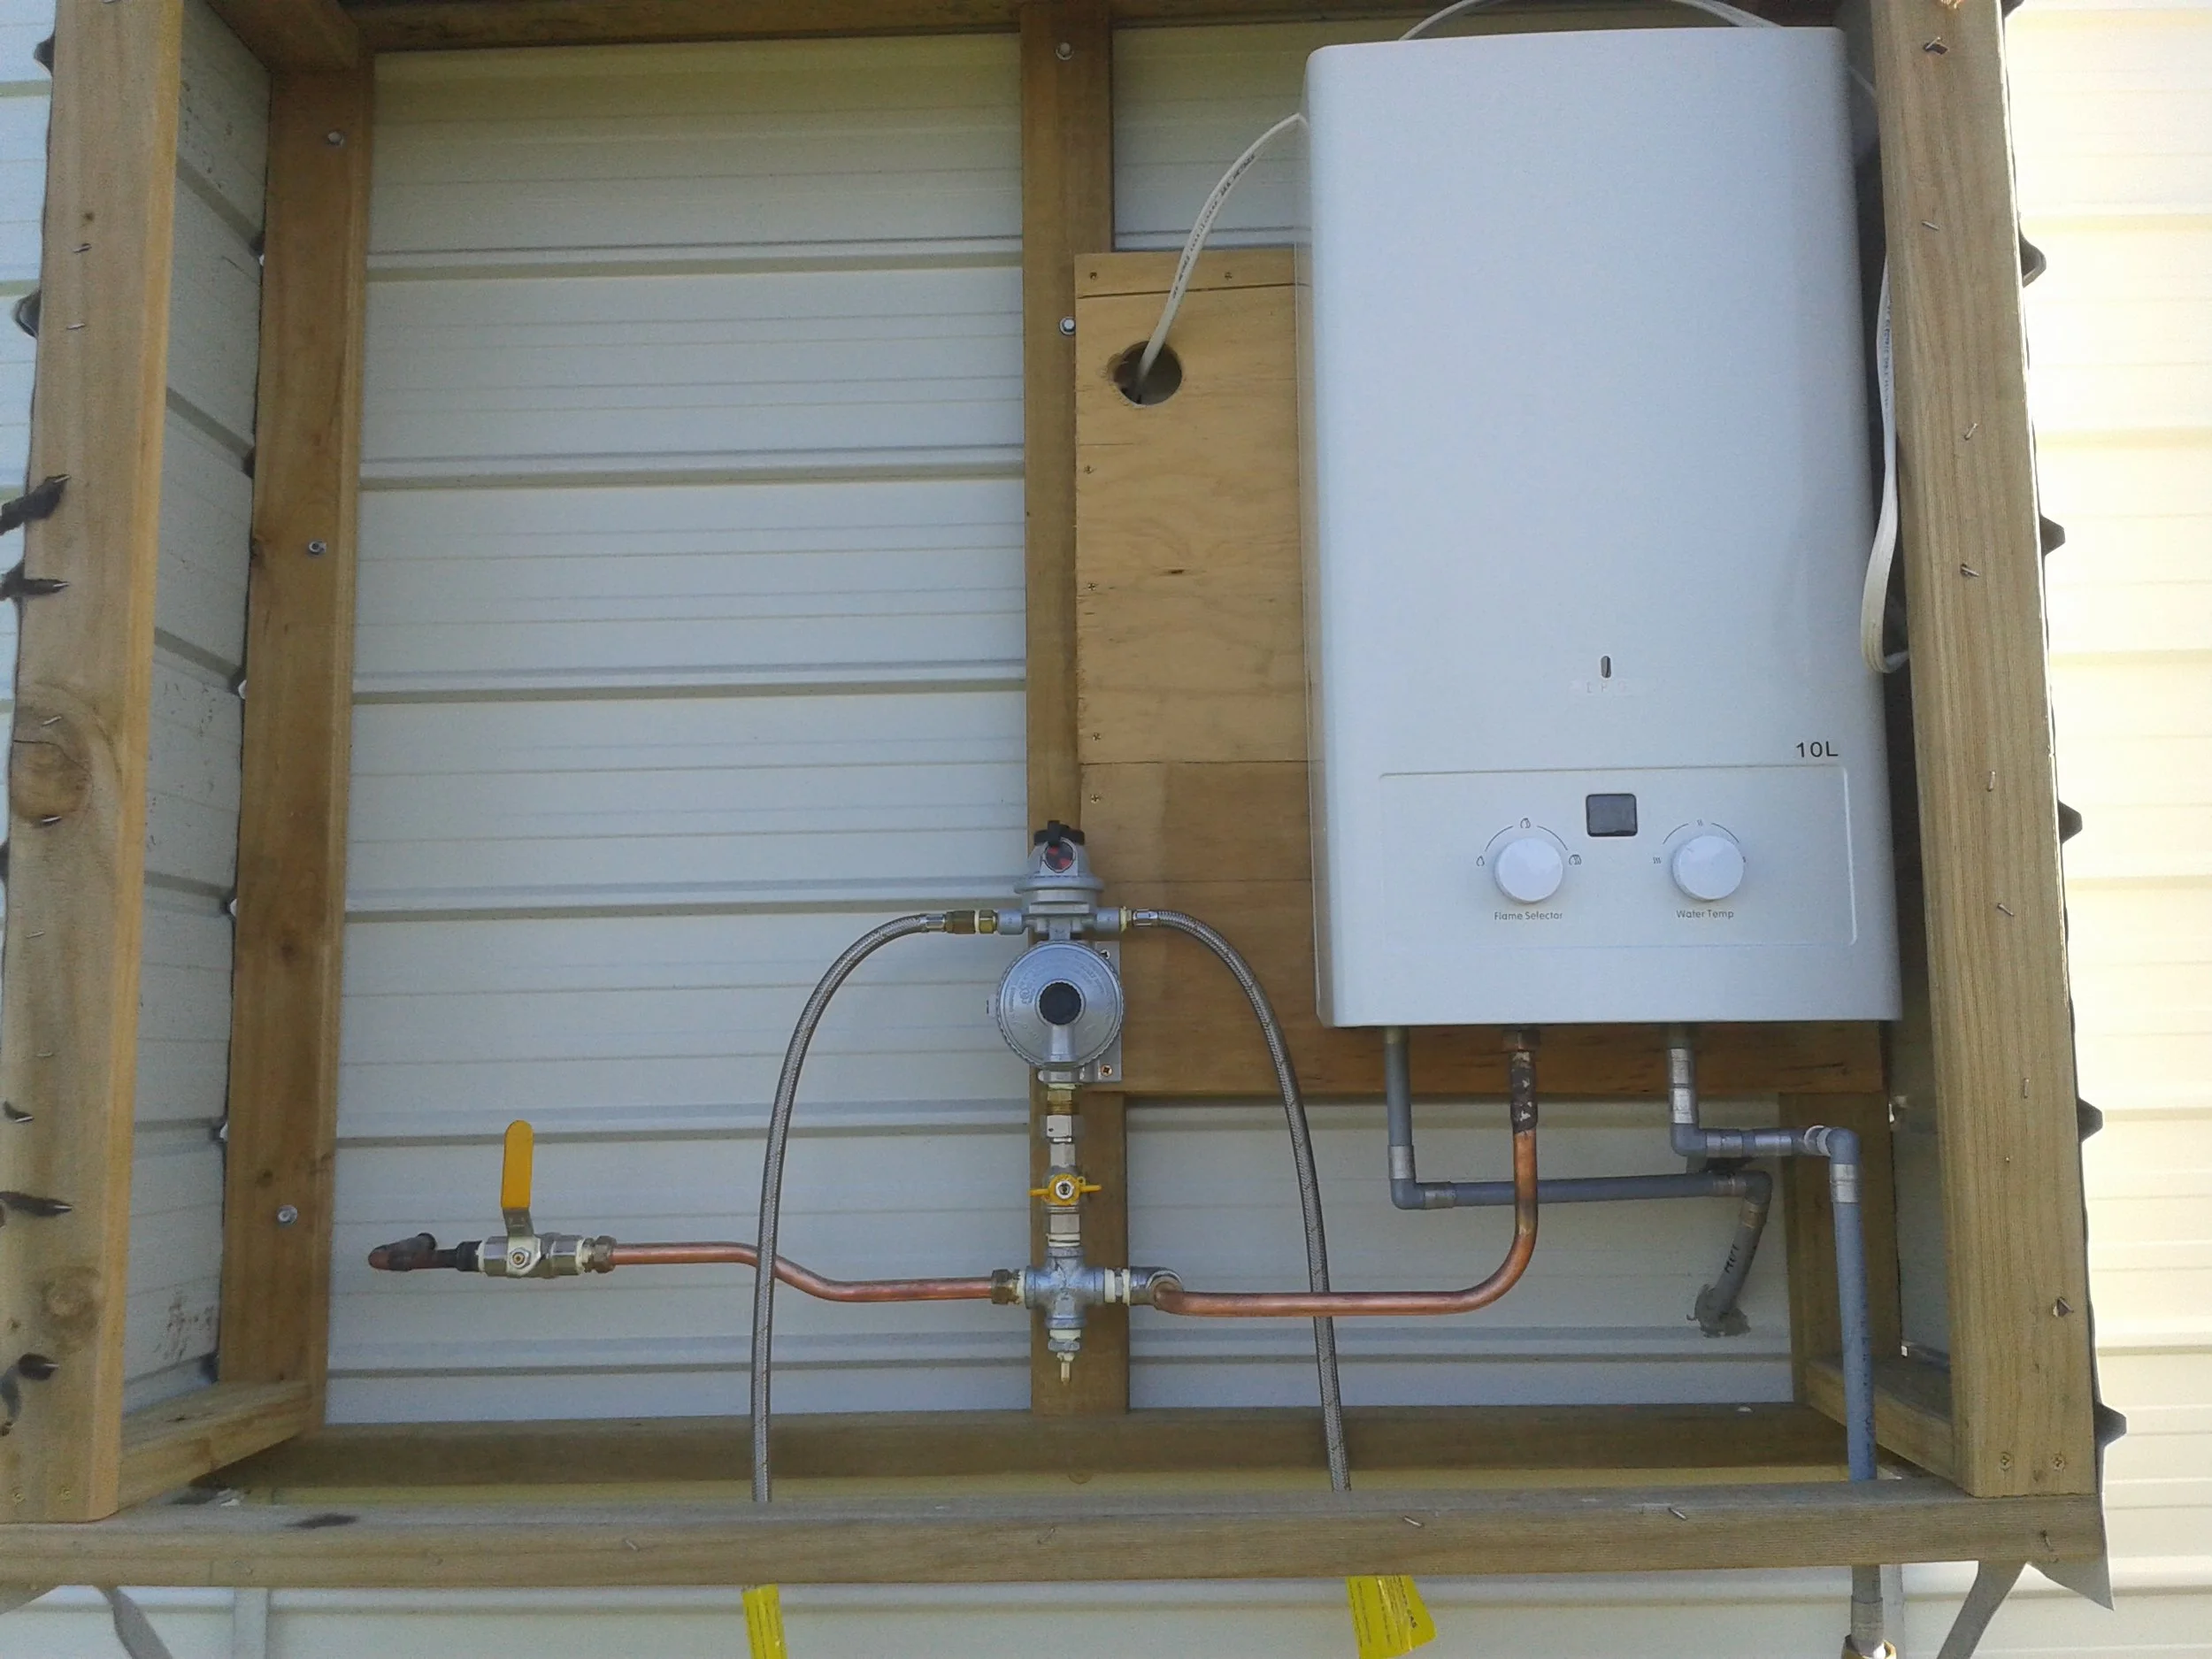
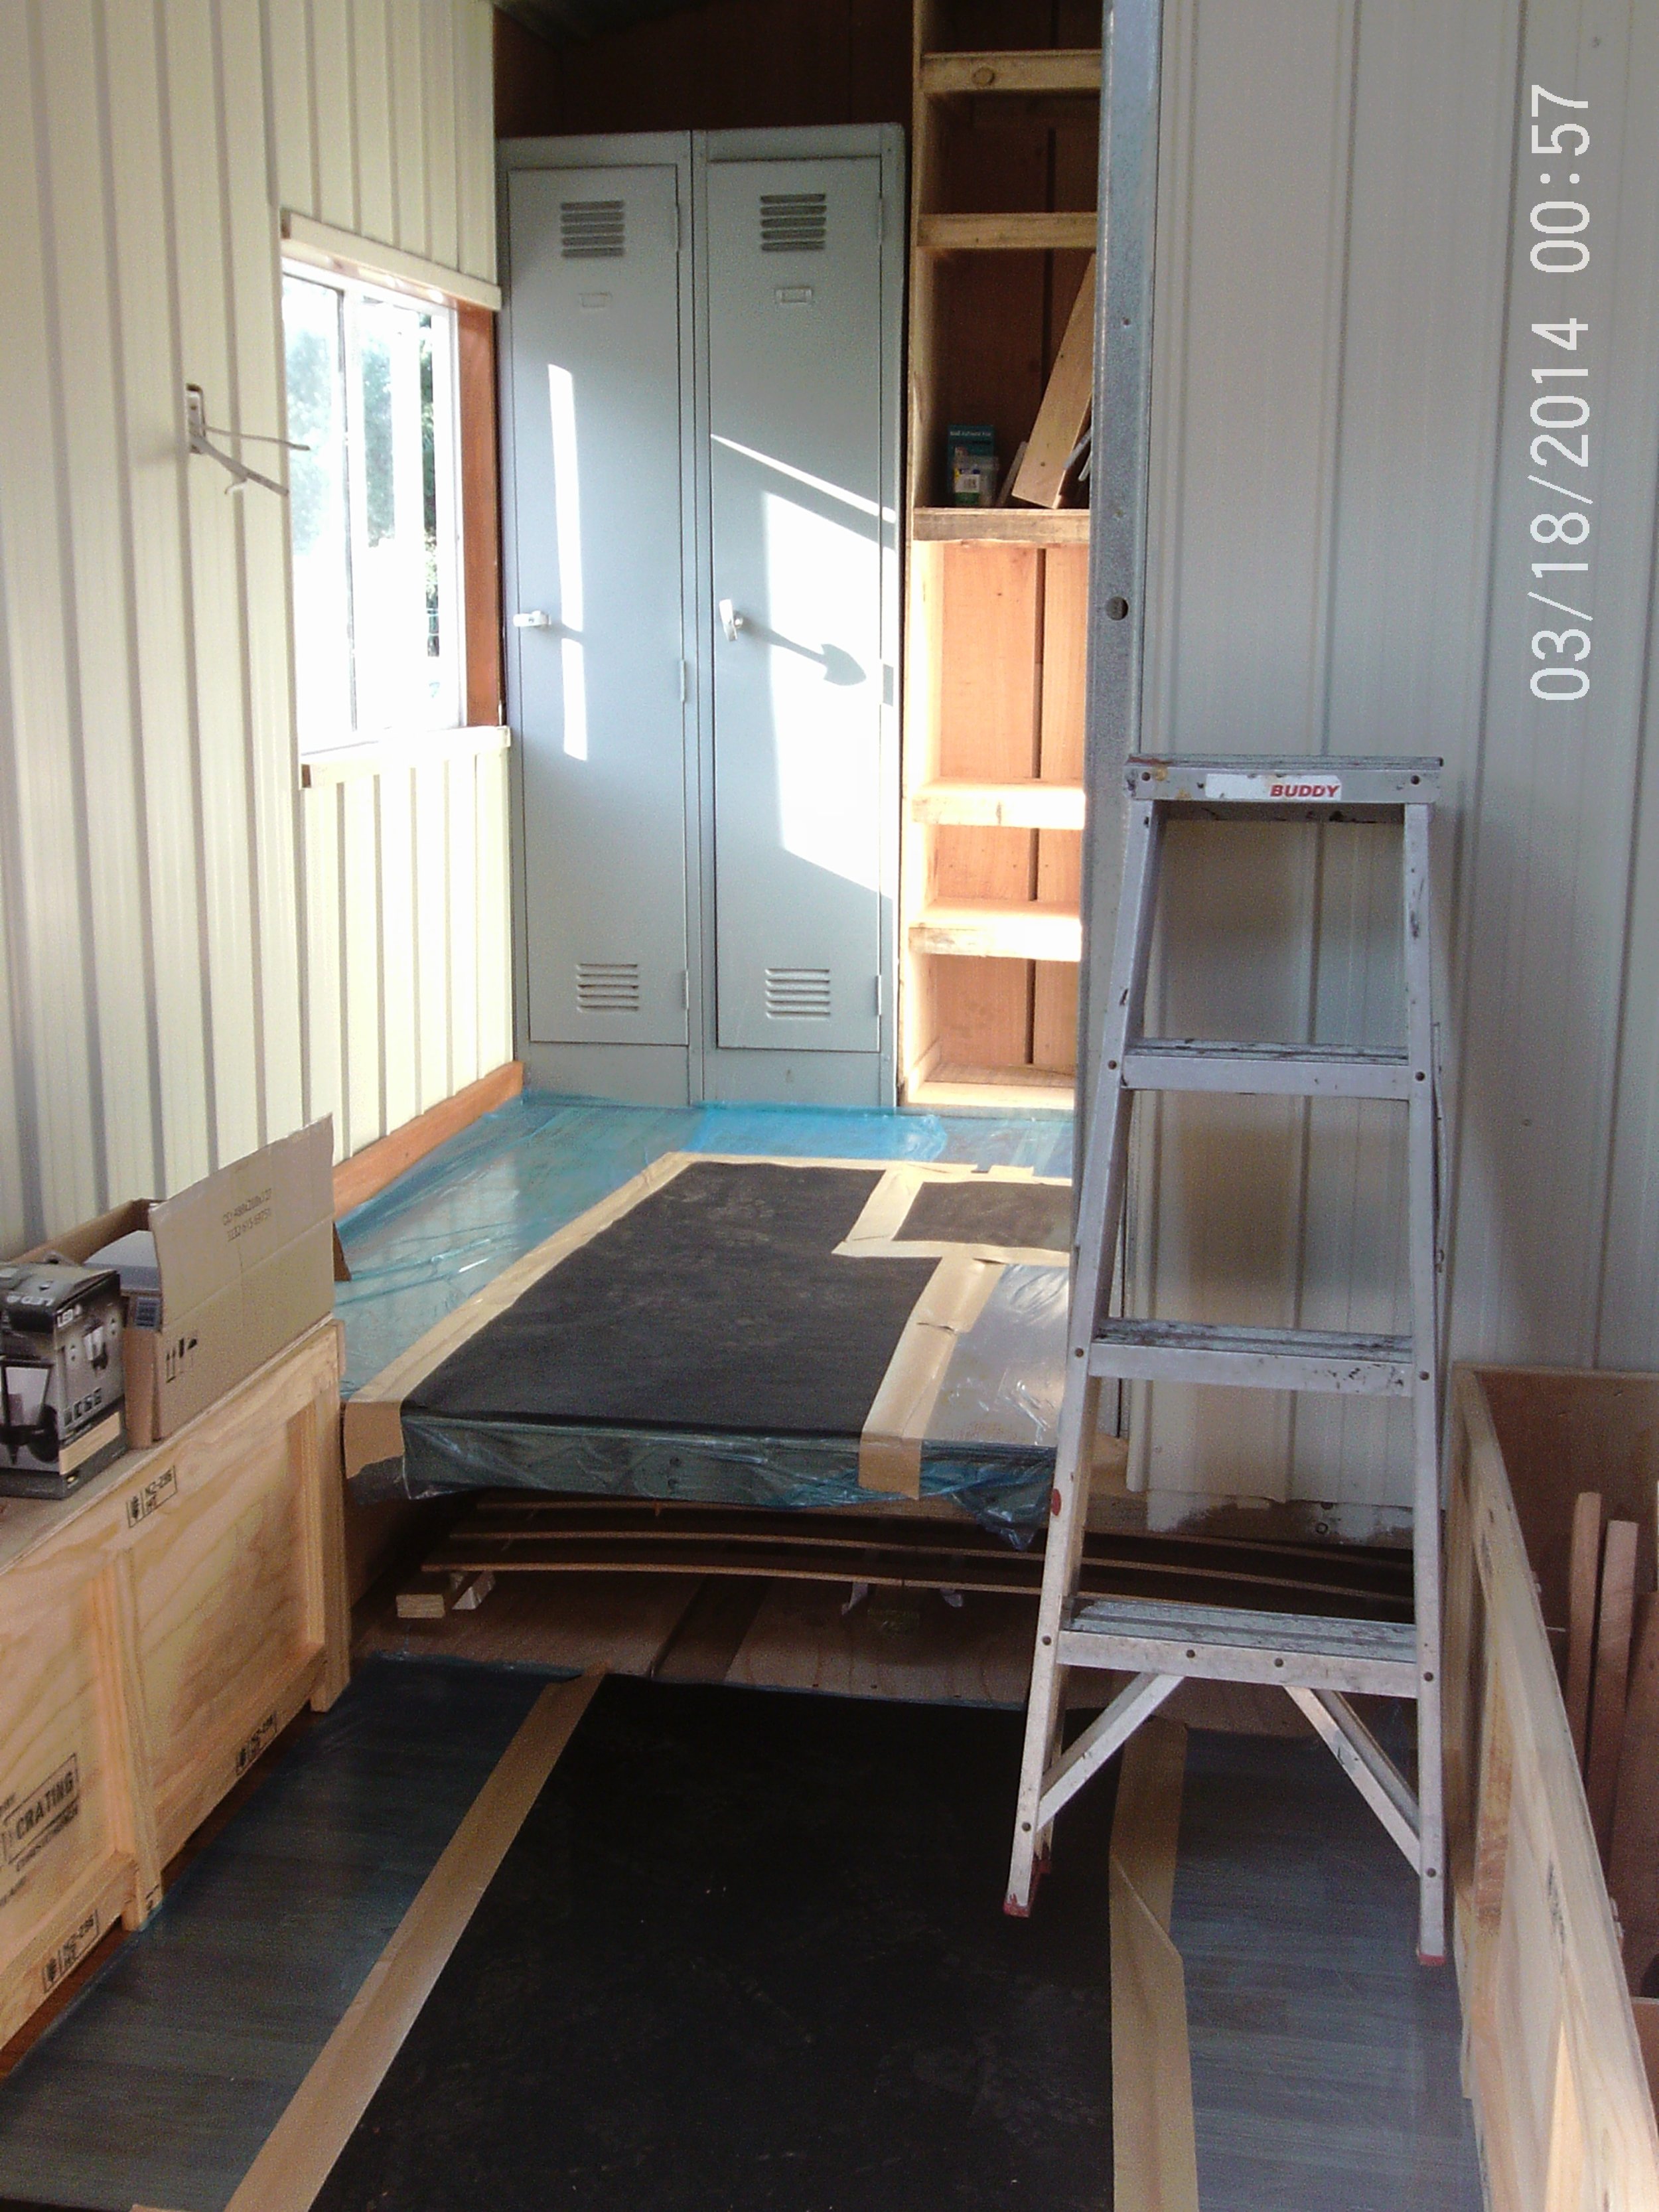
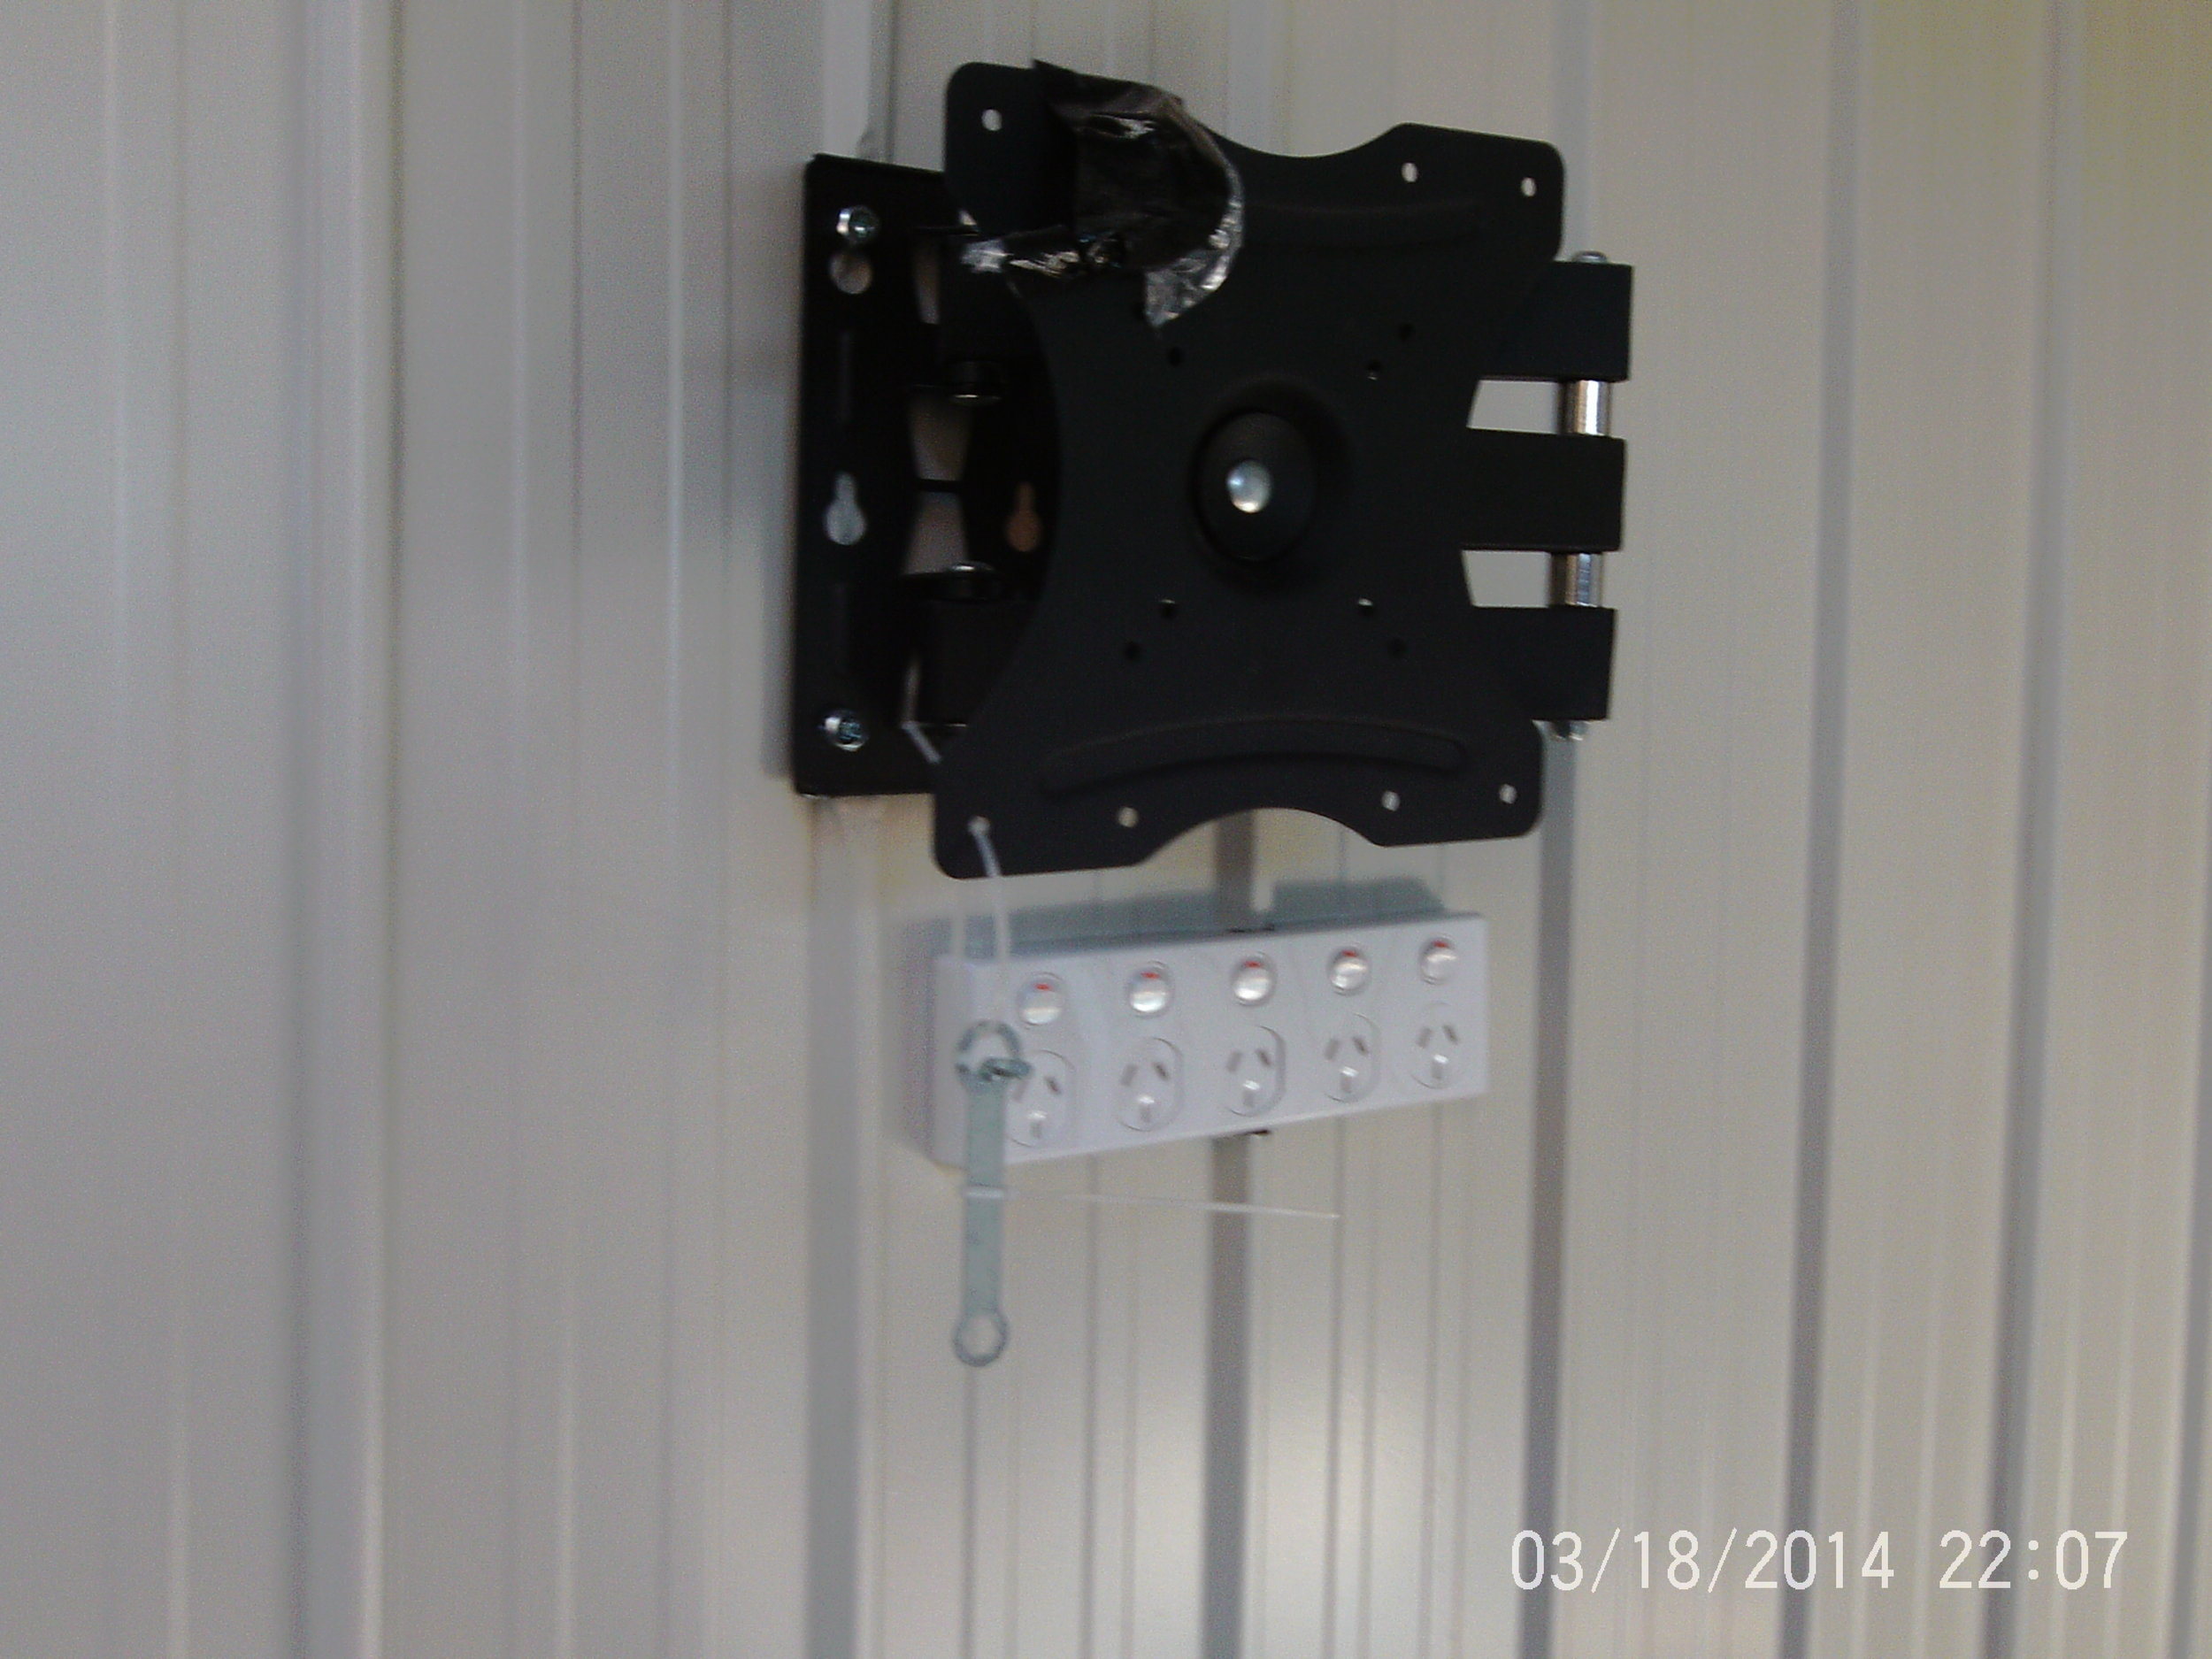
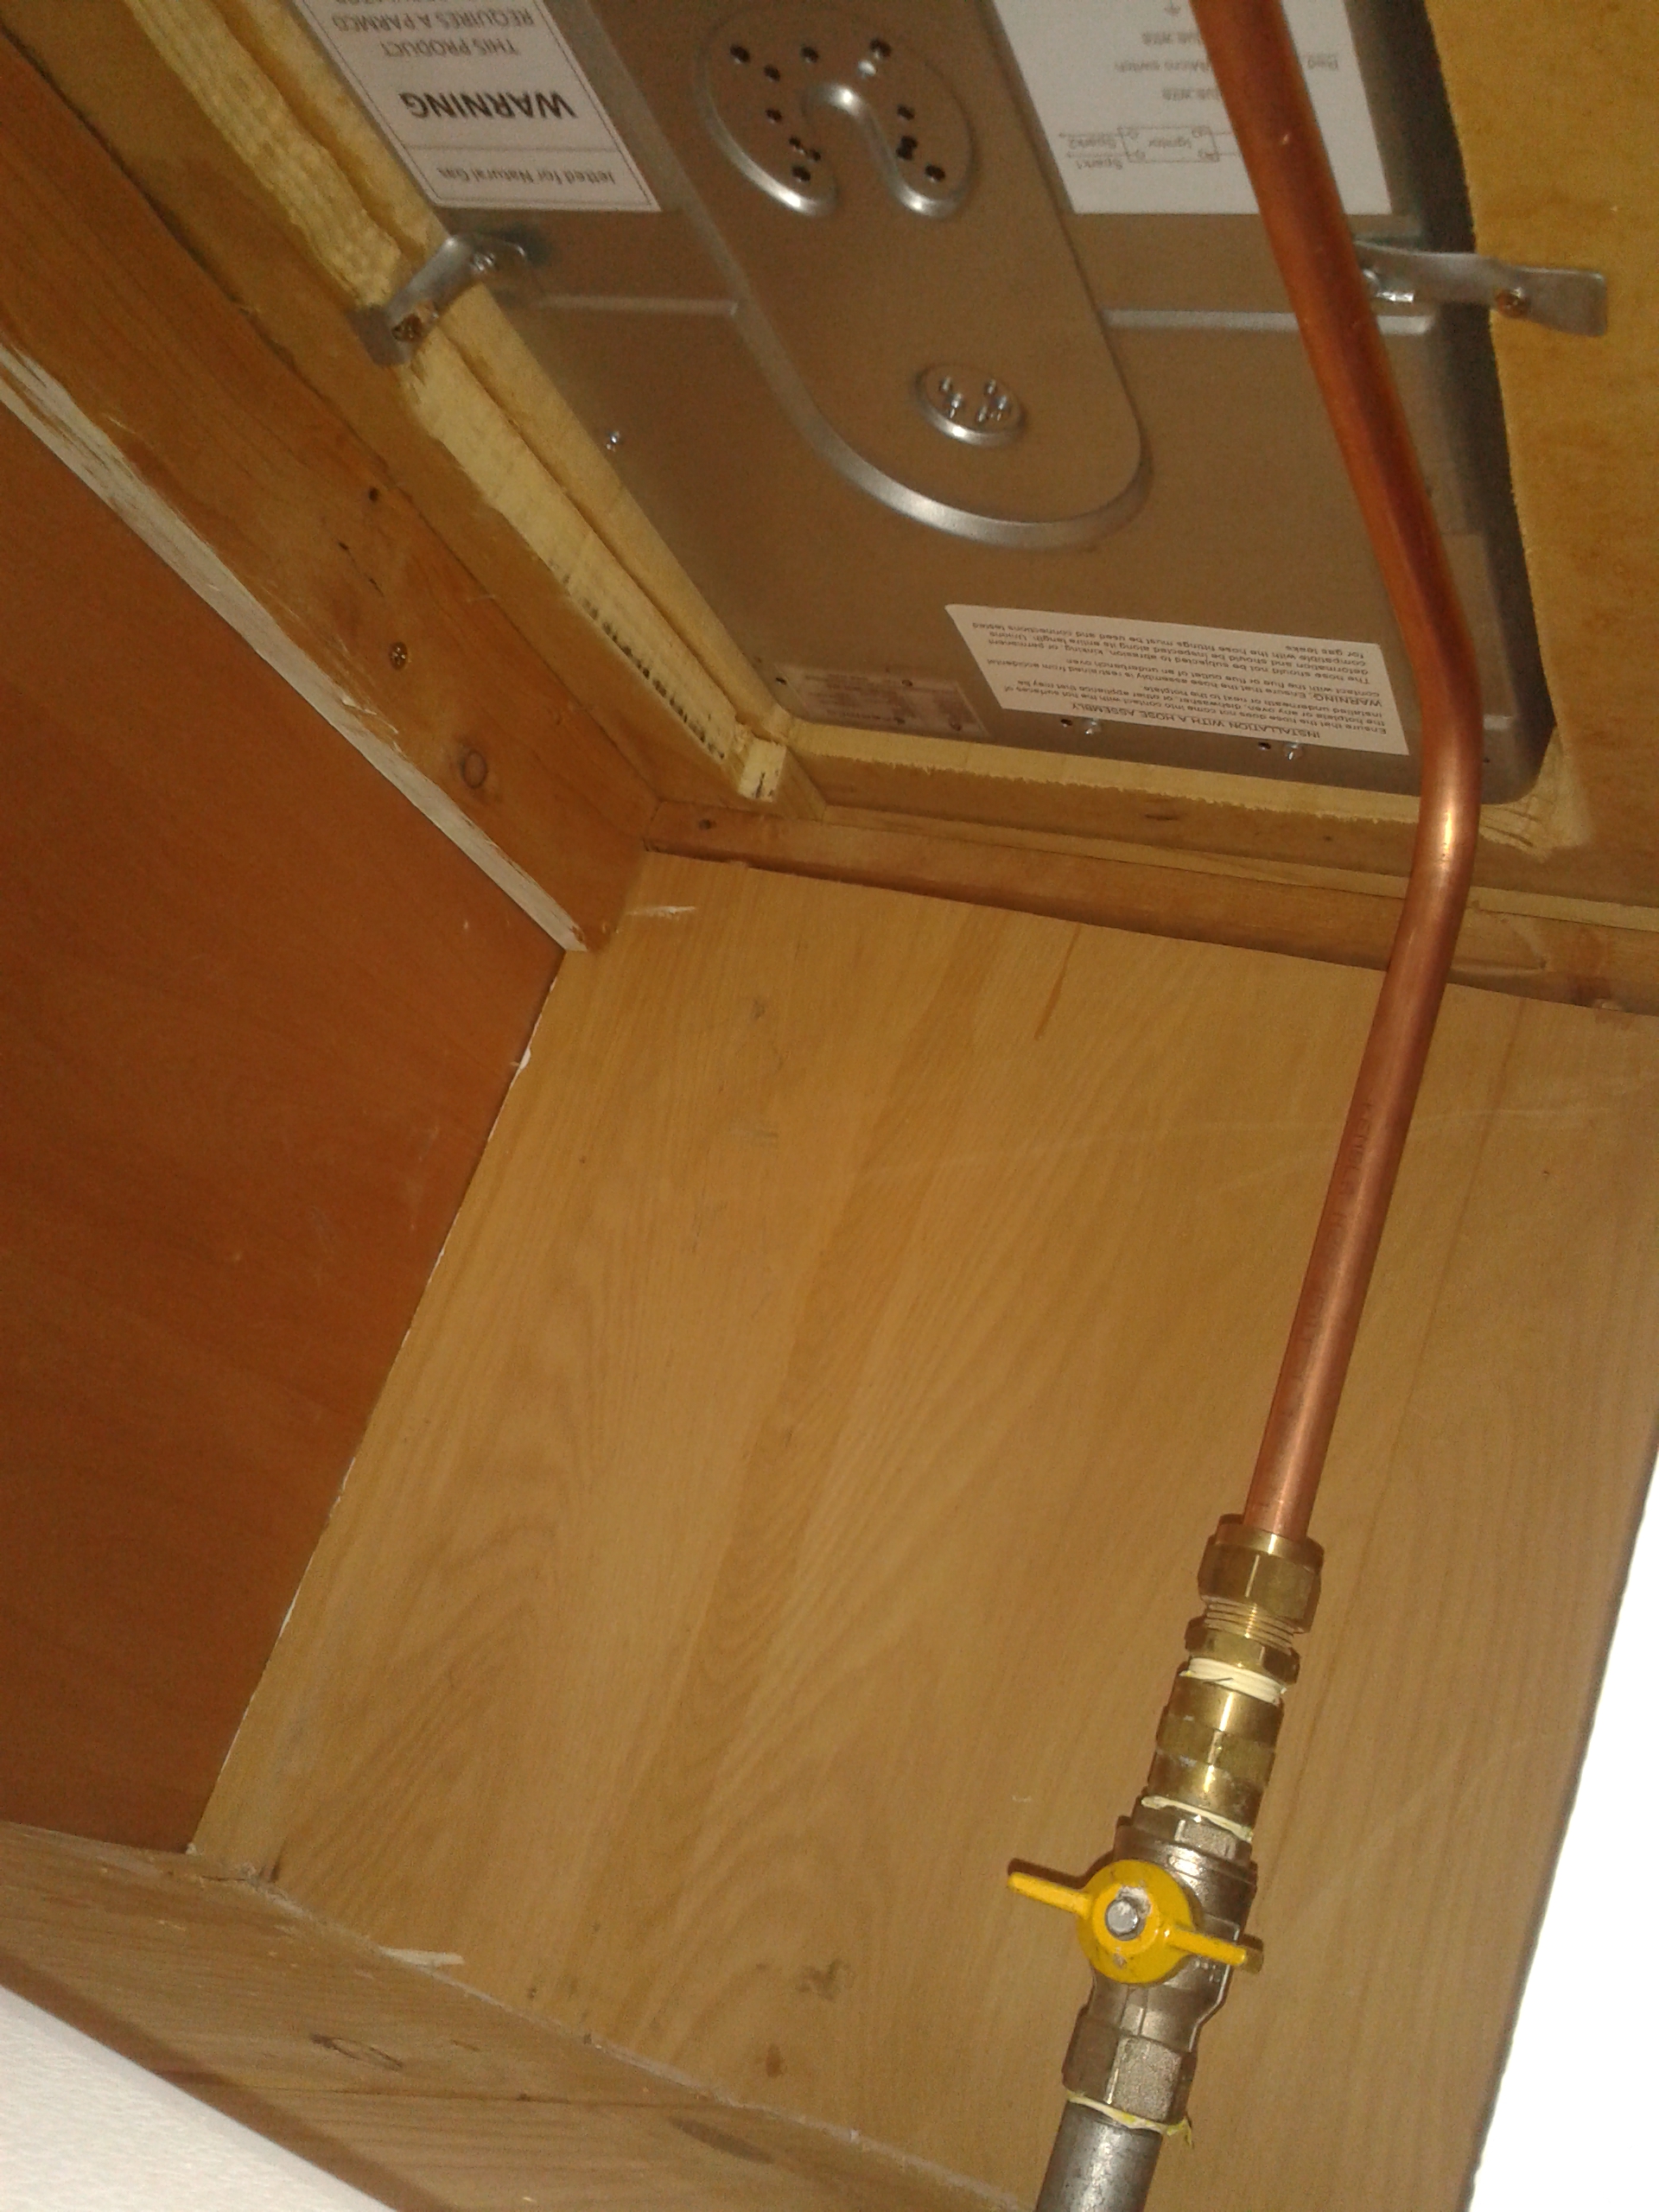
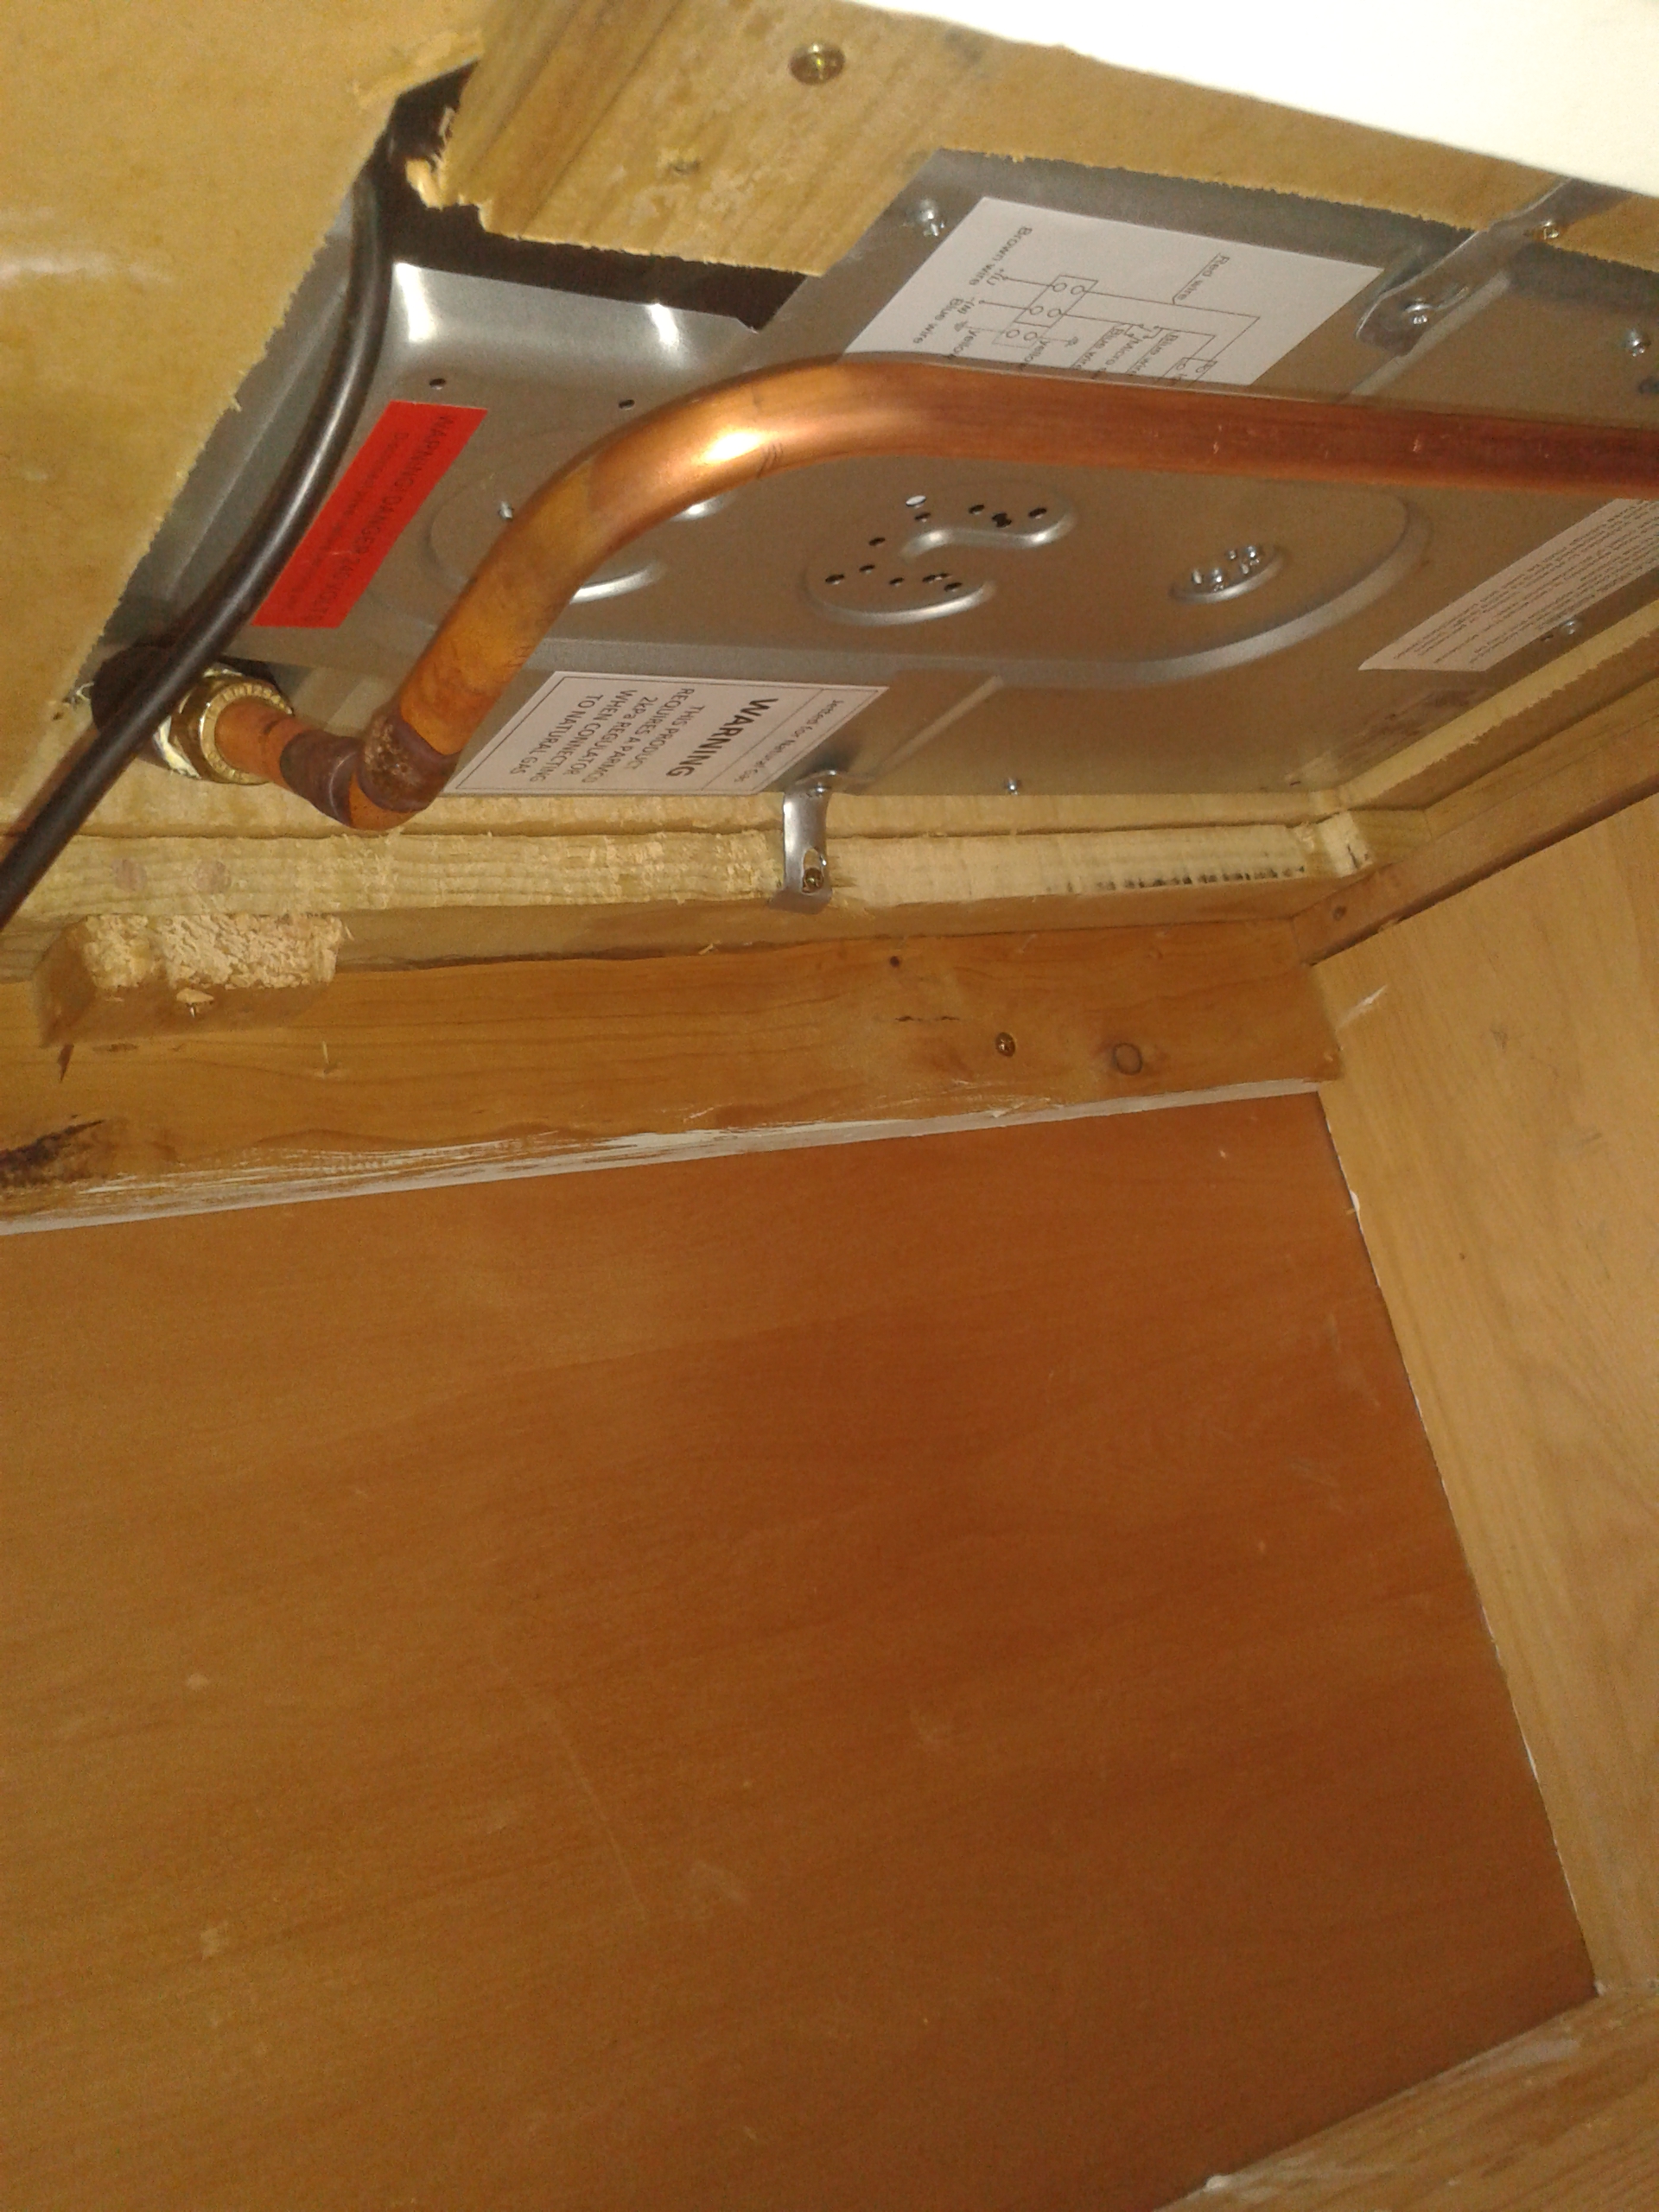
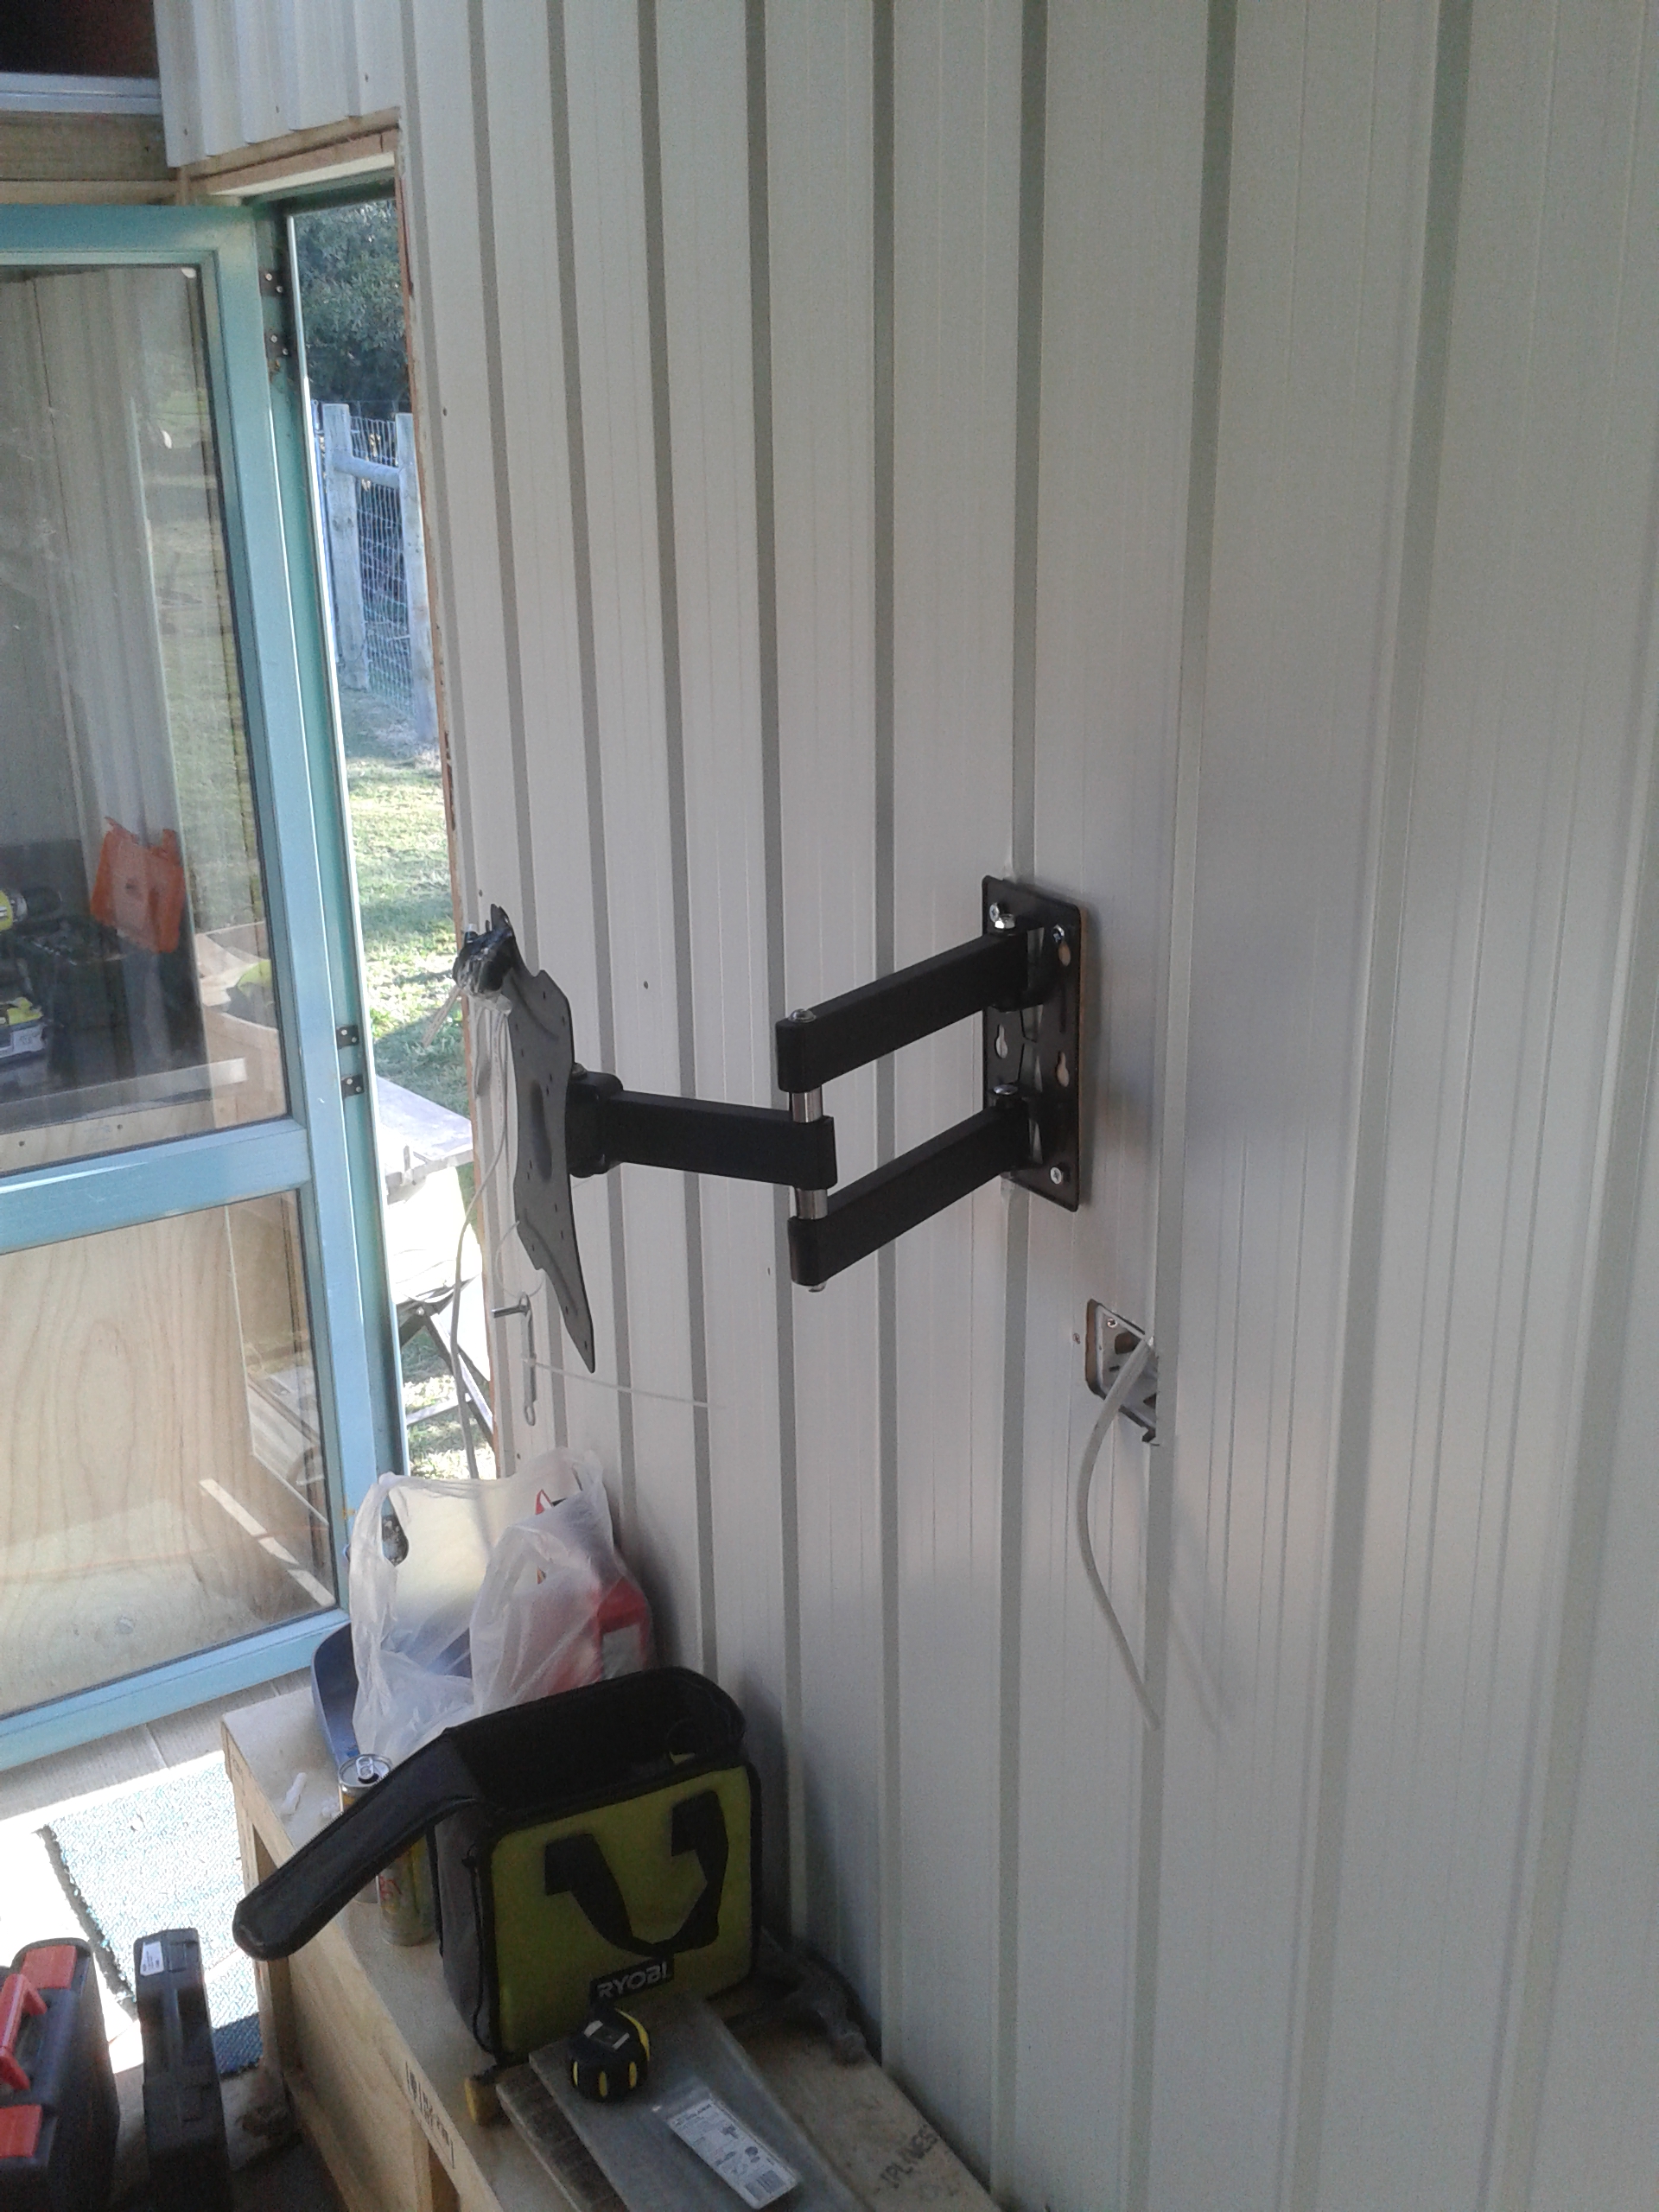
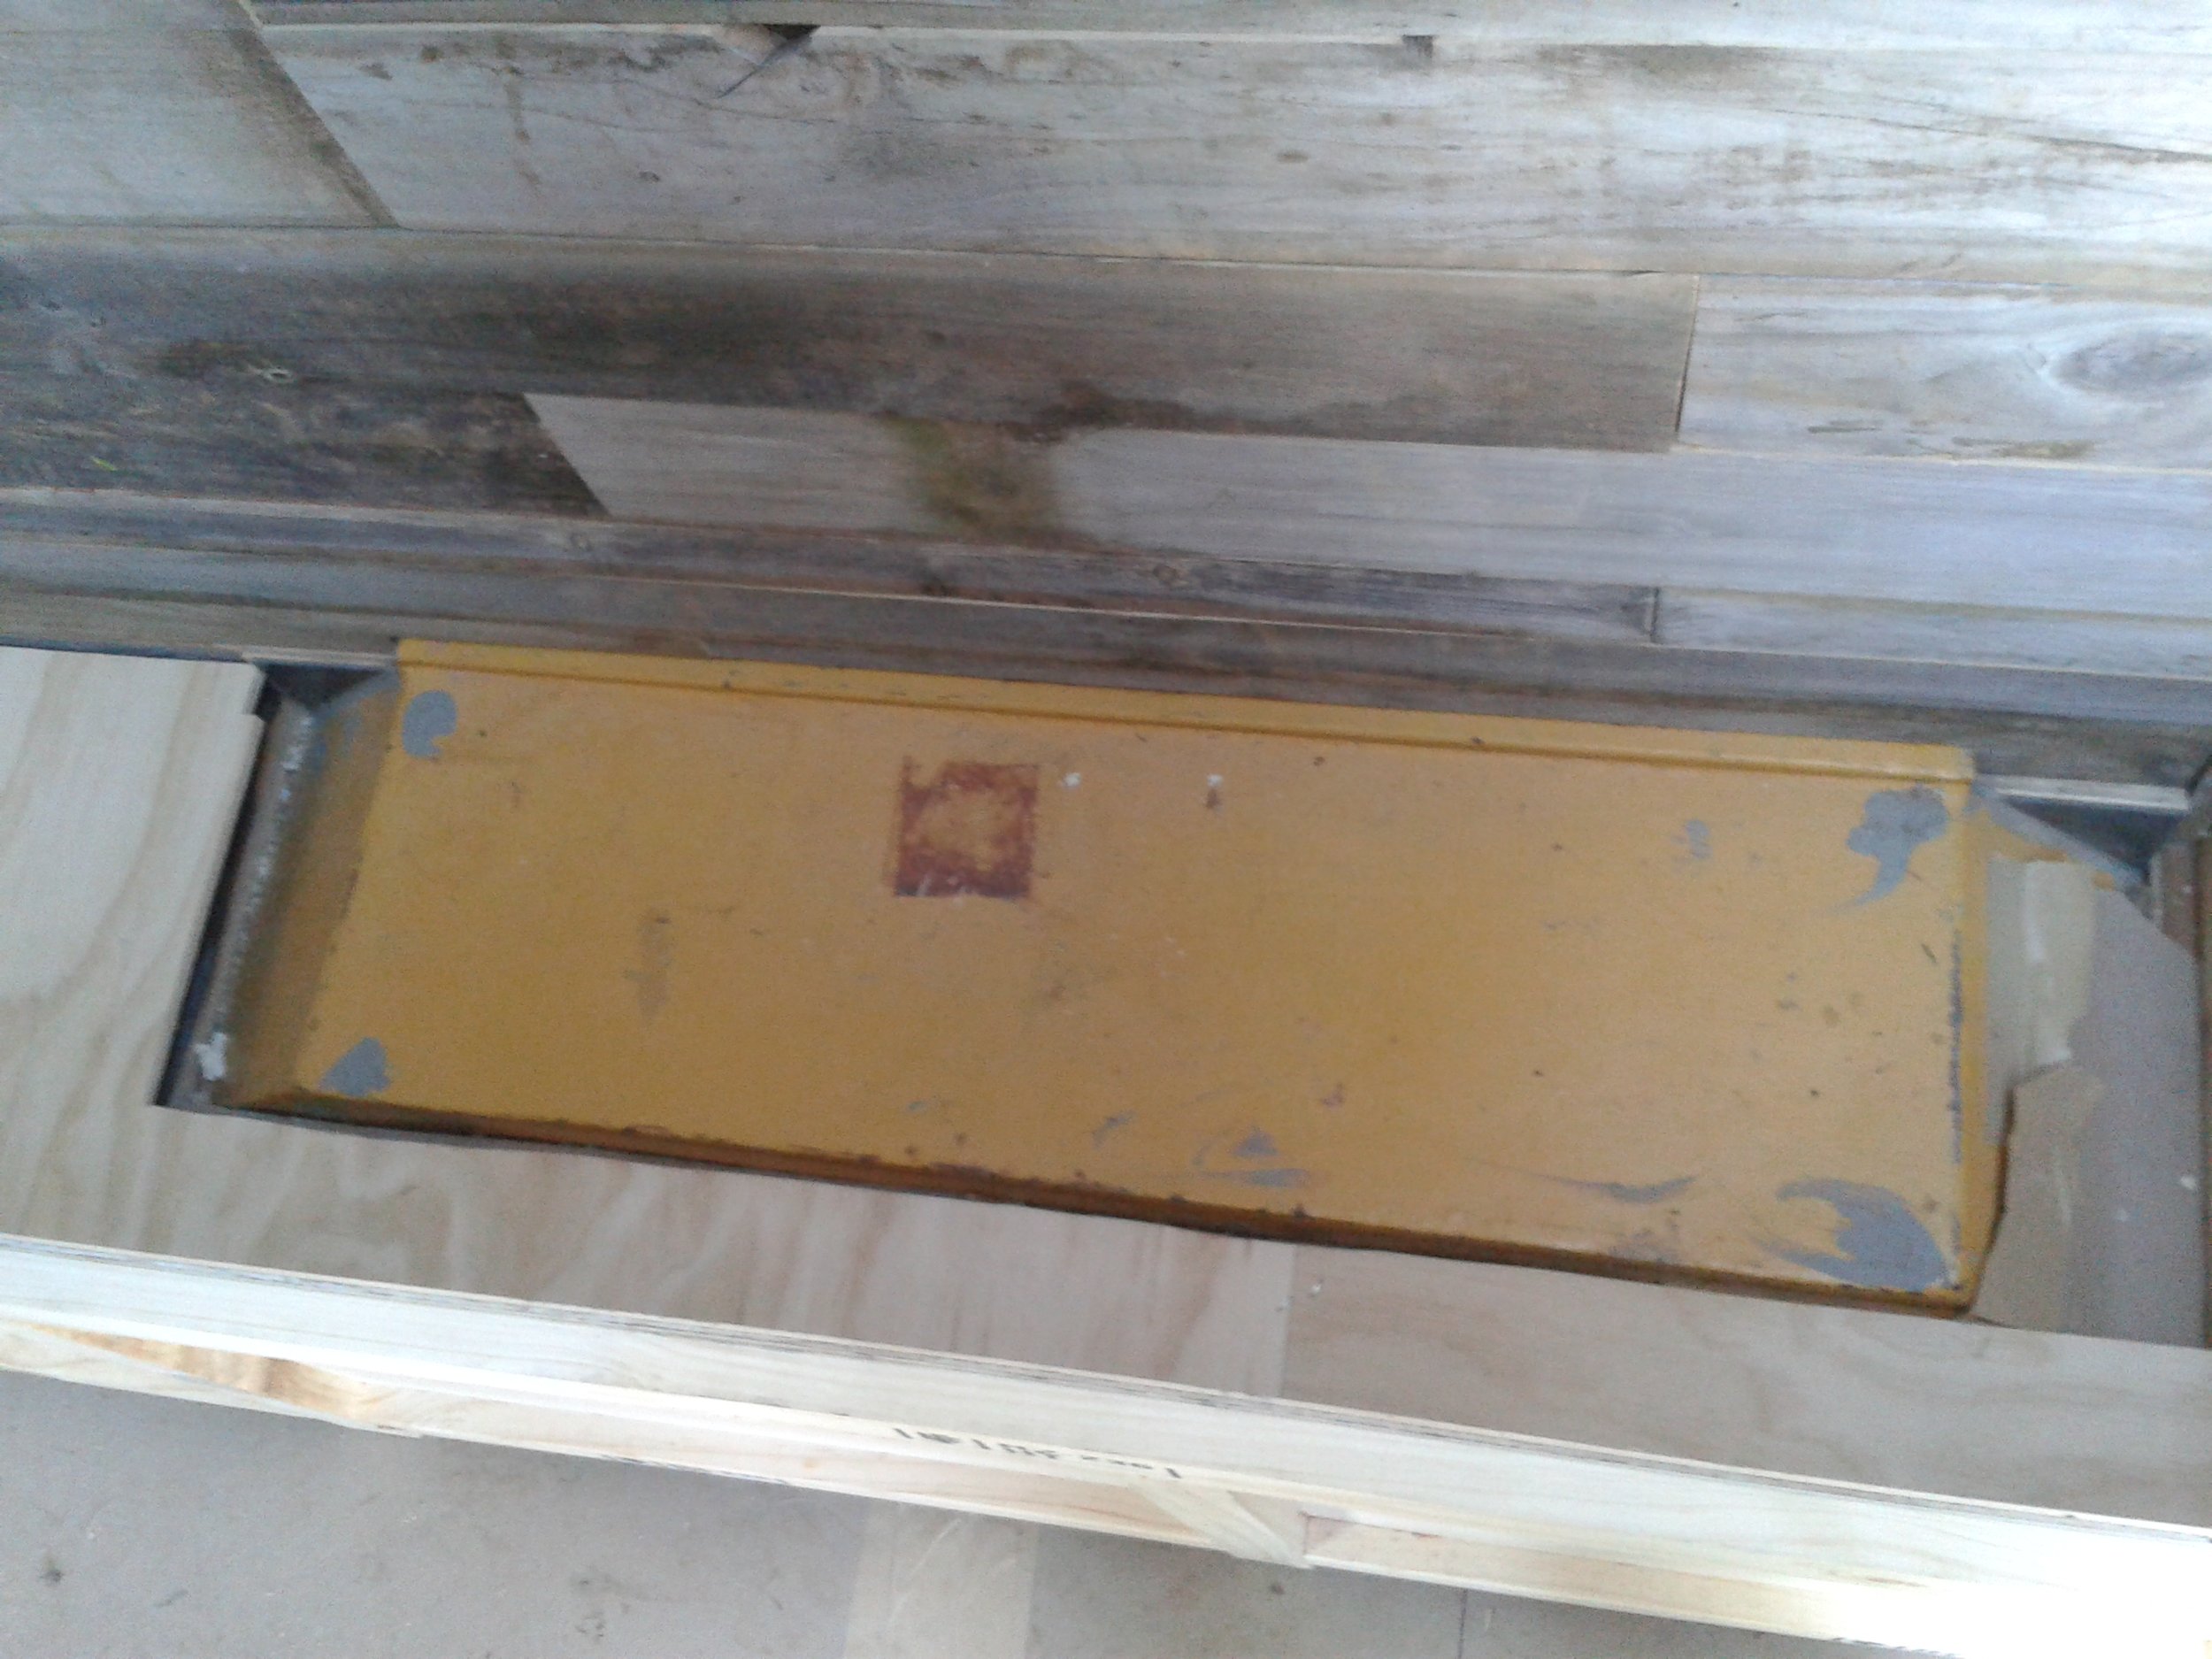
Hello blog followers, Today at the tiny house I got started by finishing the LPG gas piping running to the water heater and gas cook top. Then we moved on to mounting our television wall bracket and designed some under floor storage. We cut a hole in the upper floor to make room for lots of storage space for shoes and things.


Hello! We knew when we started building that we didn't want to spend a crazy amount on our house. In order to do this we have been keeping track of every penny we have spent. We have made an effort to save every receipt during our tiny house build. This turned out to be a good thing not only for keeping within our budget but also when we were trying to prove to Immigration NZ that we are a couple with long terms plans of staying together, what better way than by overwhelming them with hundreds of receipts and pictures of our tiny house! Spoiler alert: It worked and Pat now has his permanent residency!
We have saved so much money by getting free materials and also buying recycled and used materials when possible. Our goal is to stay under $15,000 NZ dollars, so far we are on track. This price includes the purchase of our trailer and all of our household appliances (fridge, hot water heater, gas cook top, shower, faucet, etc..).

As you have probably noticed we haven't included our solar panels or batteries. We consider these to be investments for long term utilities (they will pay for themselves eventually with how much we can save). For two solar panels (260watts) and the controller inverter battery charger we spent $1600, and we still have to get our batteries! It is expensive to be off the grid, at least in the beginning.
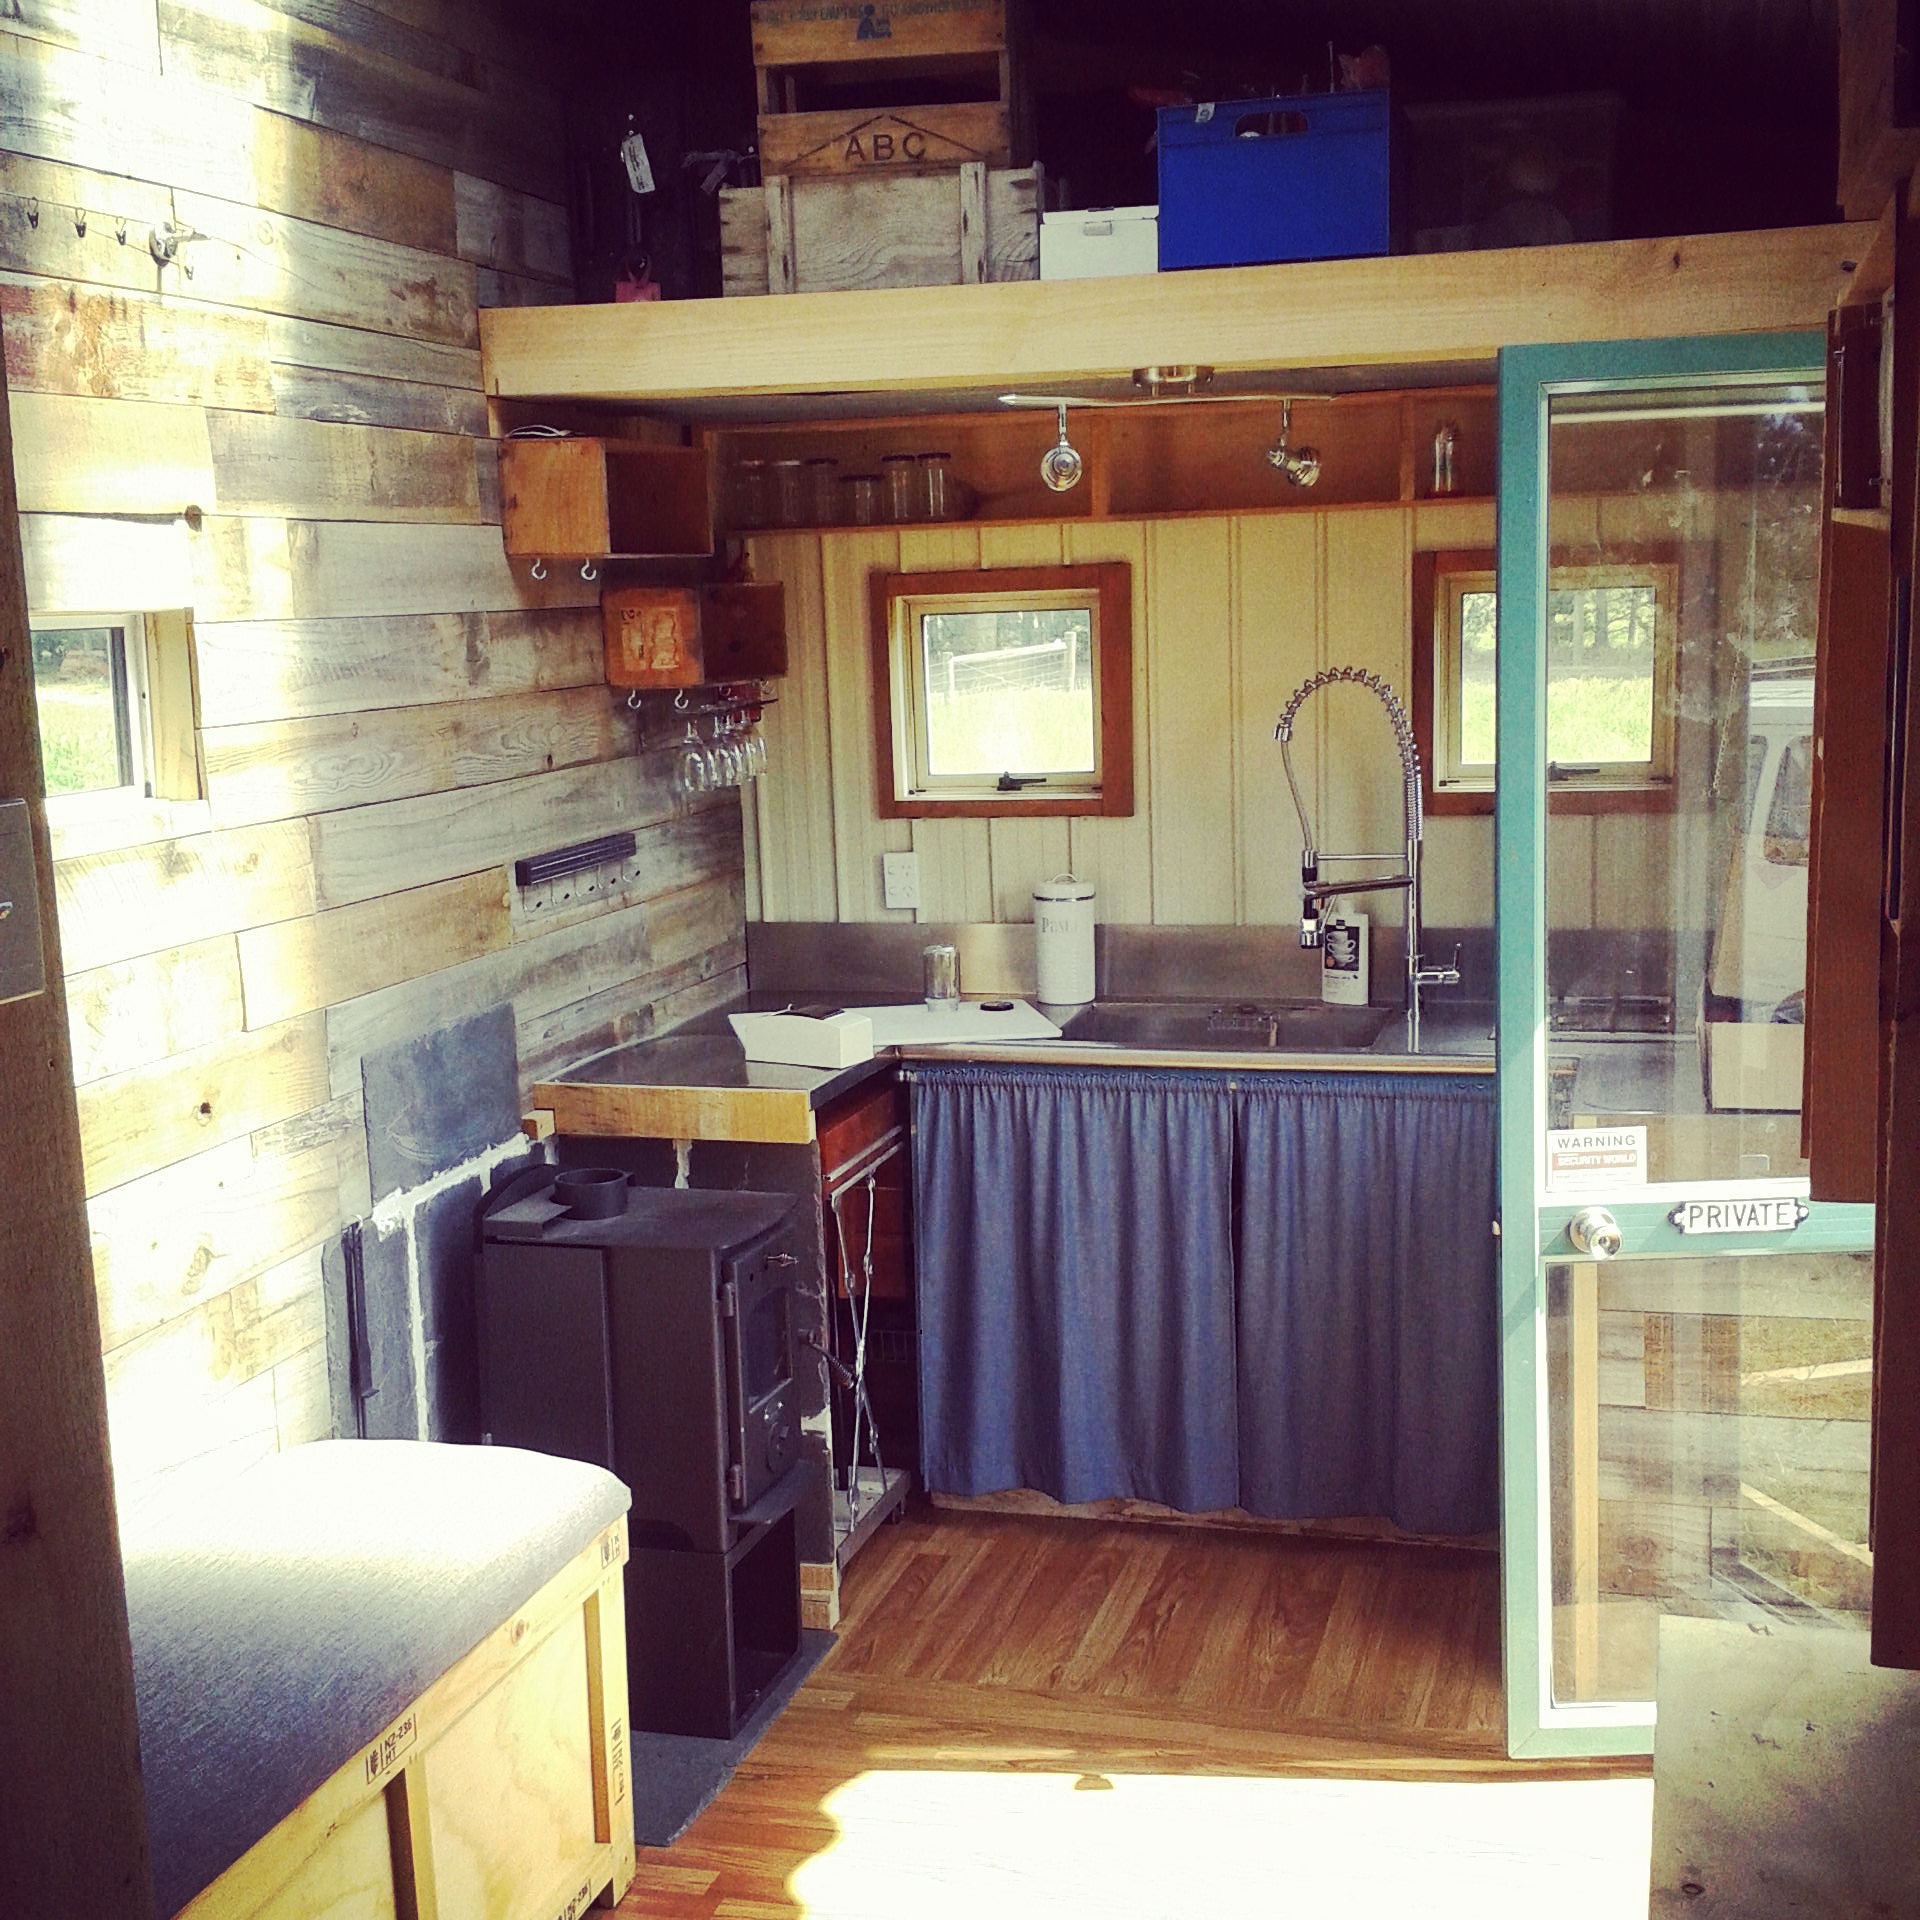
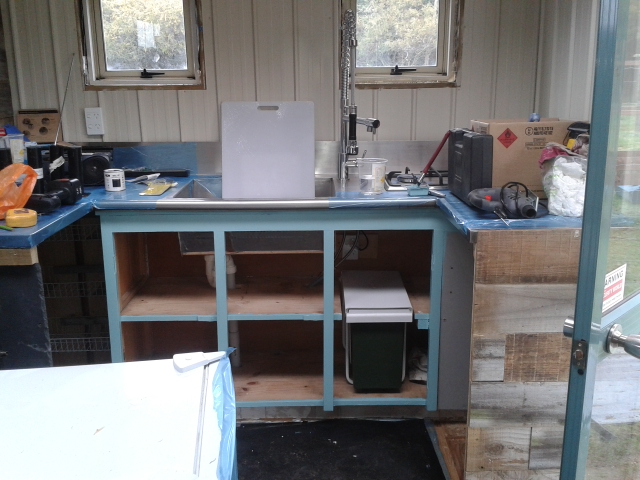
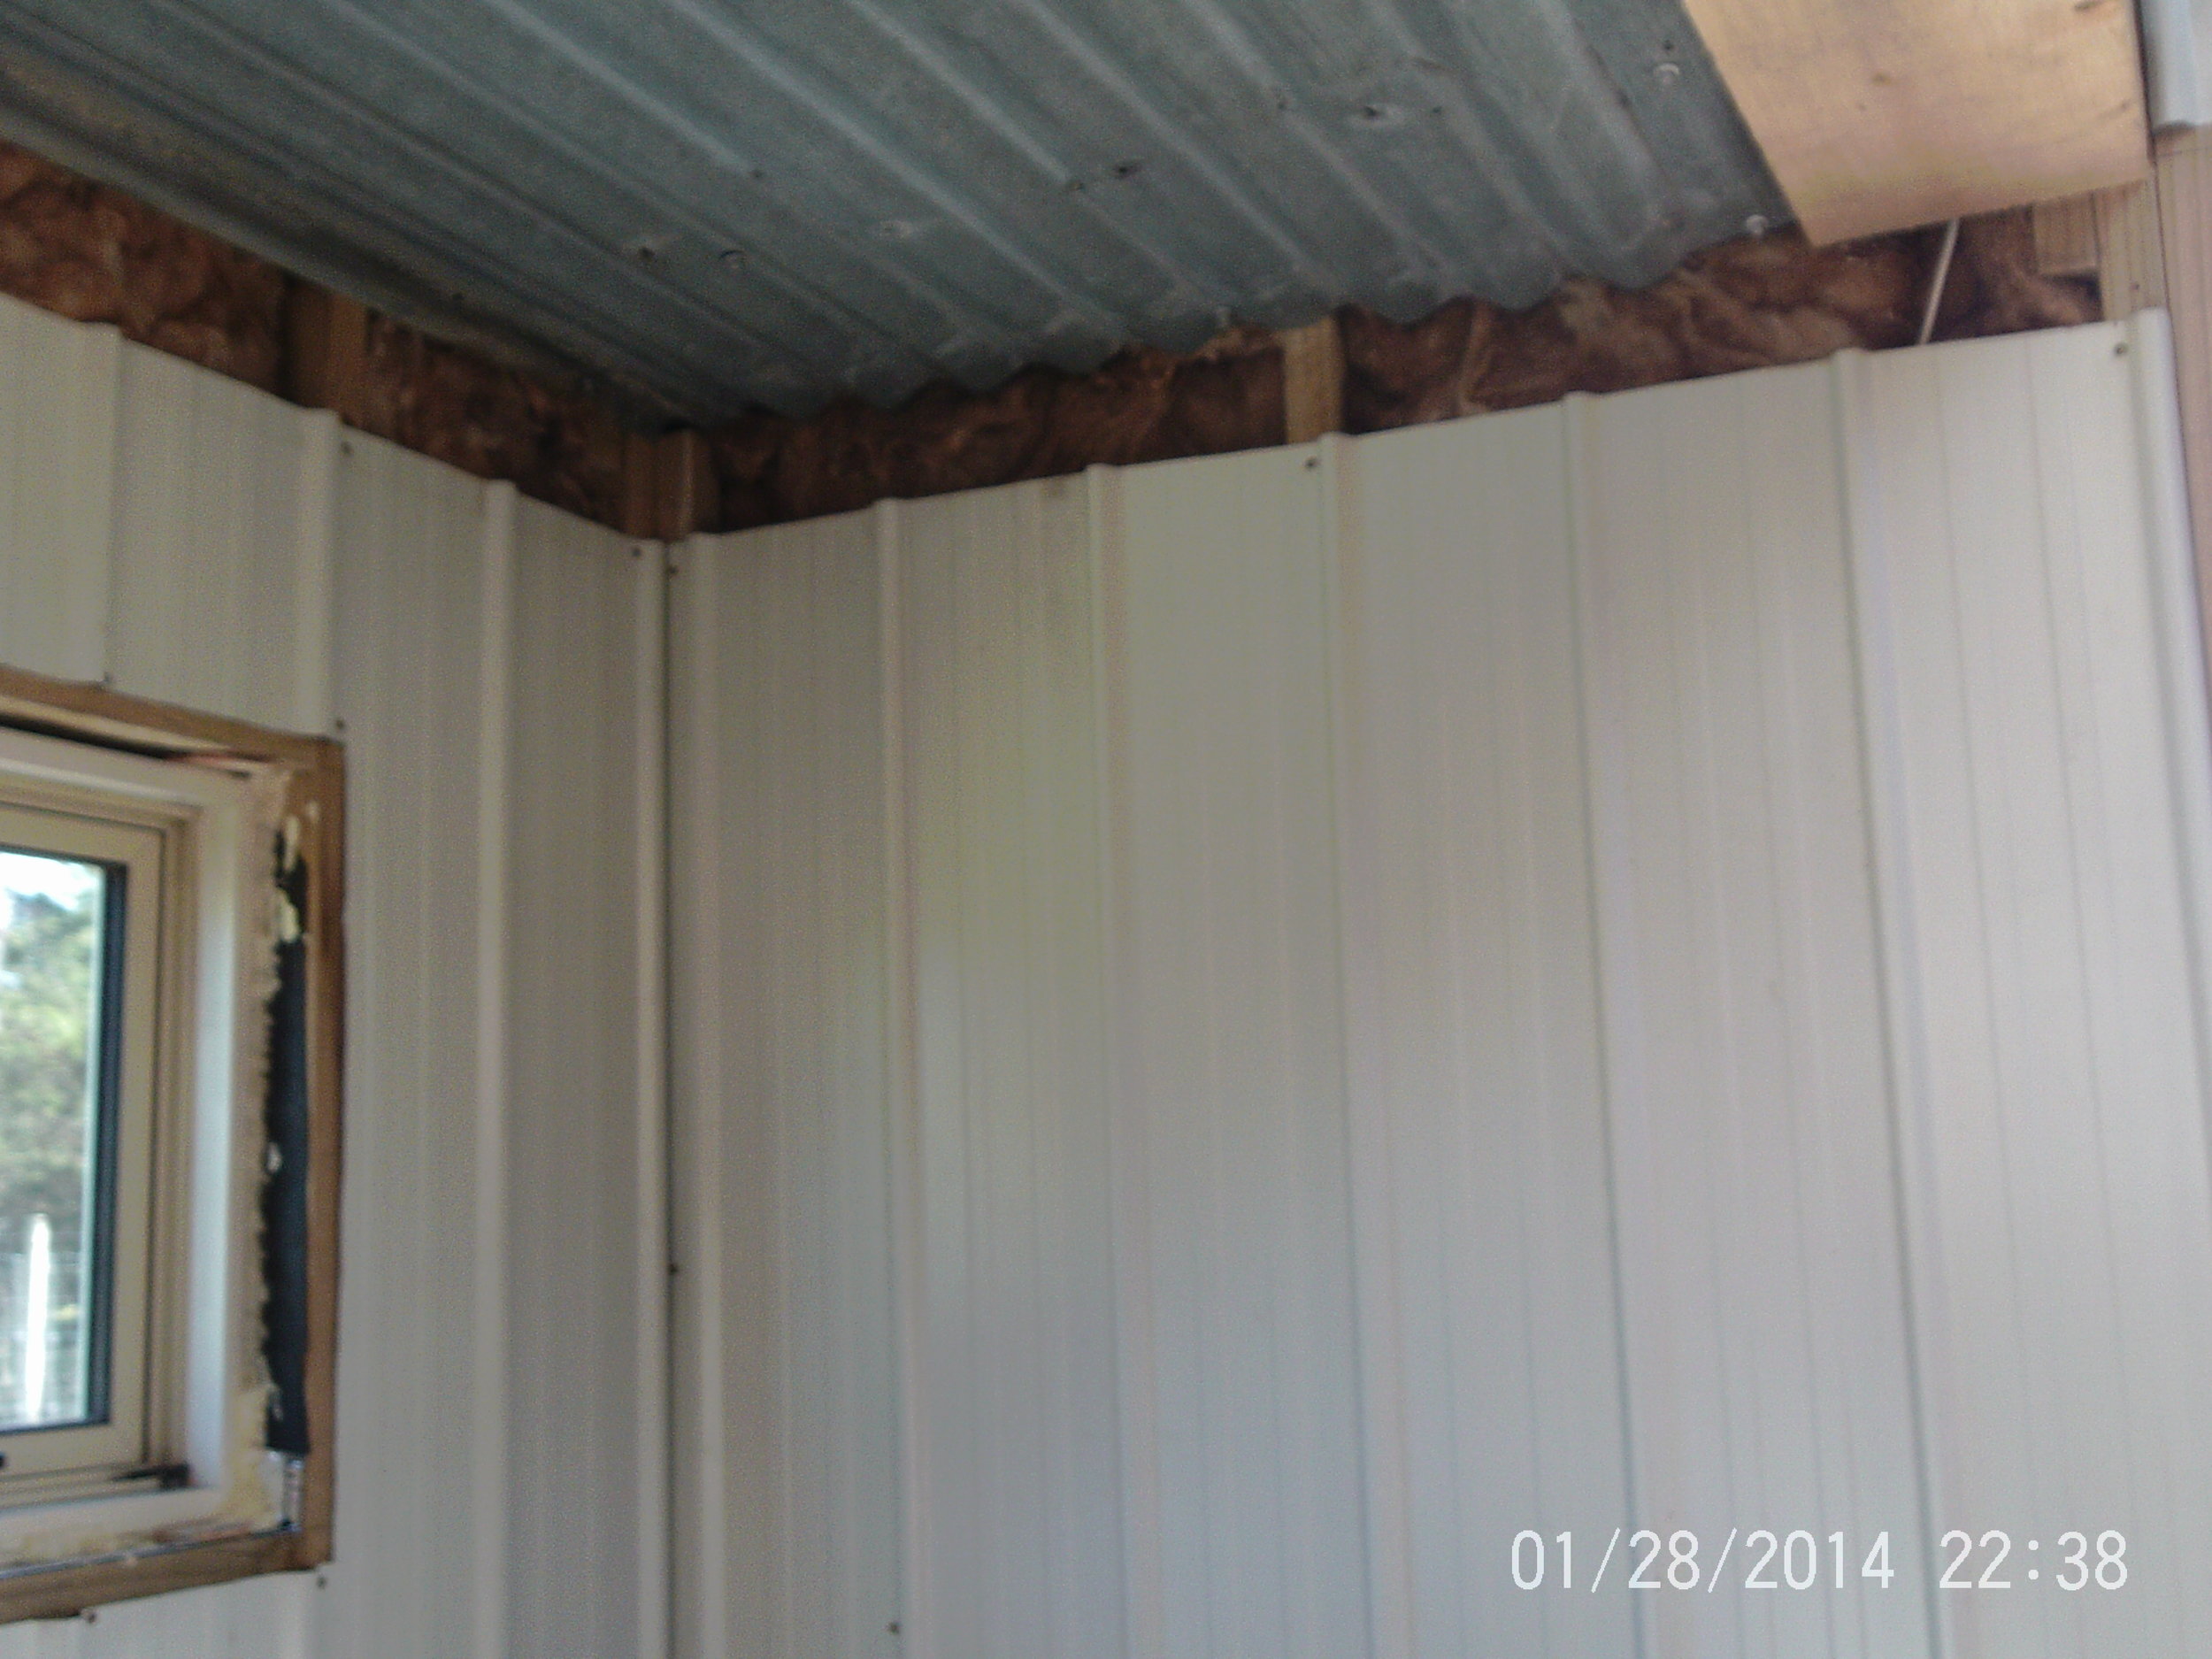
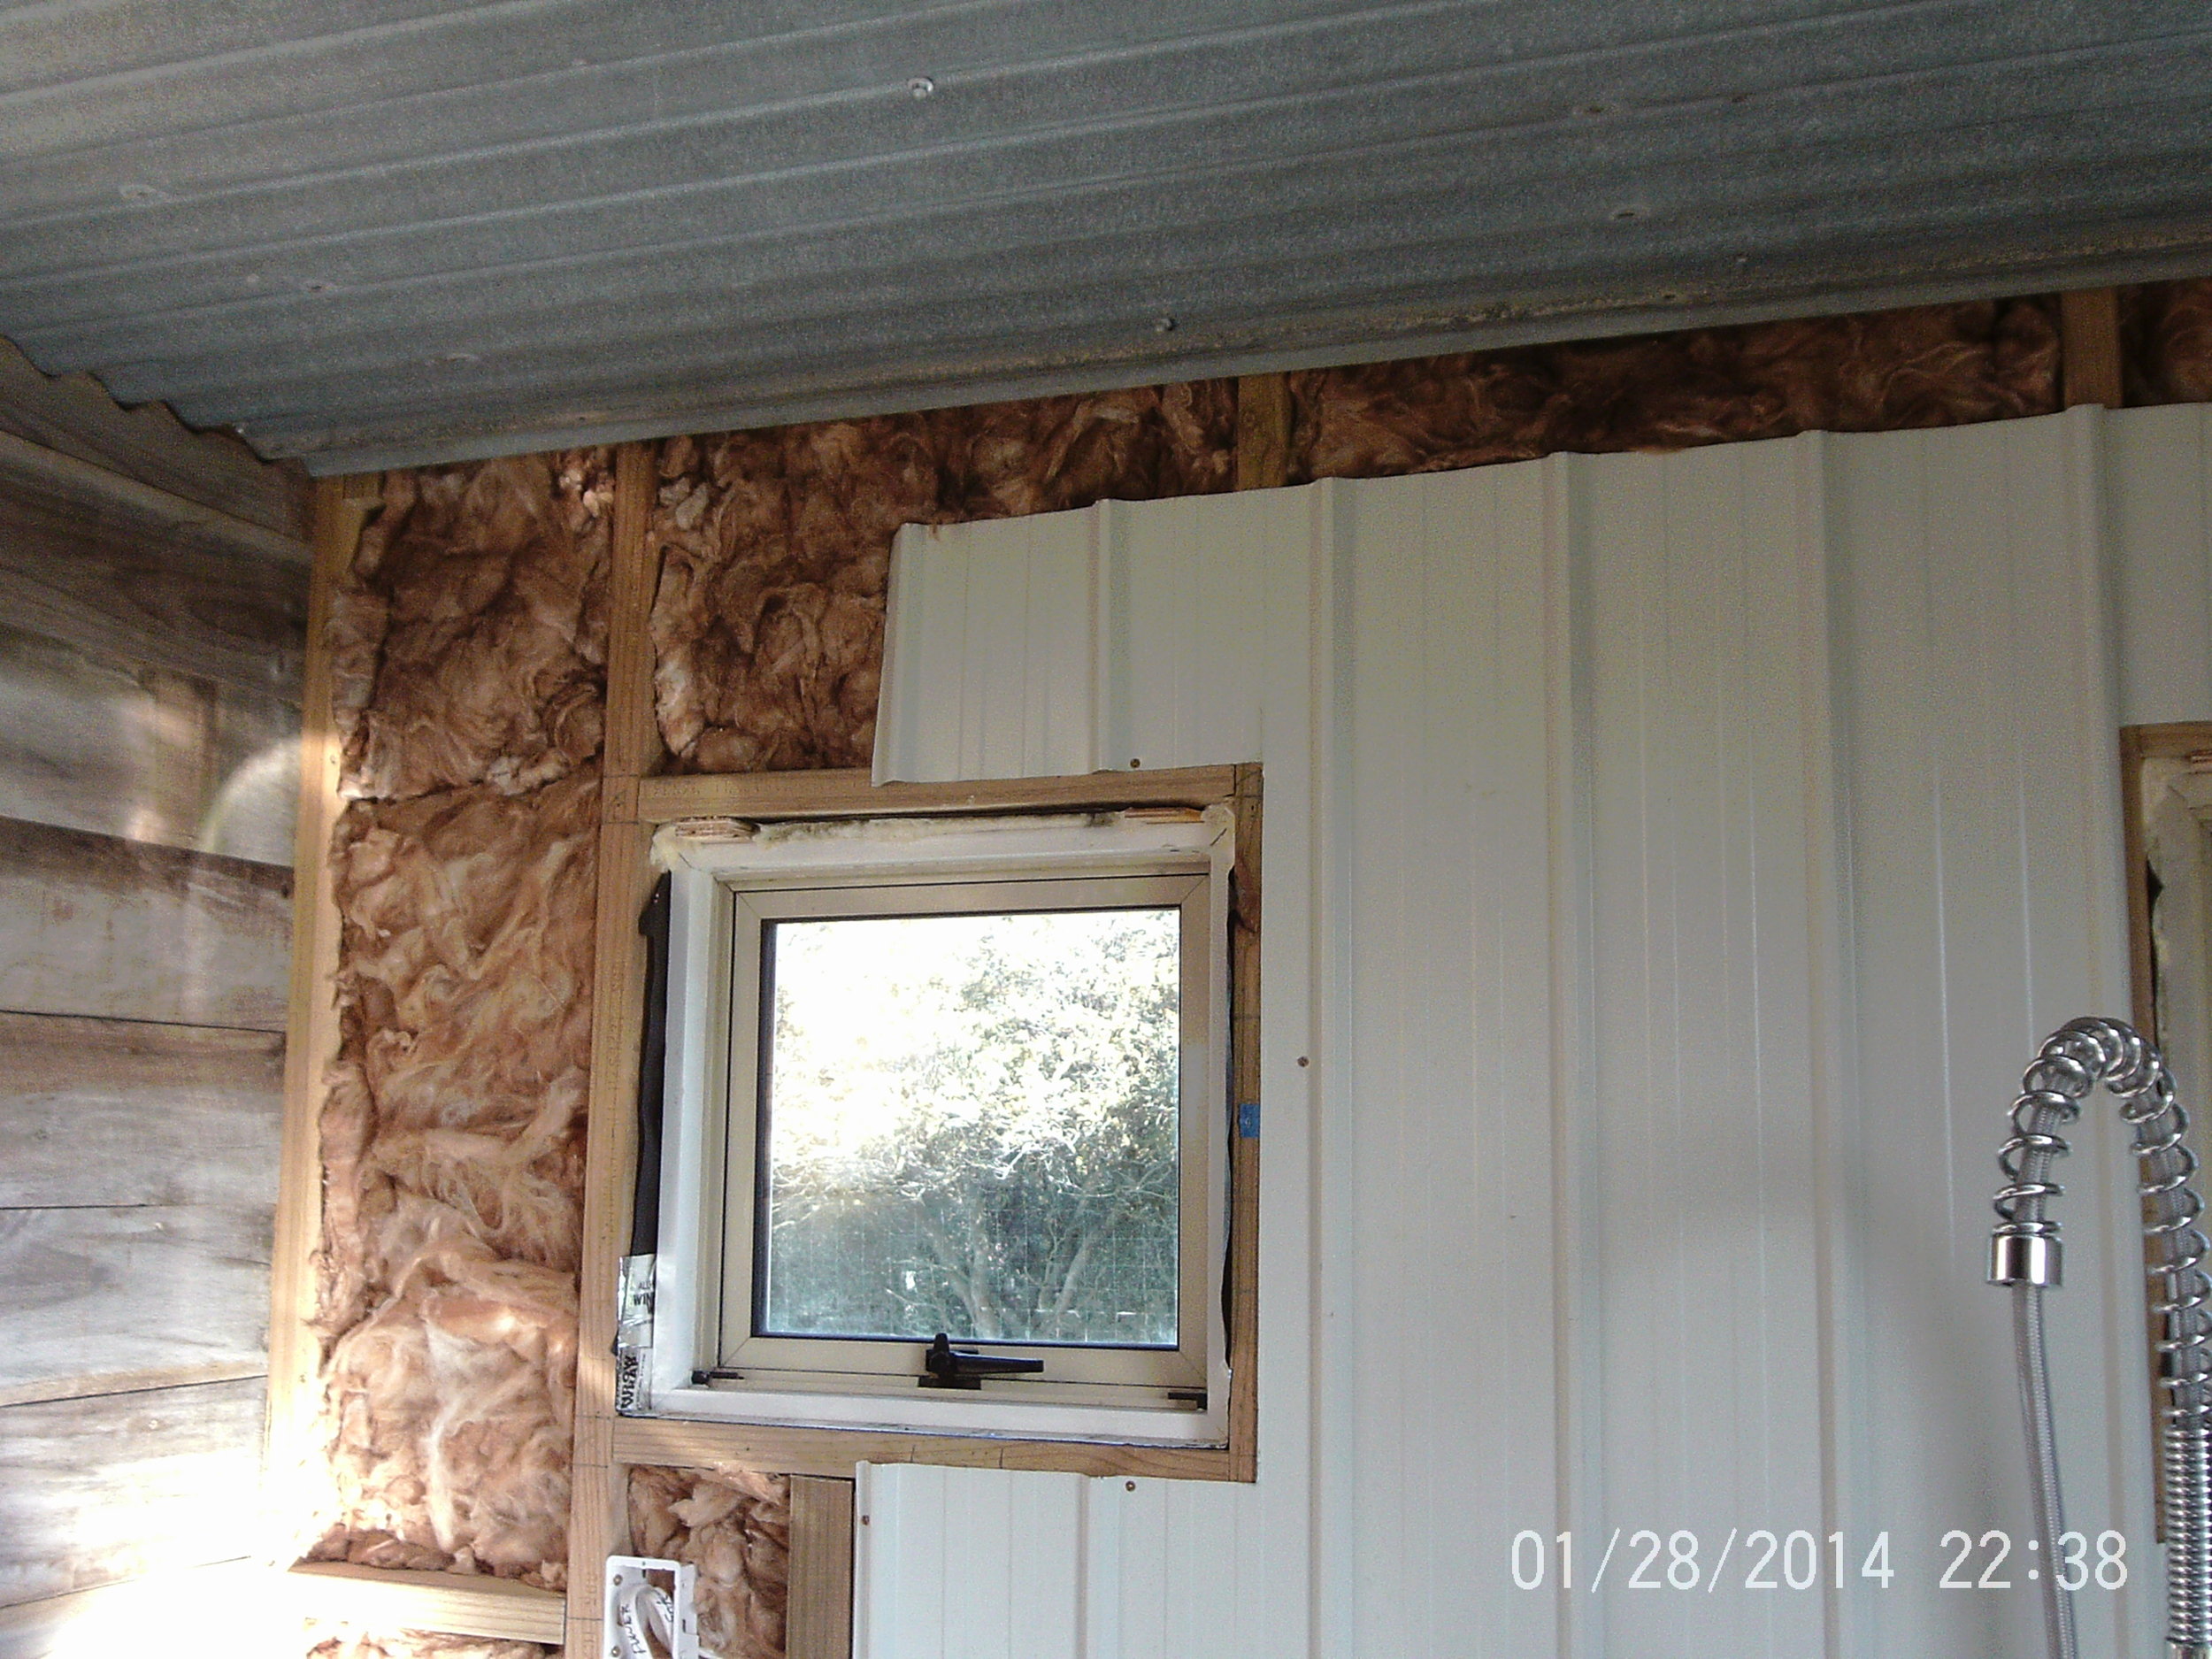
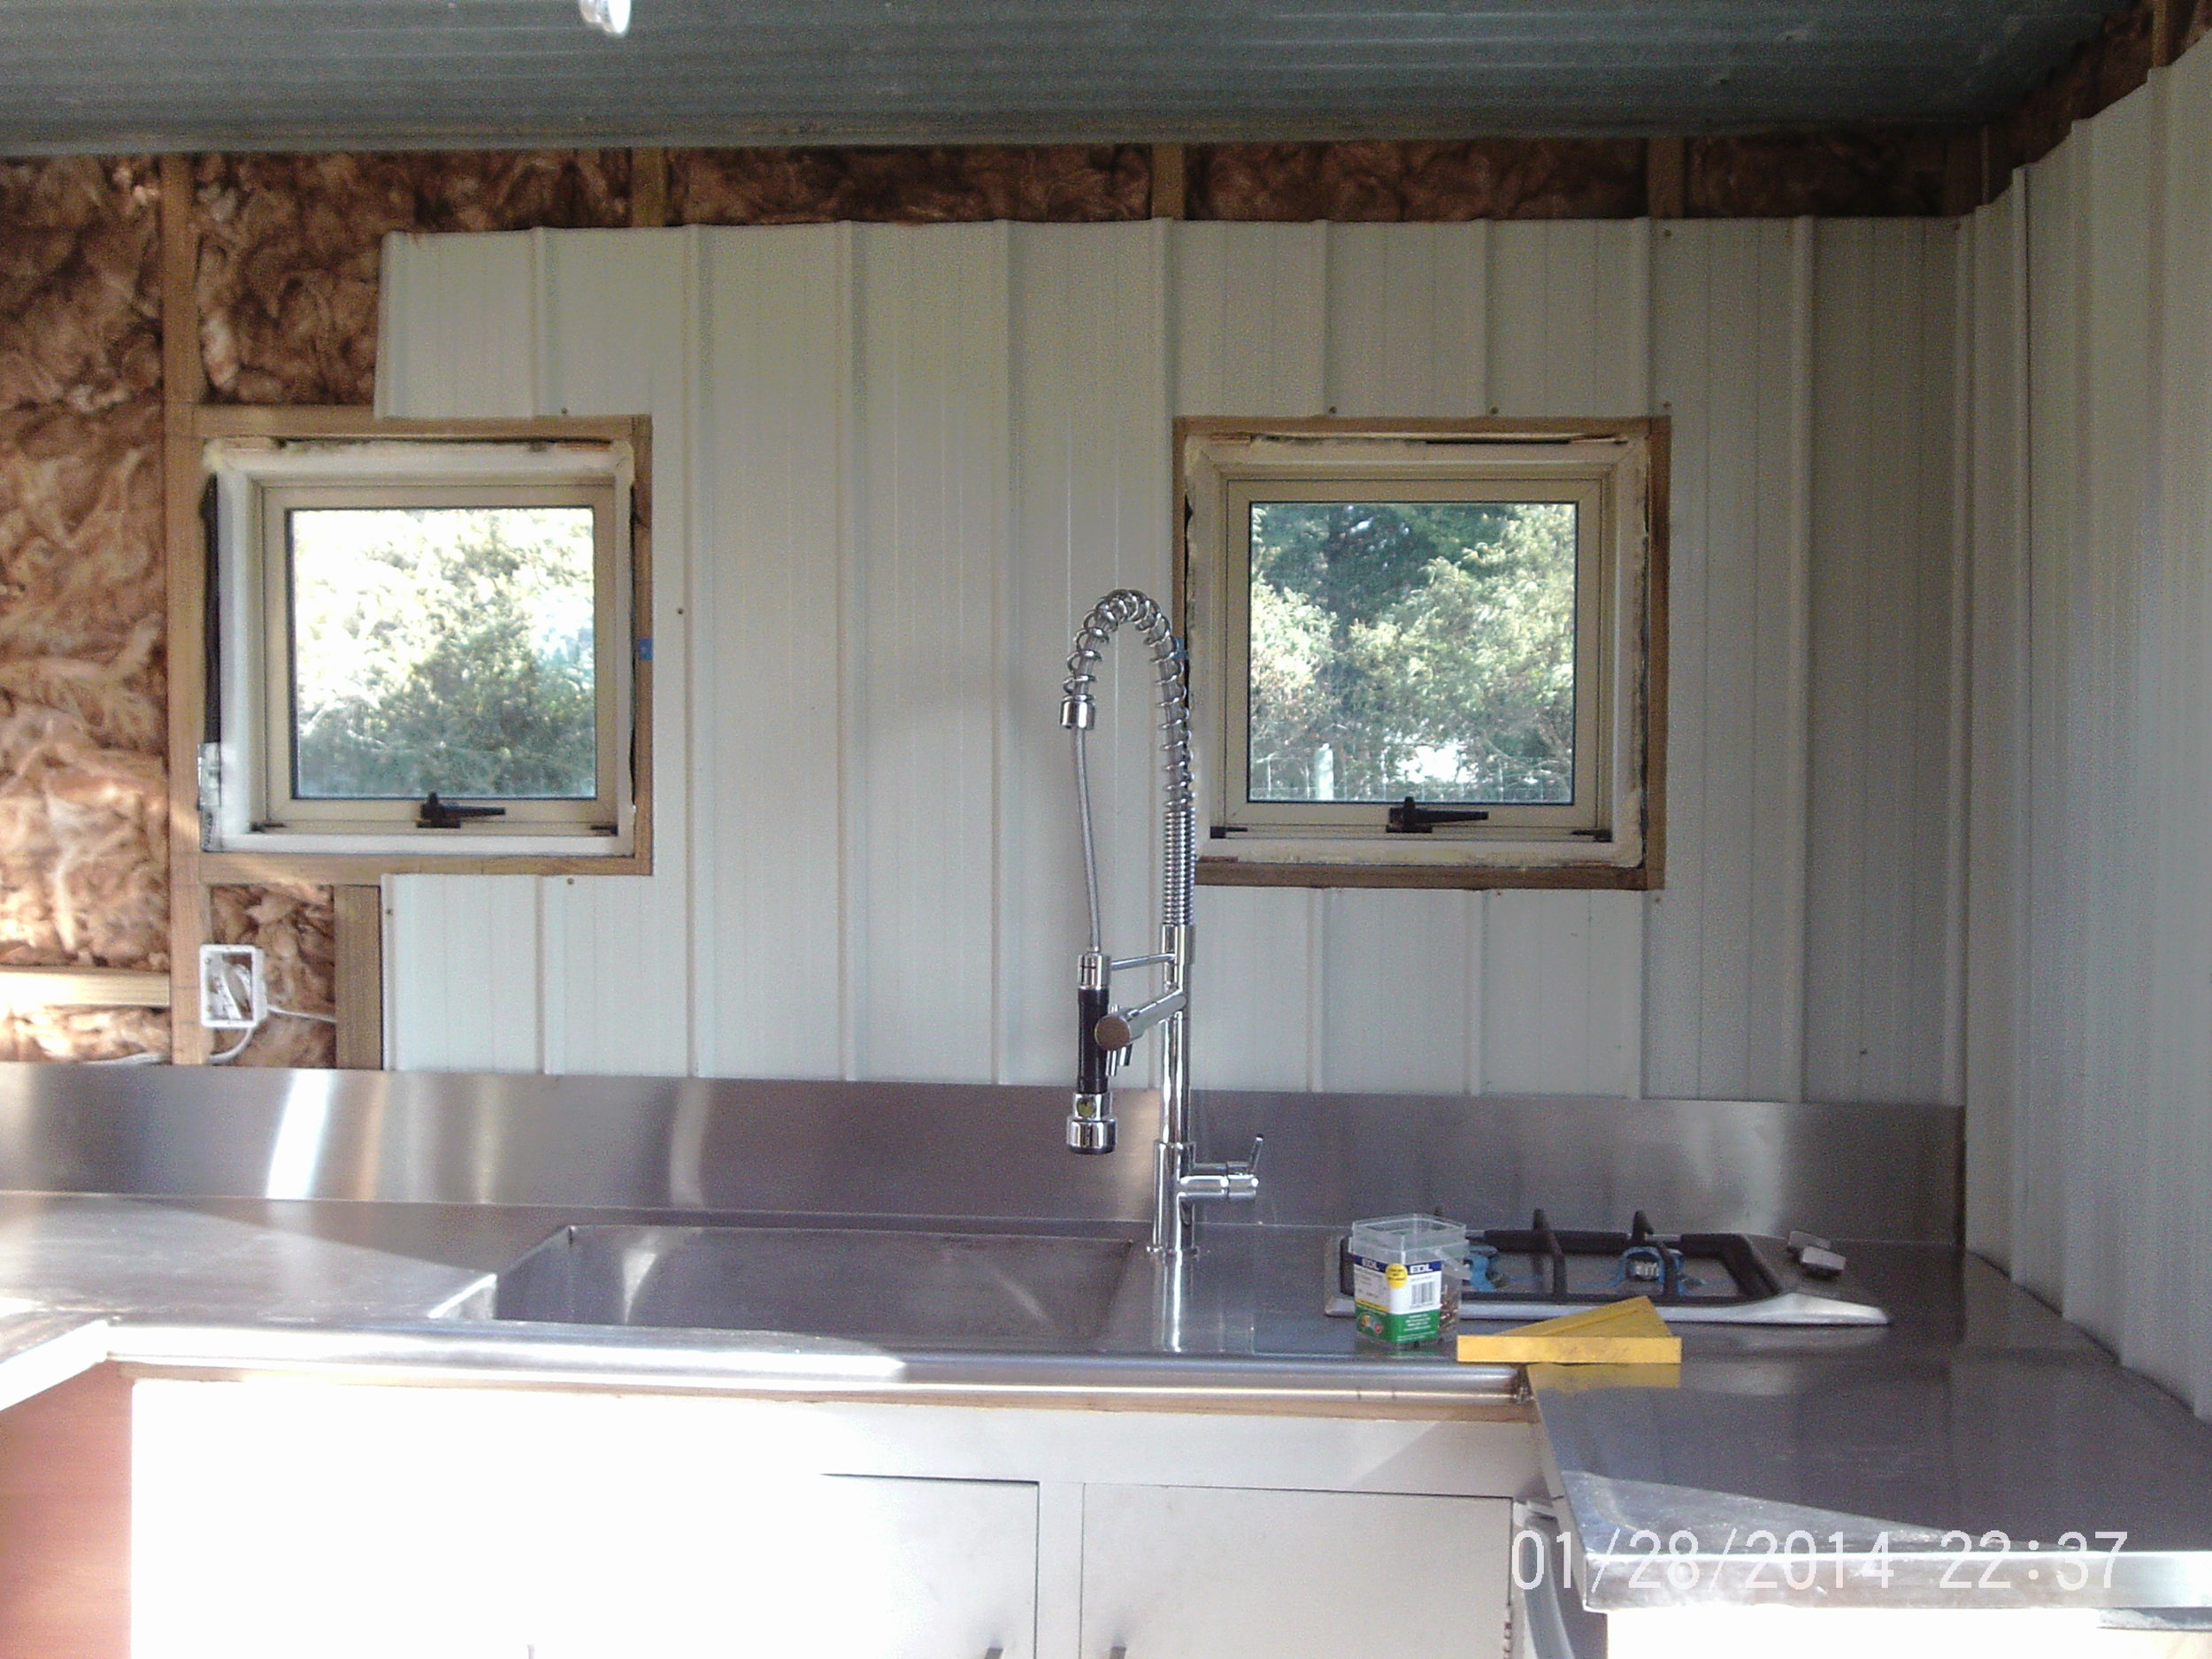
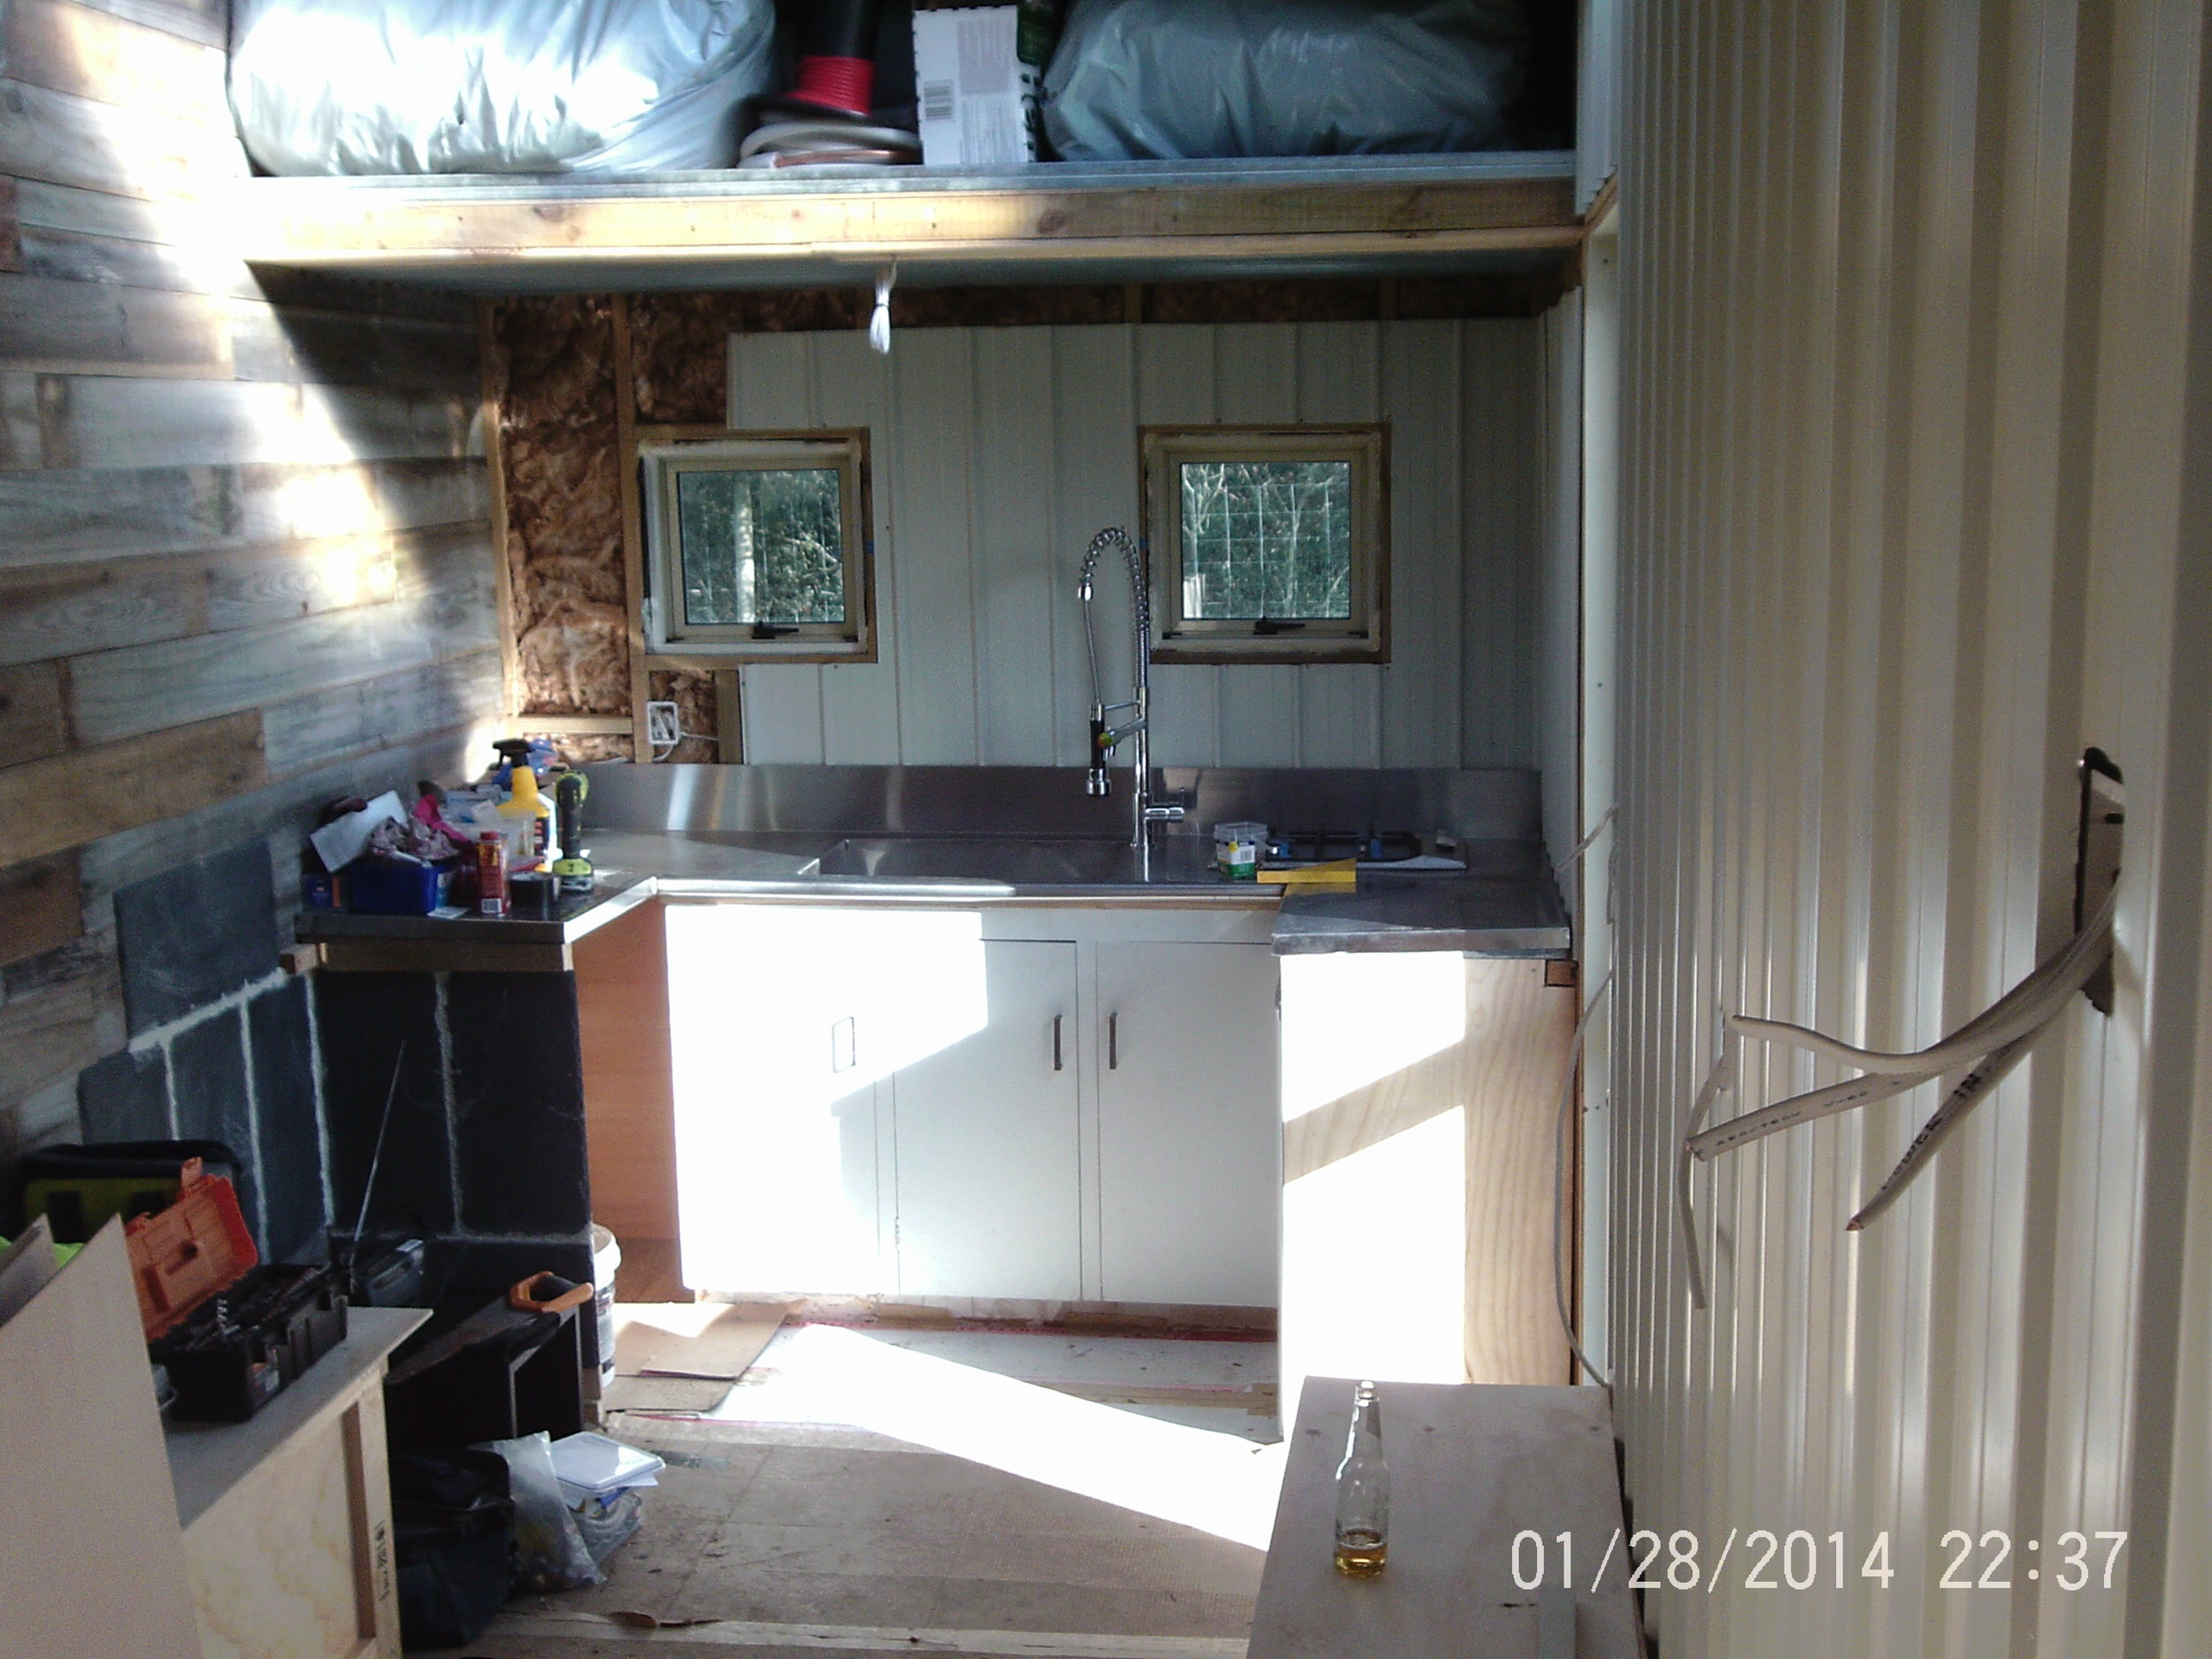
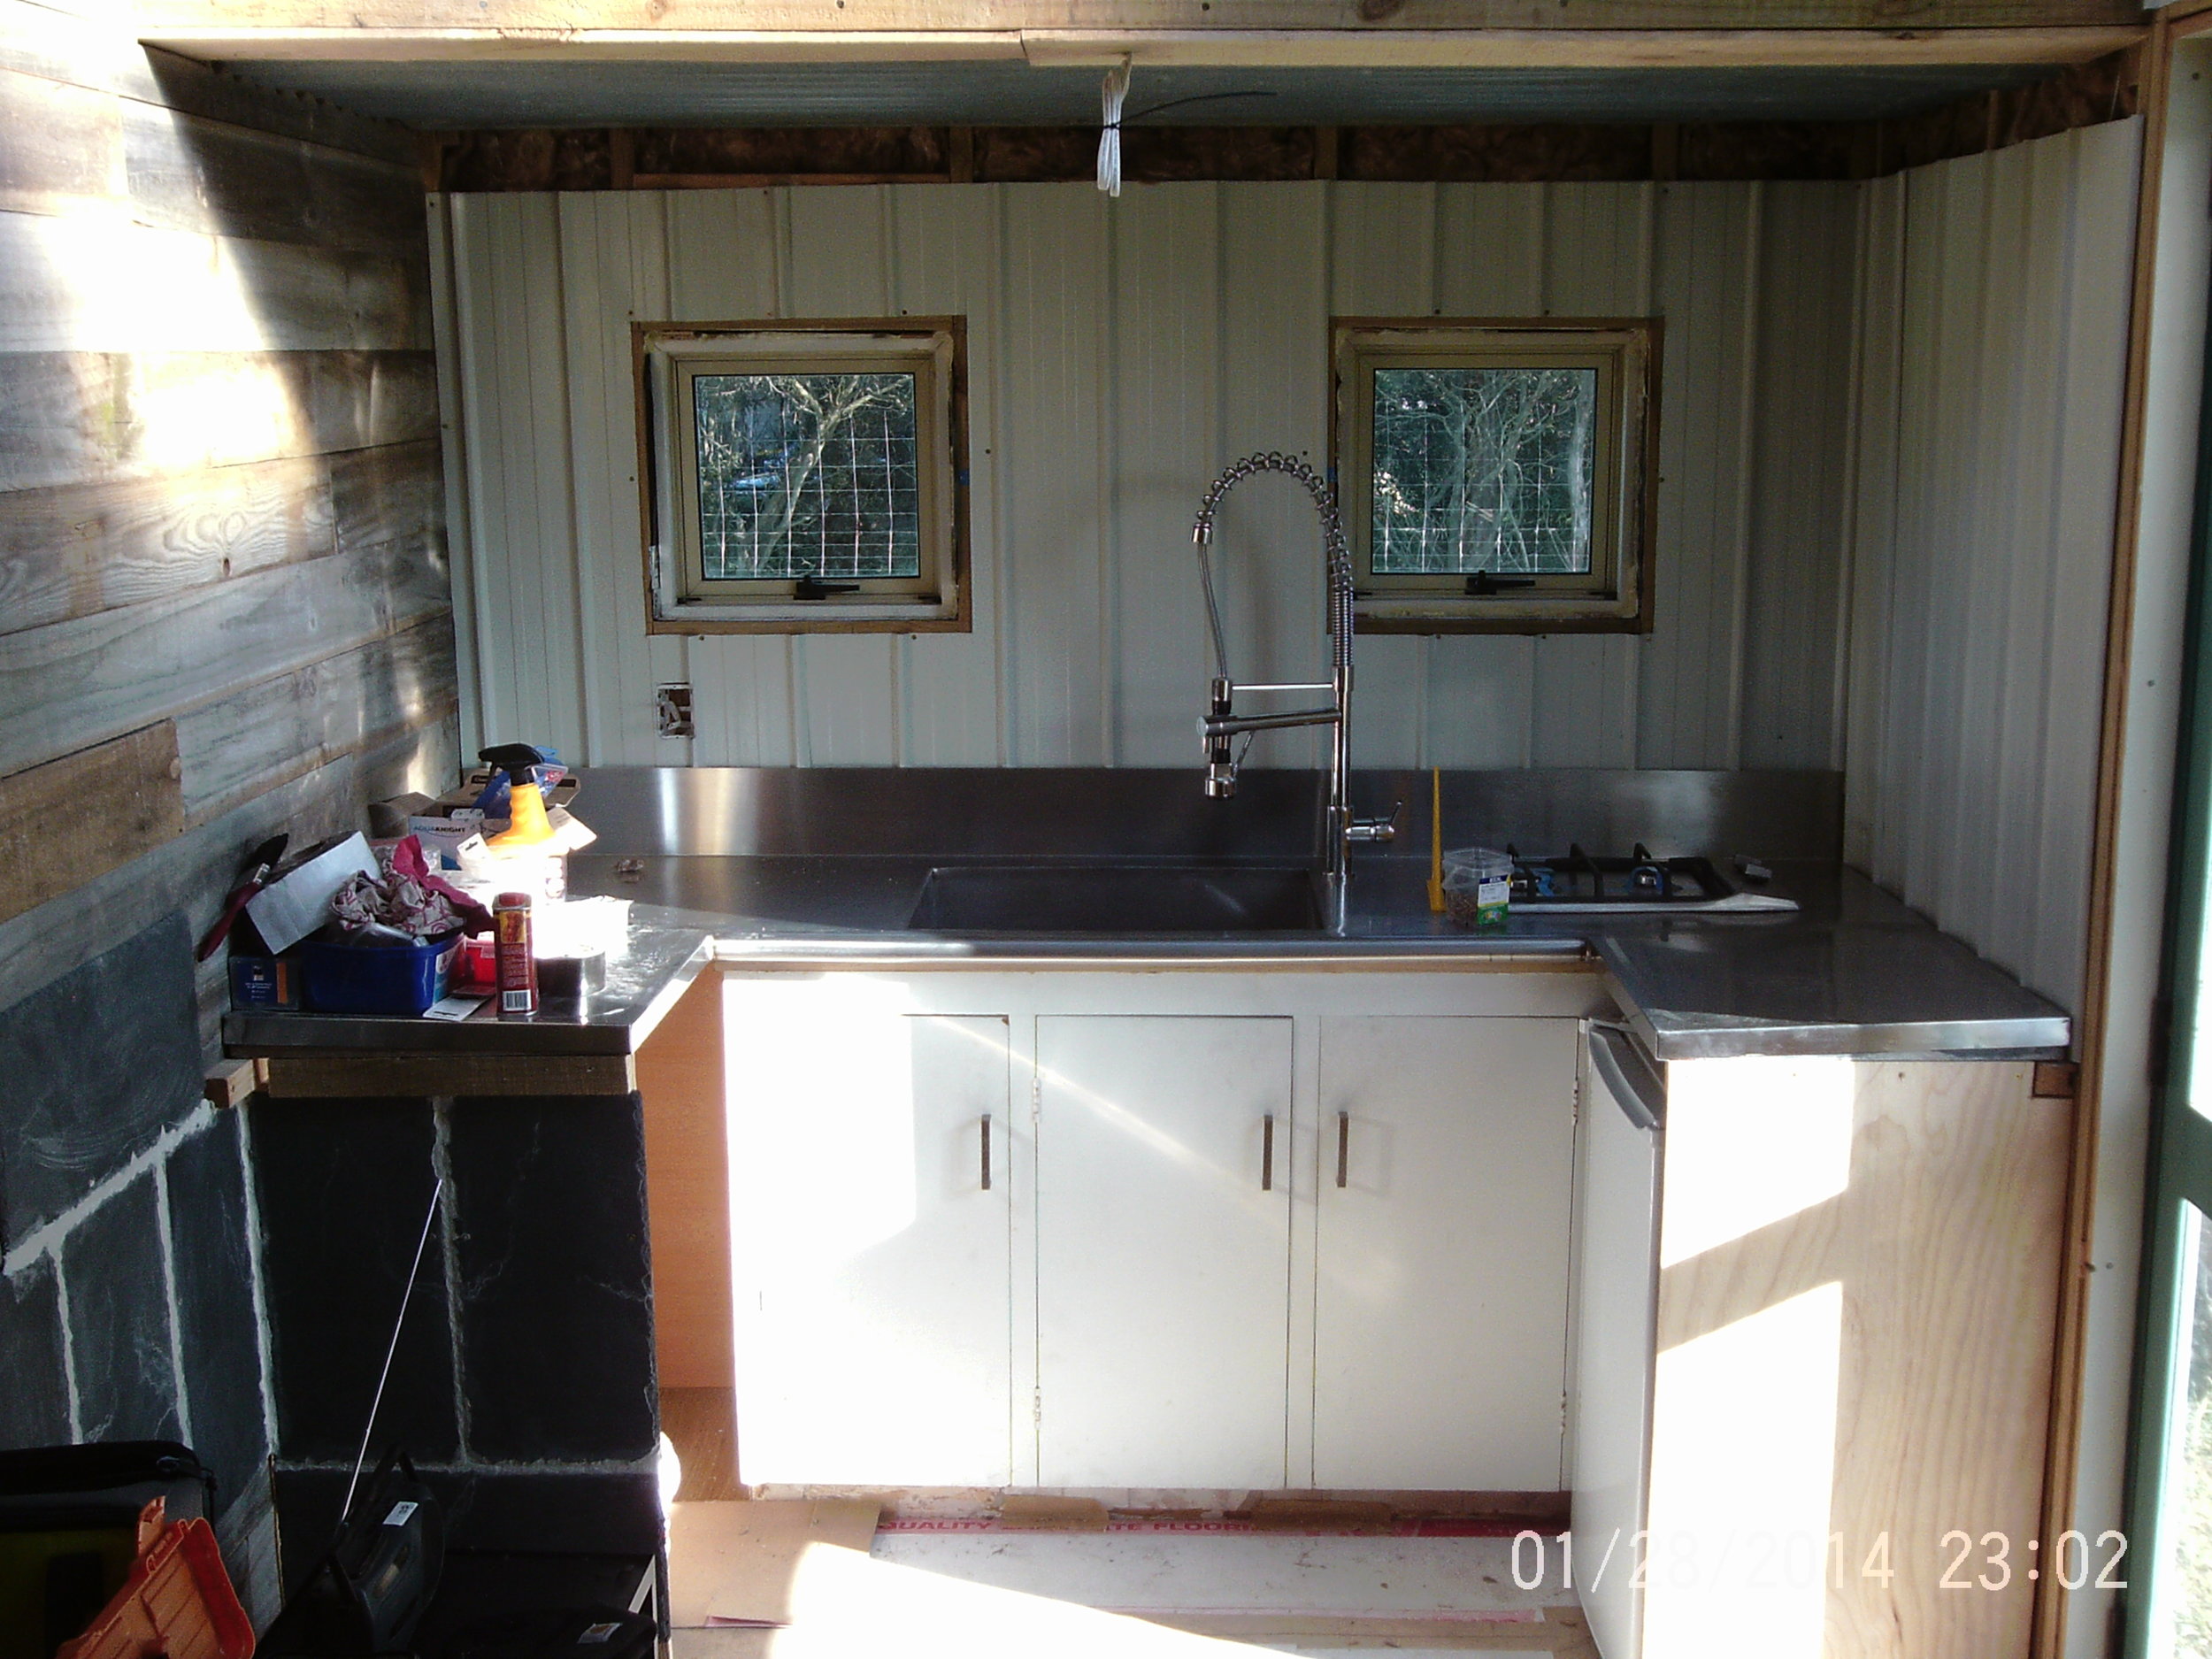
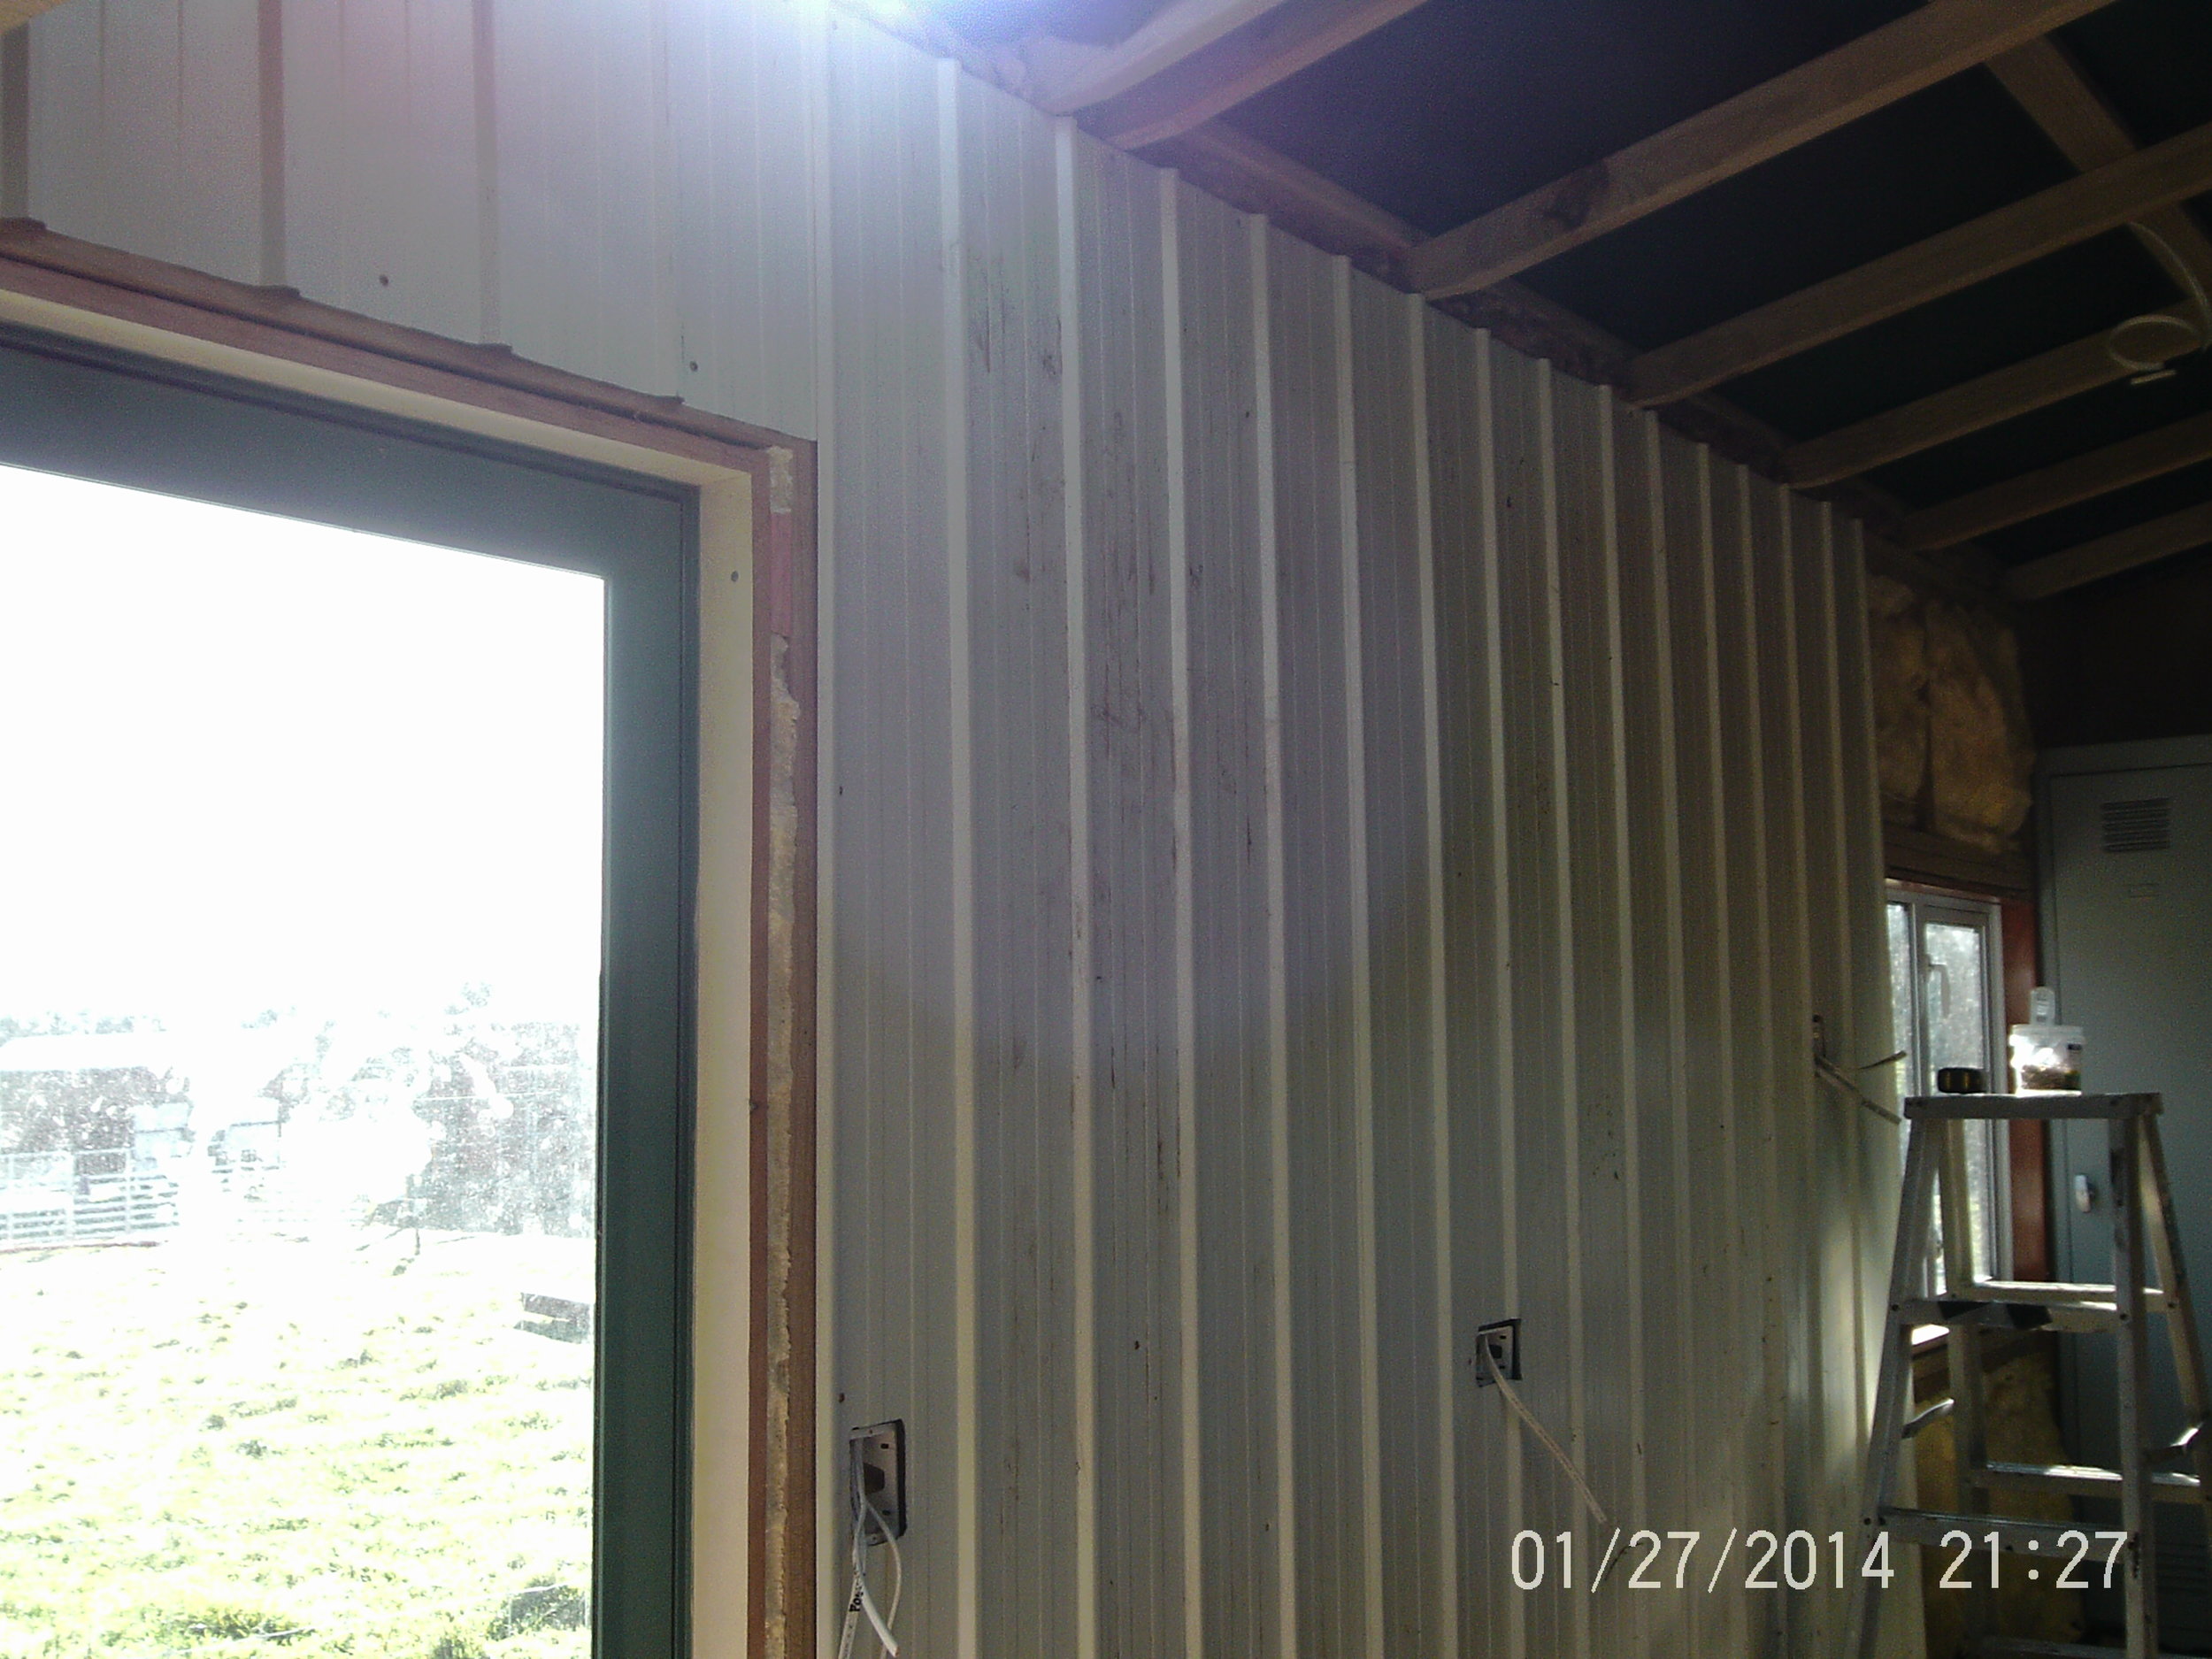
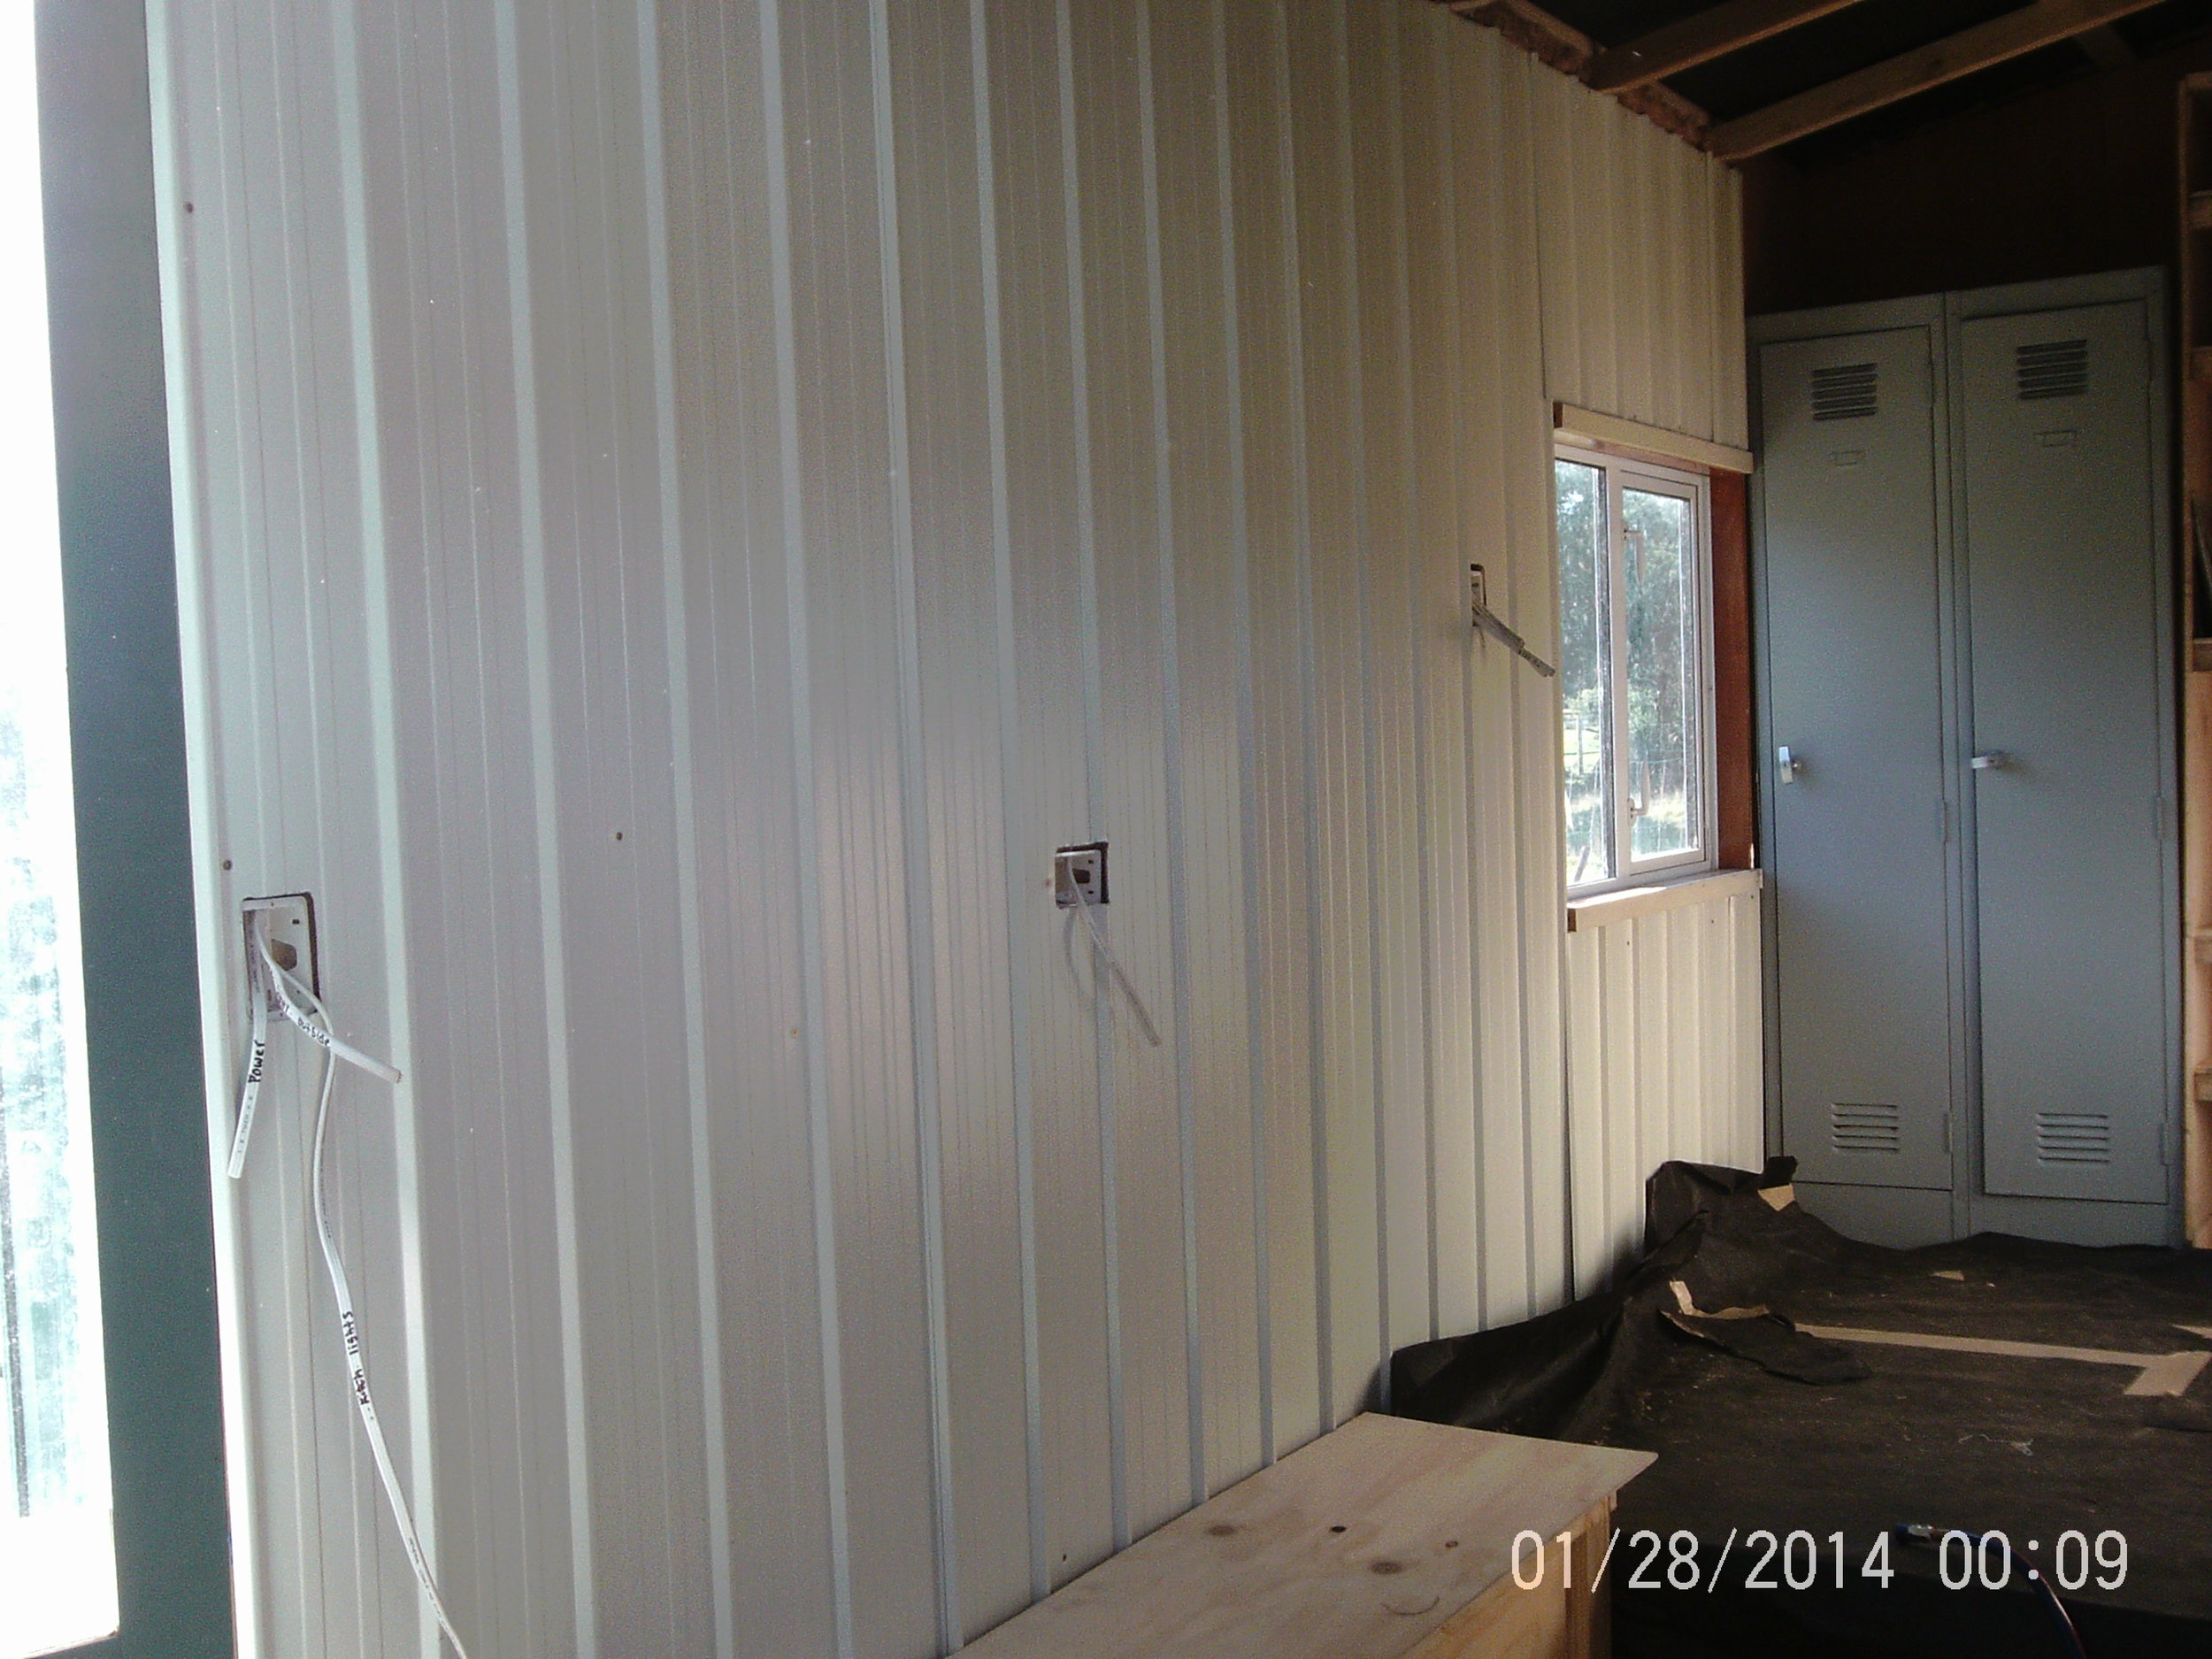
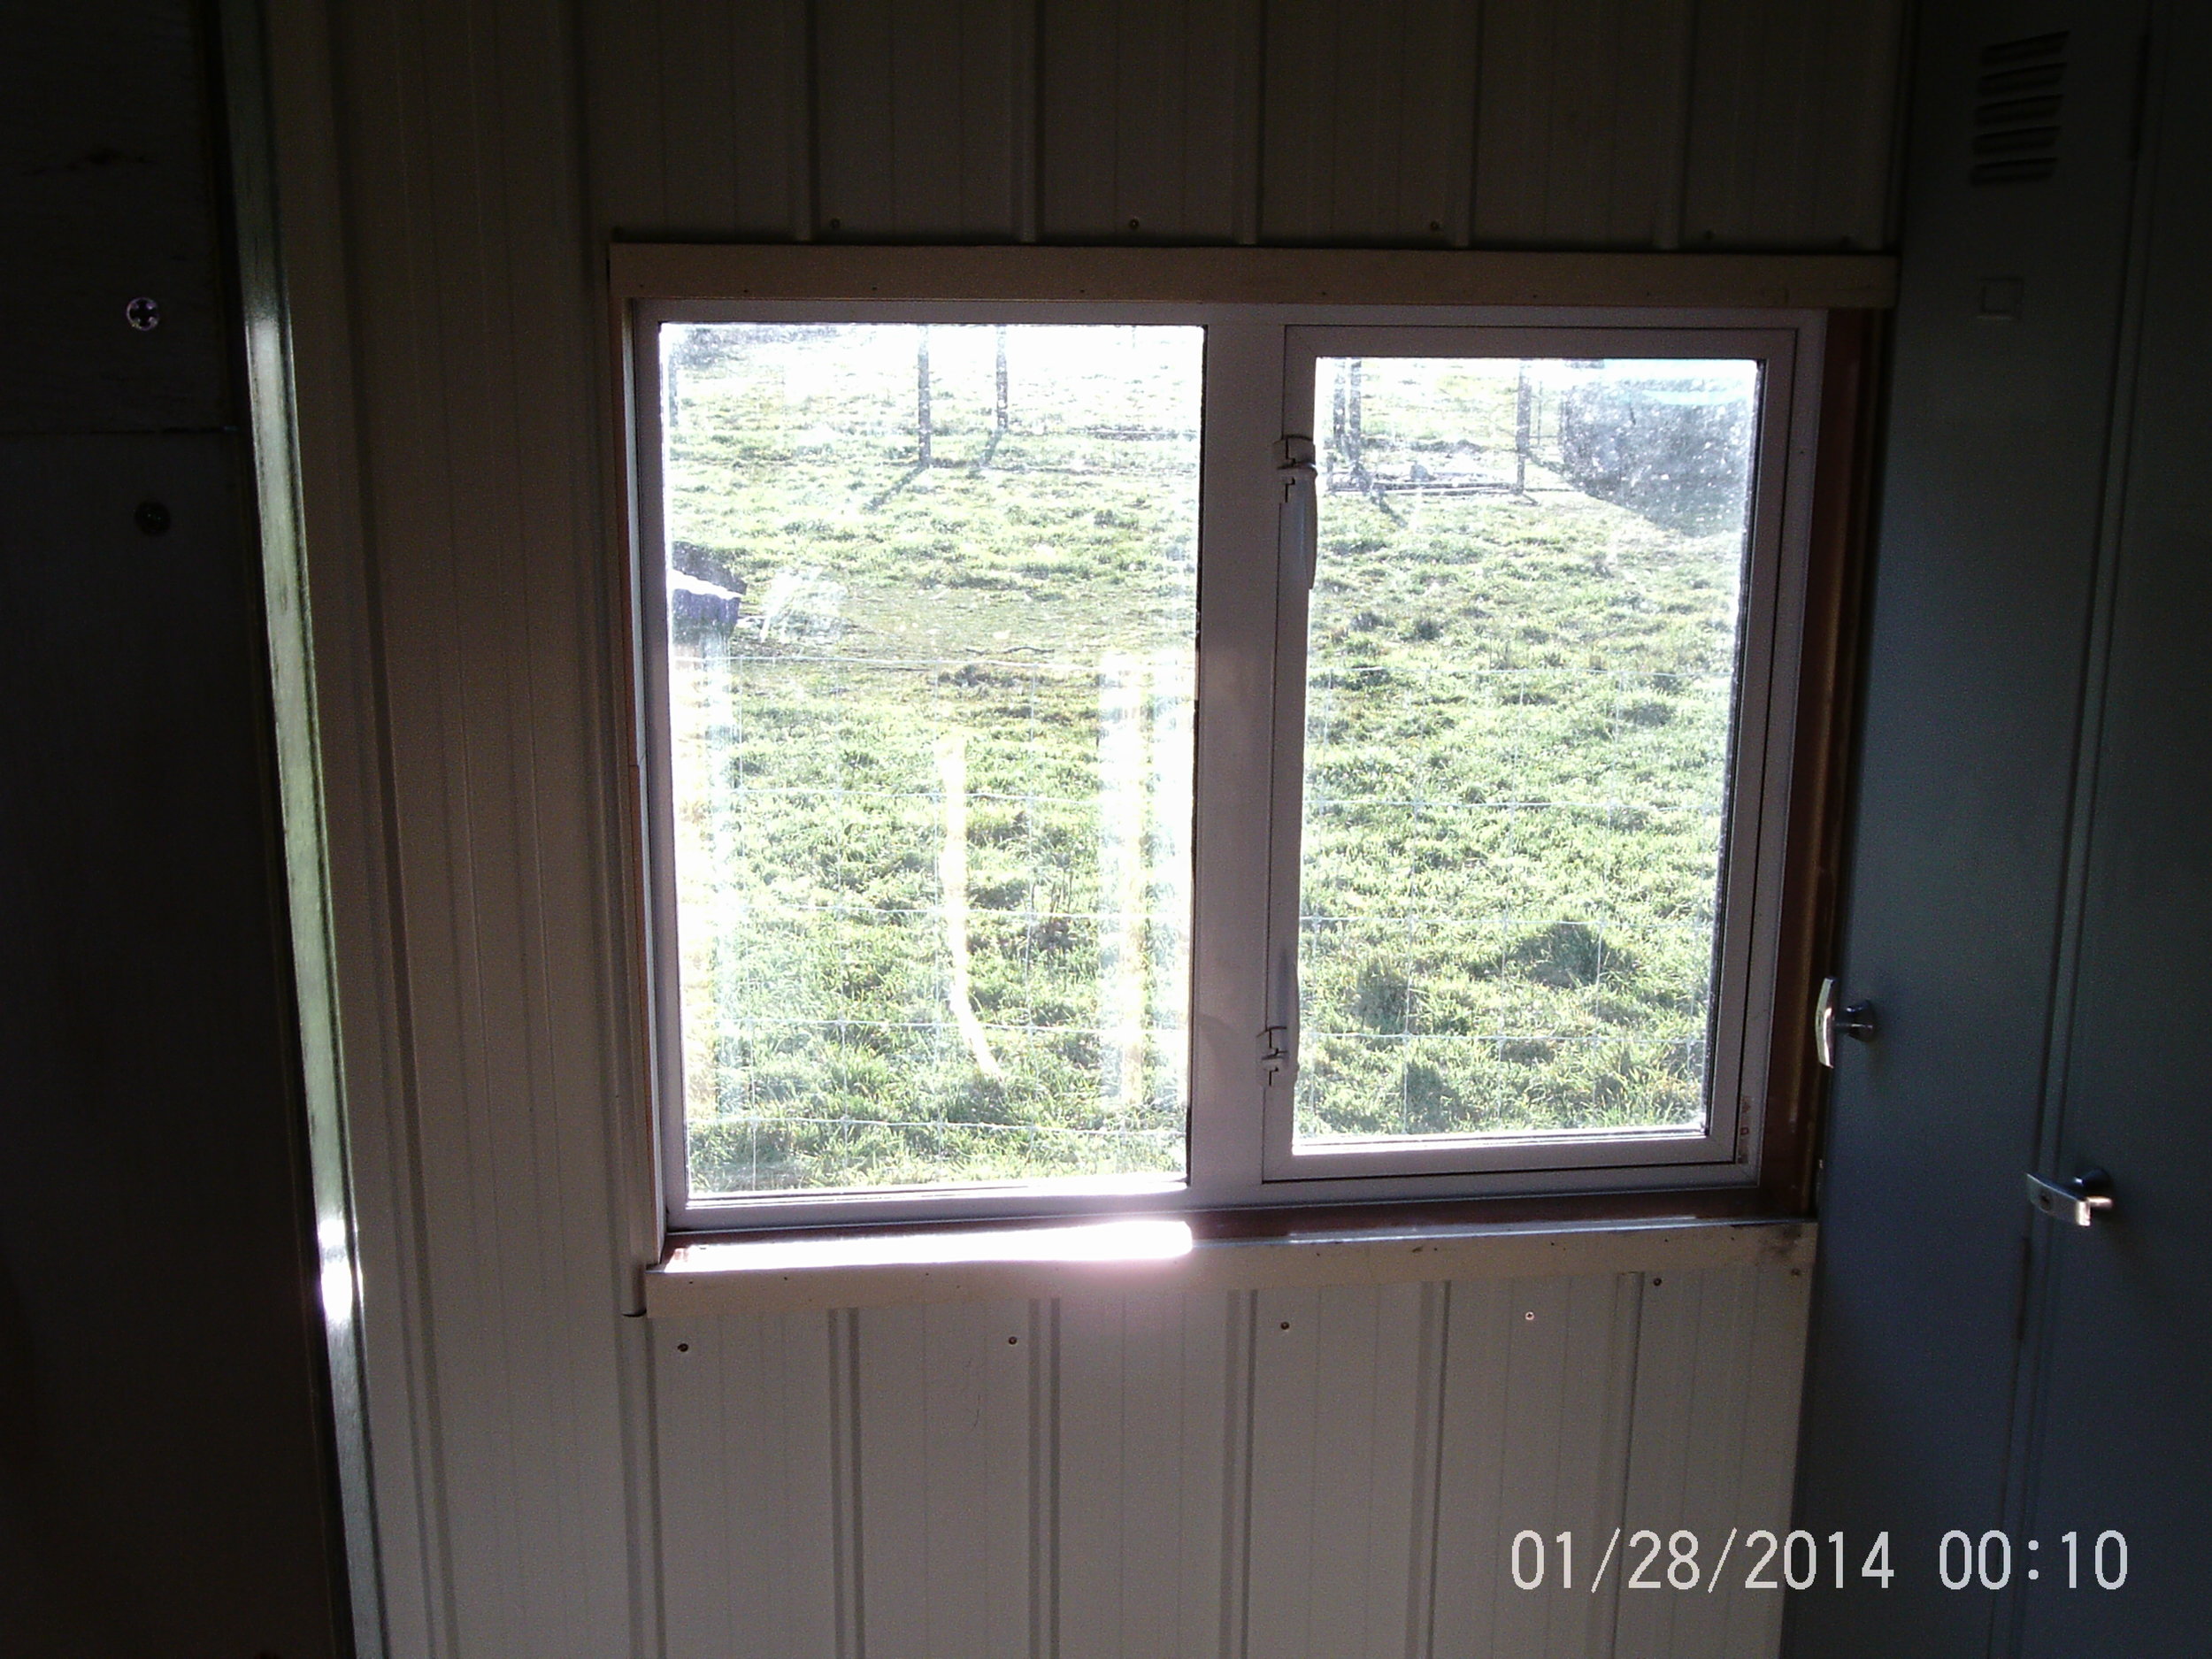
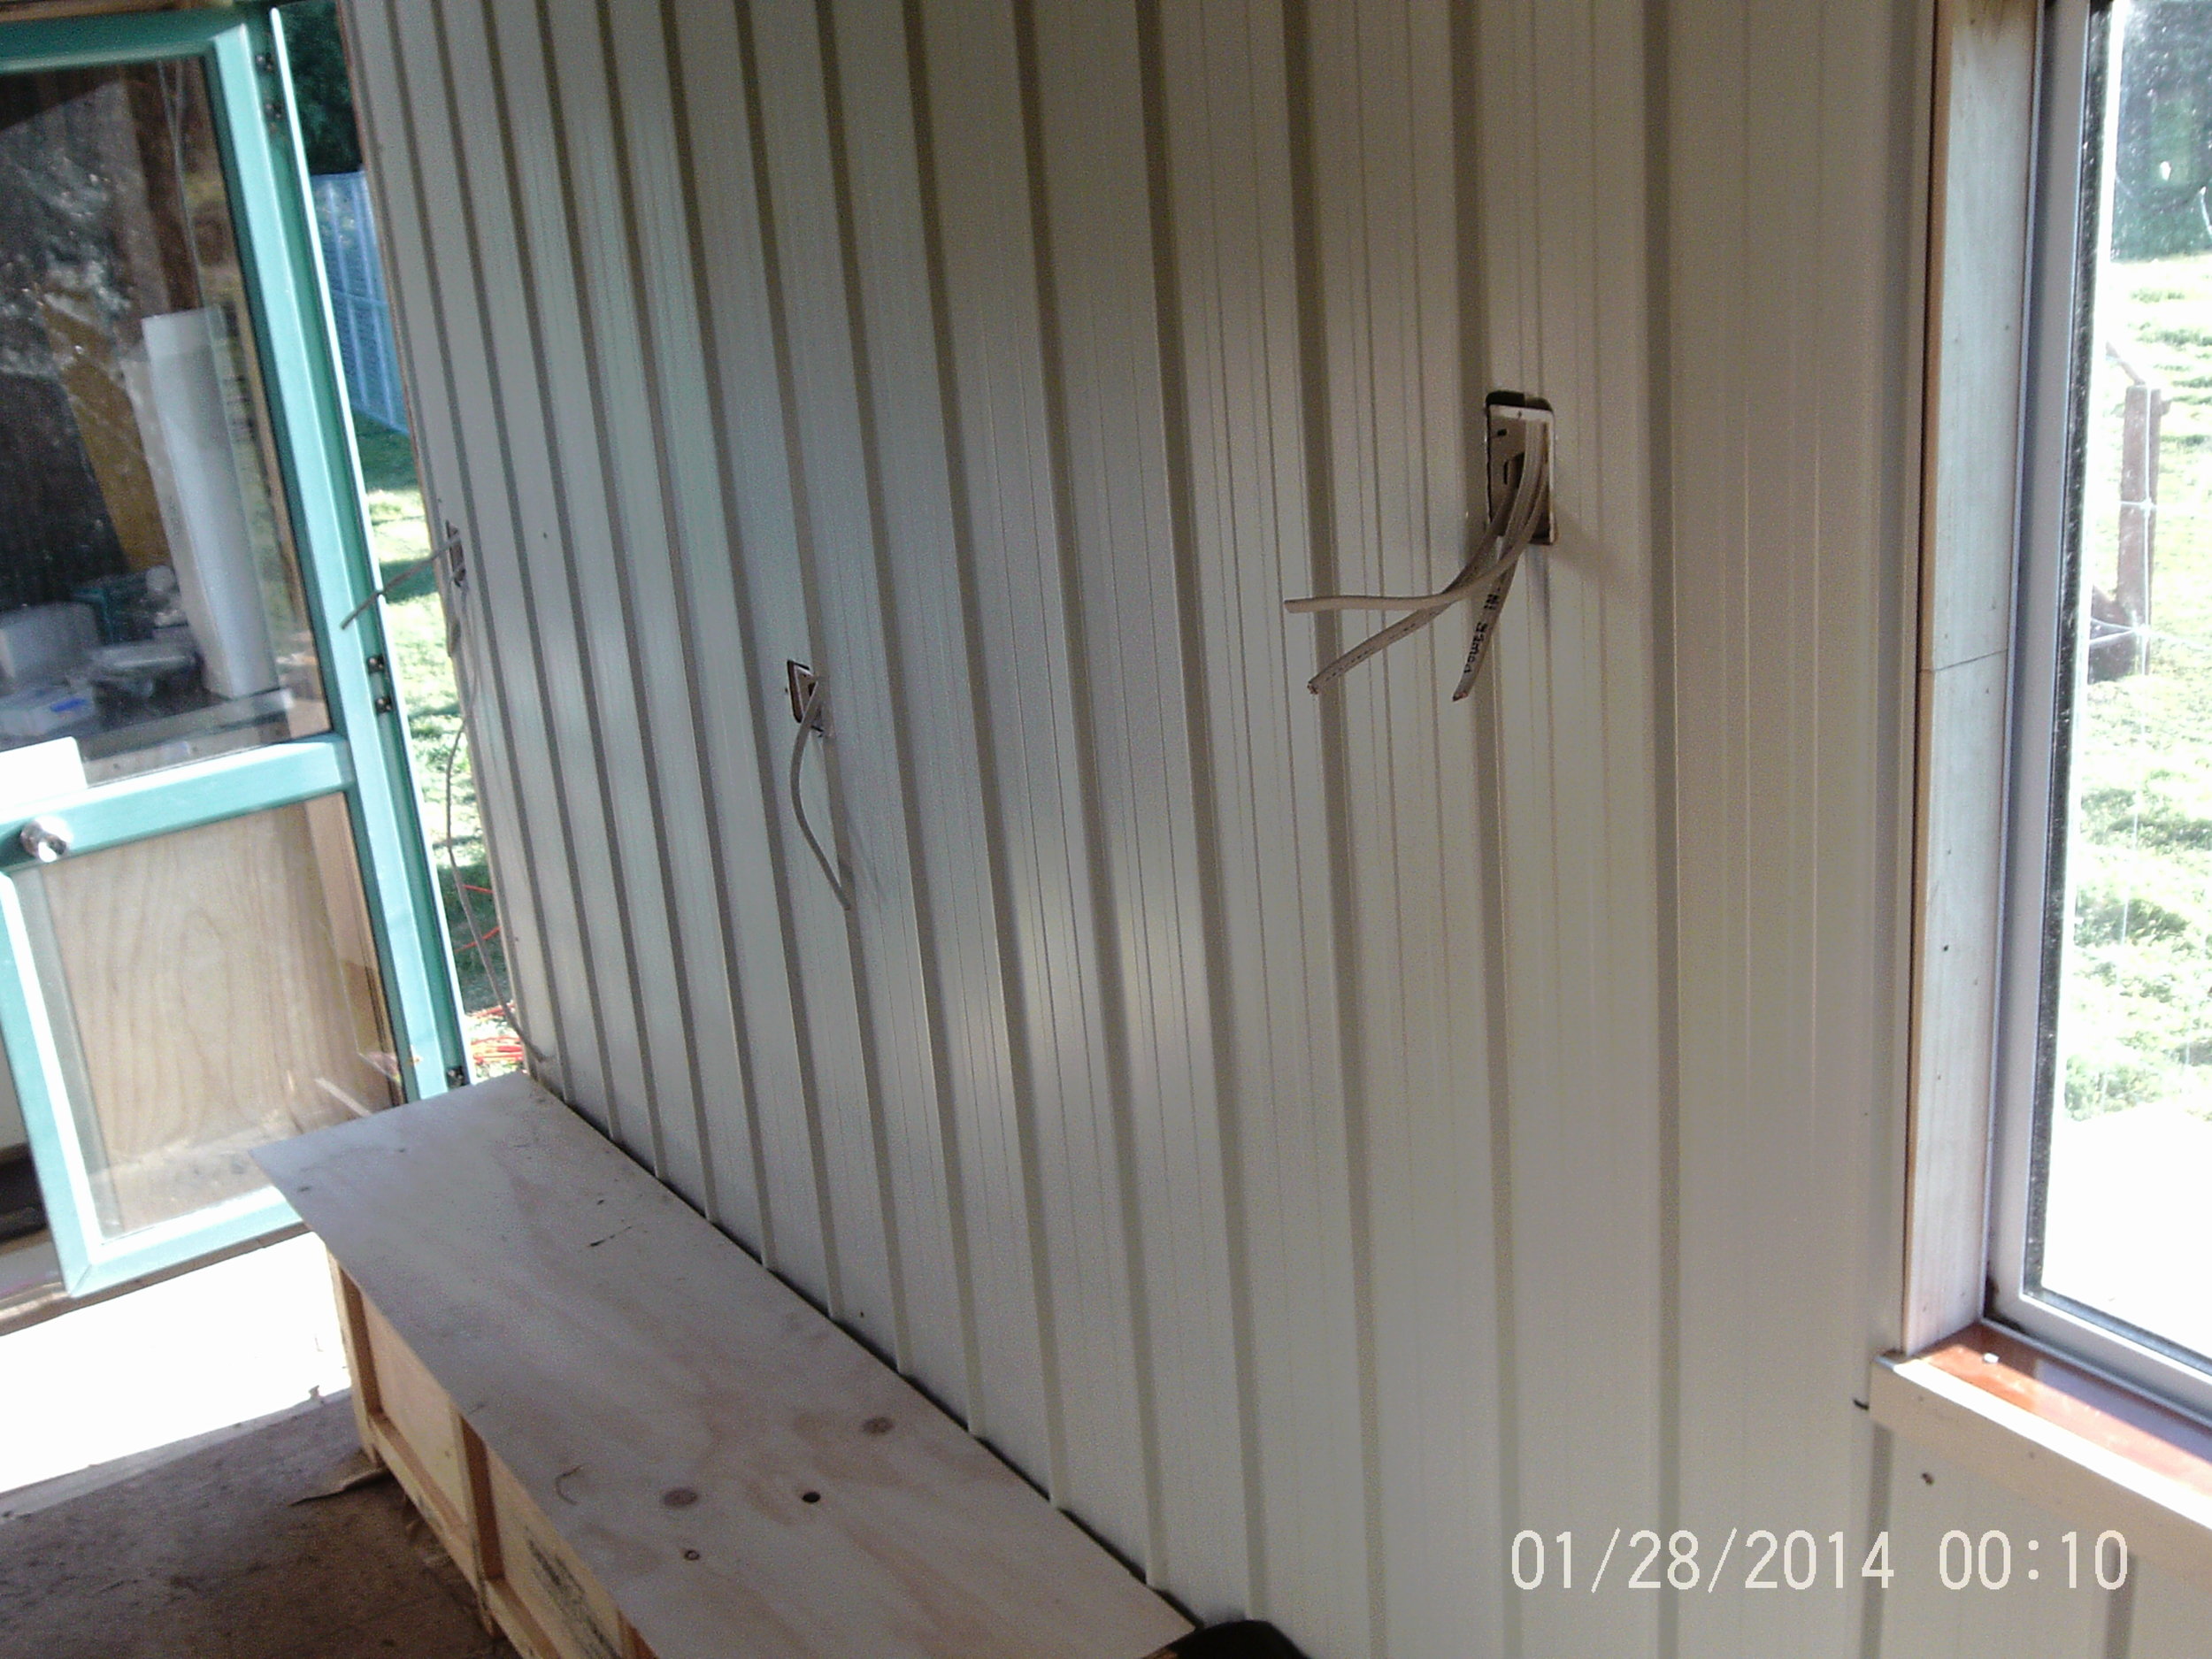
Hello blog followers, This weekend we worked on covering up some of the interior walls. We had left over metal wall cladding from the exterior and decided to use some on a few of the walls including the kitchen. its light weight, durable, and water proof so its great for the kitchen area.
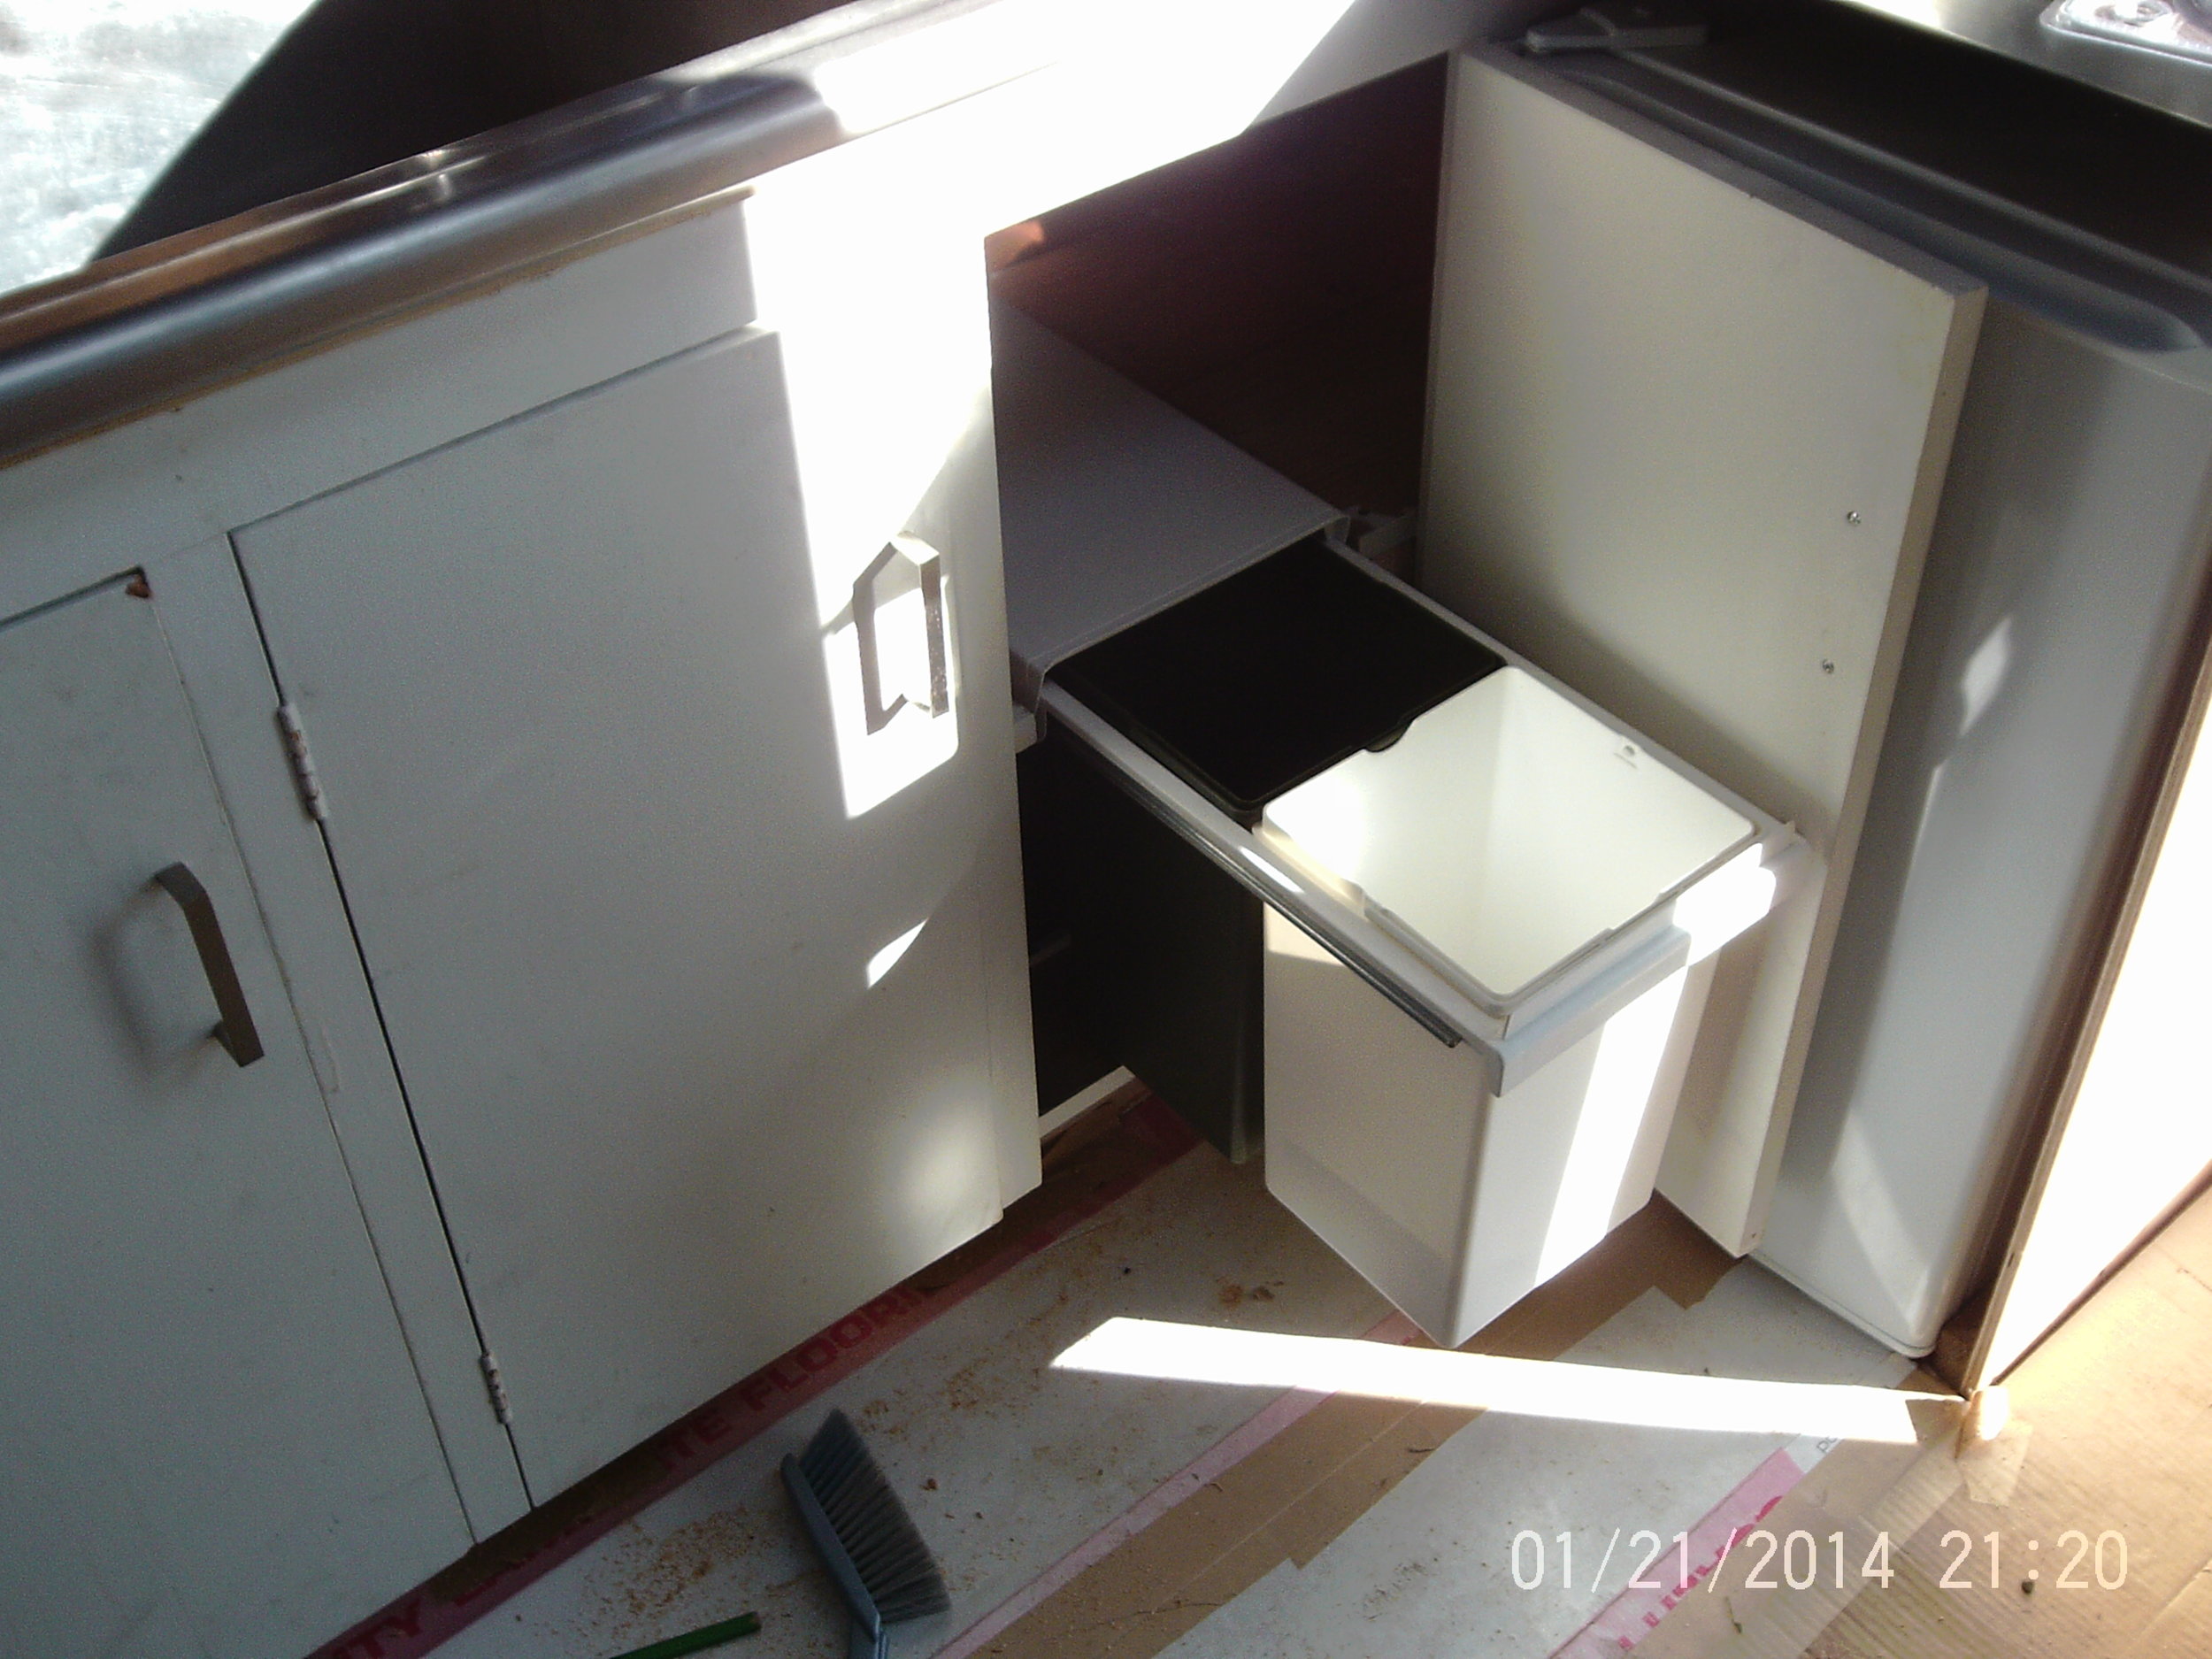
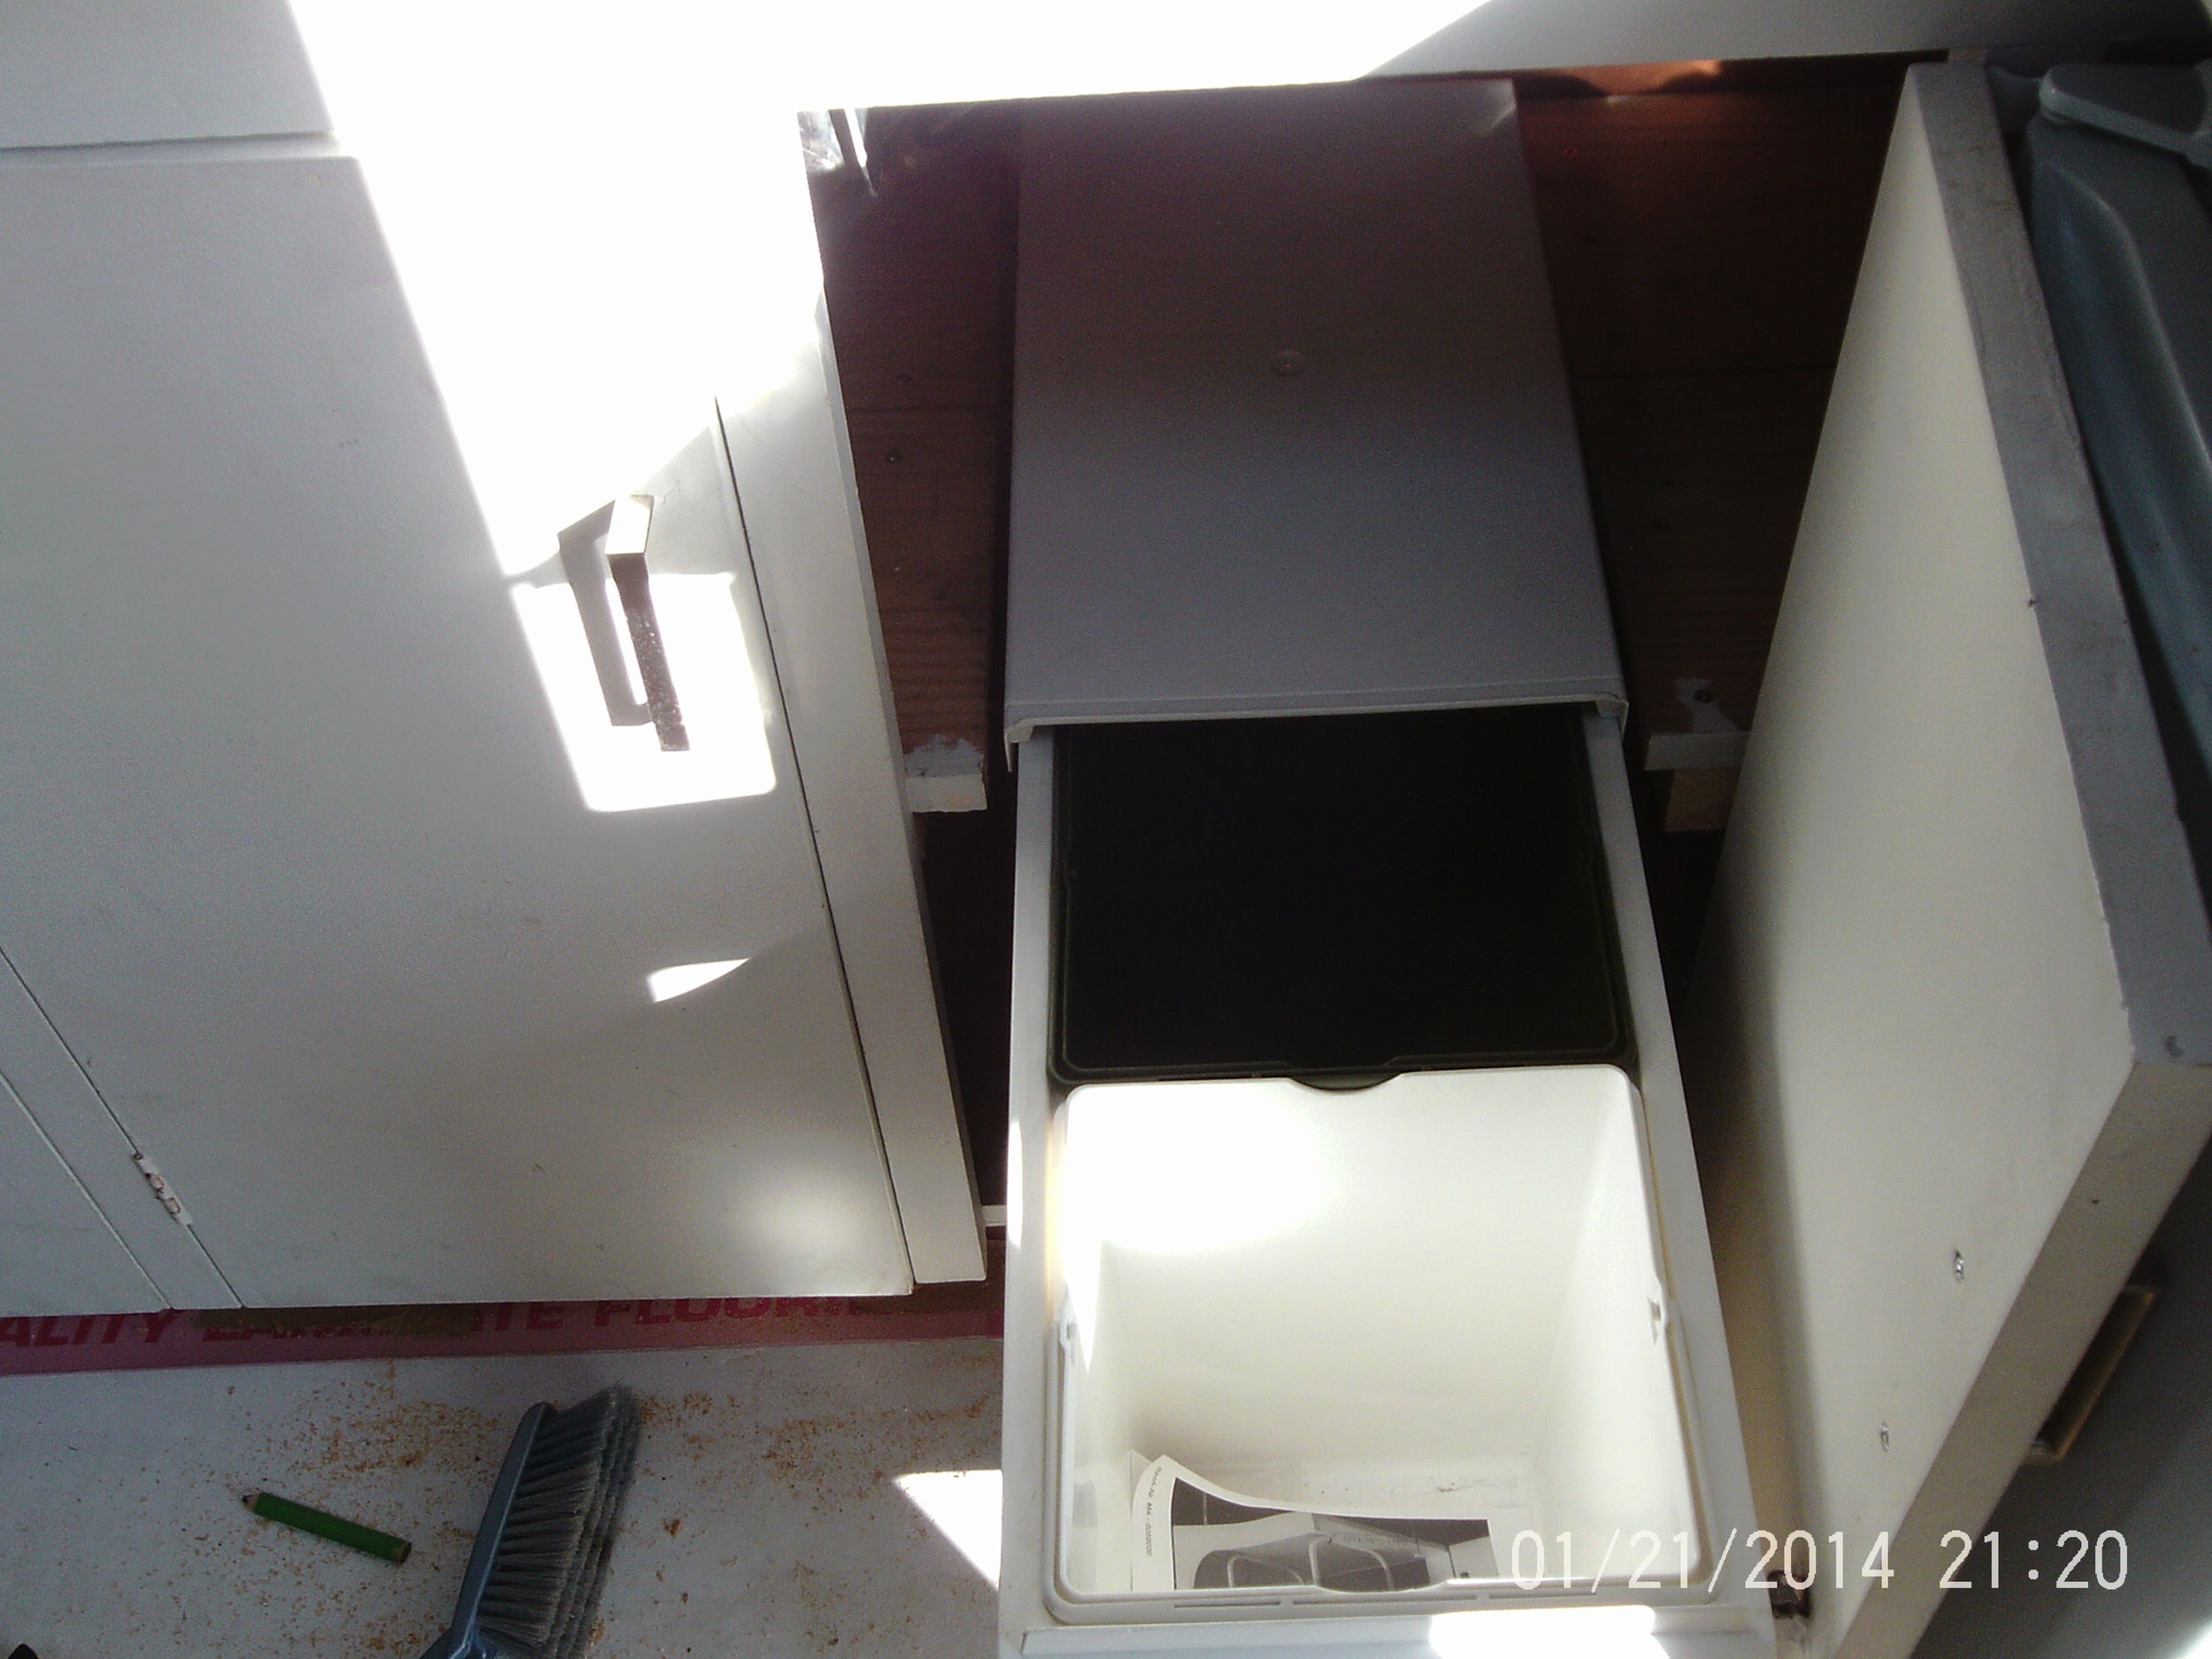
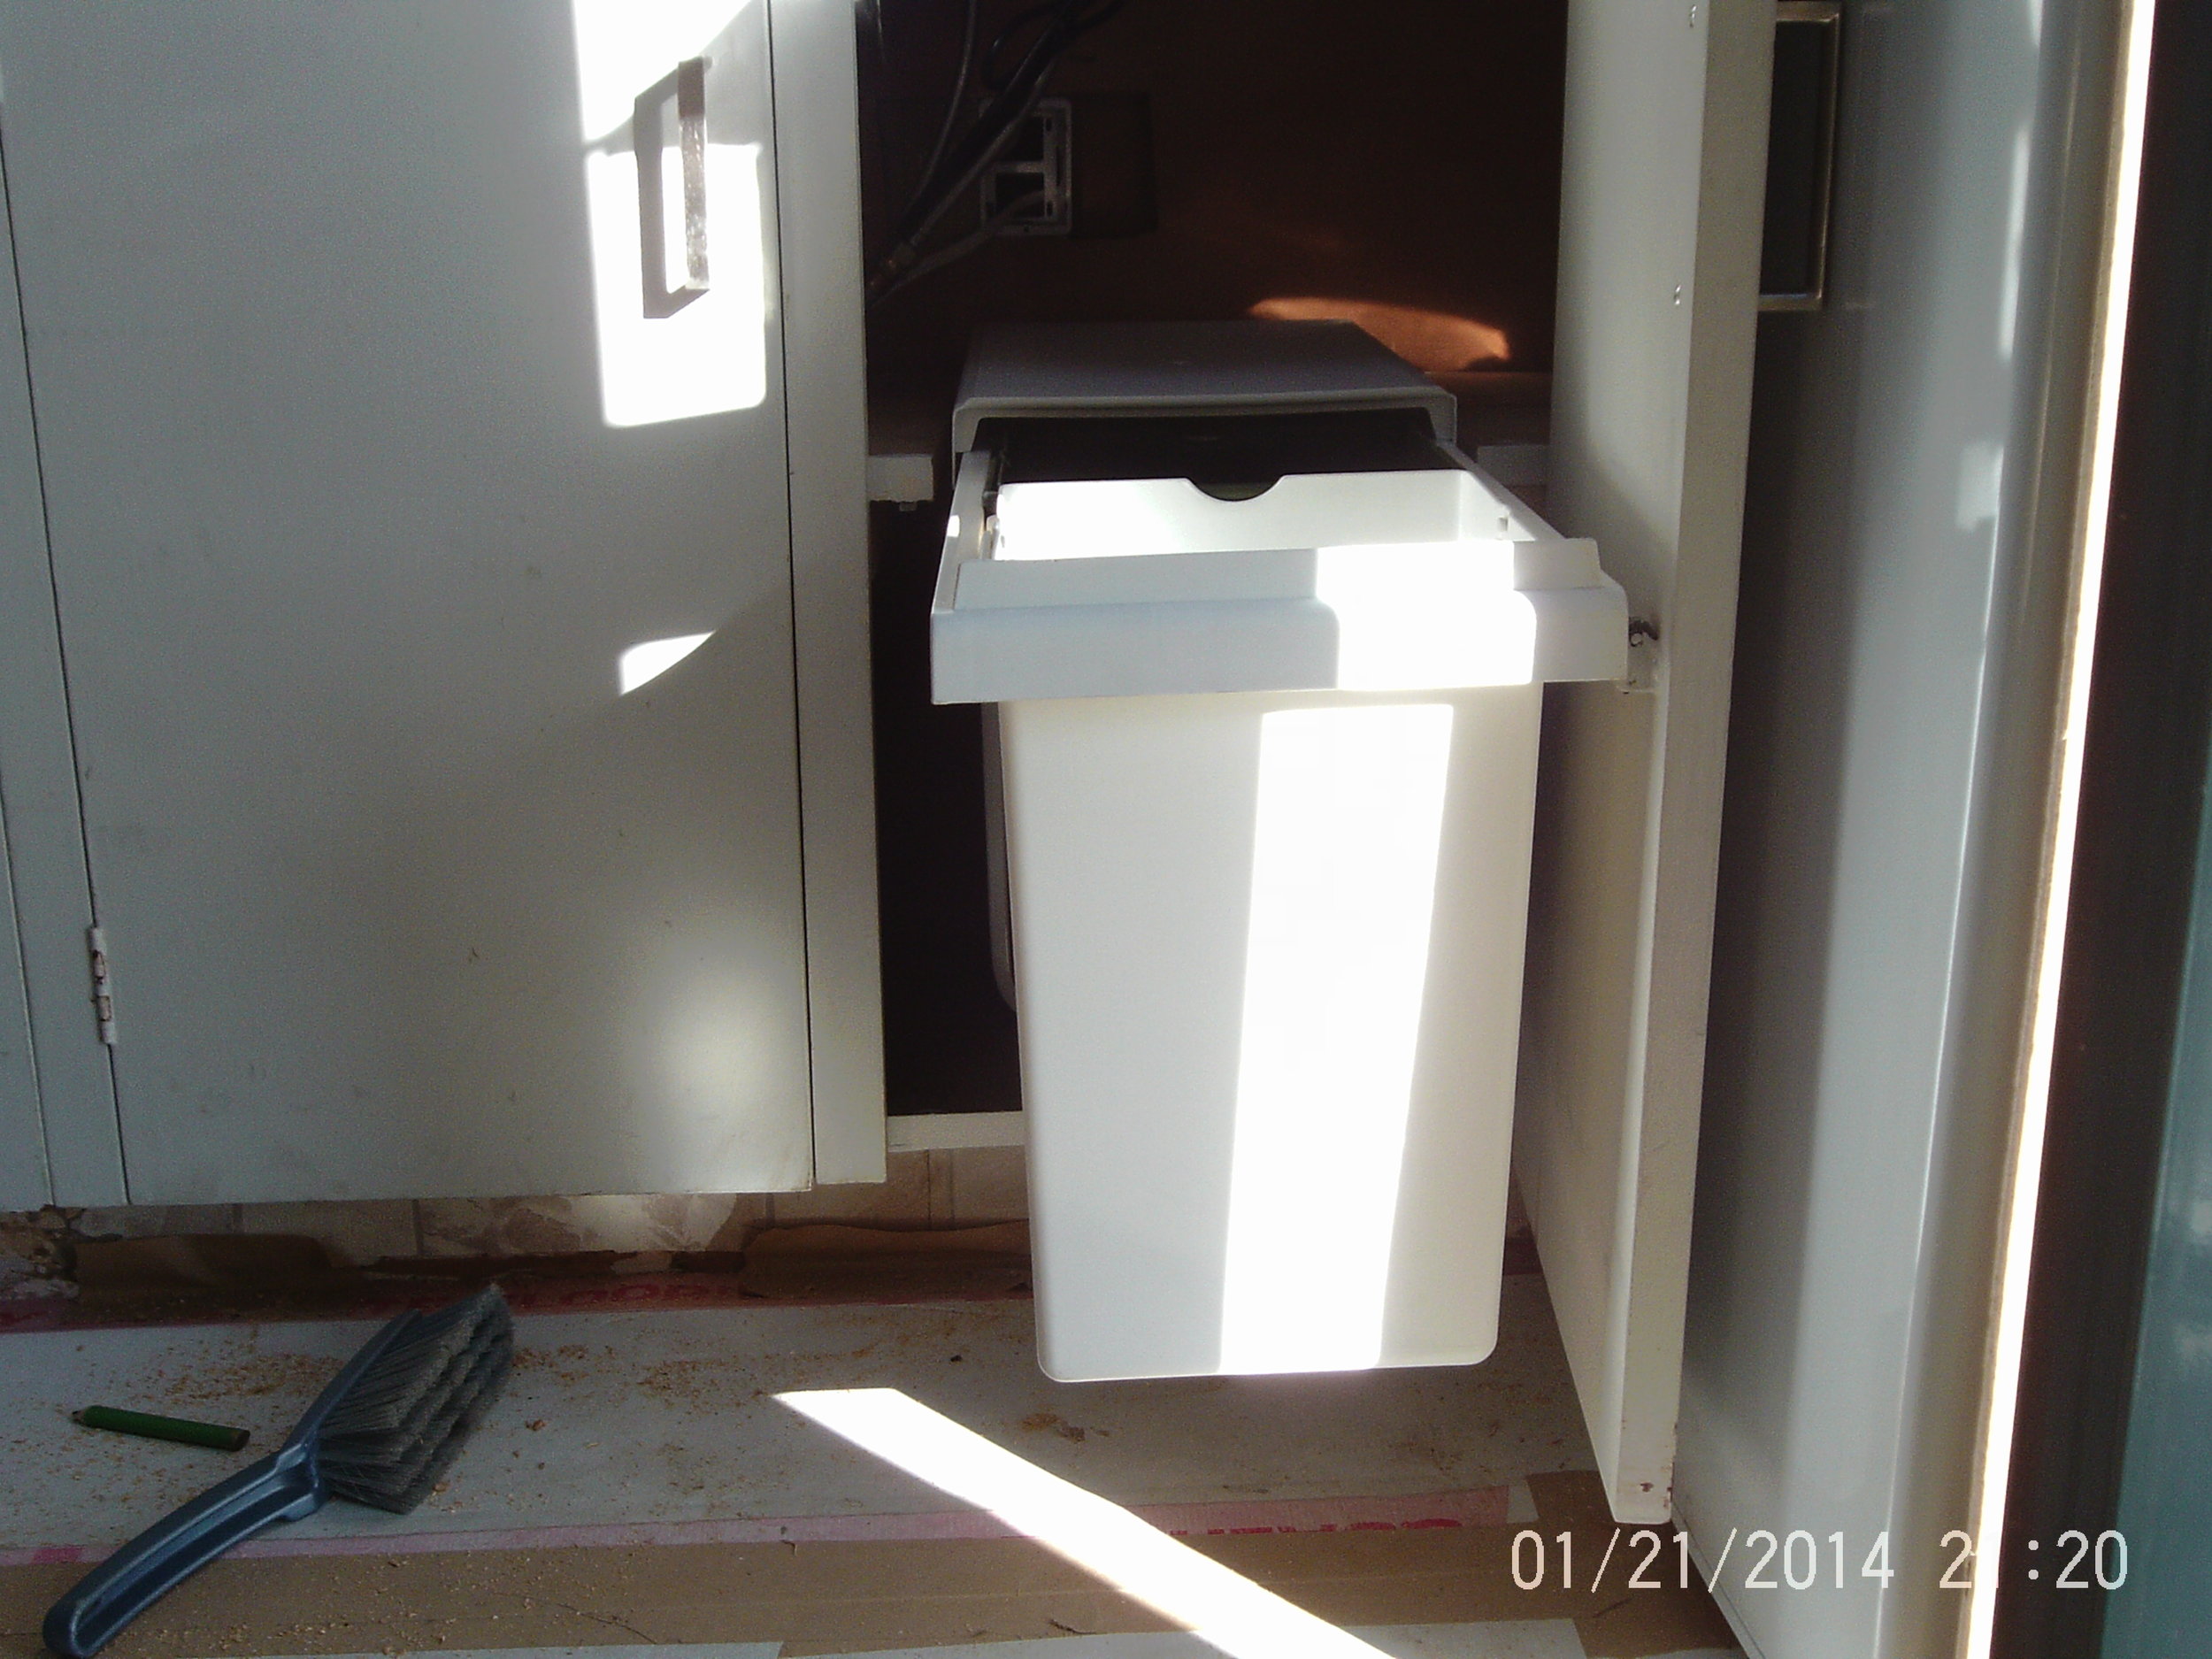
Hello everyone, We installed a pull out rubbish can underneath our counter. We paid 25 dollars for it on trade me, a few days later we saw it for sale at Bunning's for $125! We really know how to find a bargain.

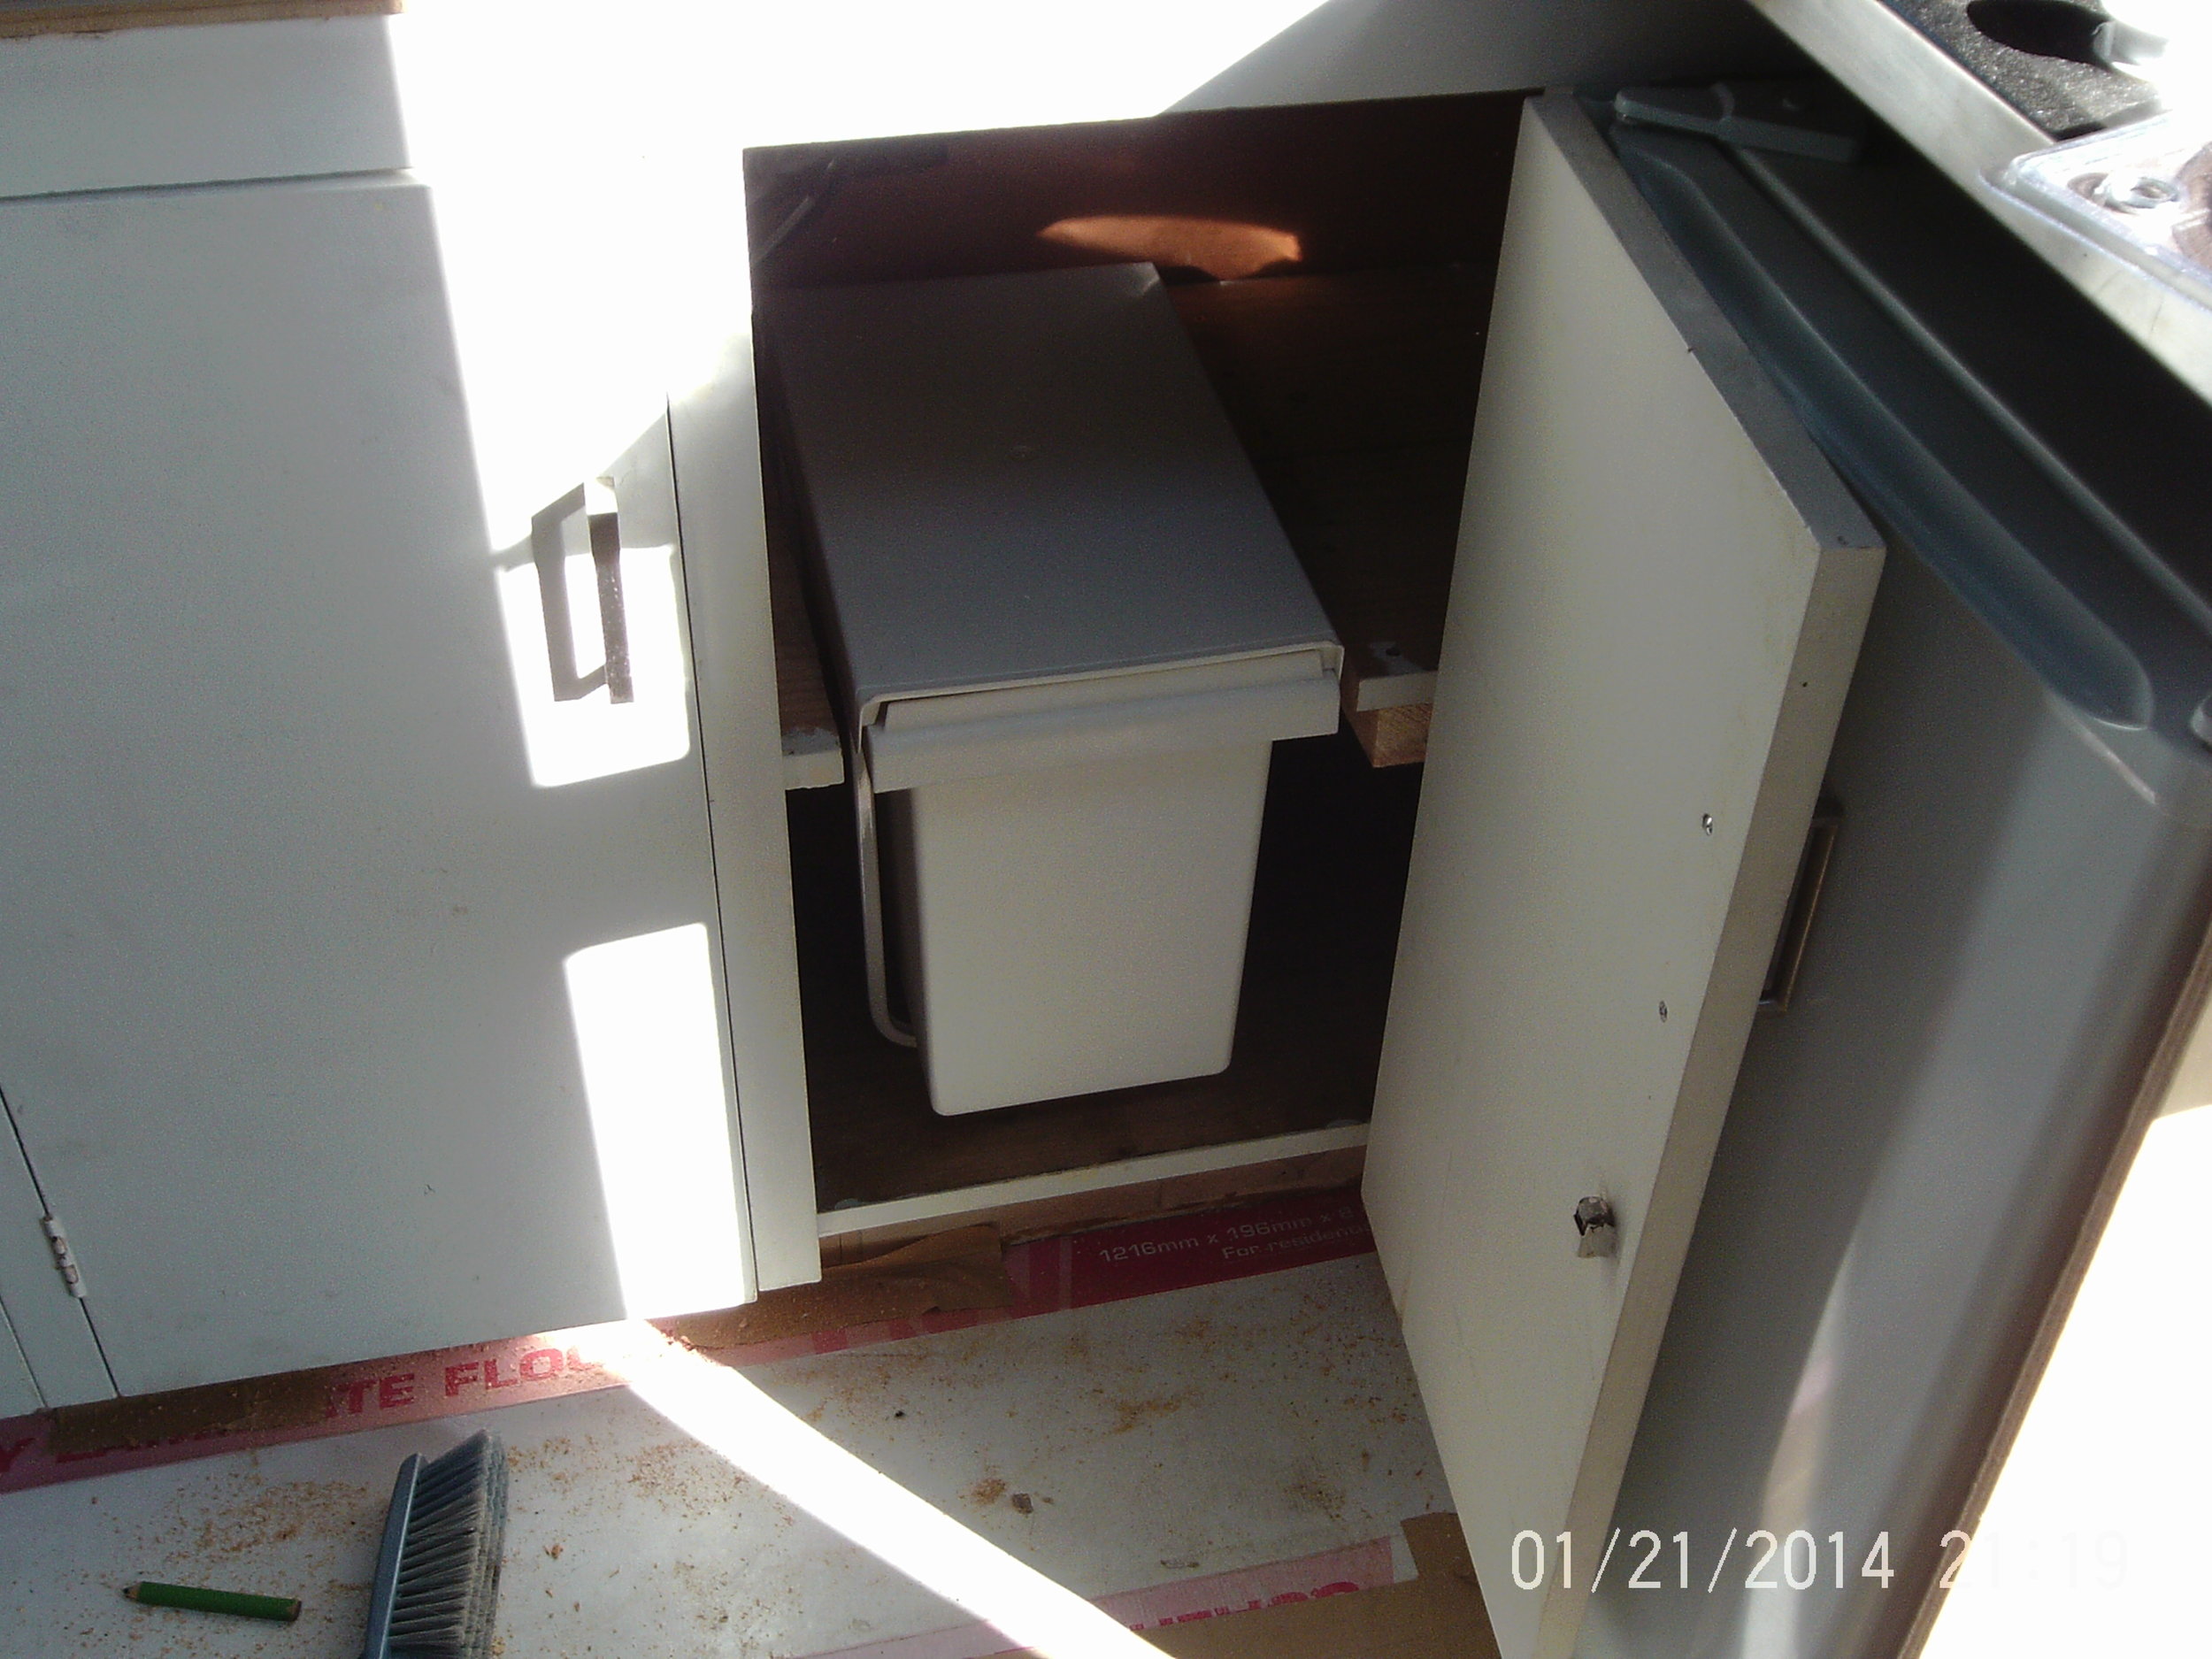
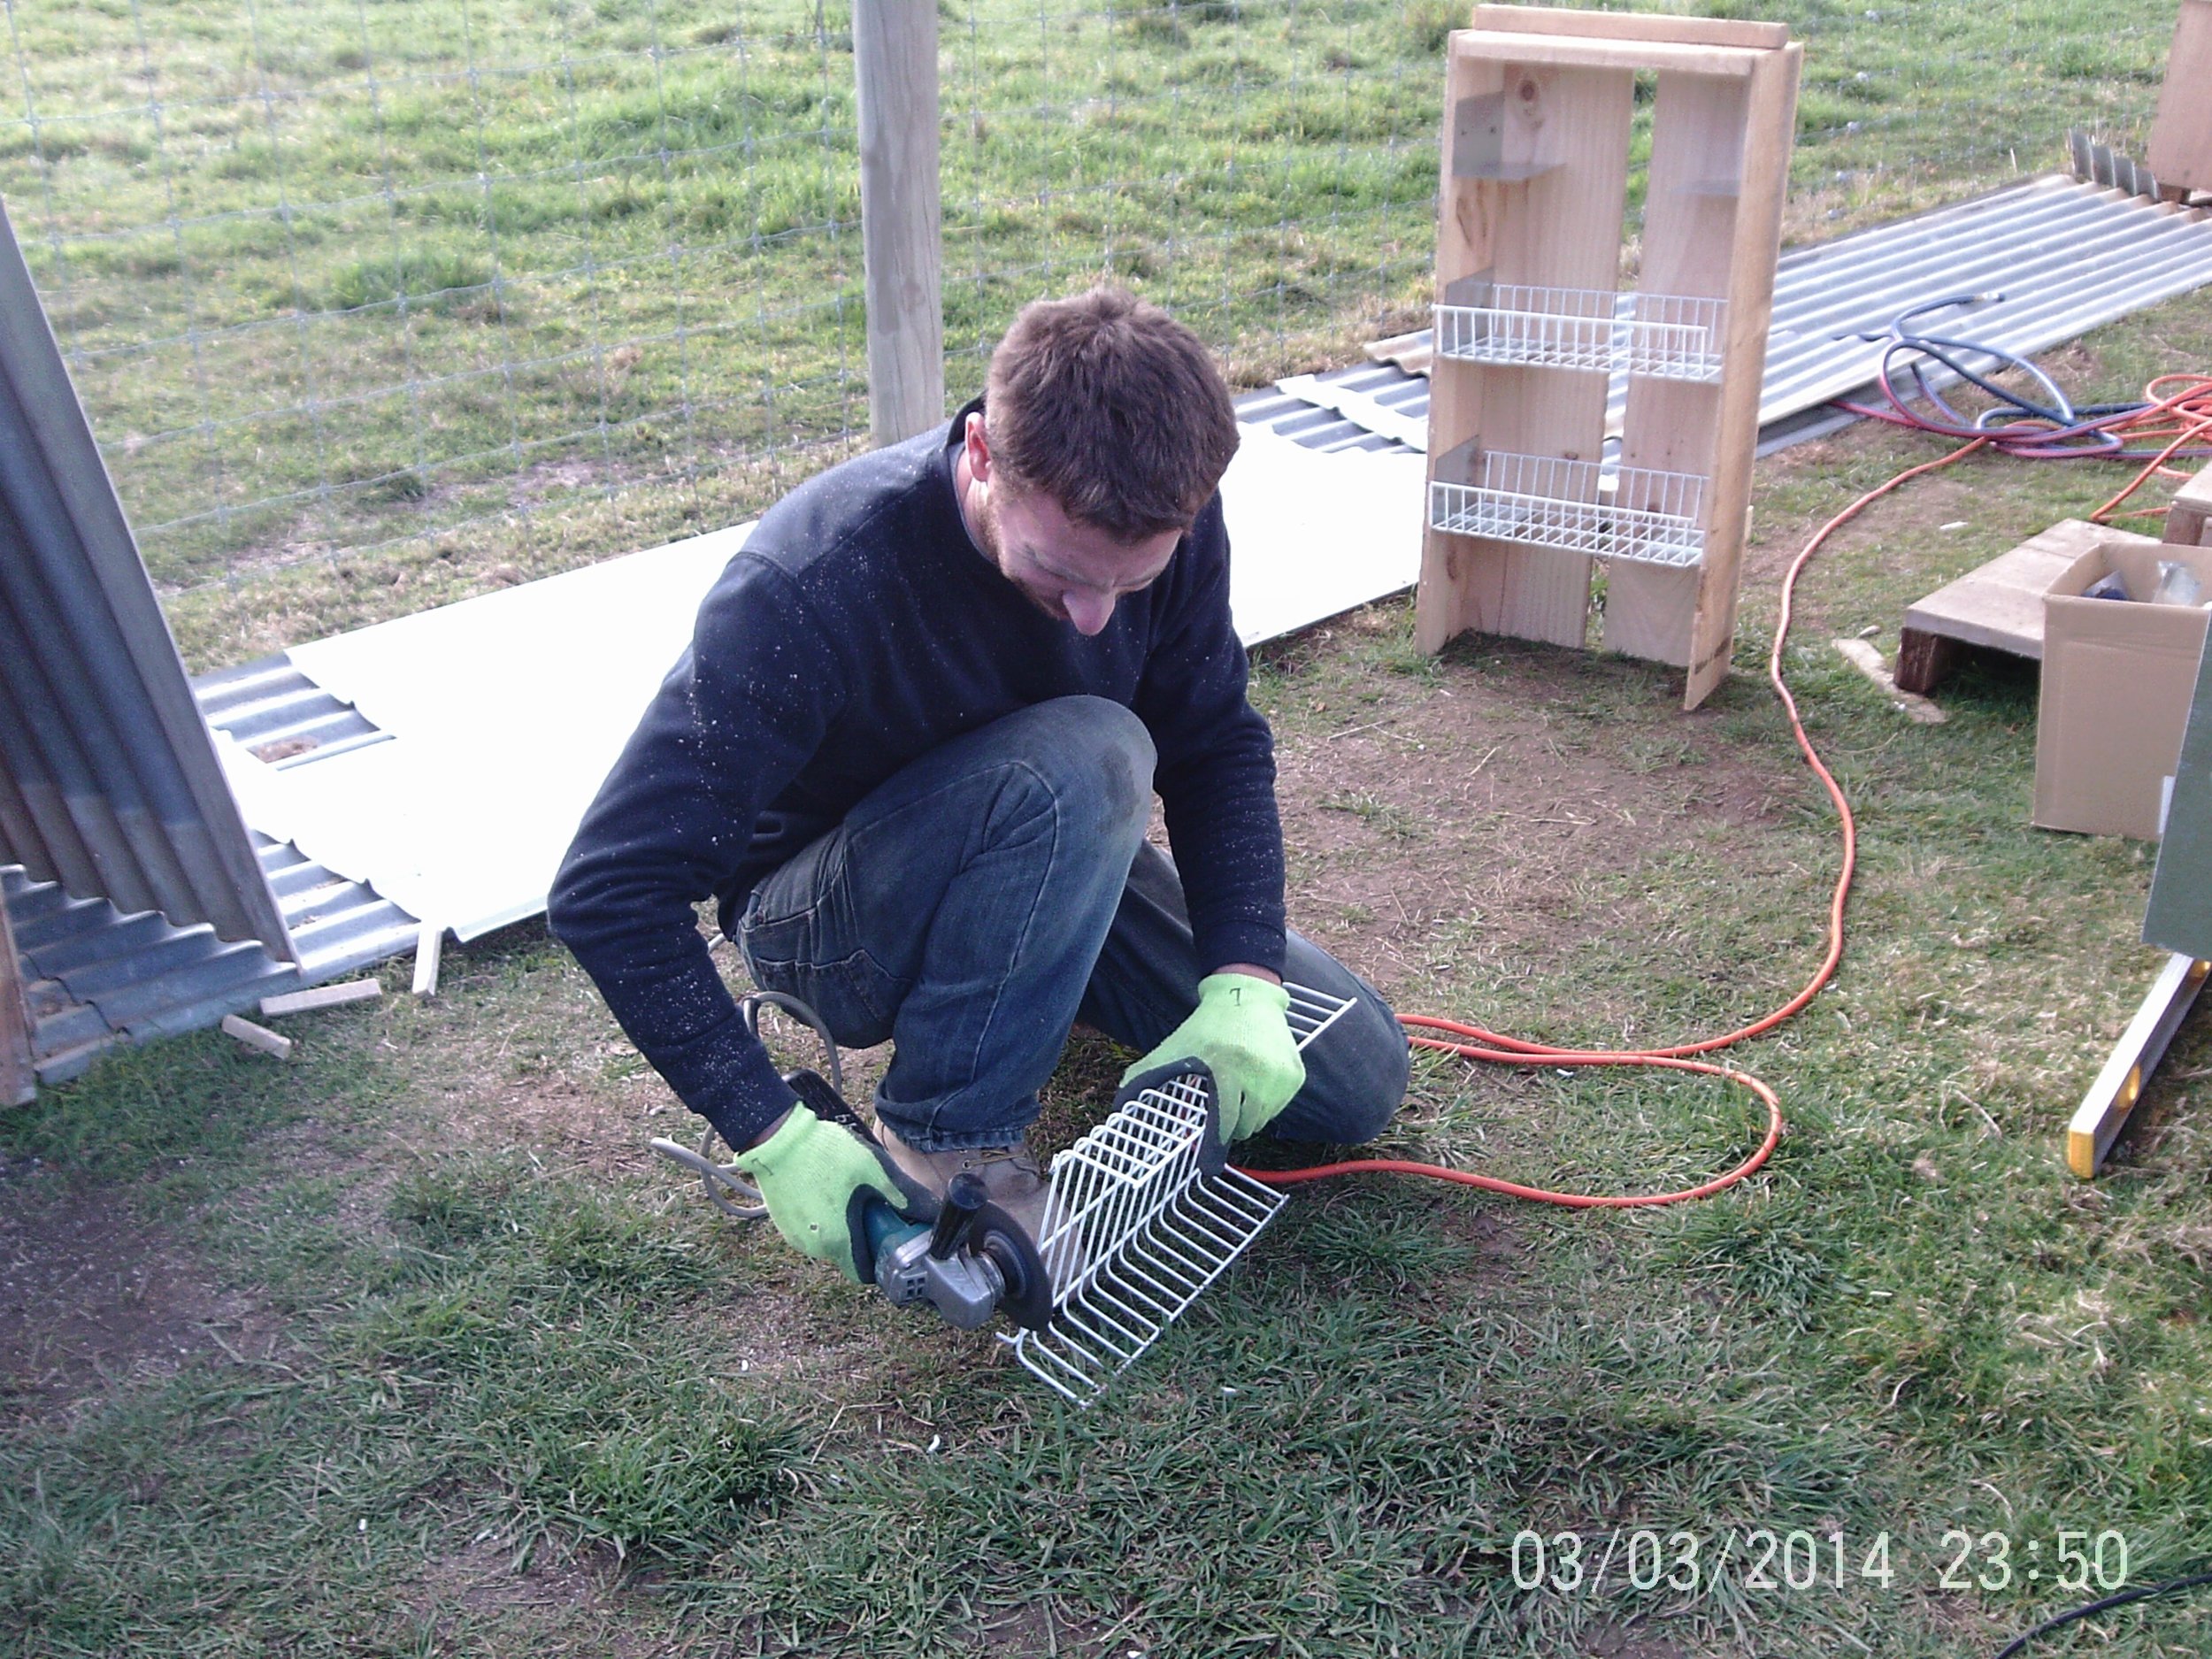
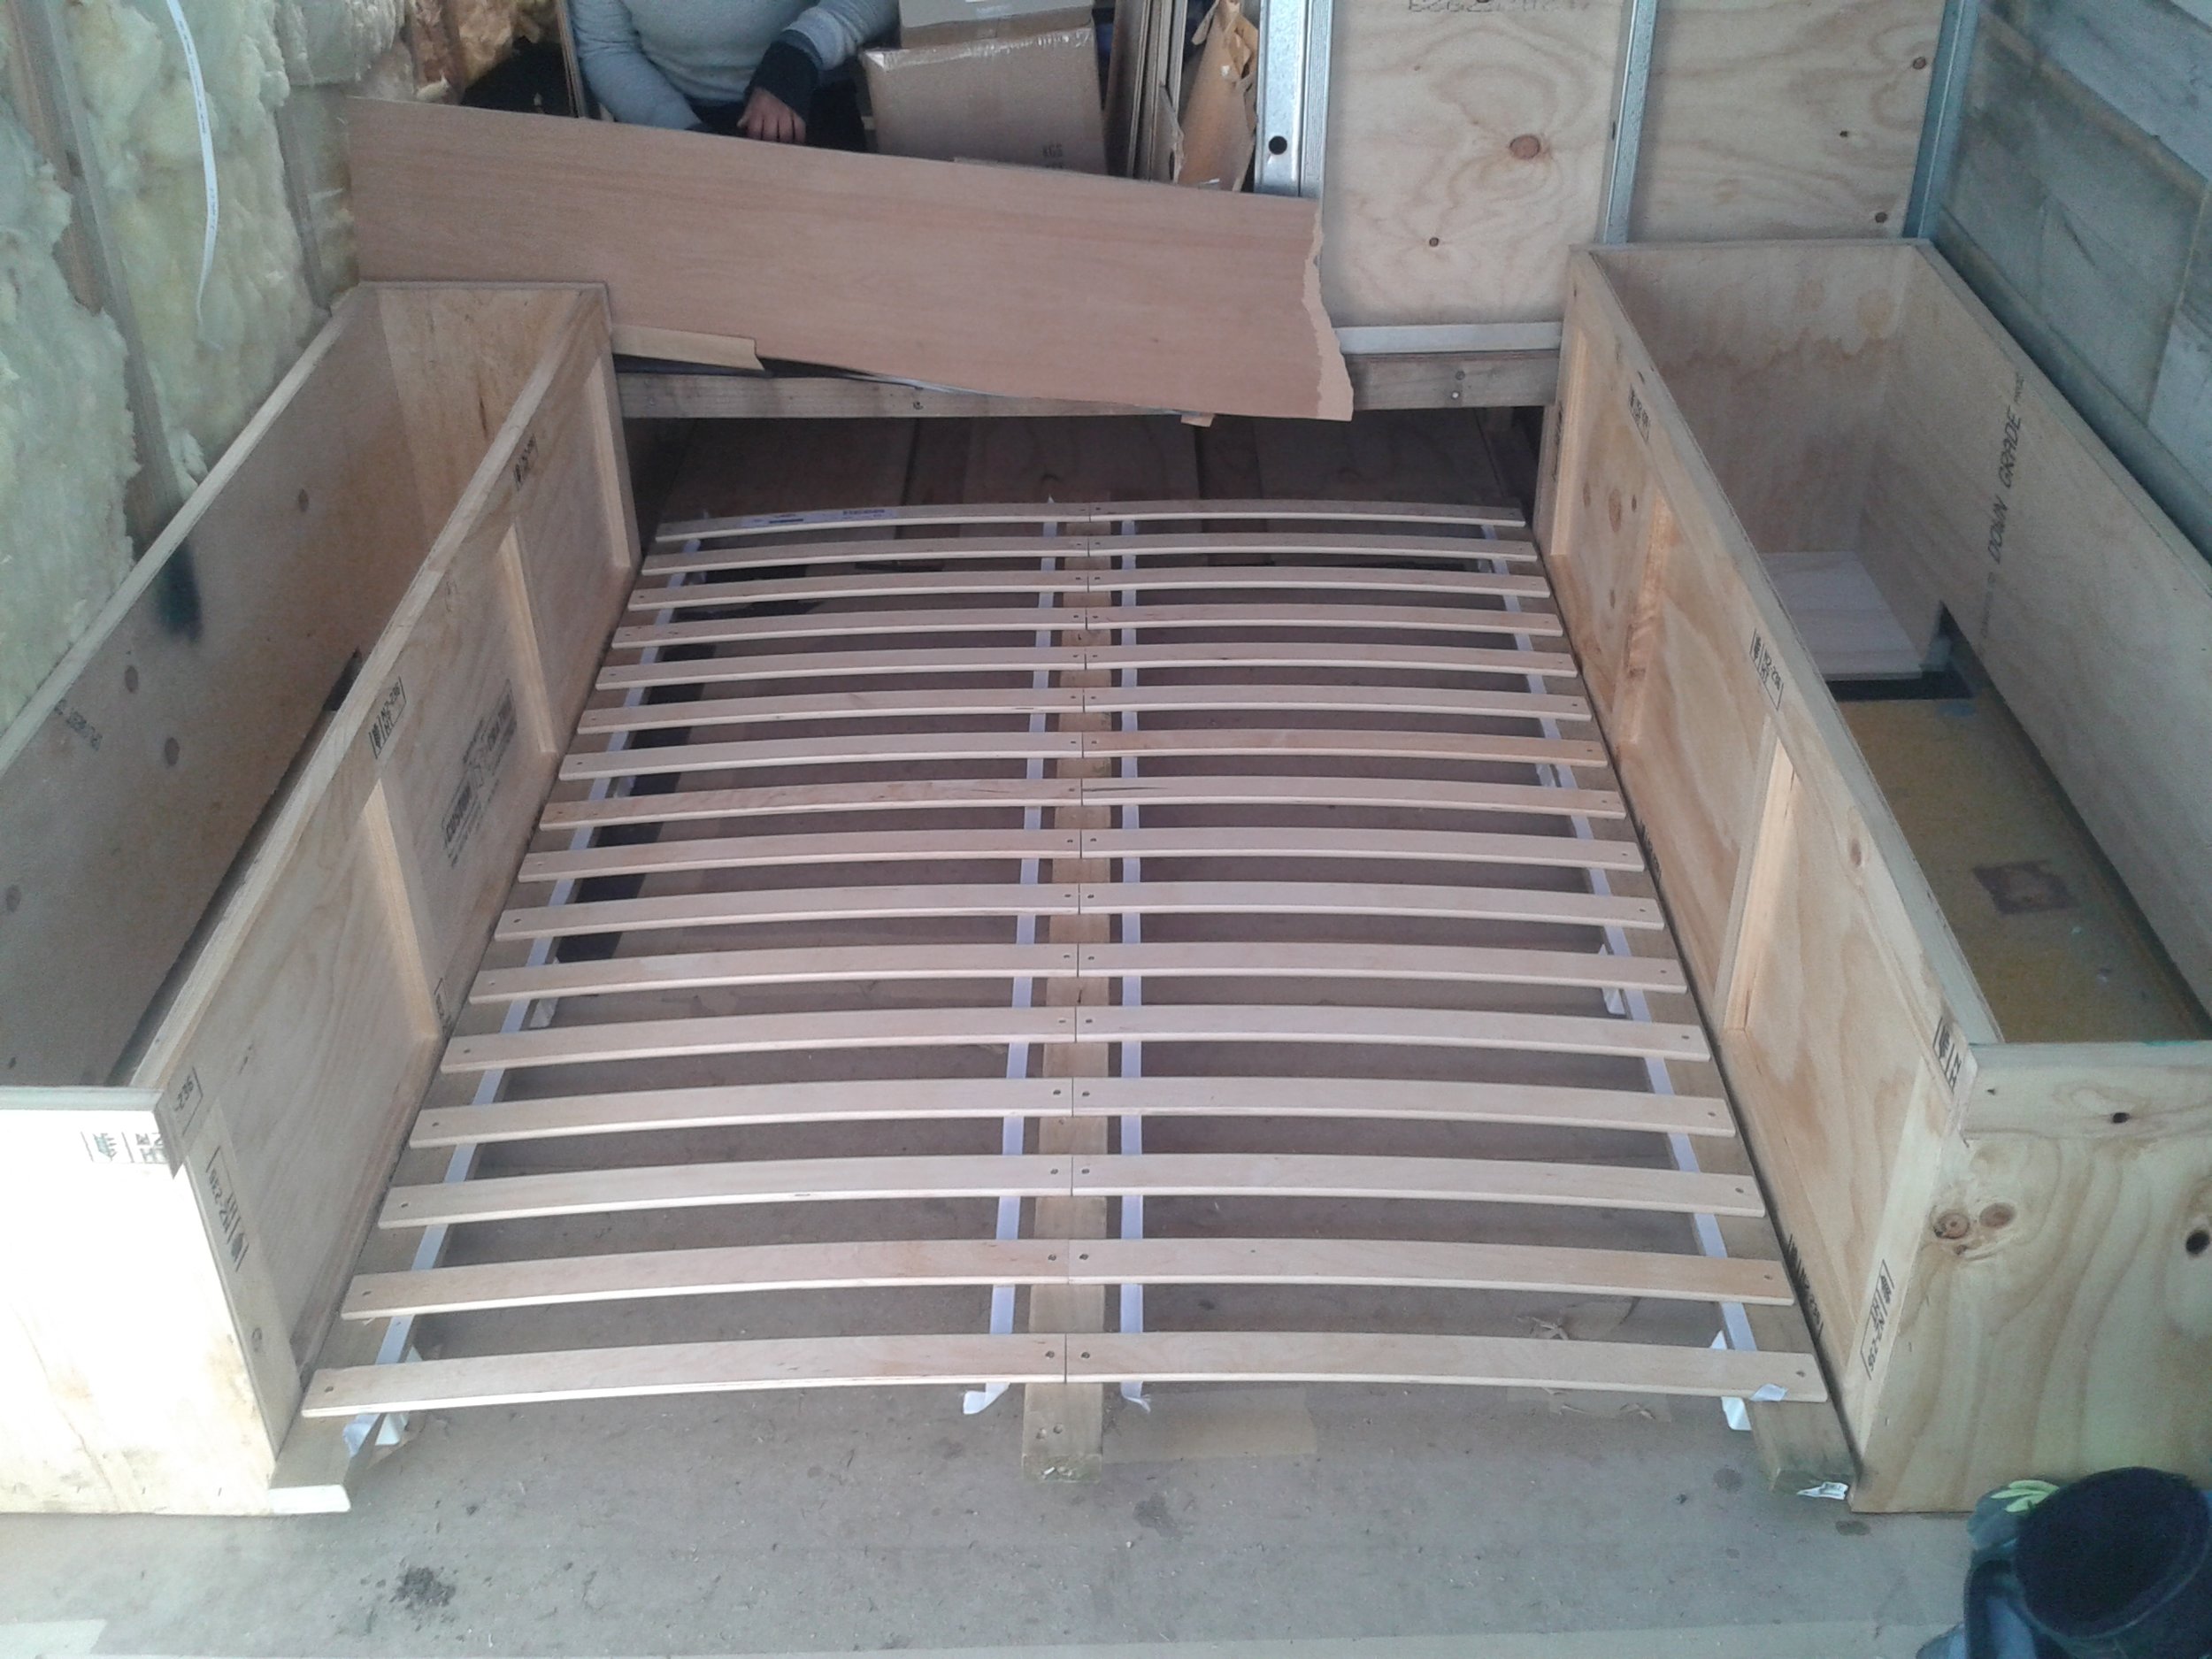
After the trash cans were fitted, we tackled the storage crates by cutting them to size and fitting them so the bed can still pull out in between them.

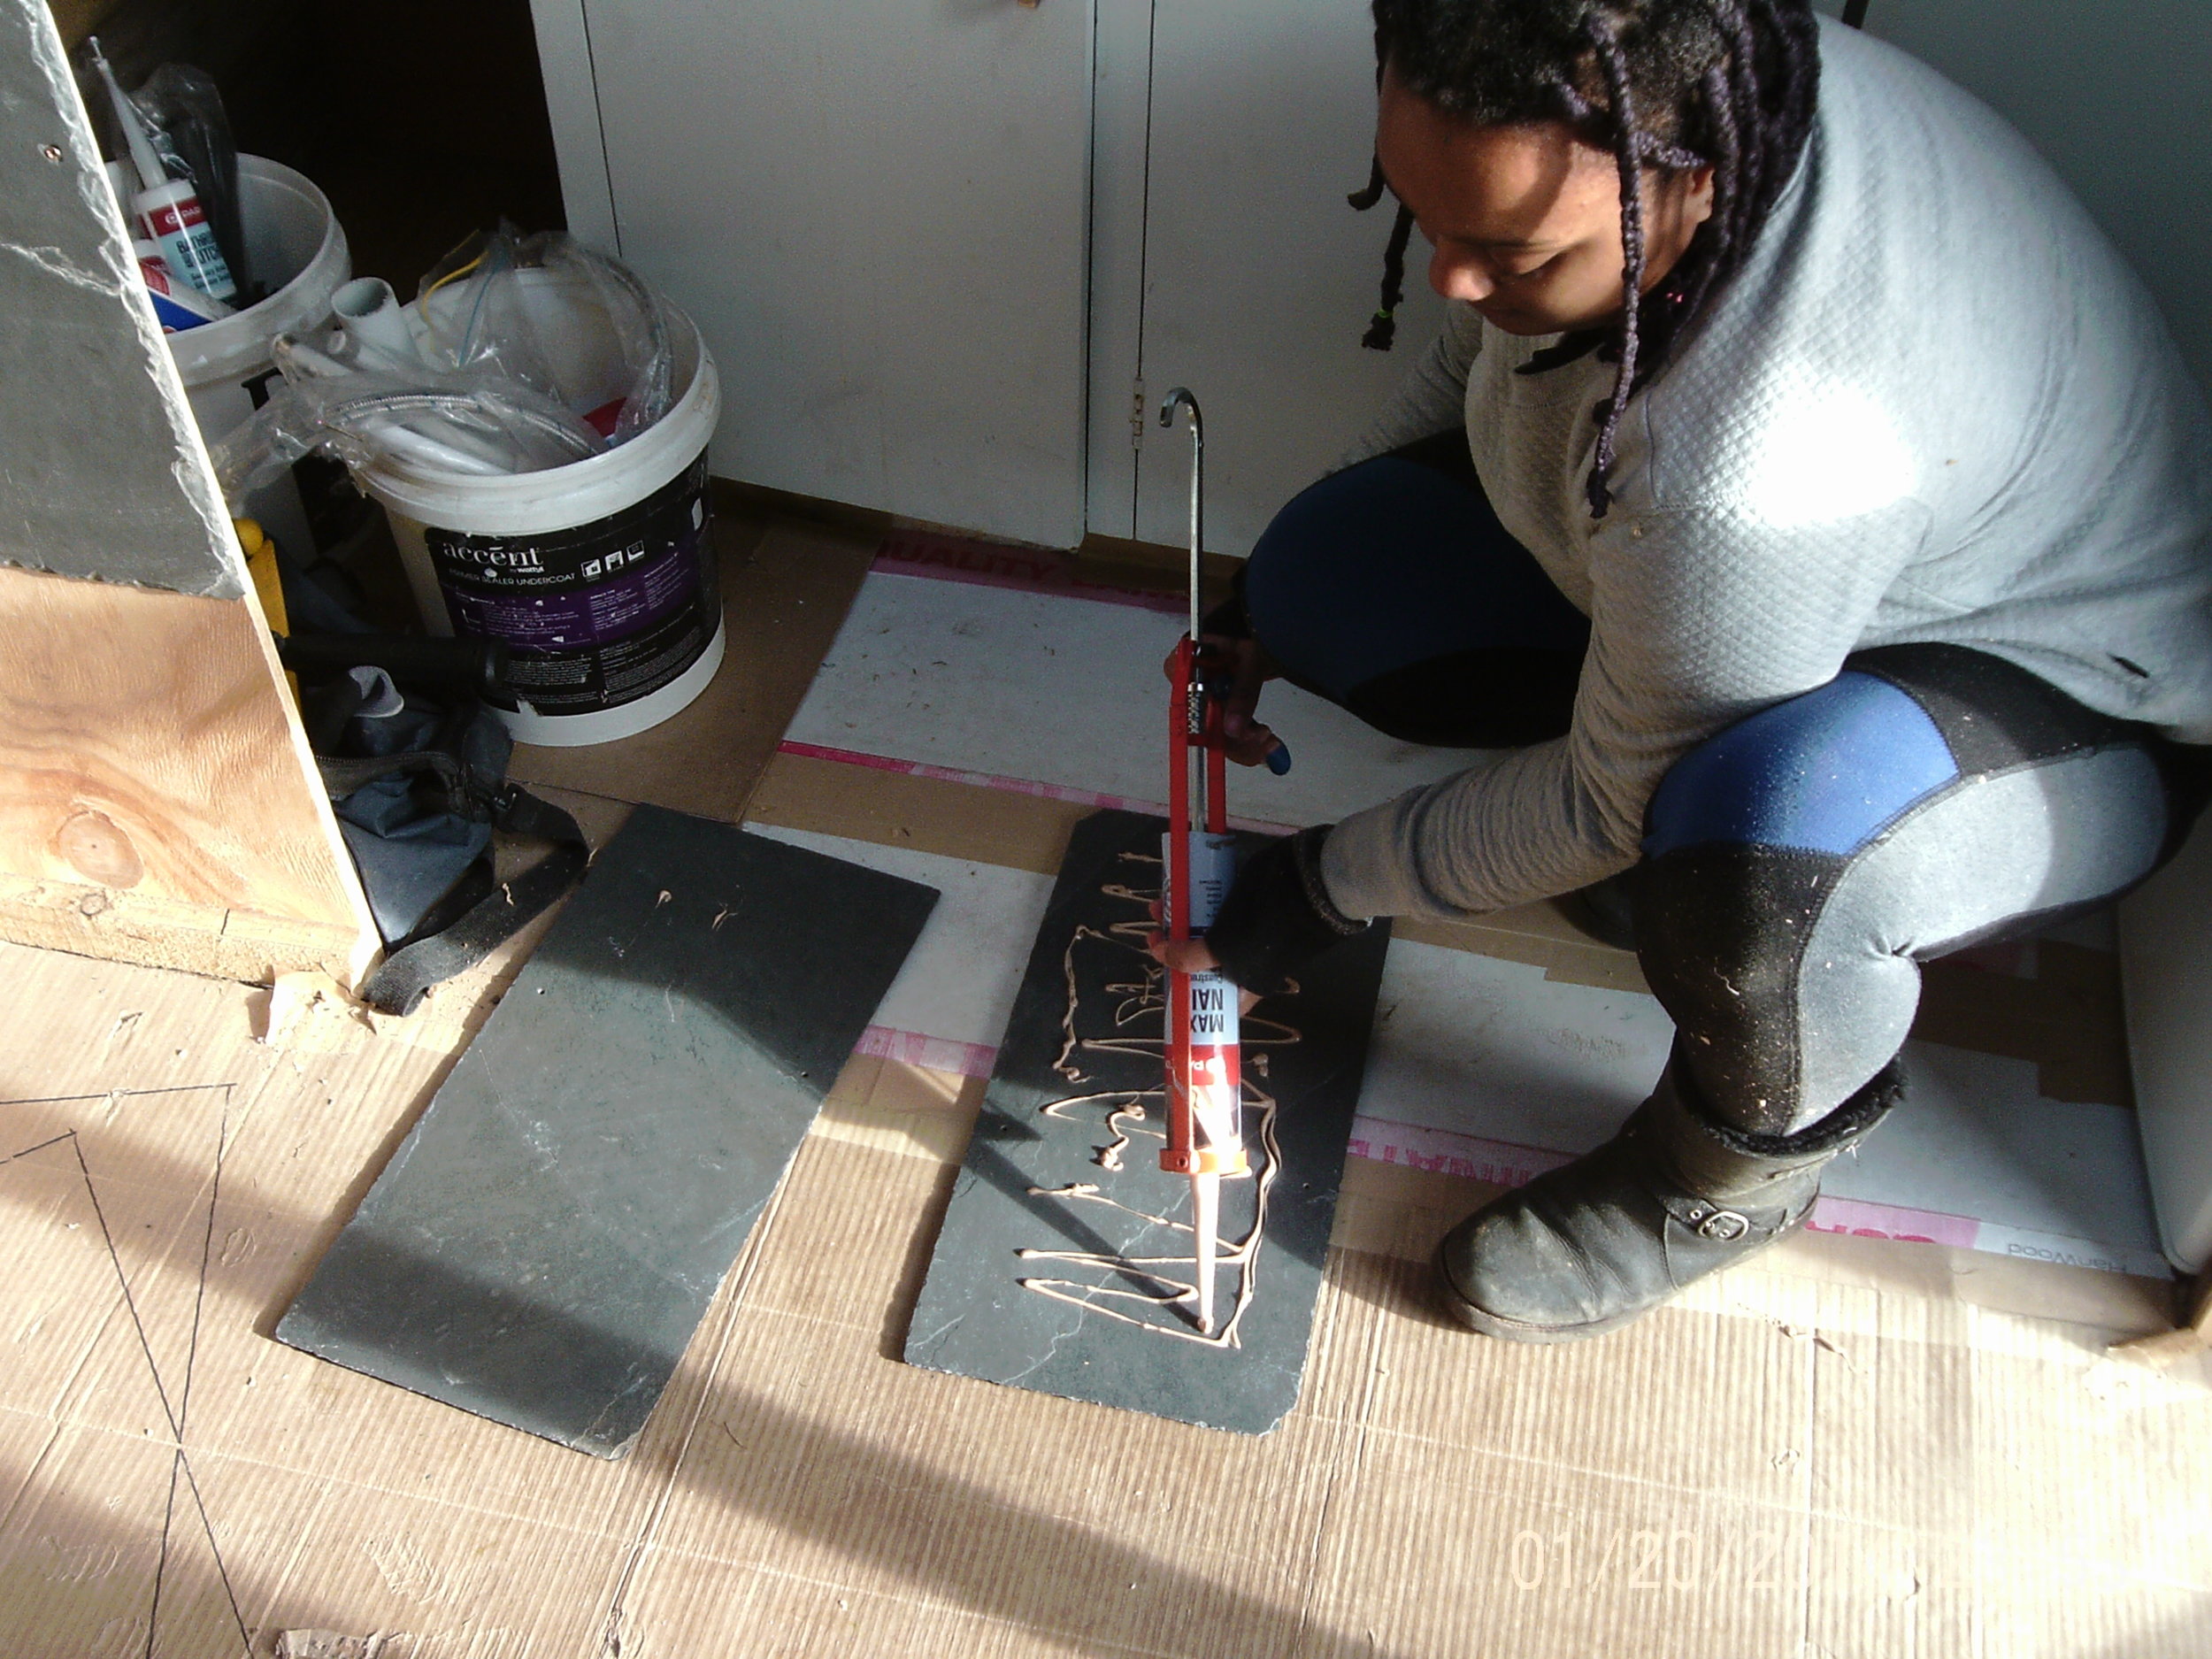
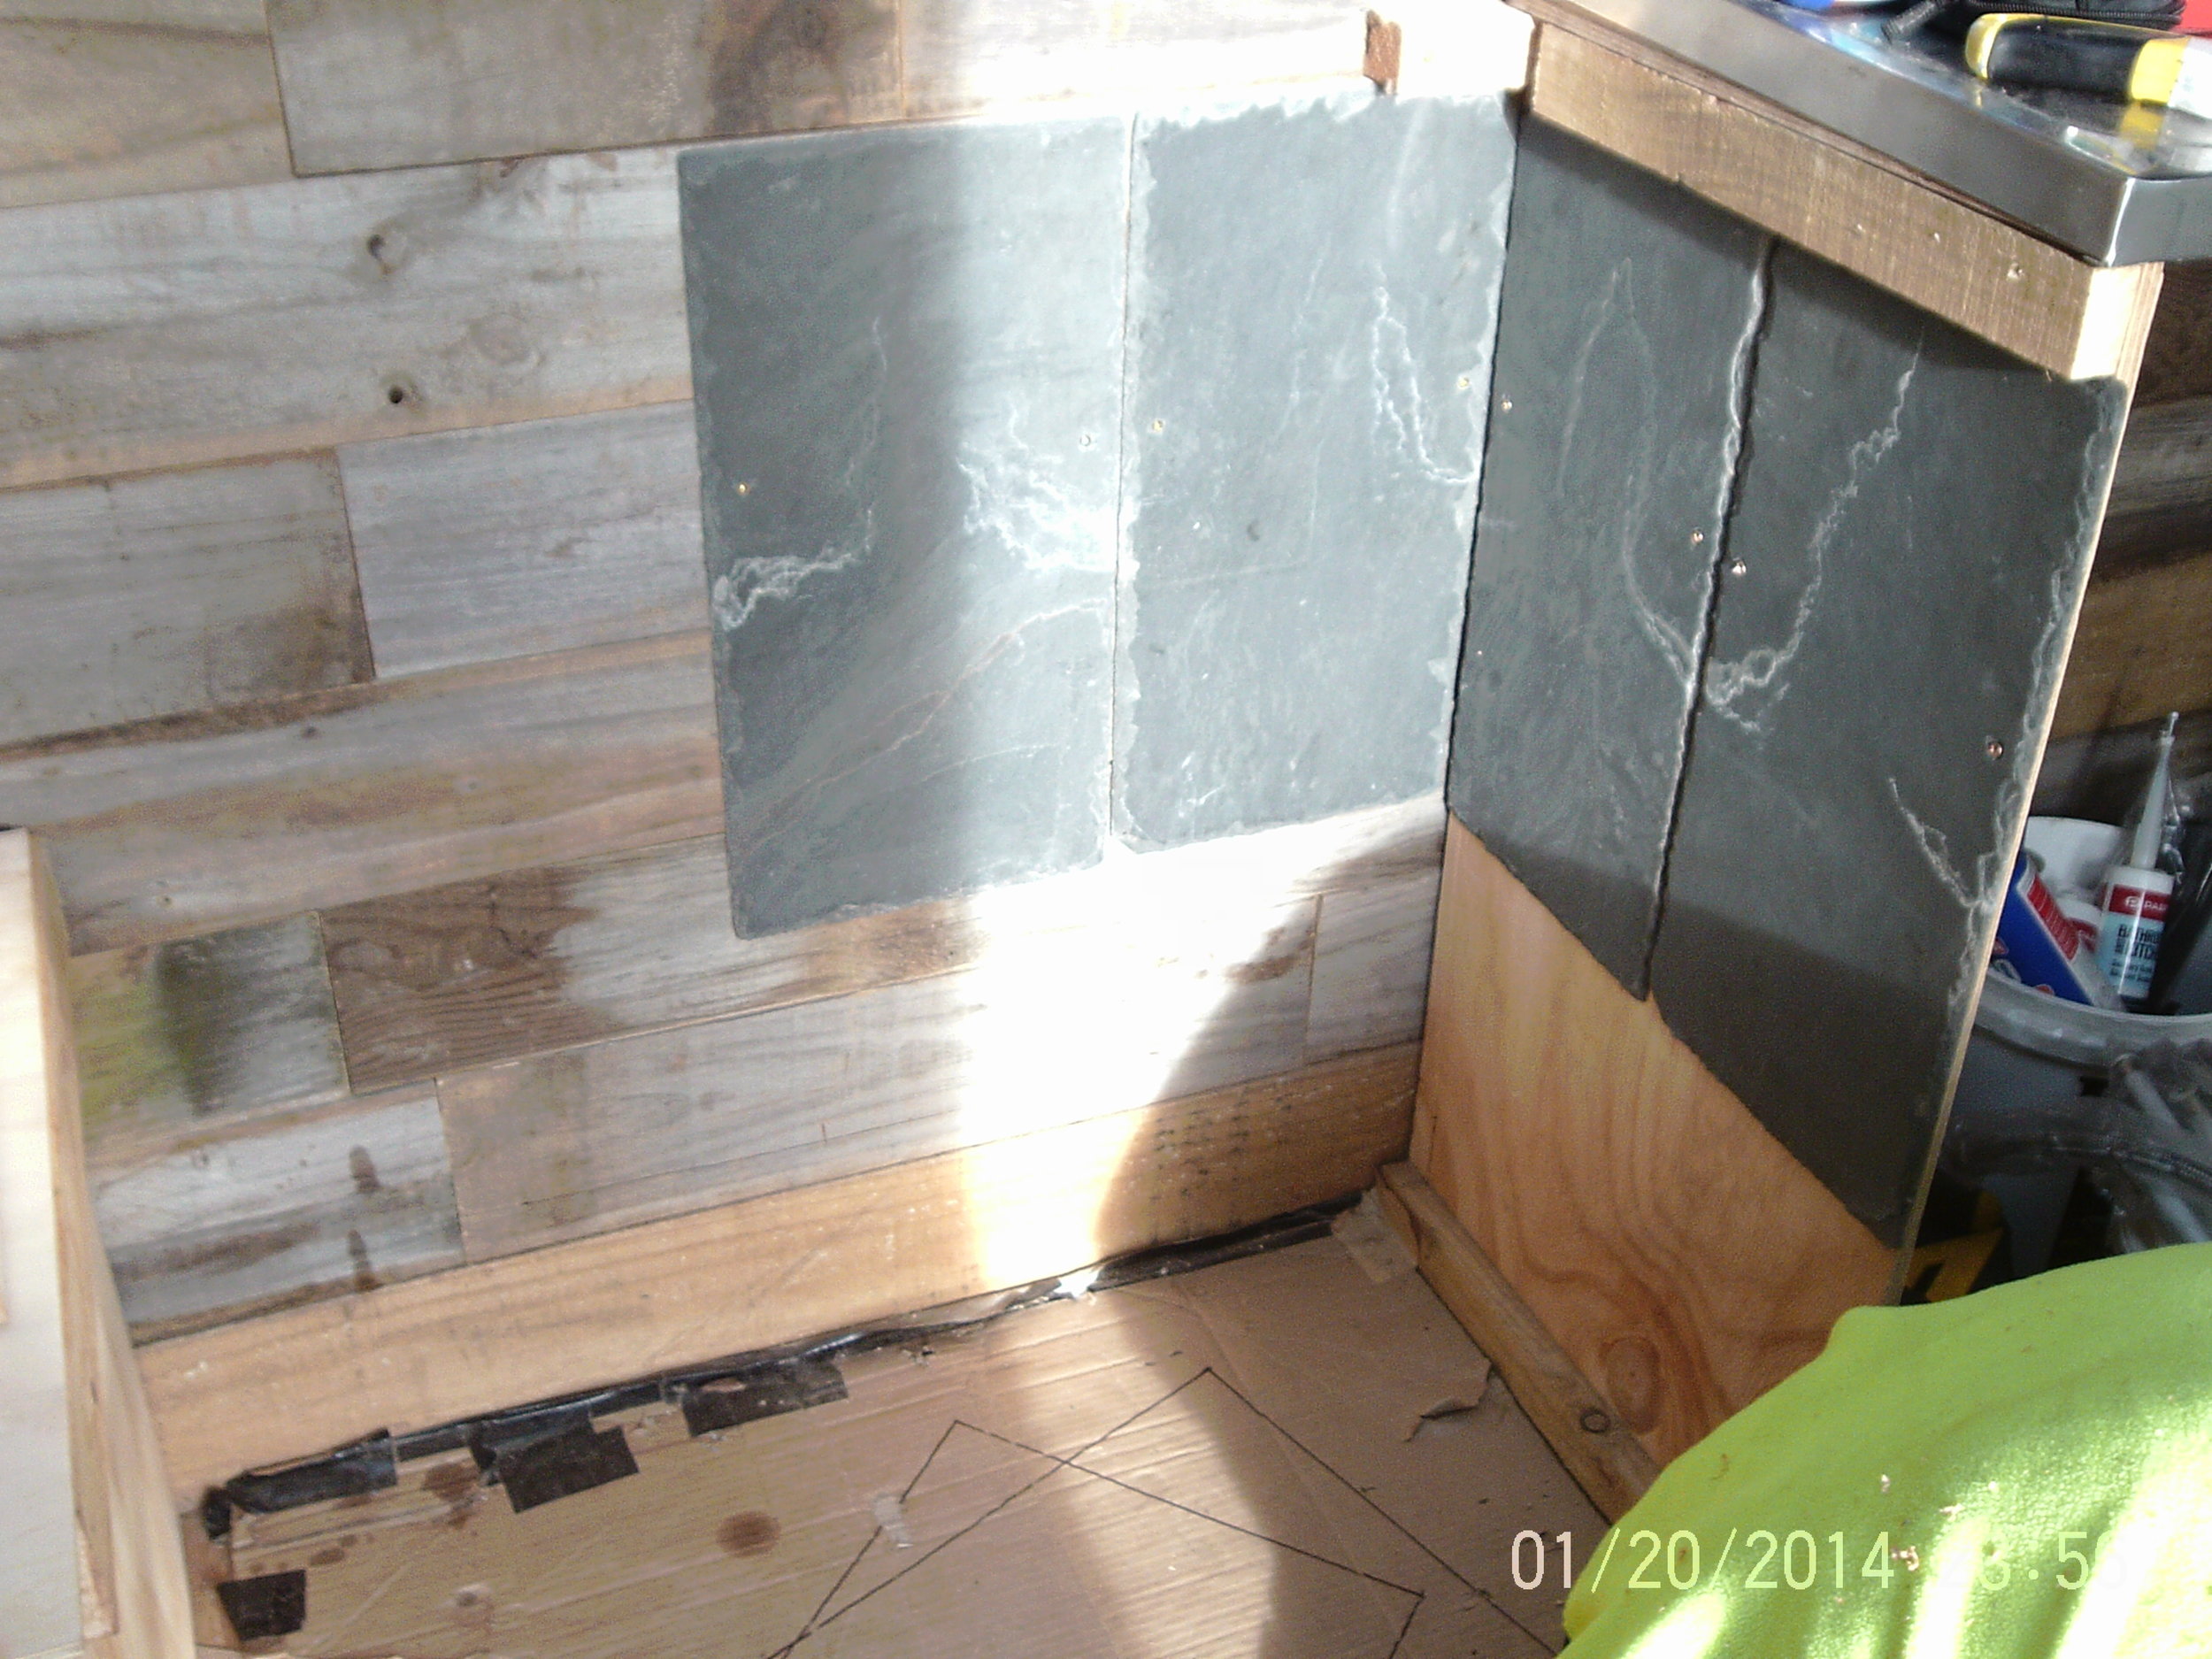
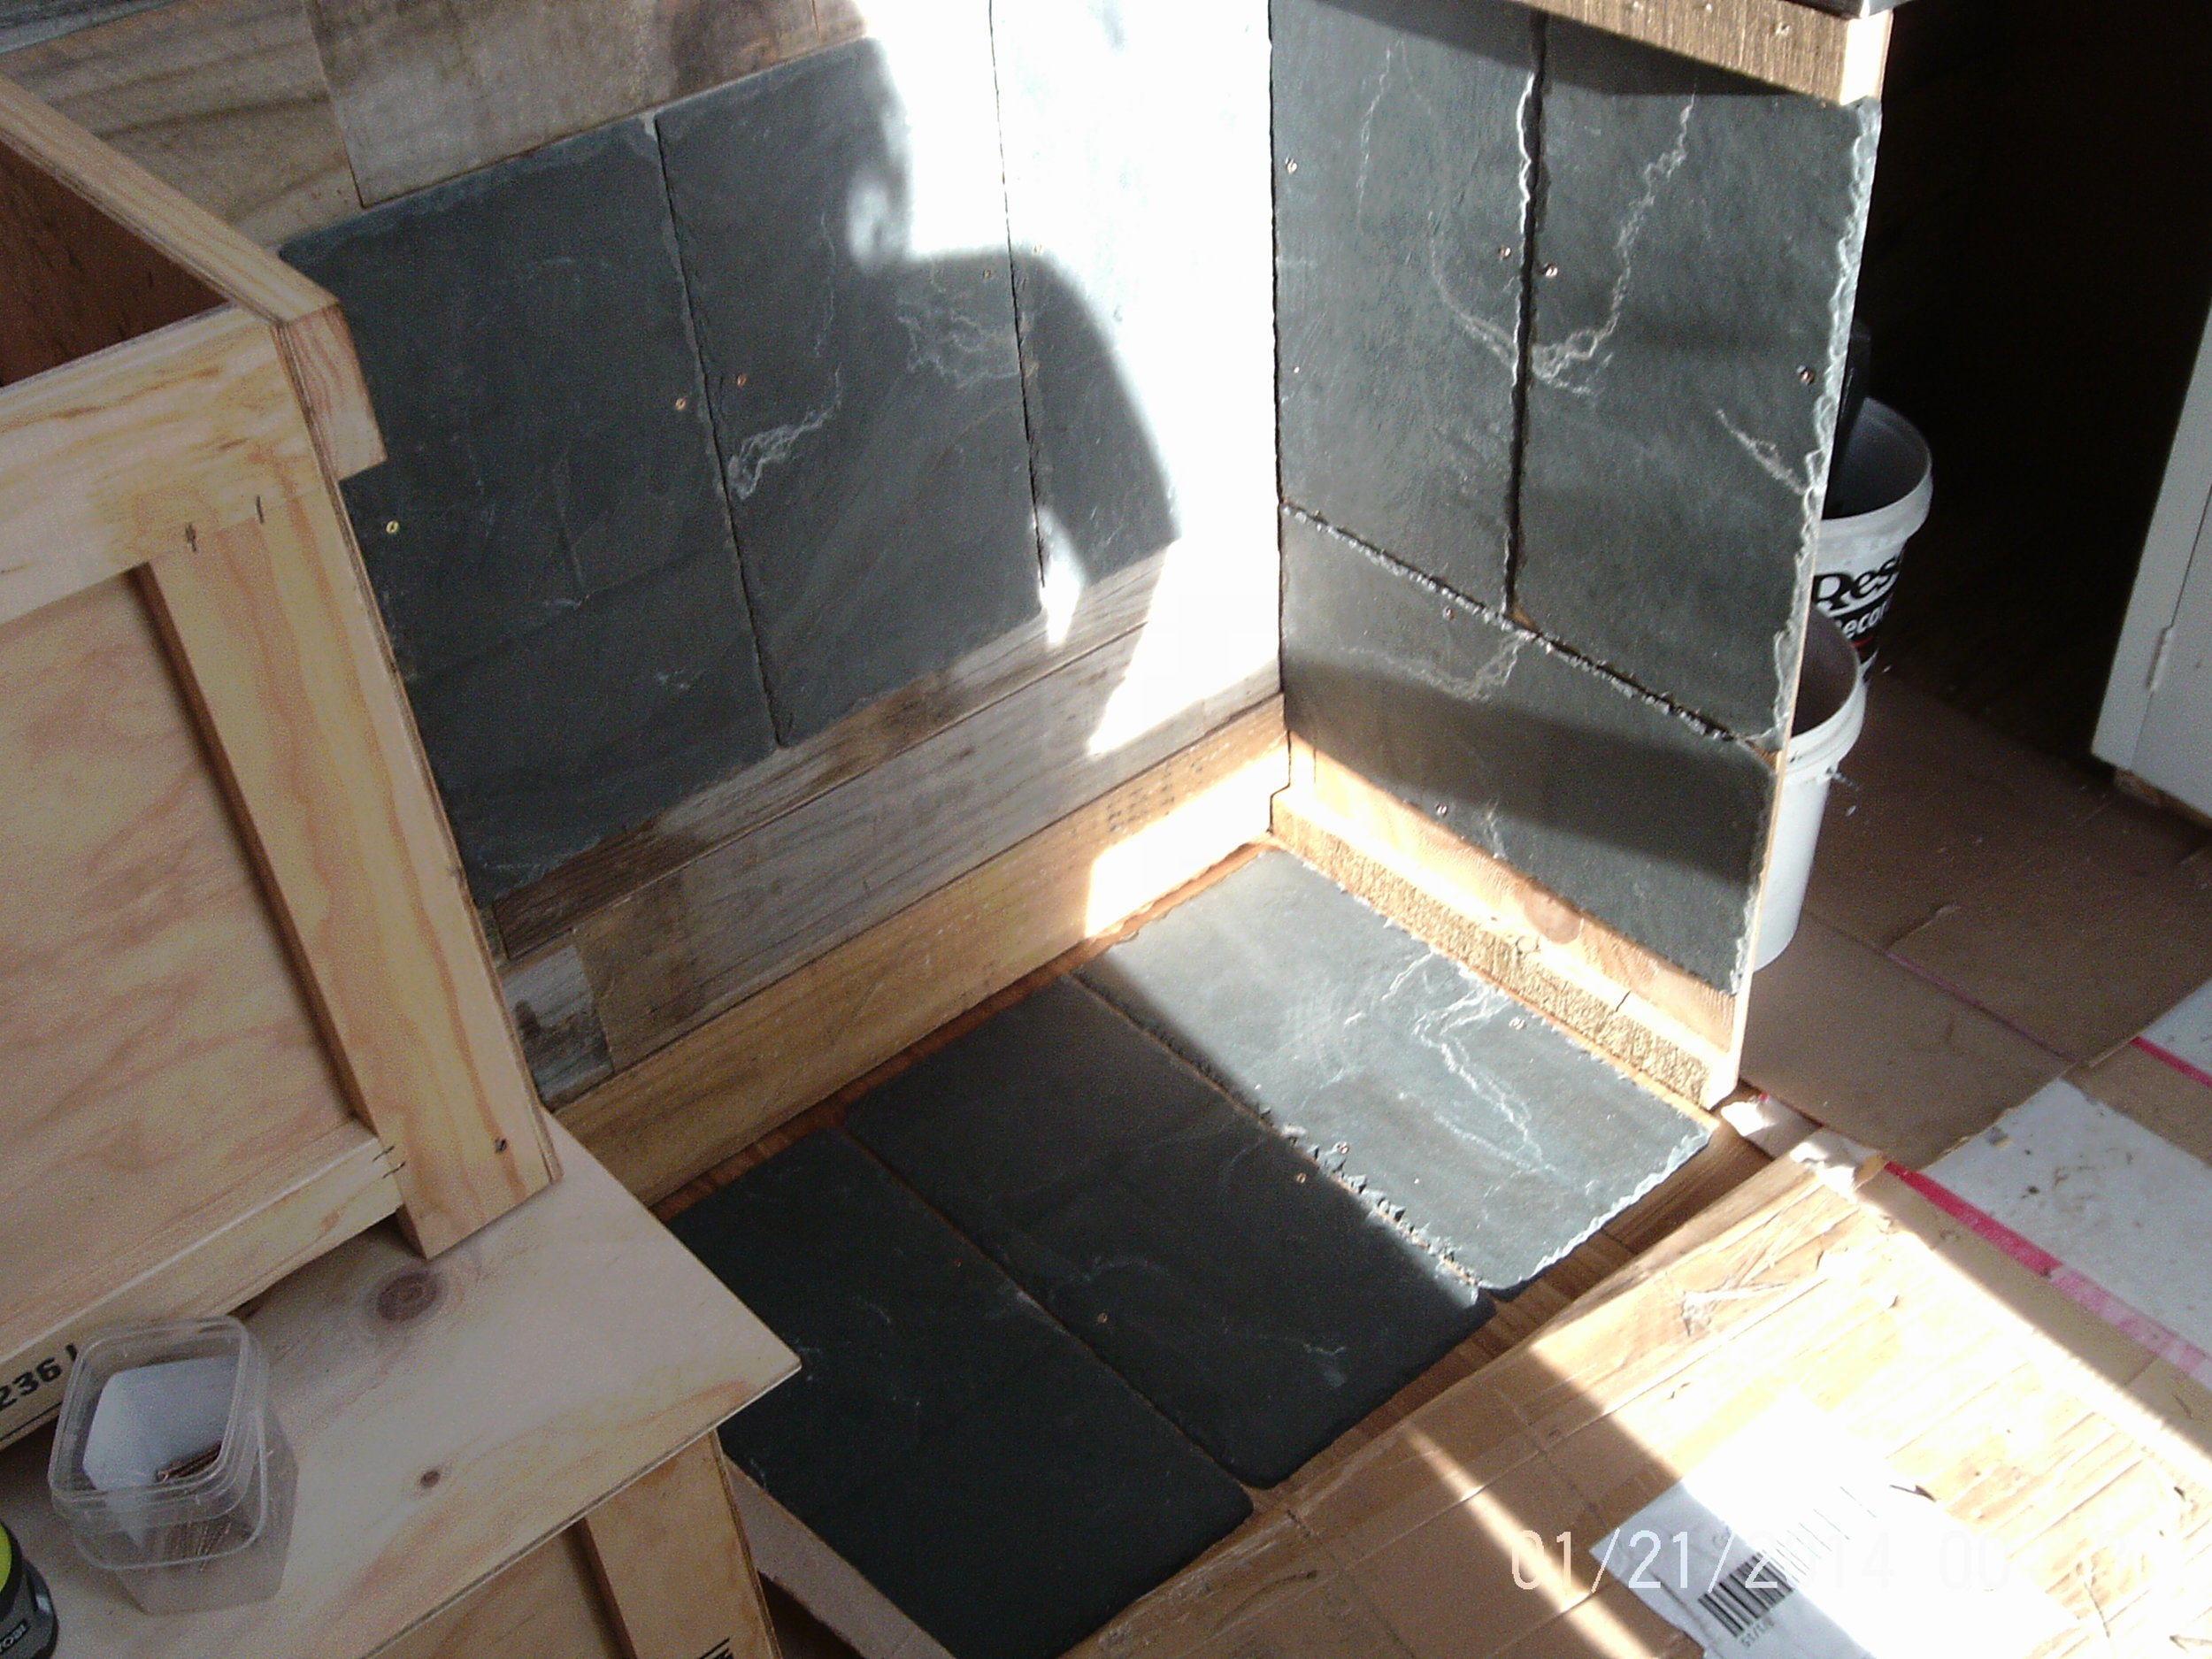
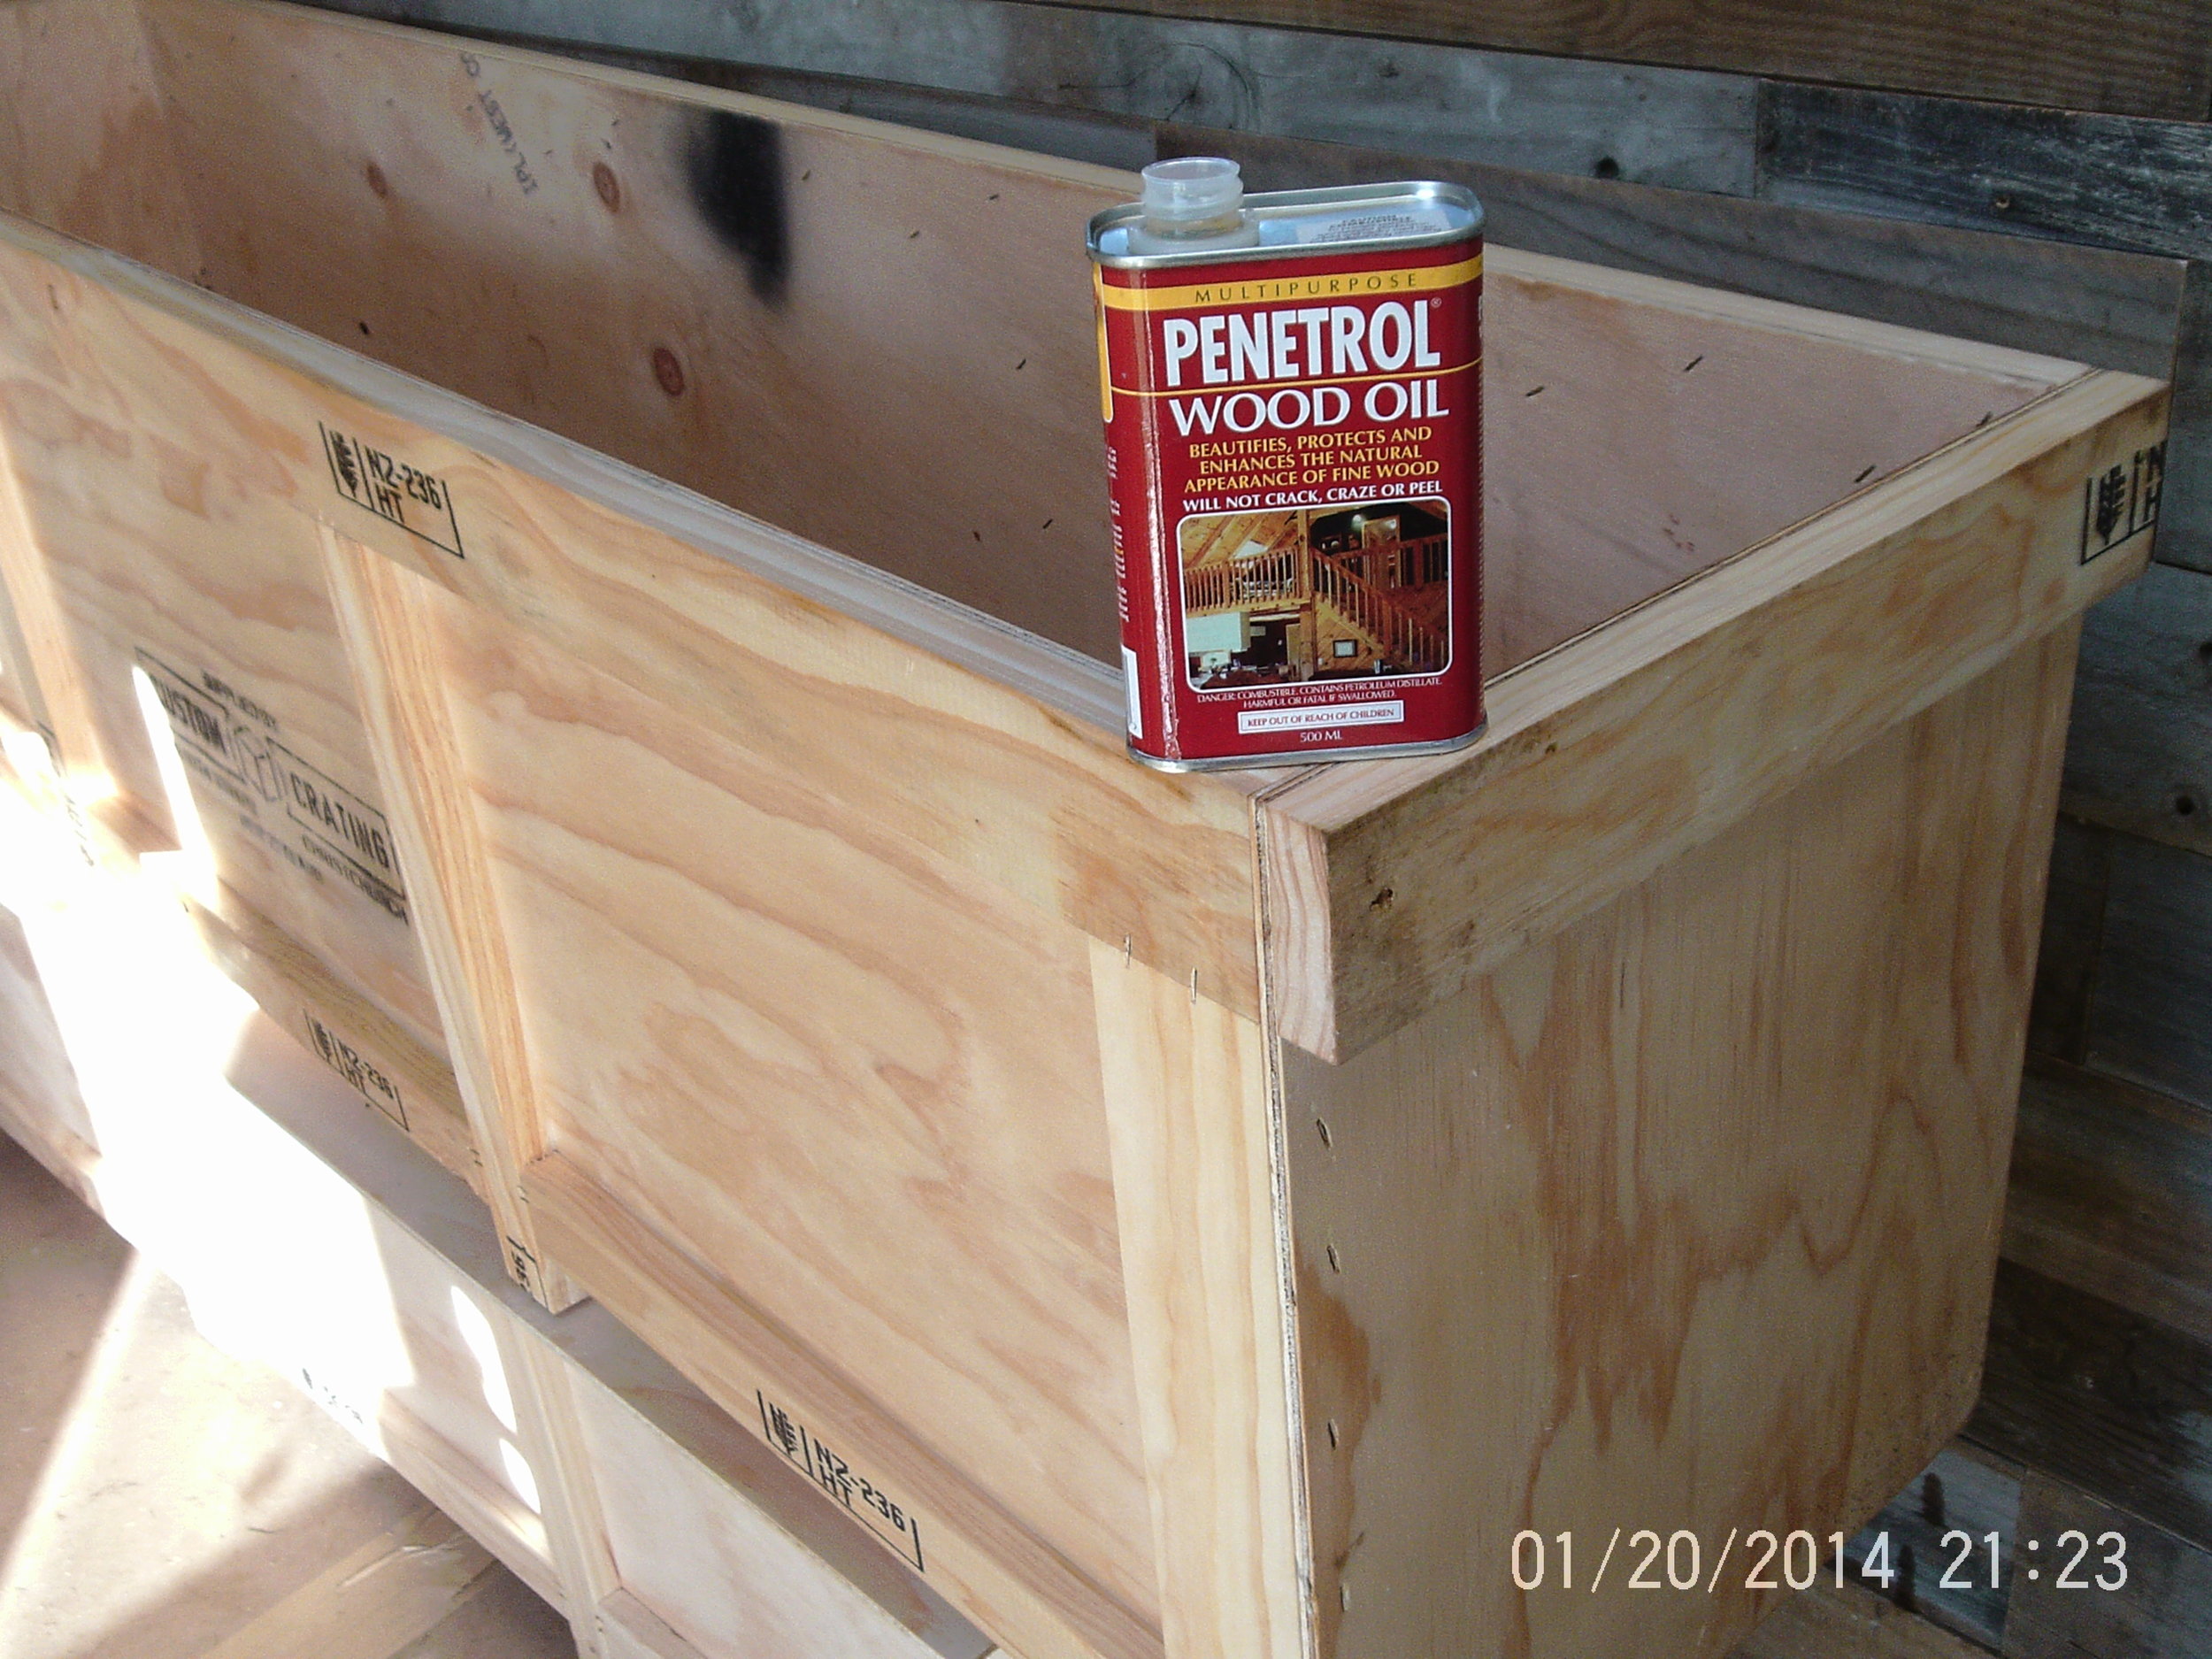
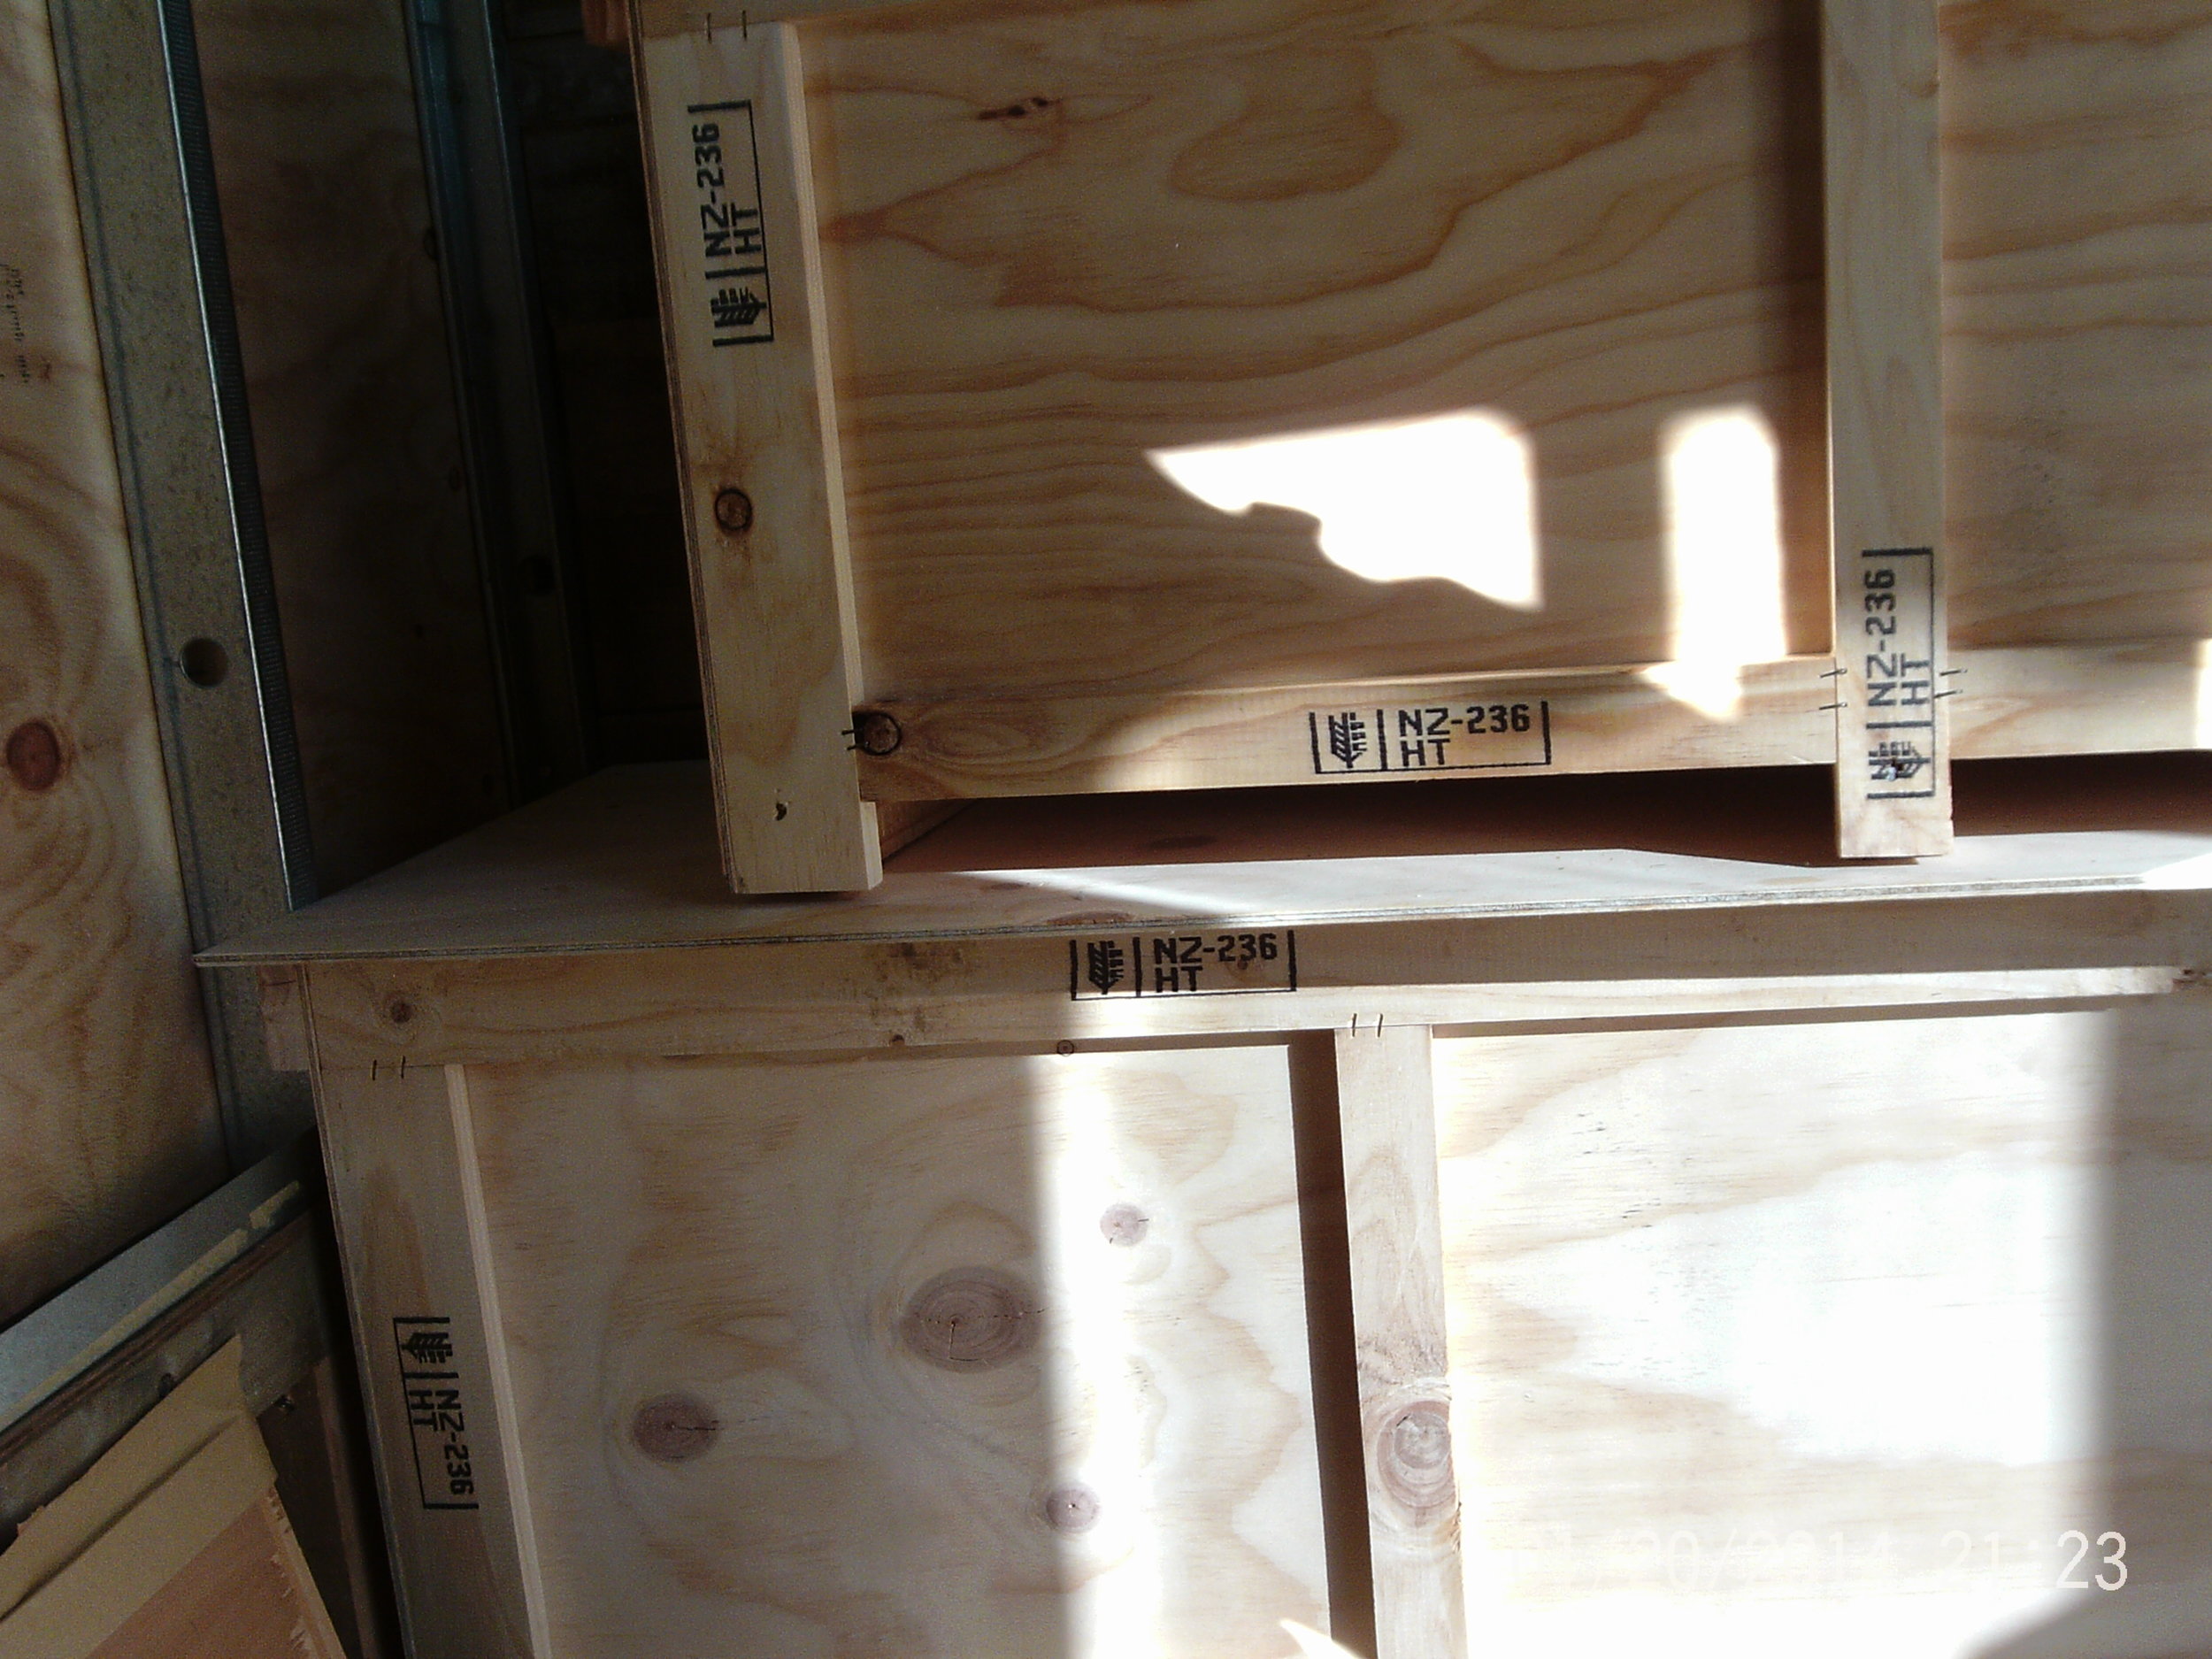
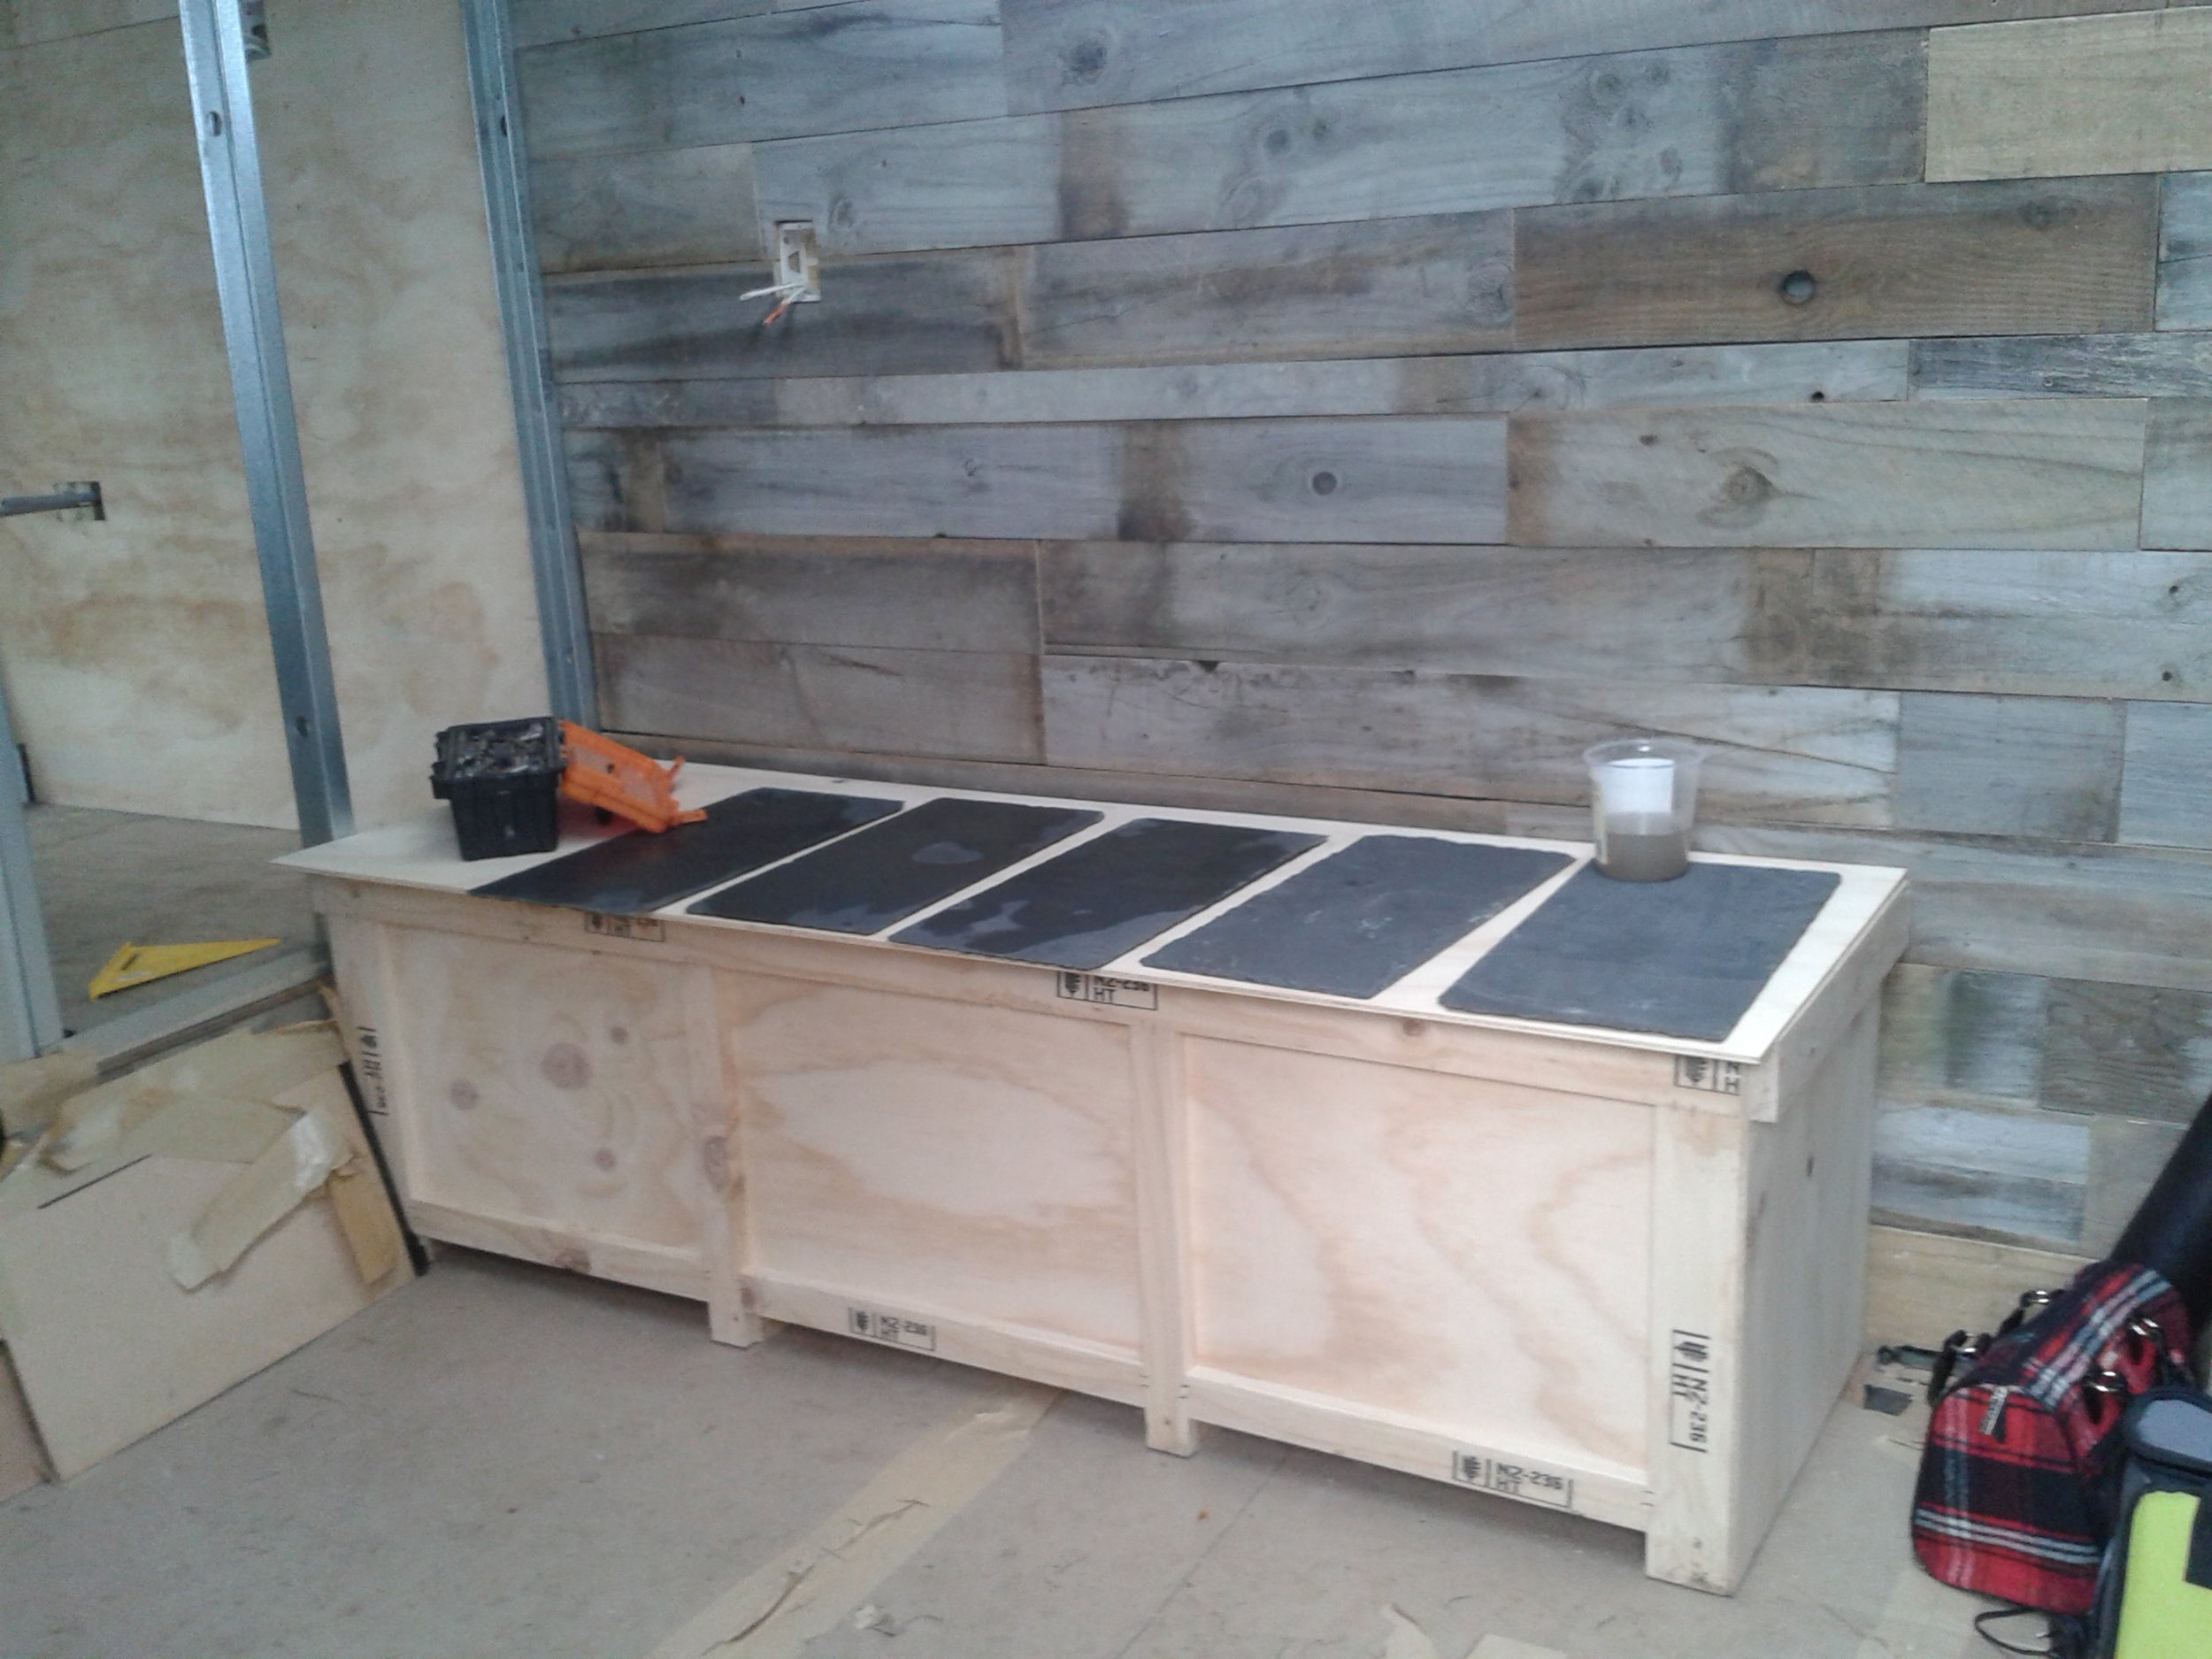
Hello everyone, Today we pressure tested all of our cold and hot water pipes, installed the slate backing for the wood stove, and oiled the crates (bench seats).


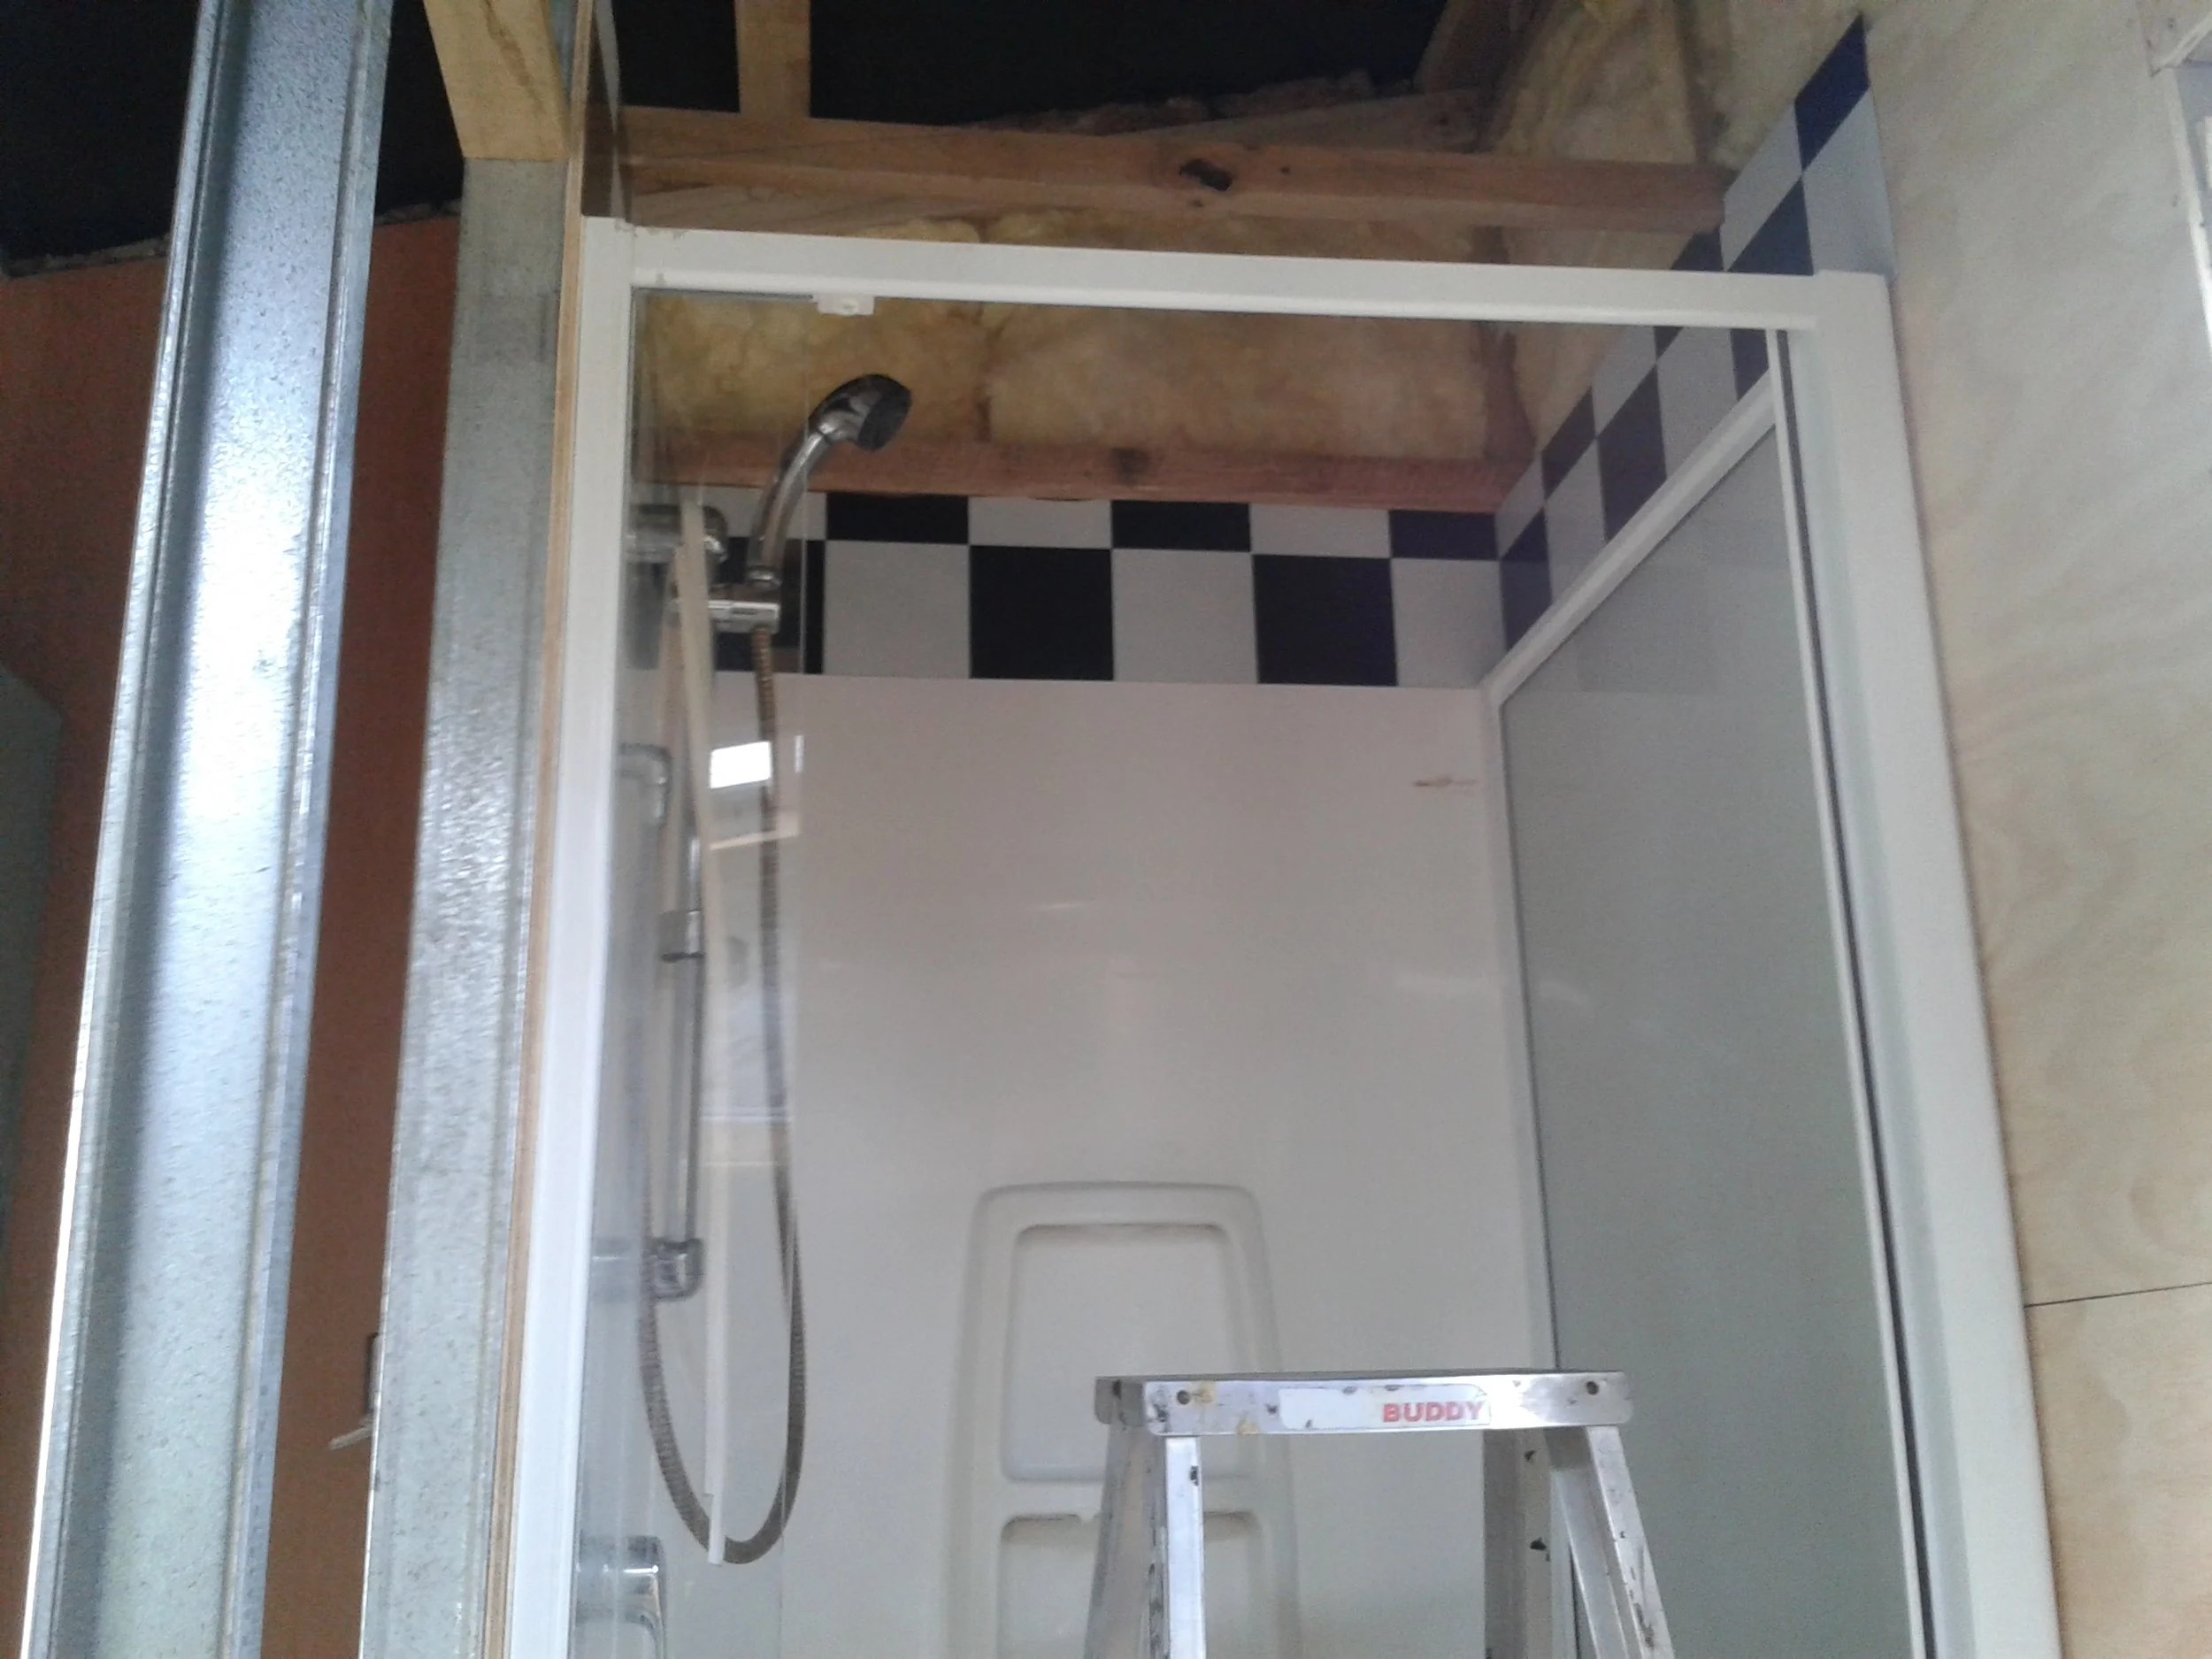
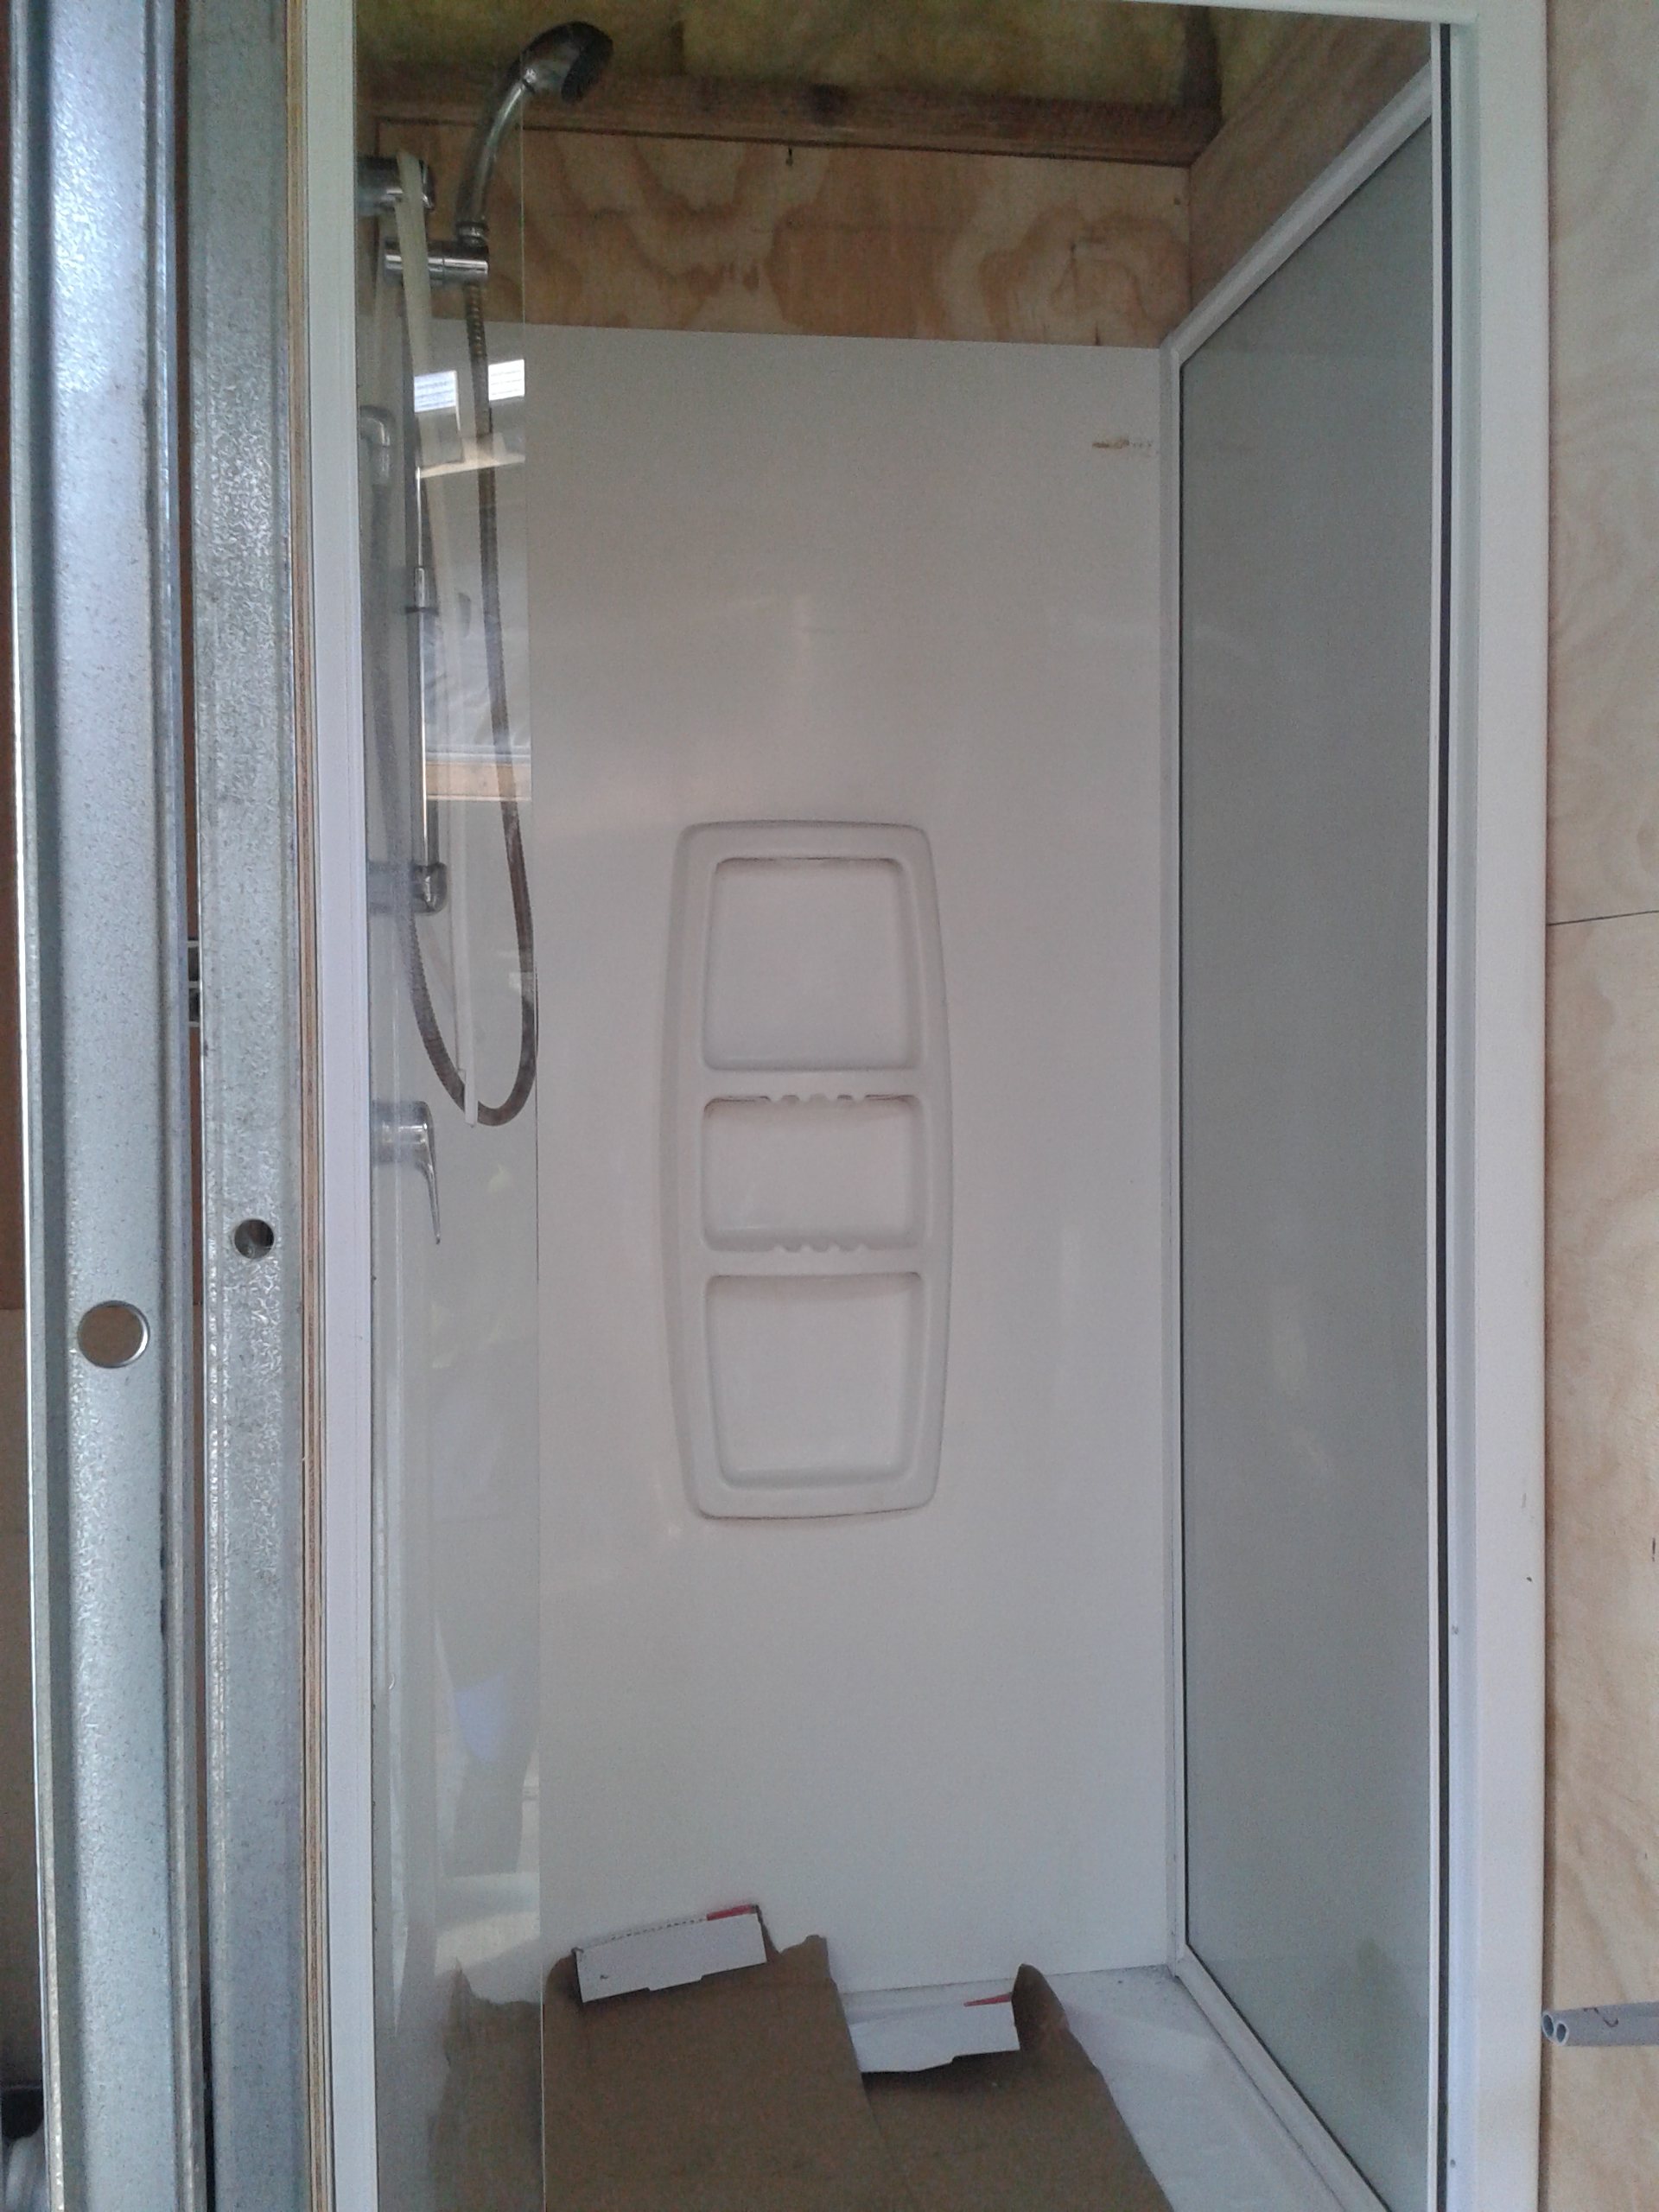
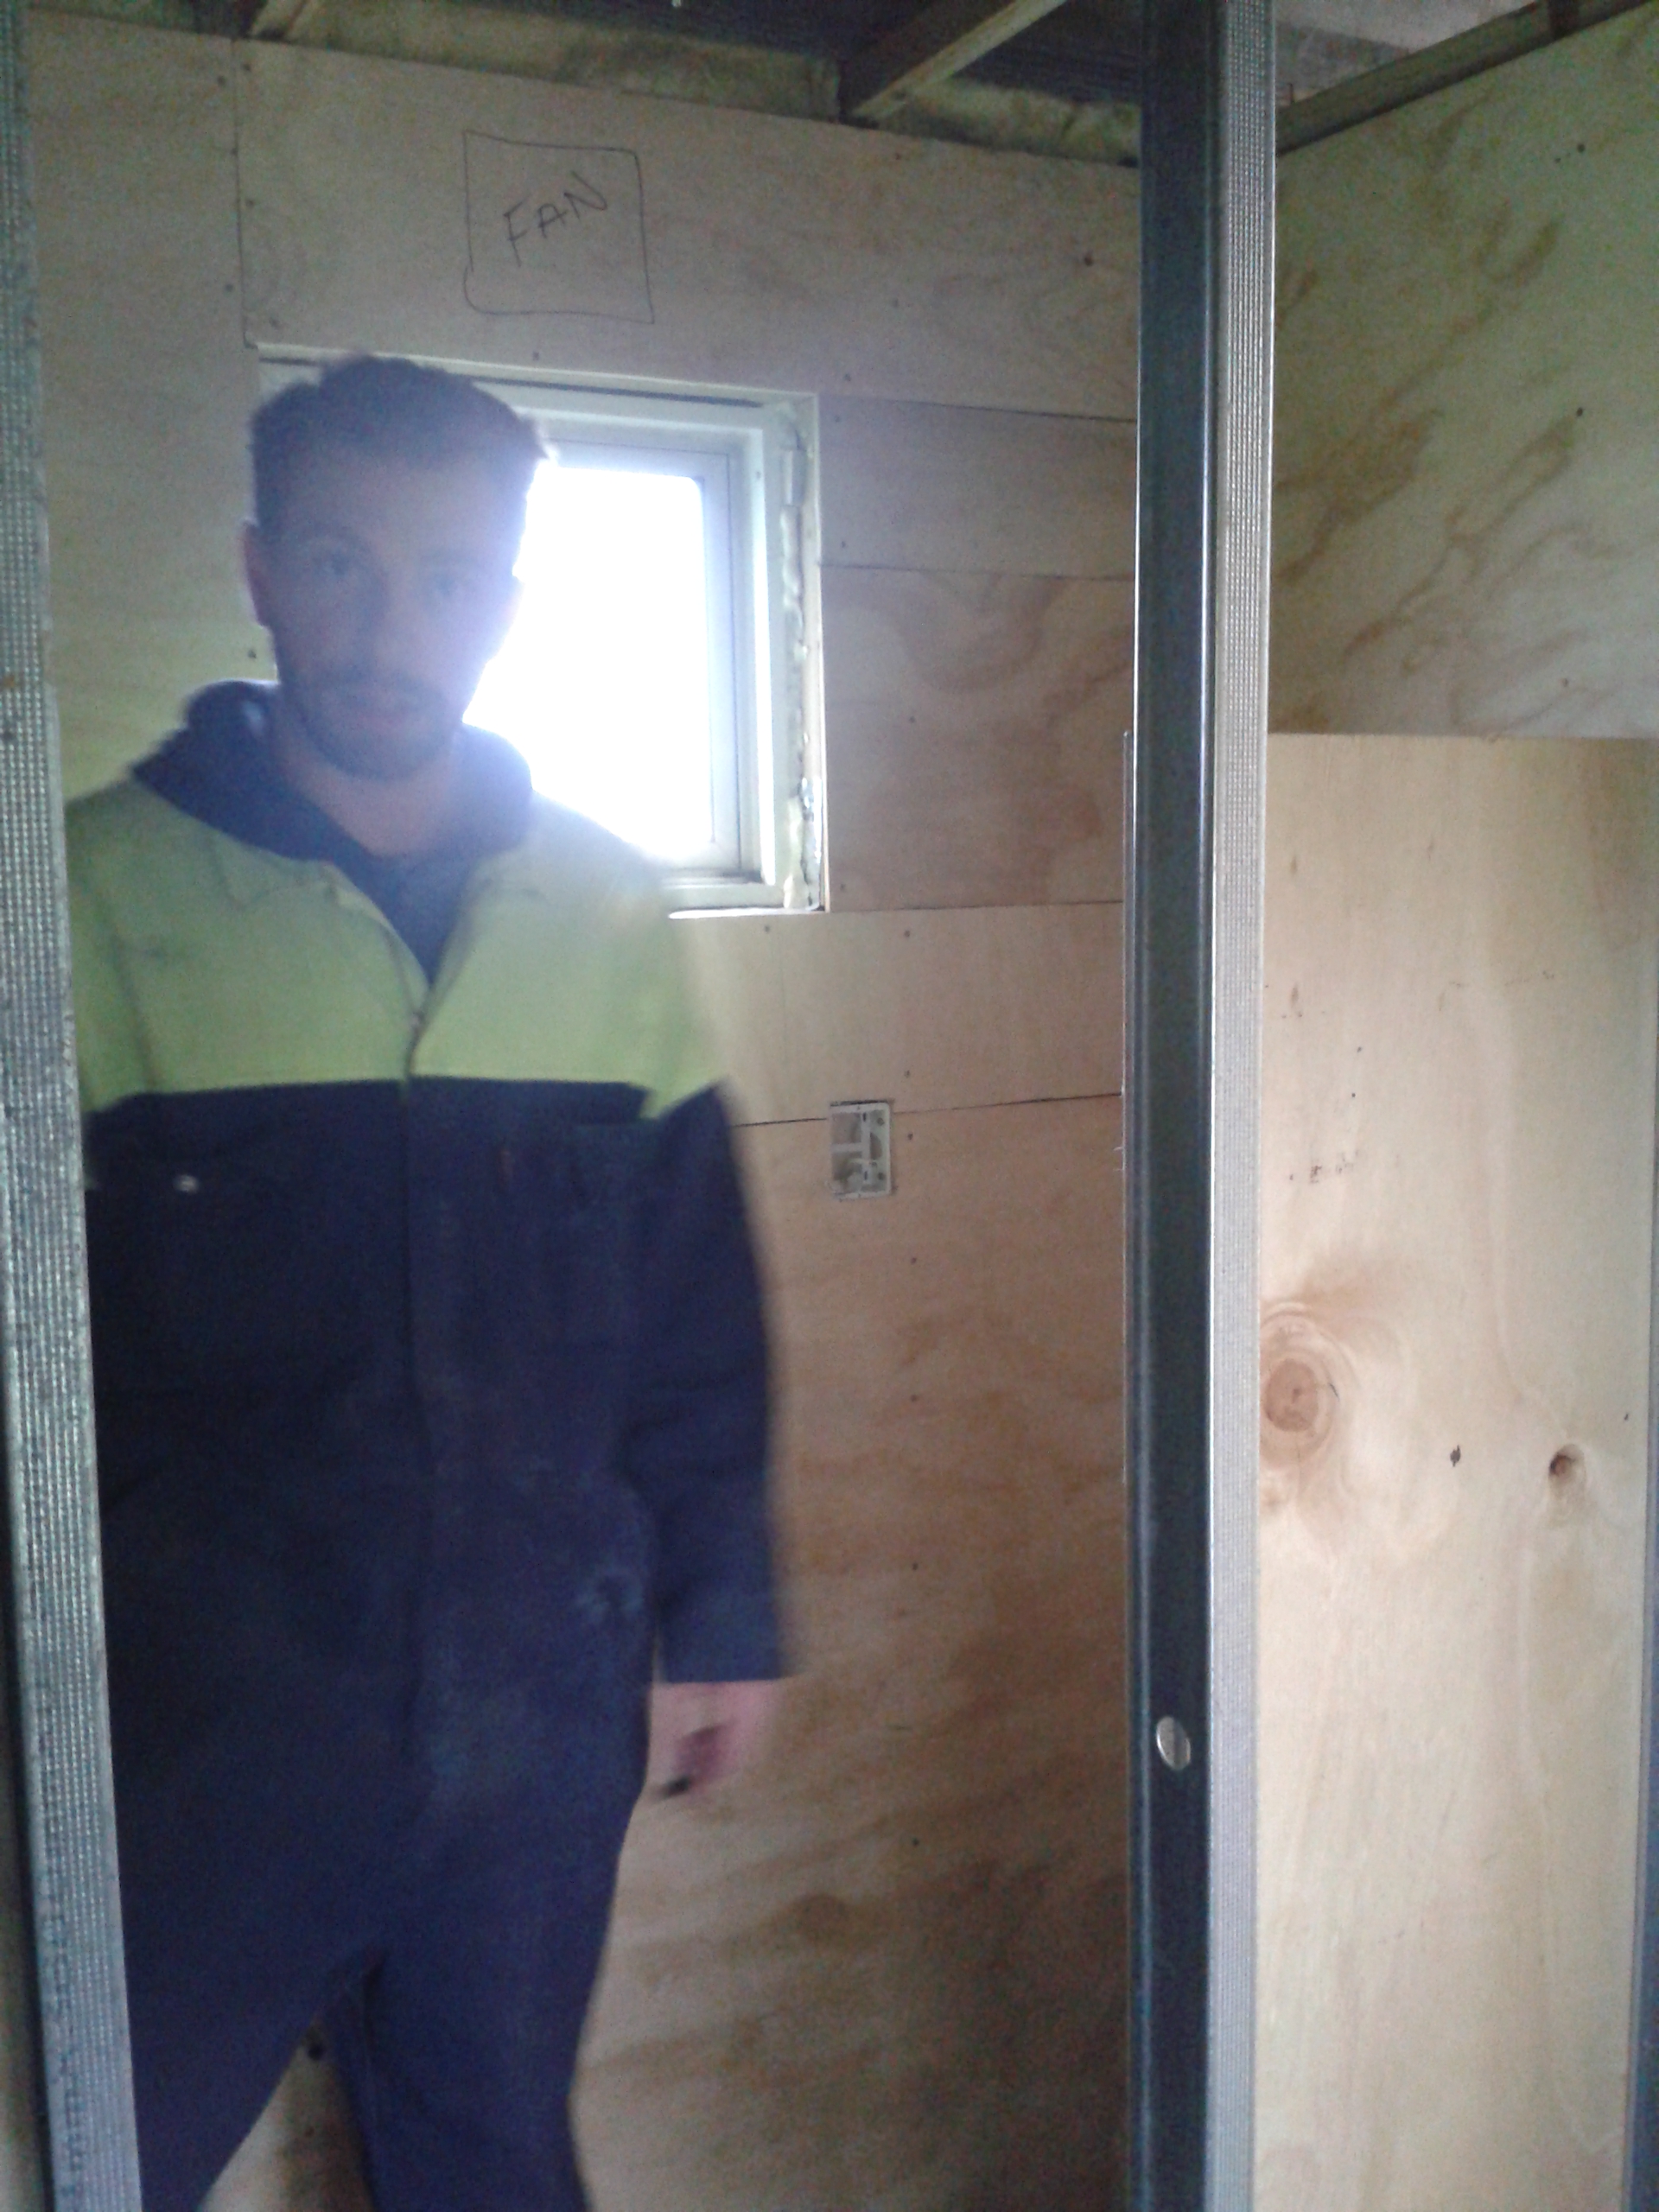
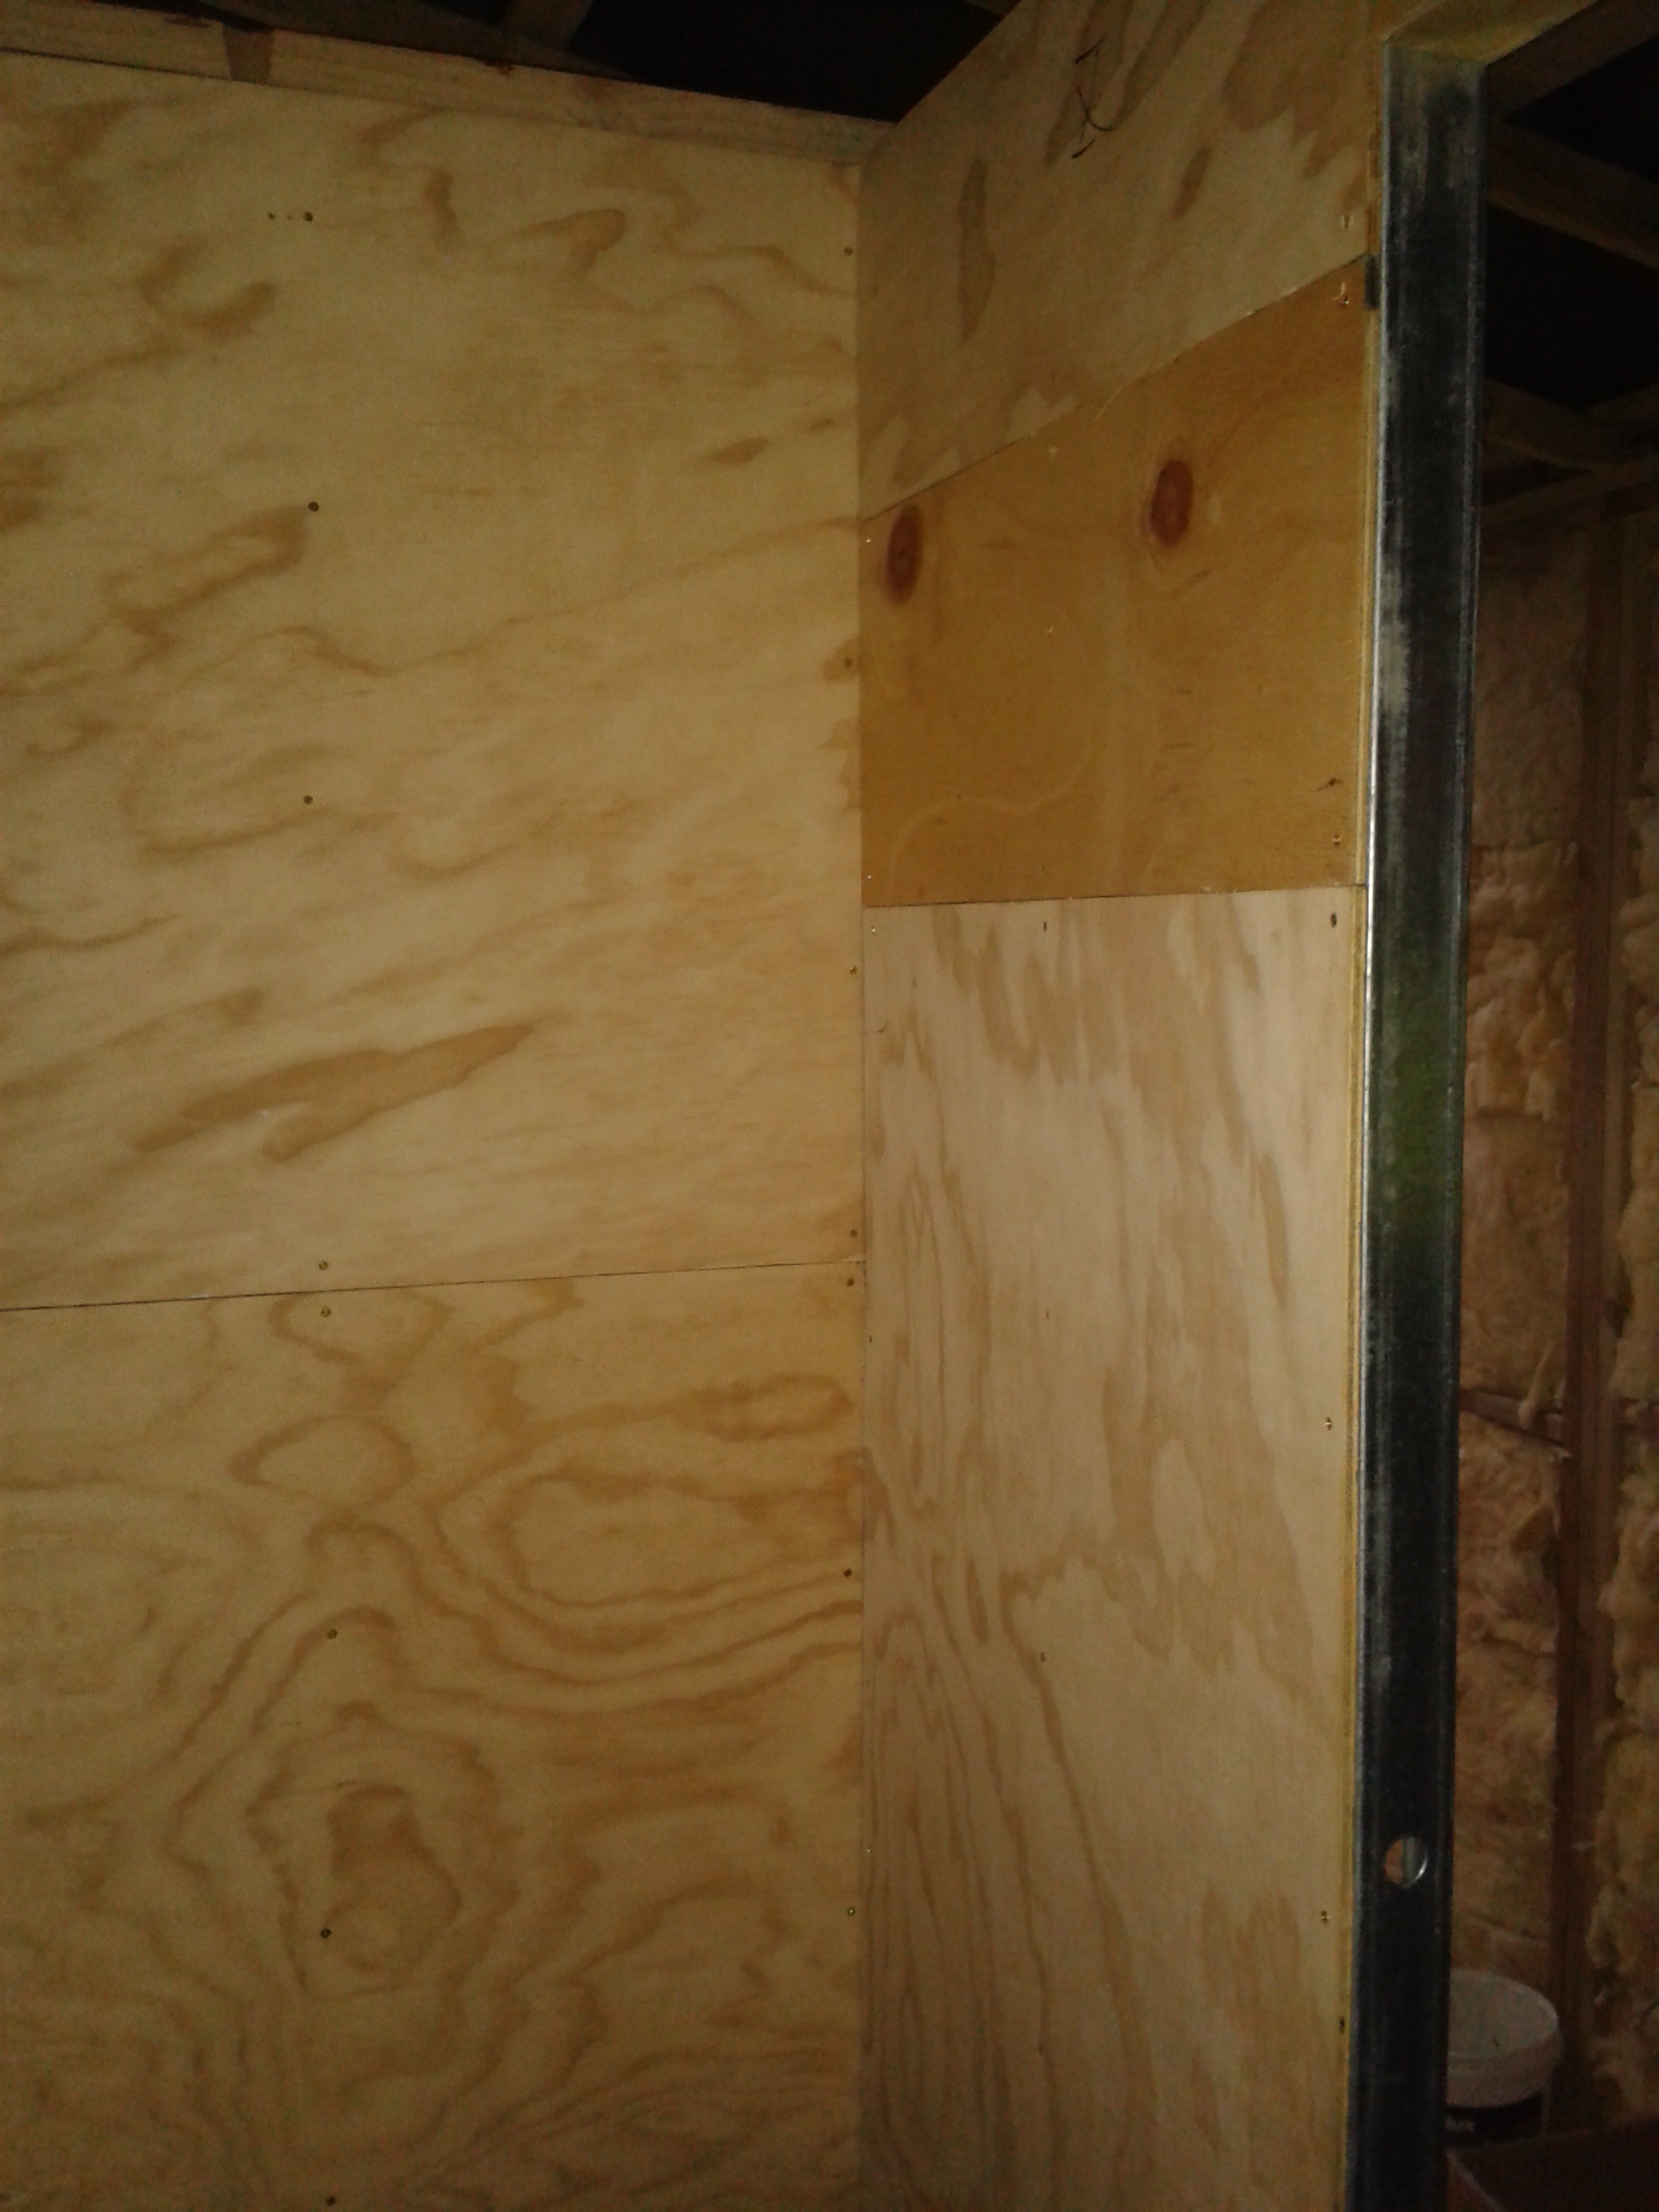
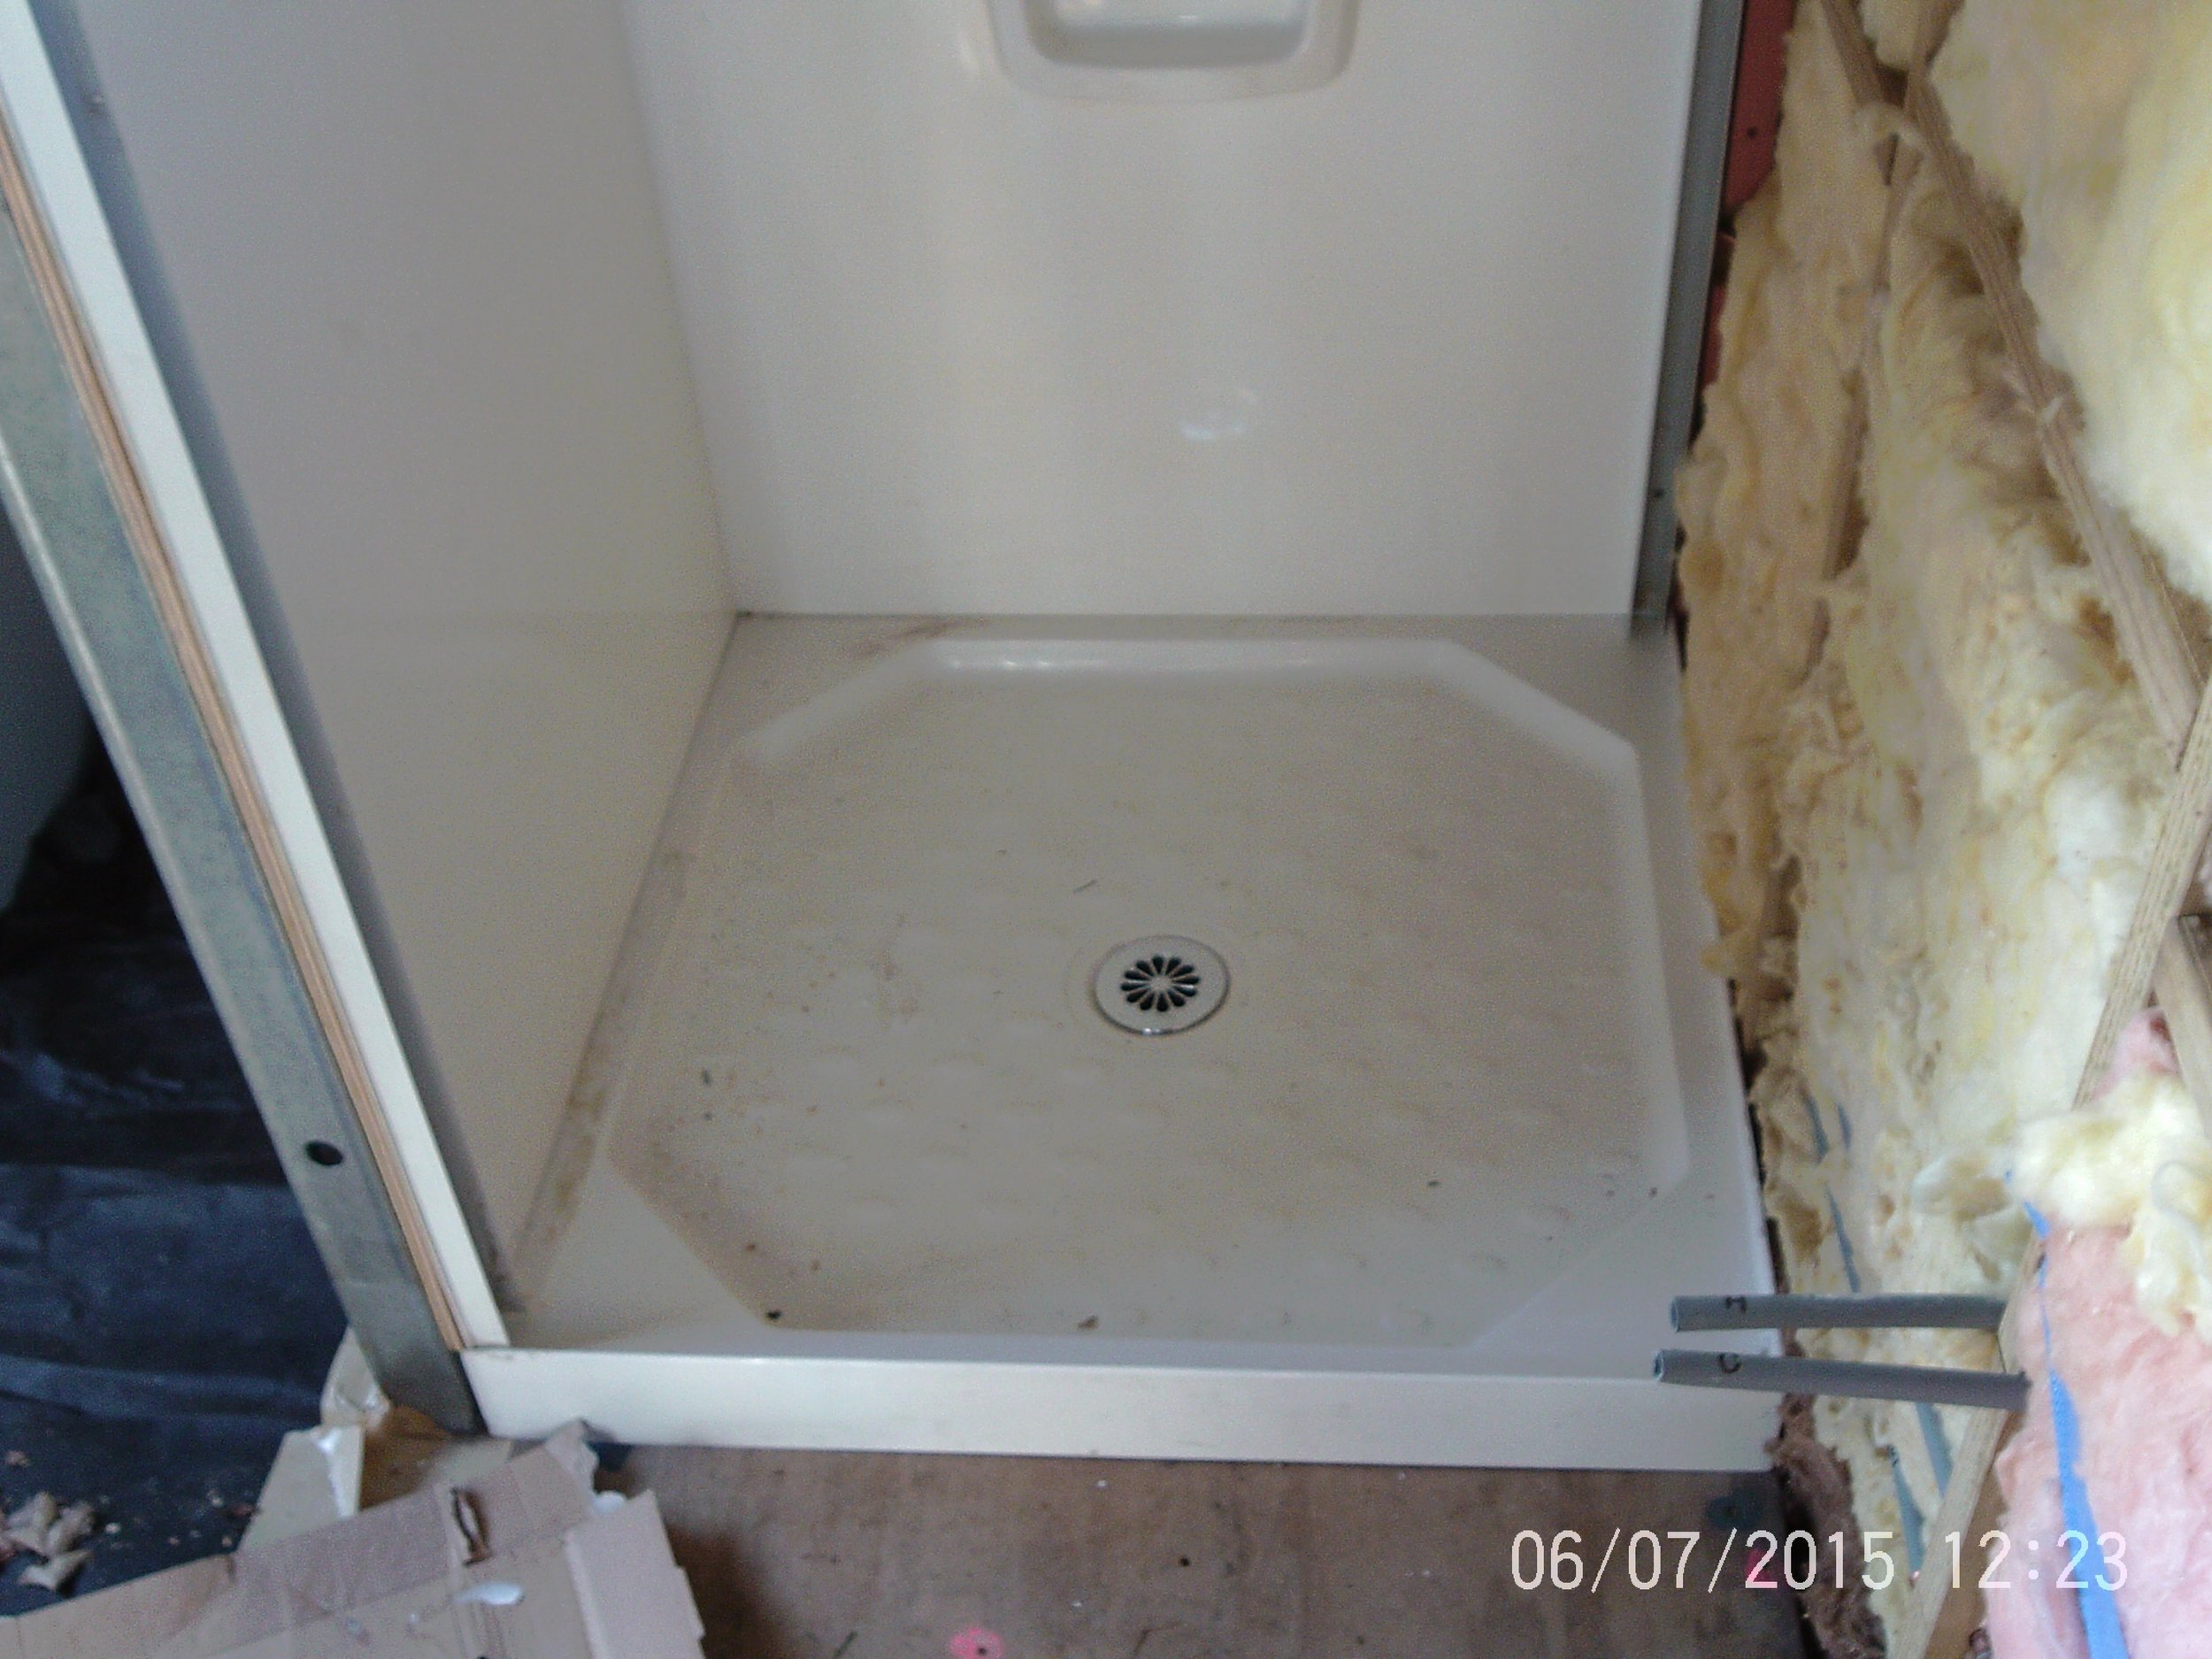
Hello Everyone, This weekend we worked on our bathroom. We finished installing the rest of our shower unit and added some cool retro checkered design around the top edge. We also finished adding plywood to the inside walls so we have something to attach our bathroom wall cladding.


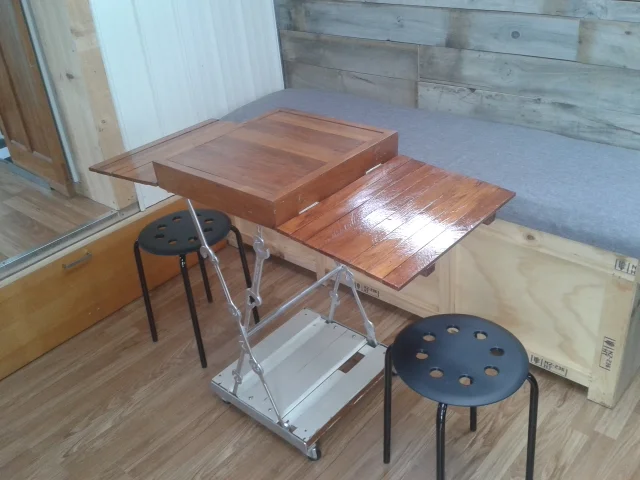
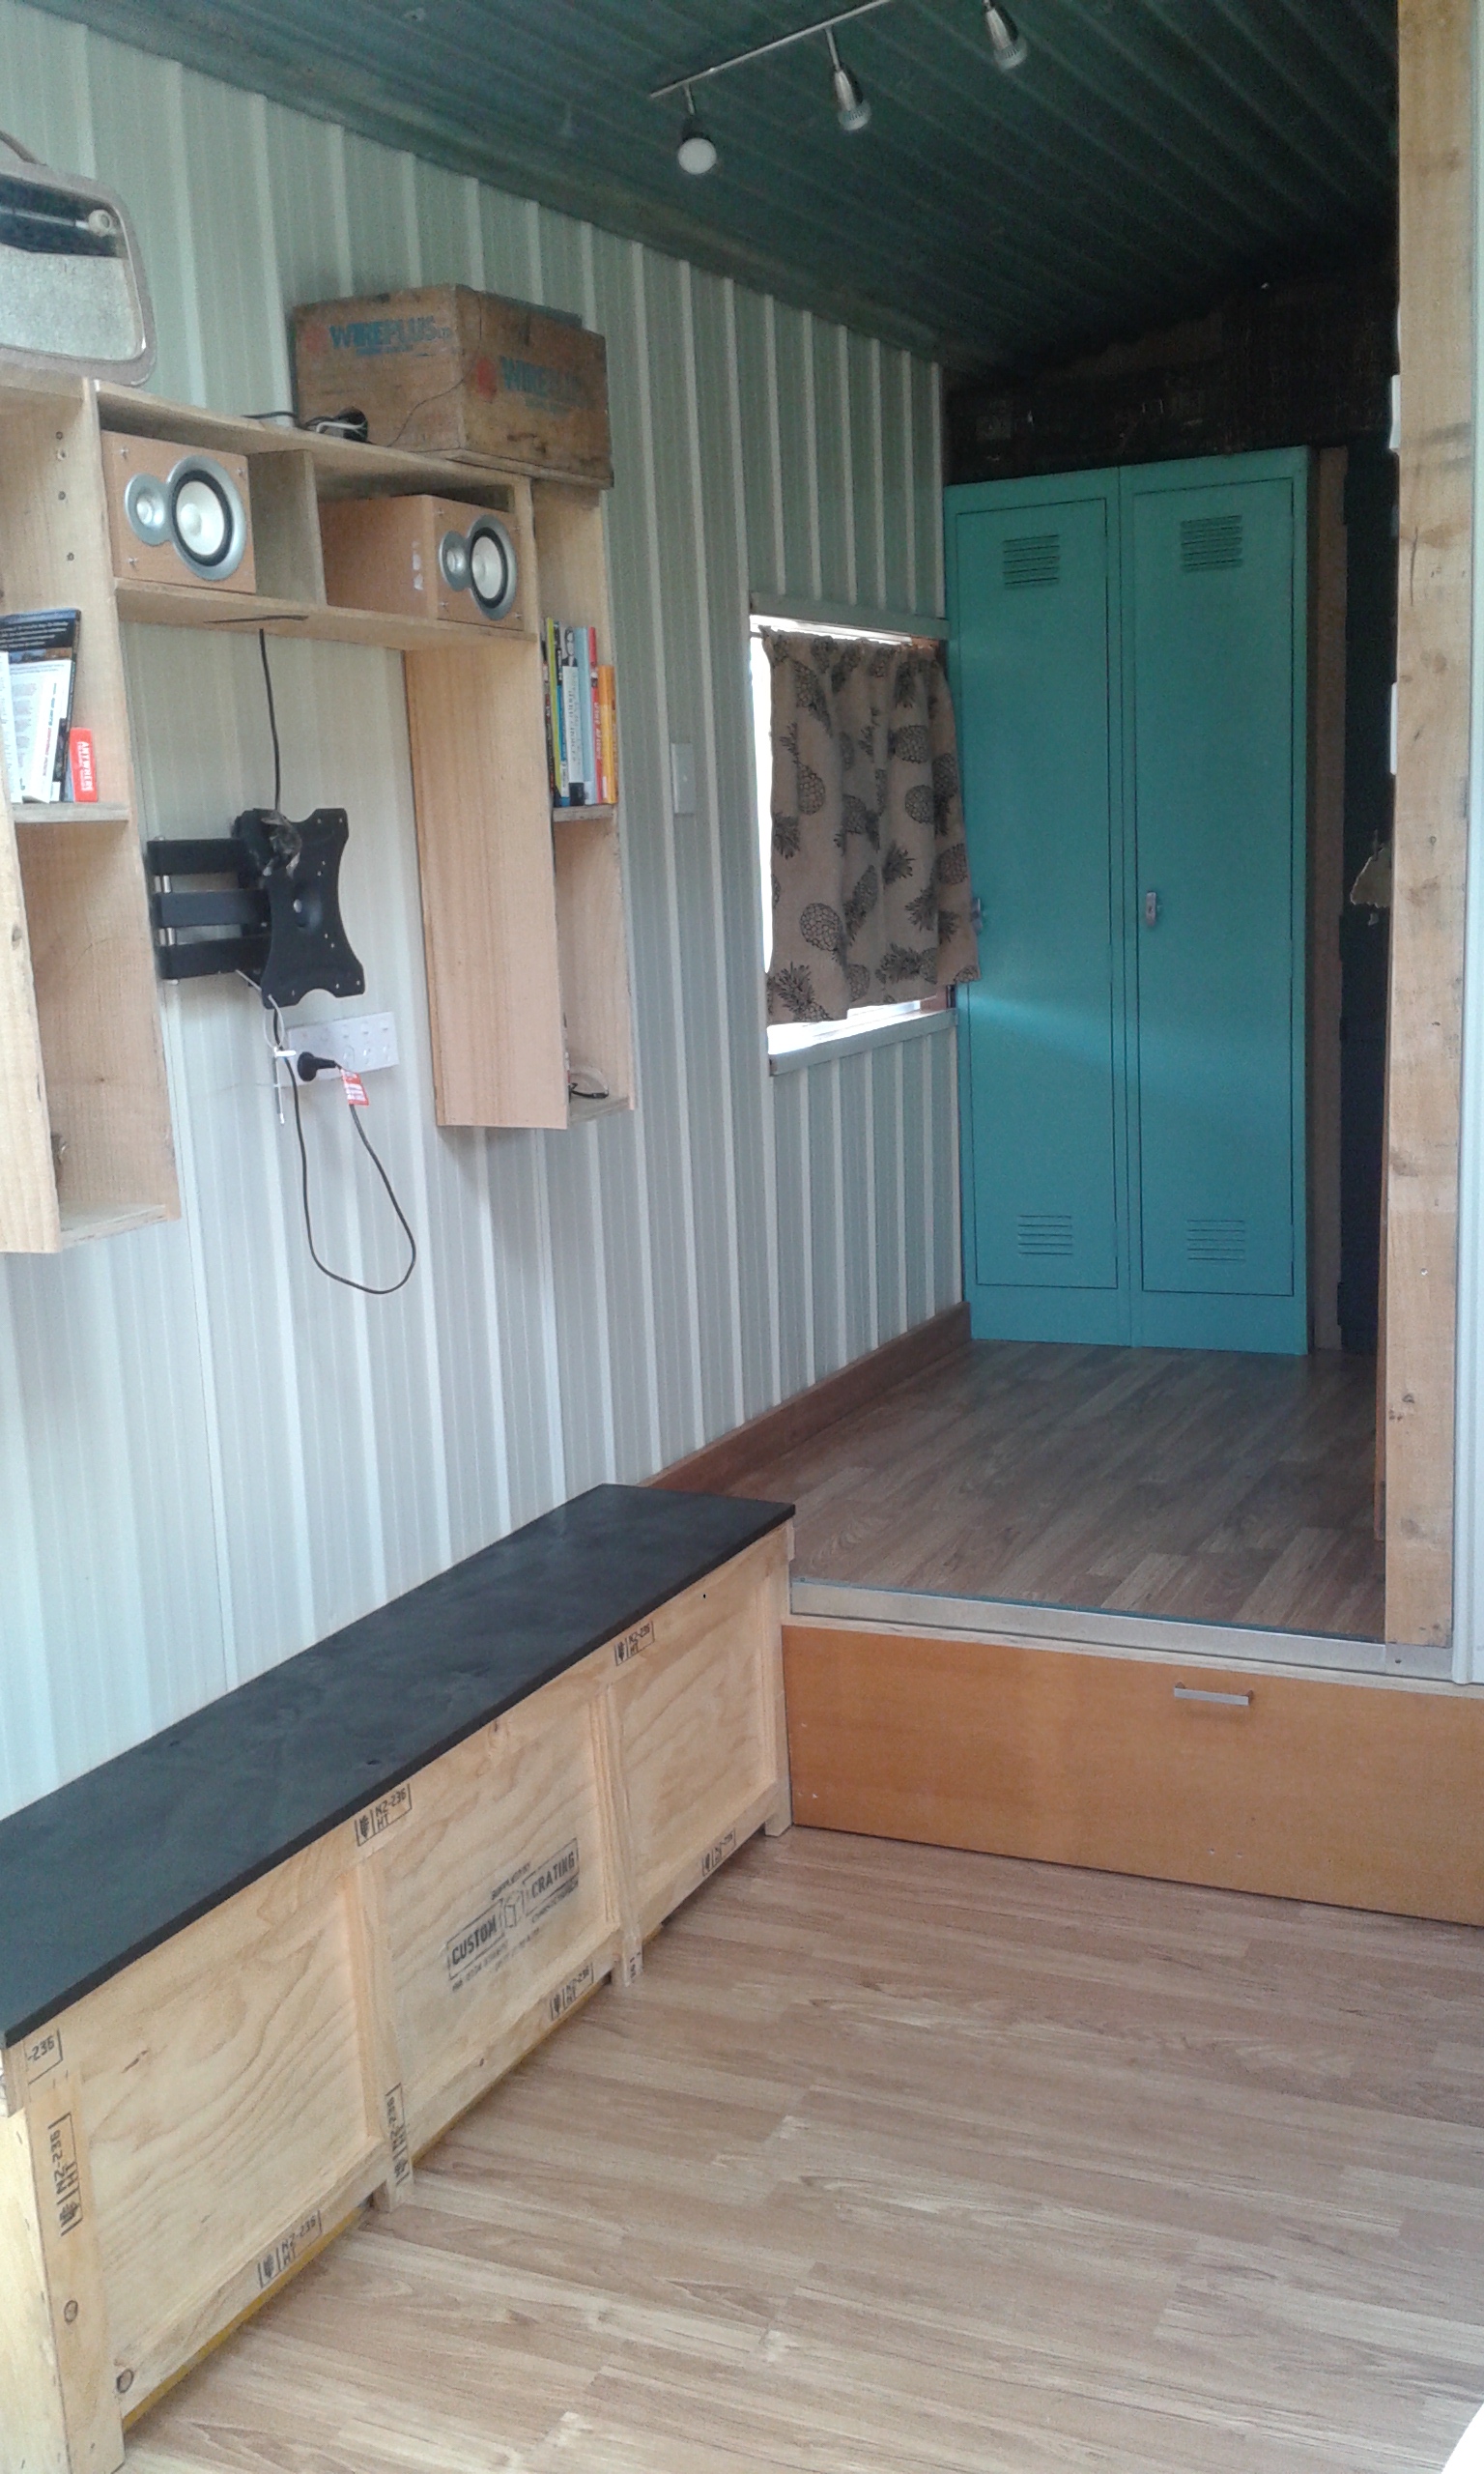
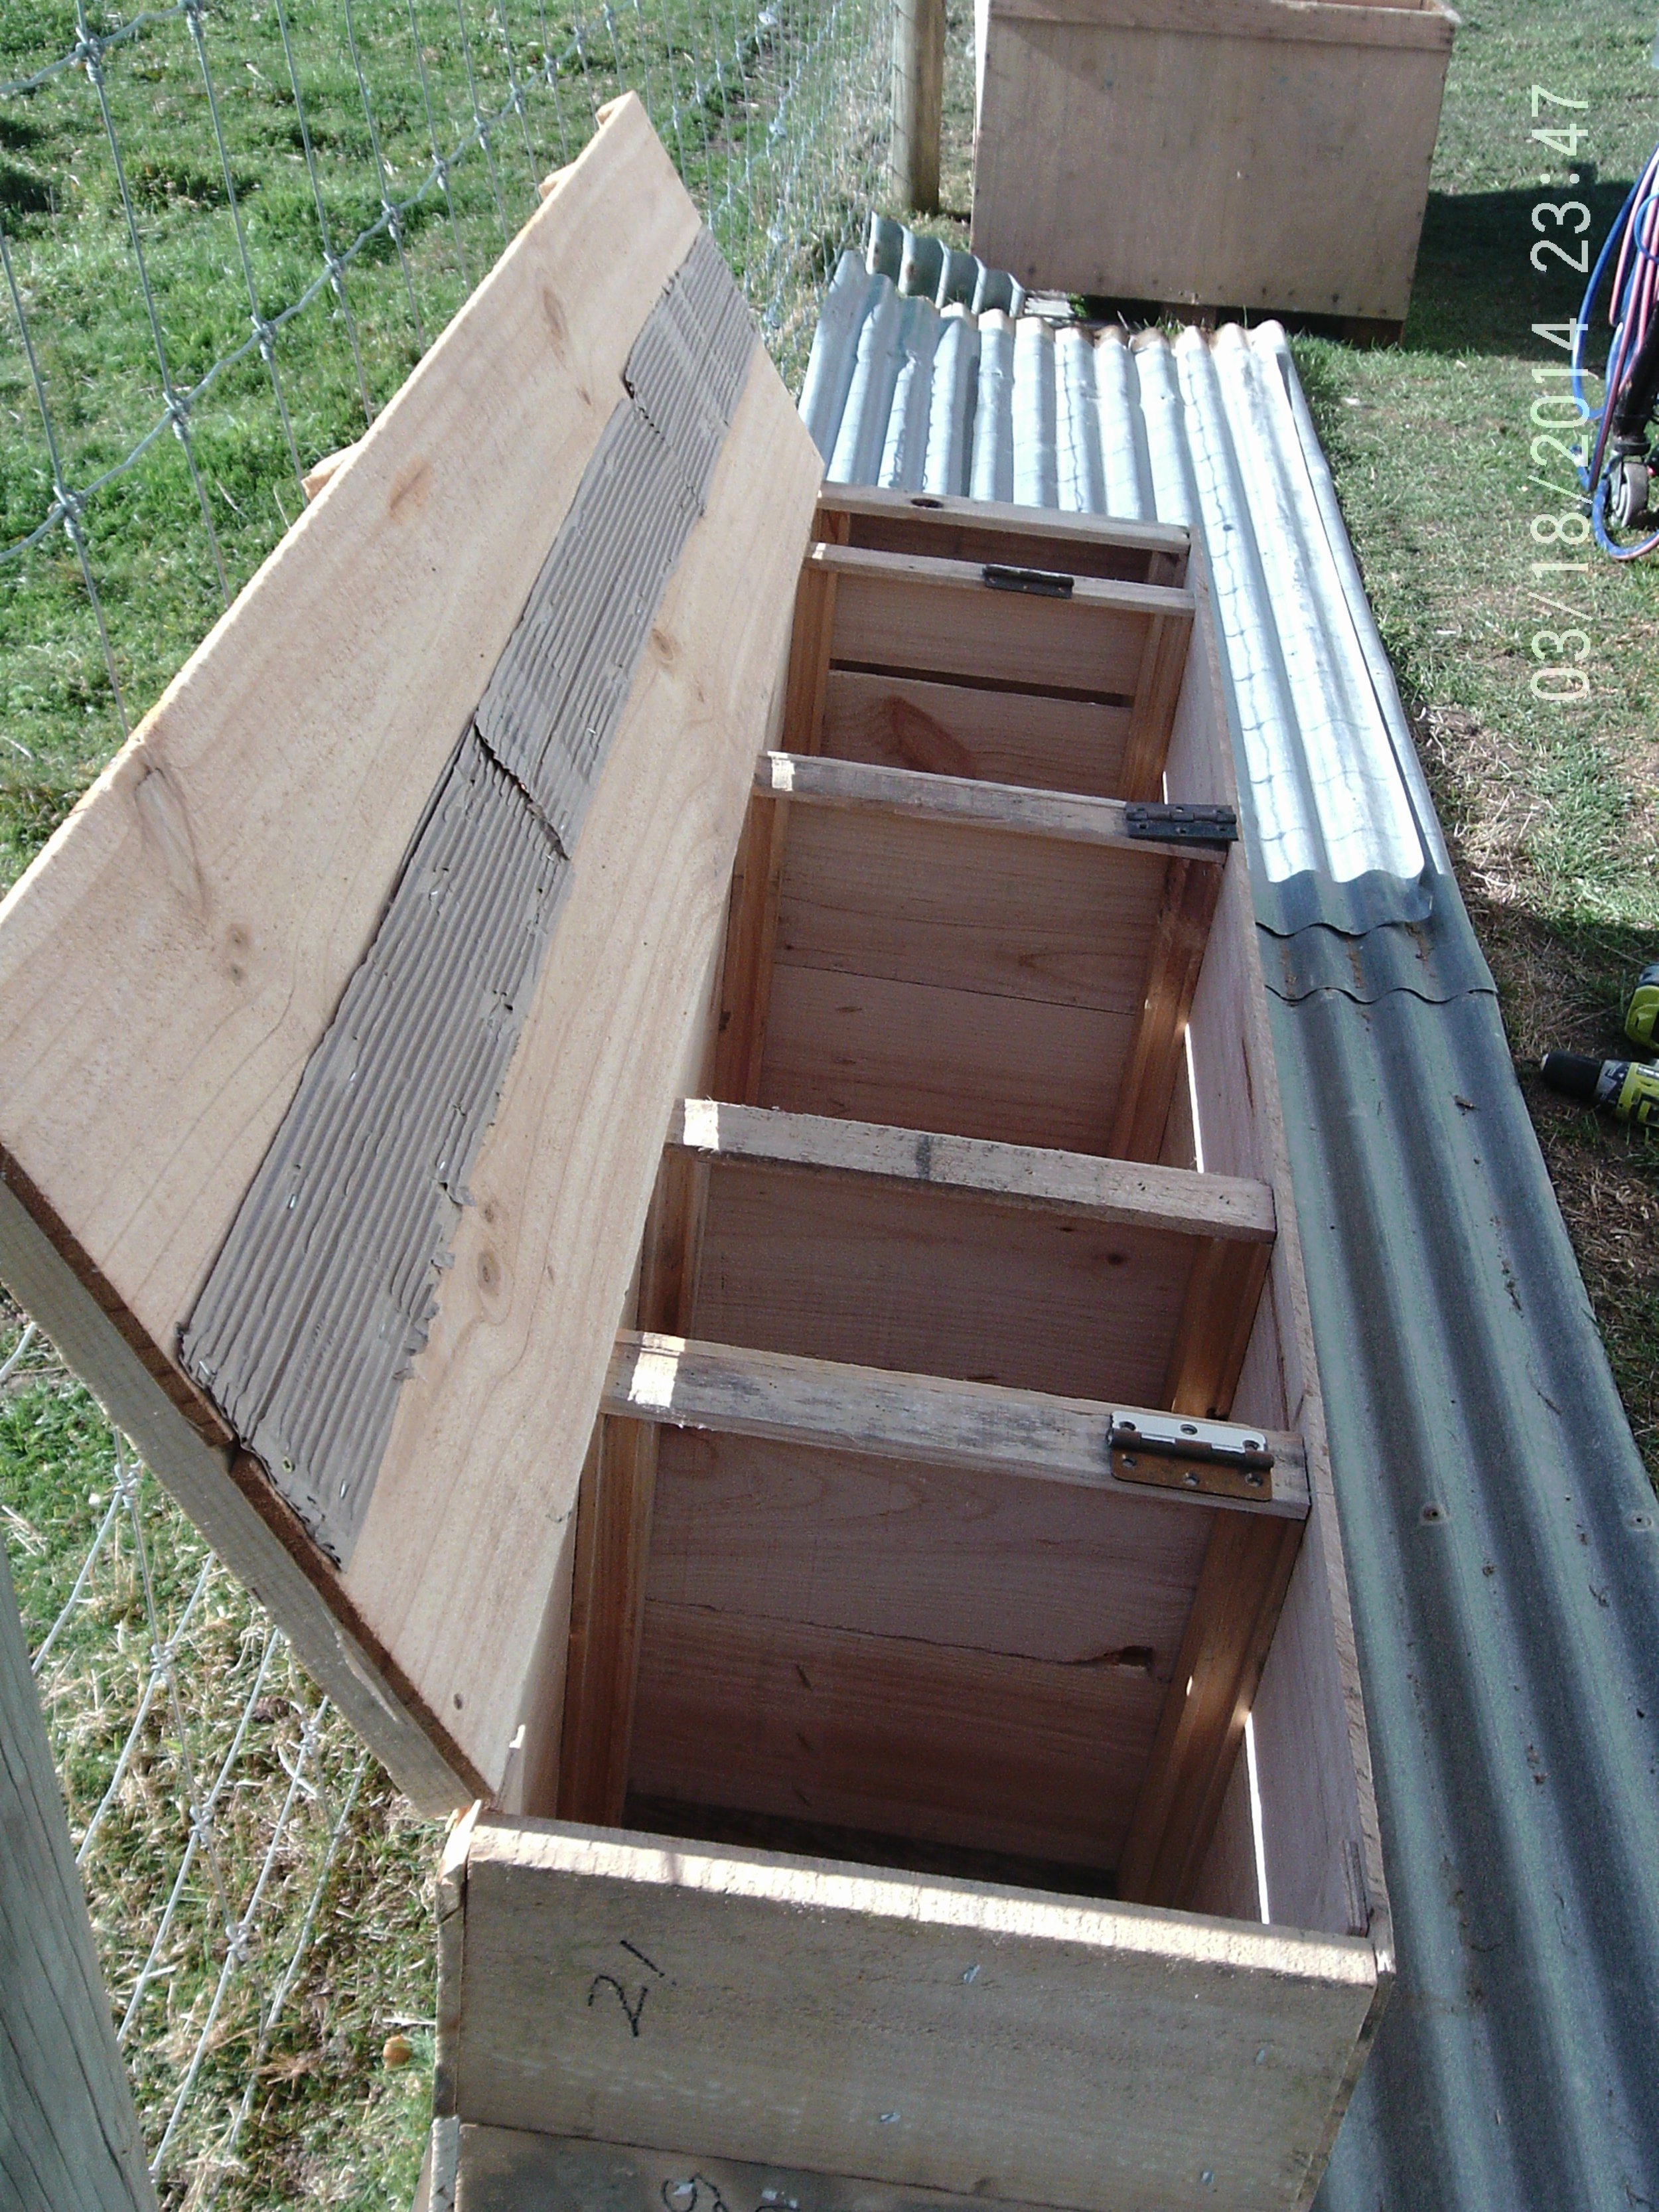
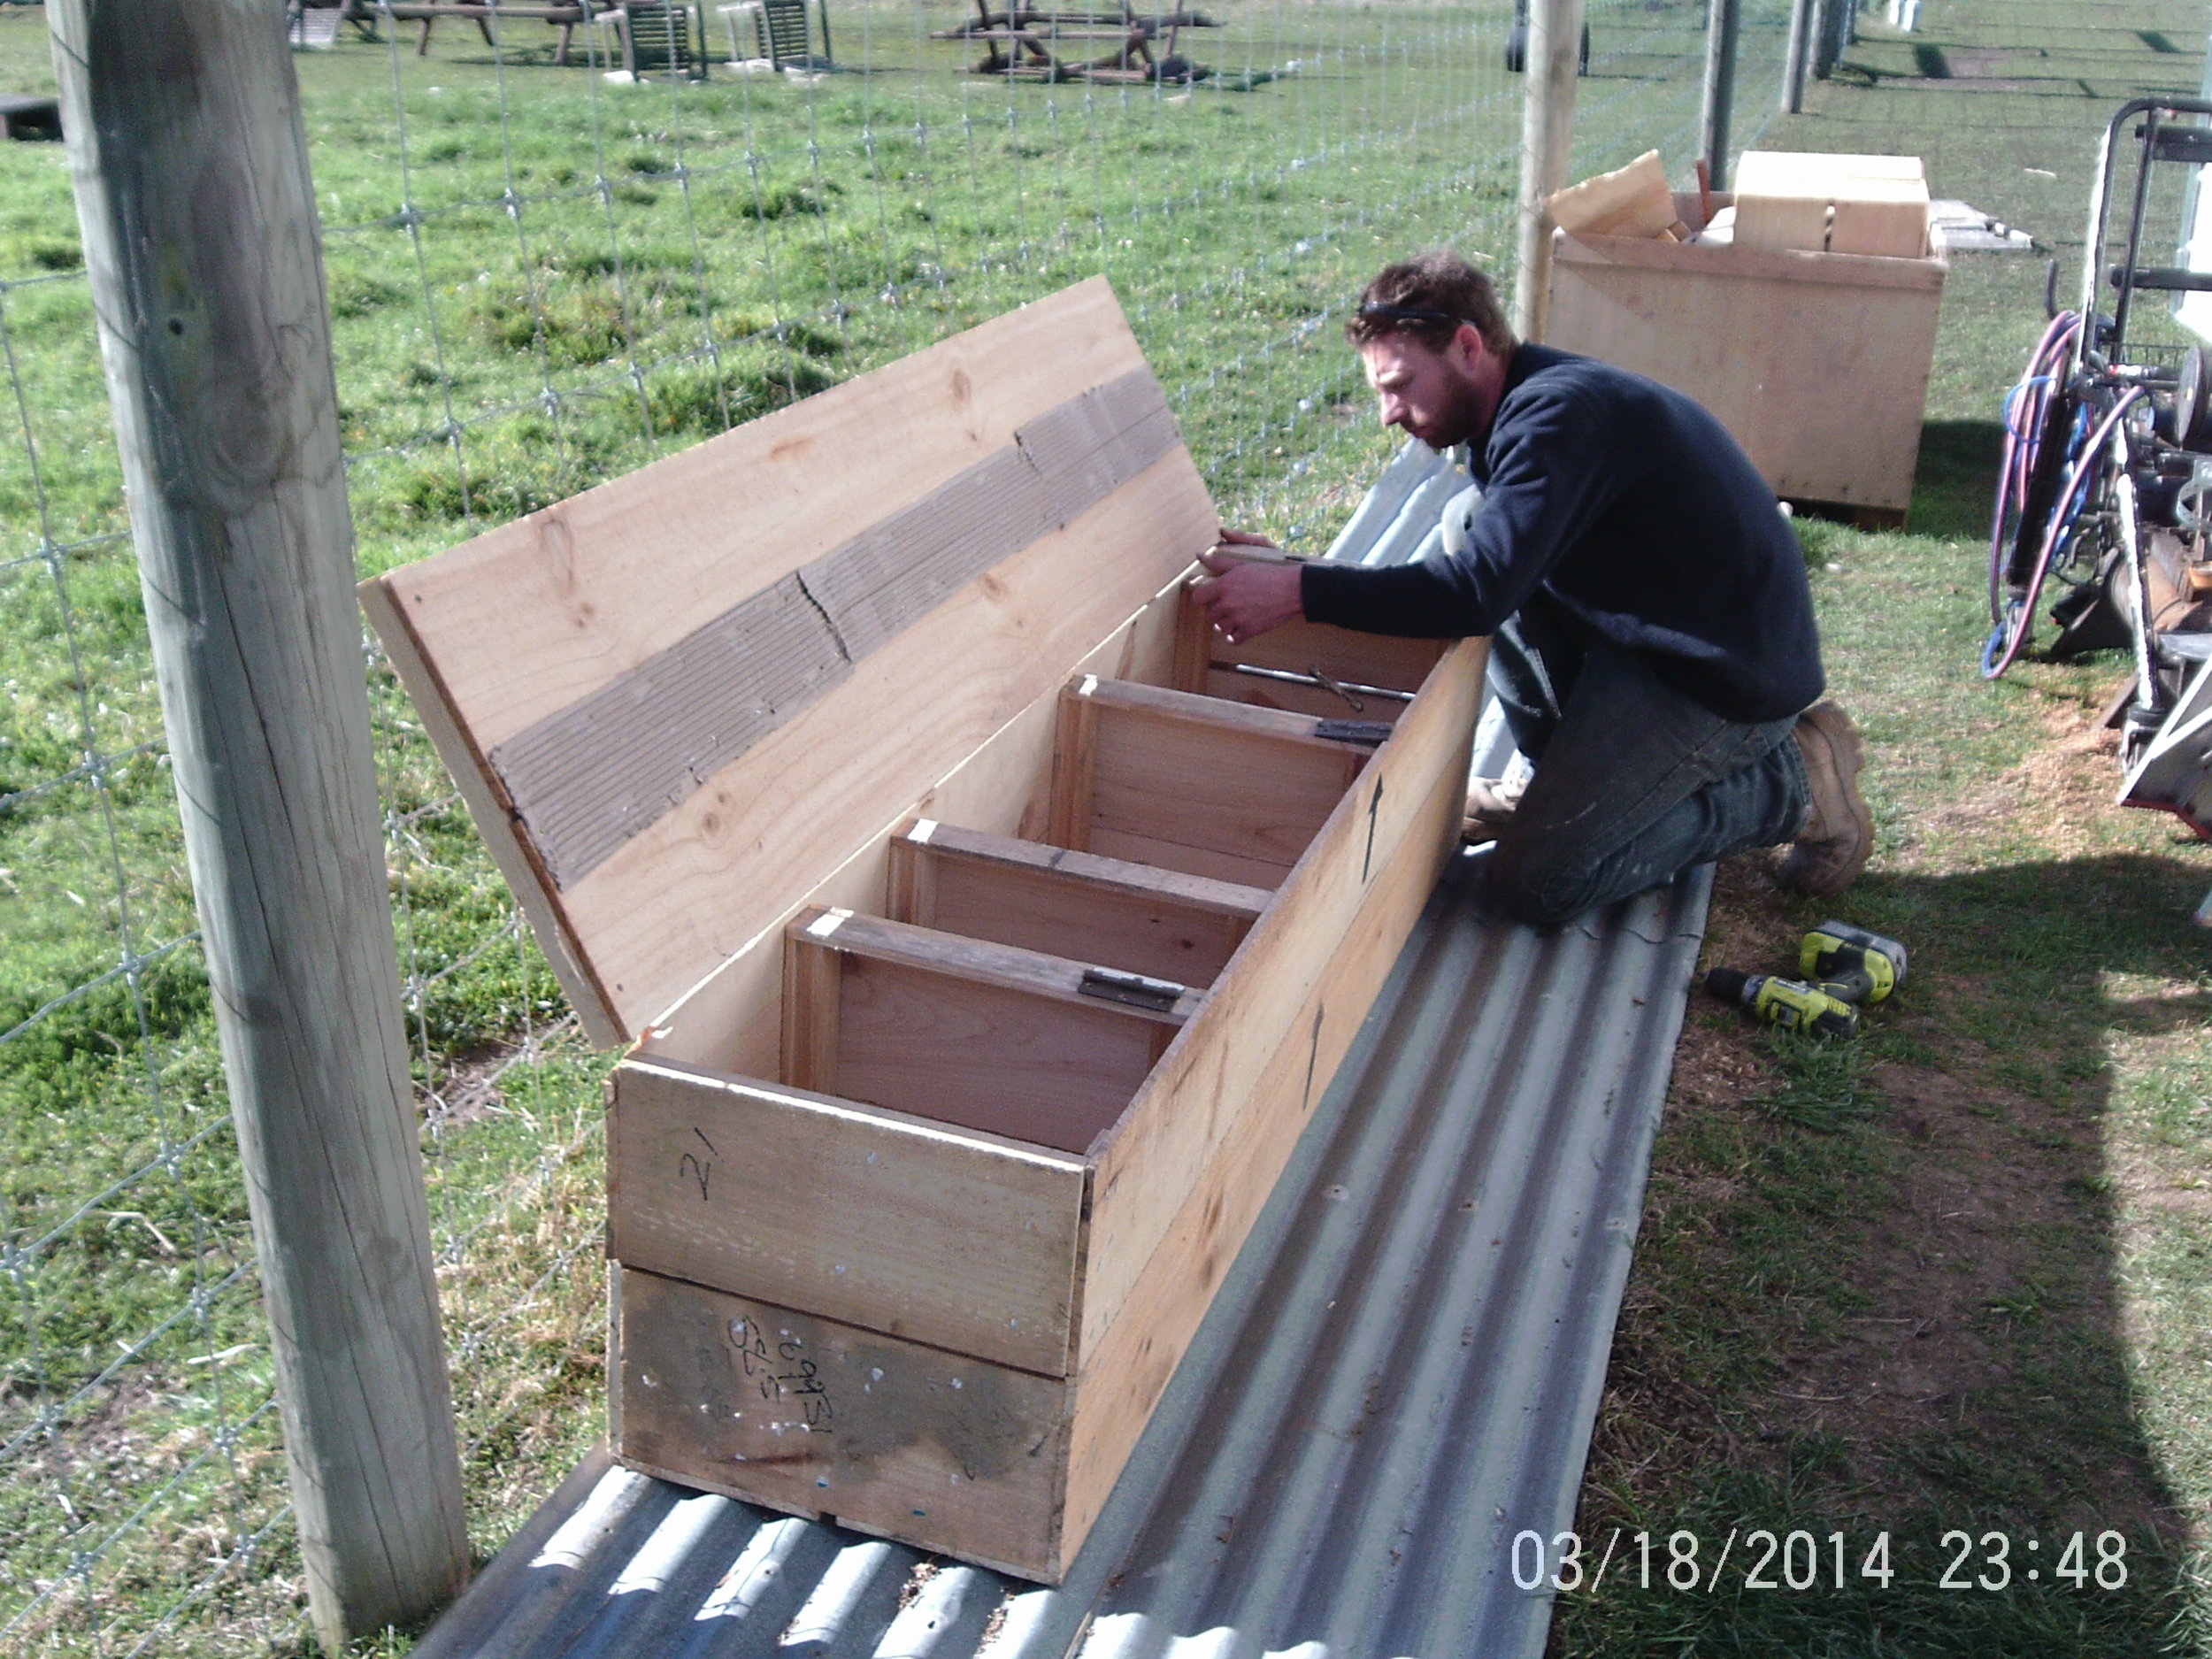
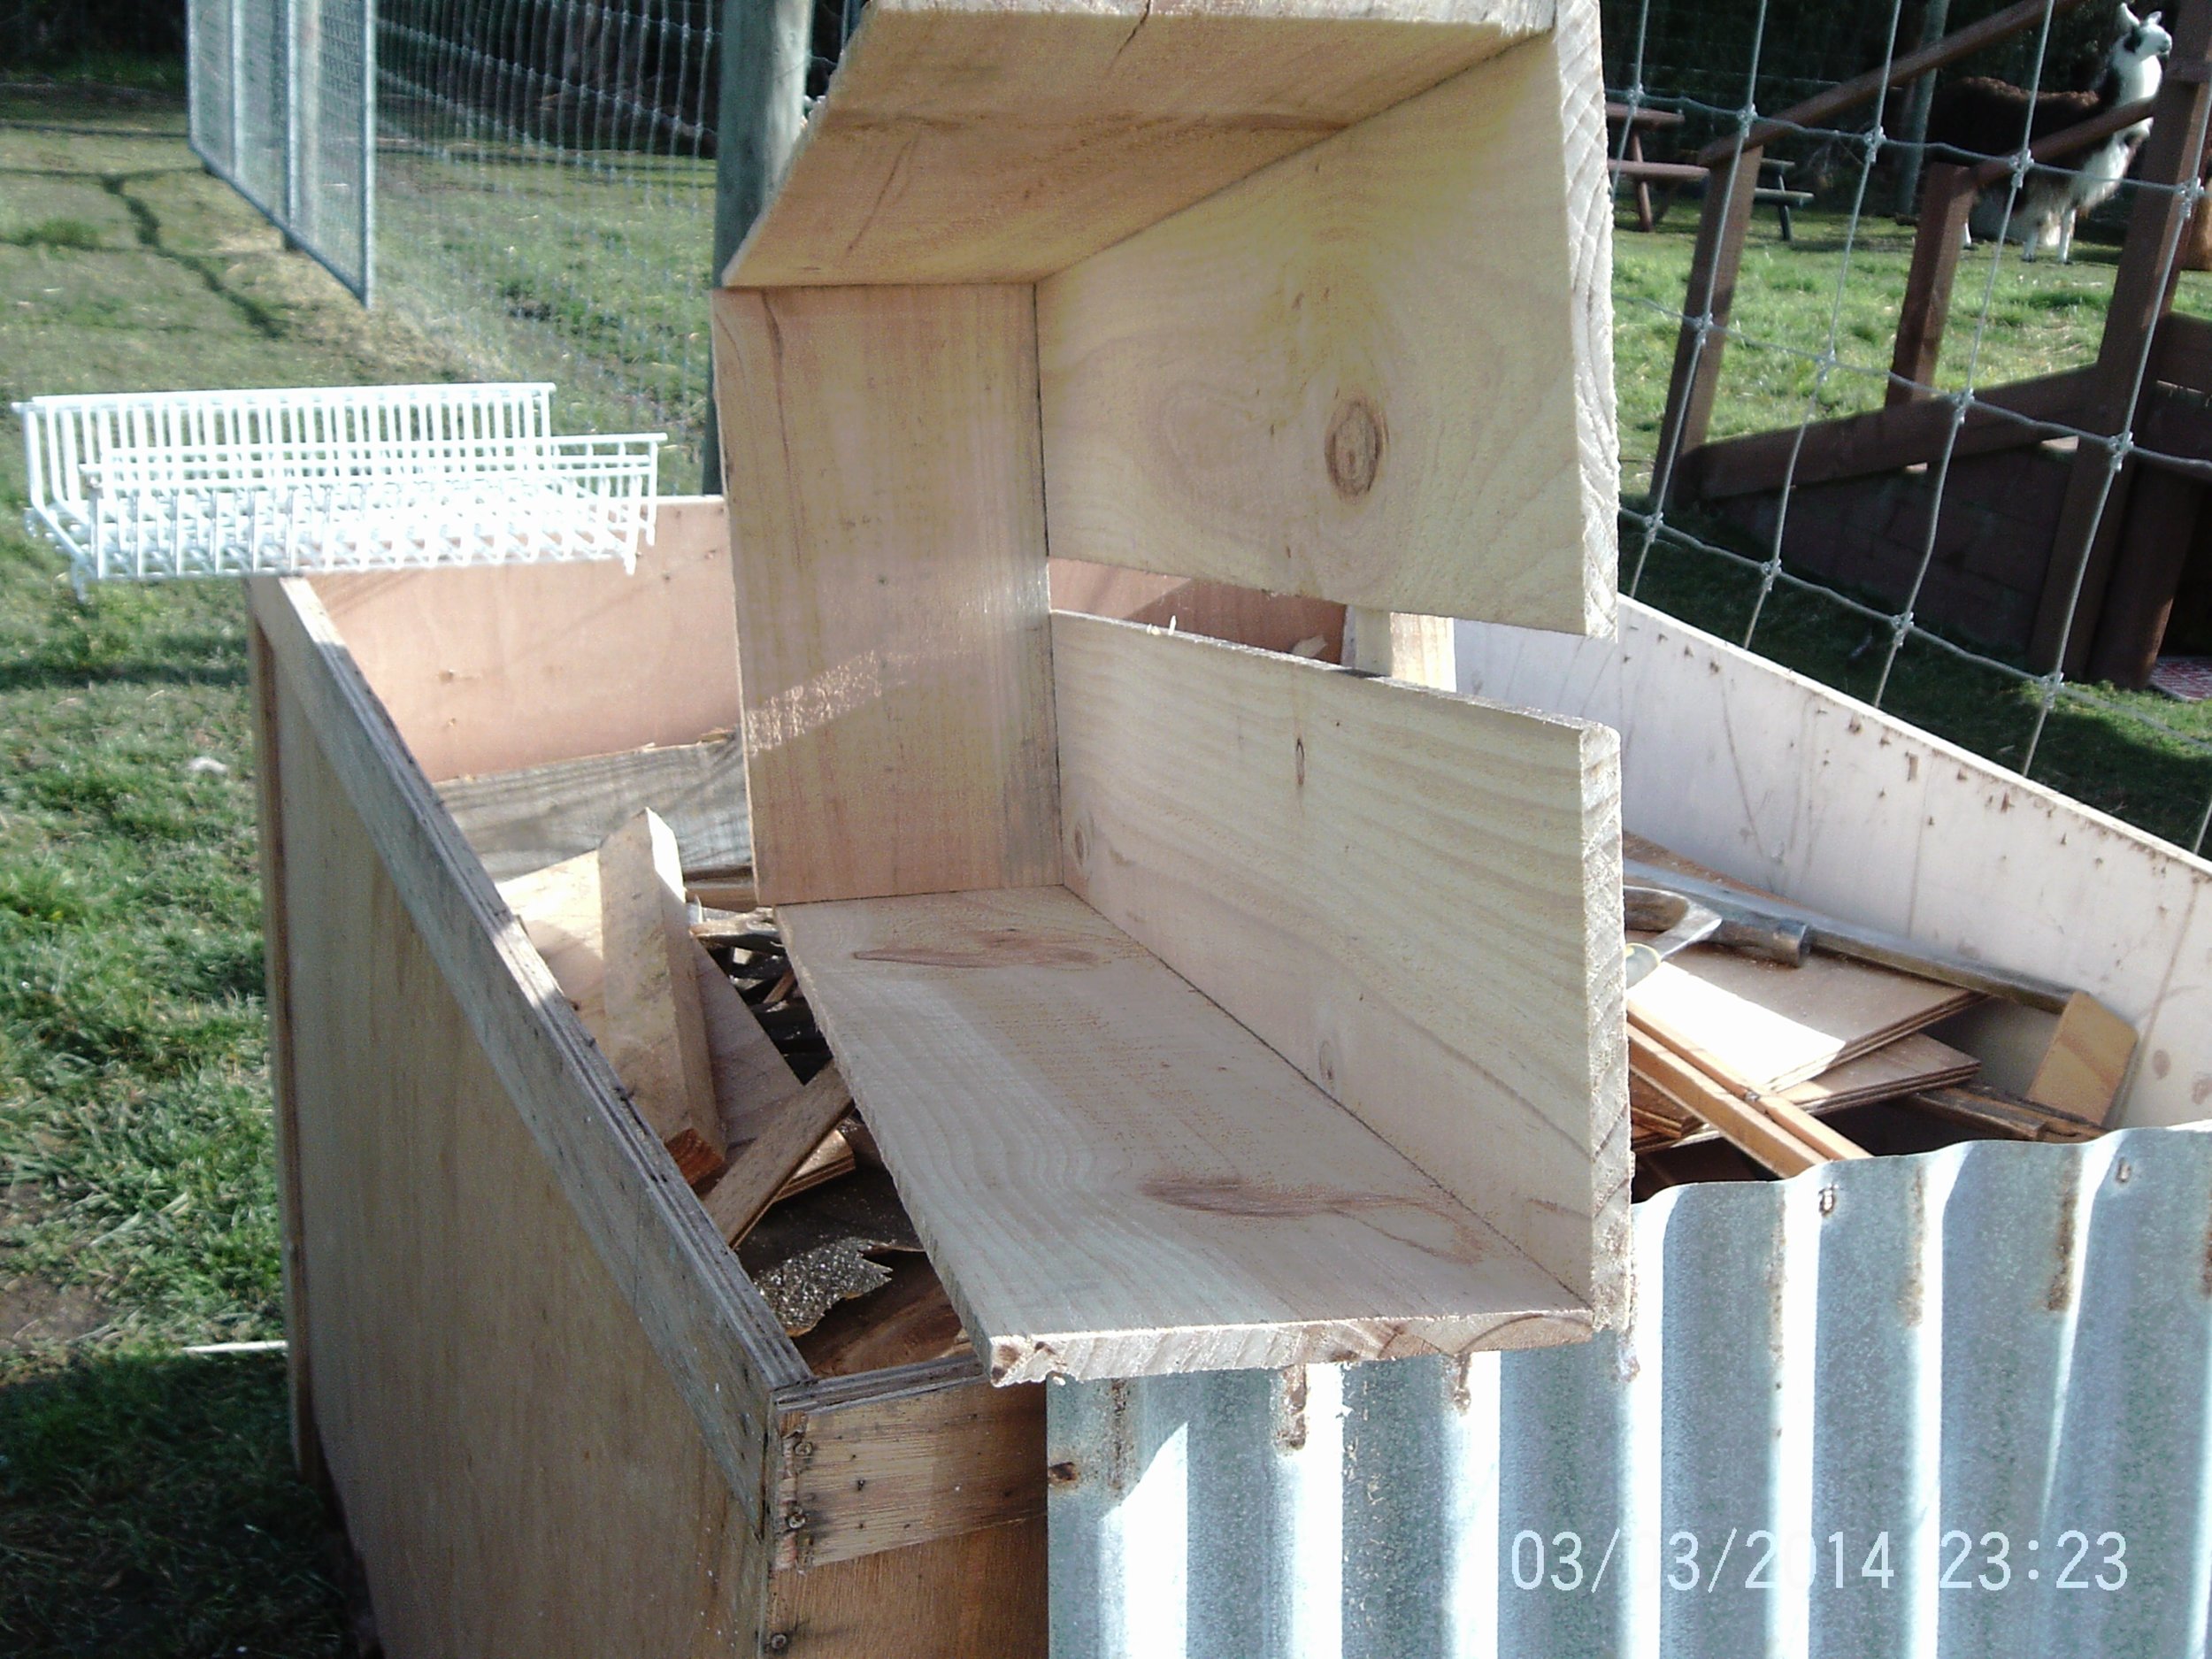
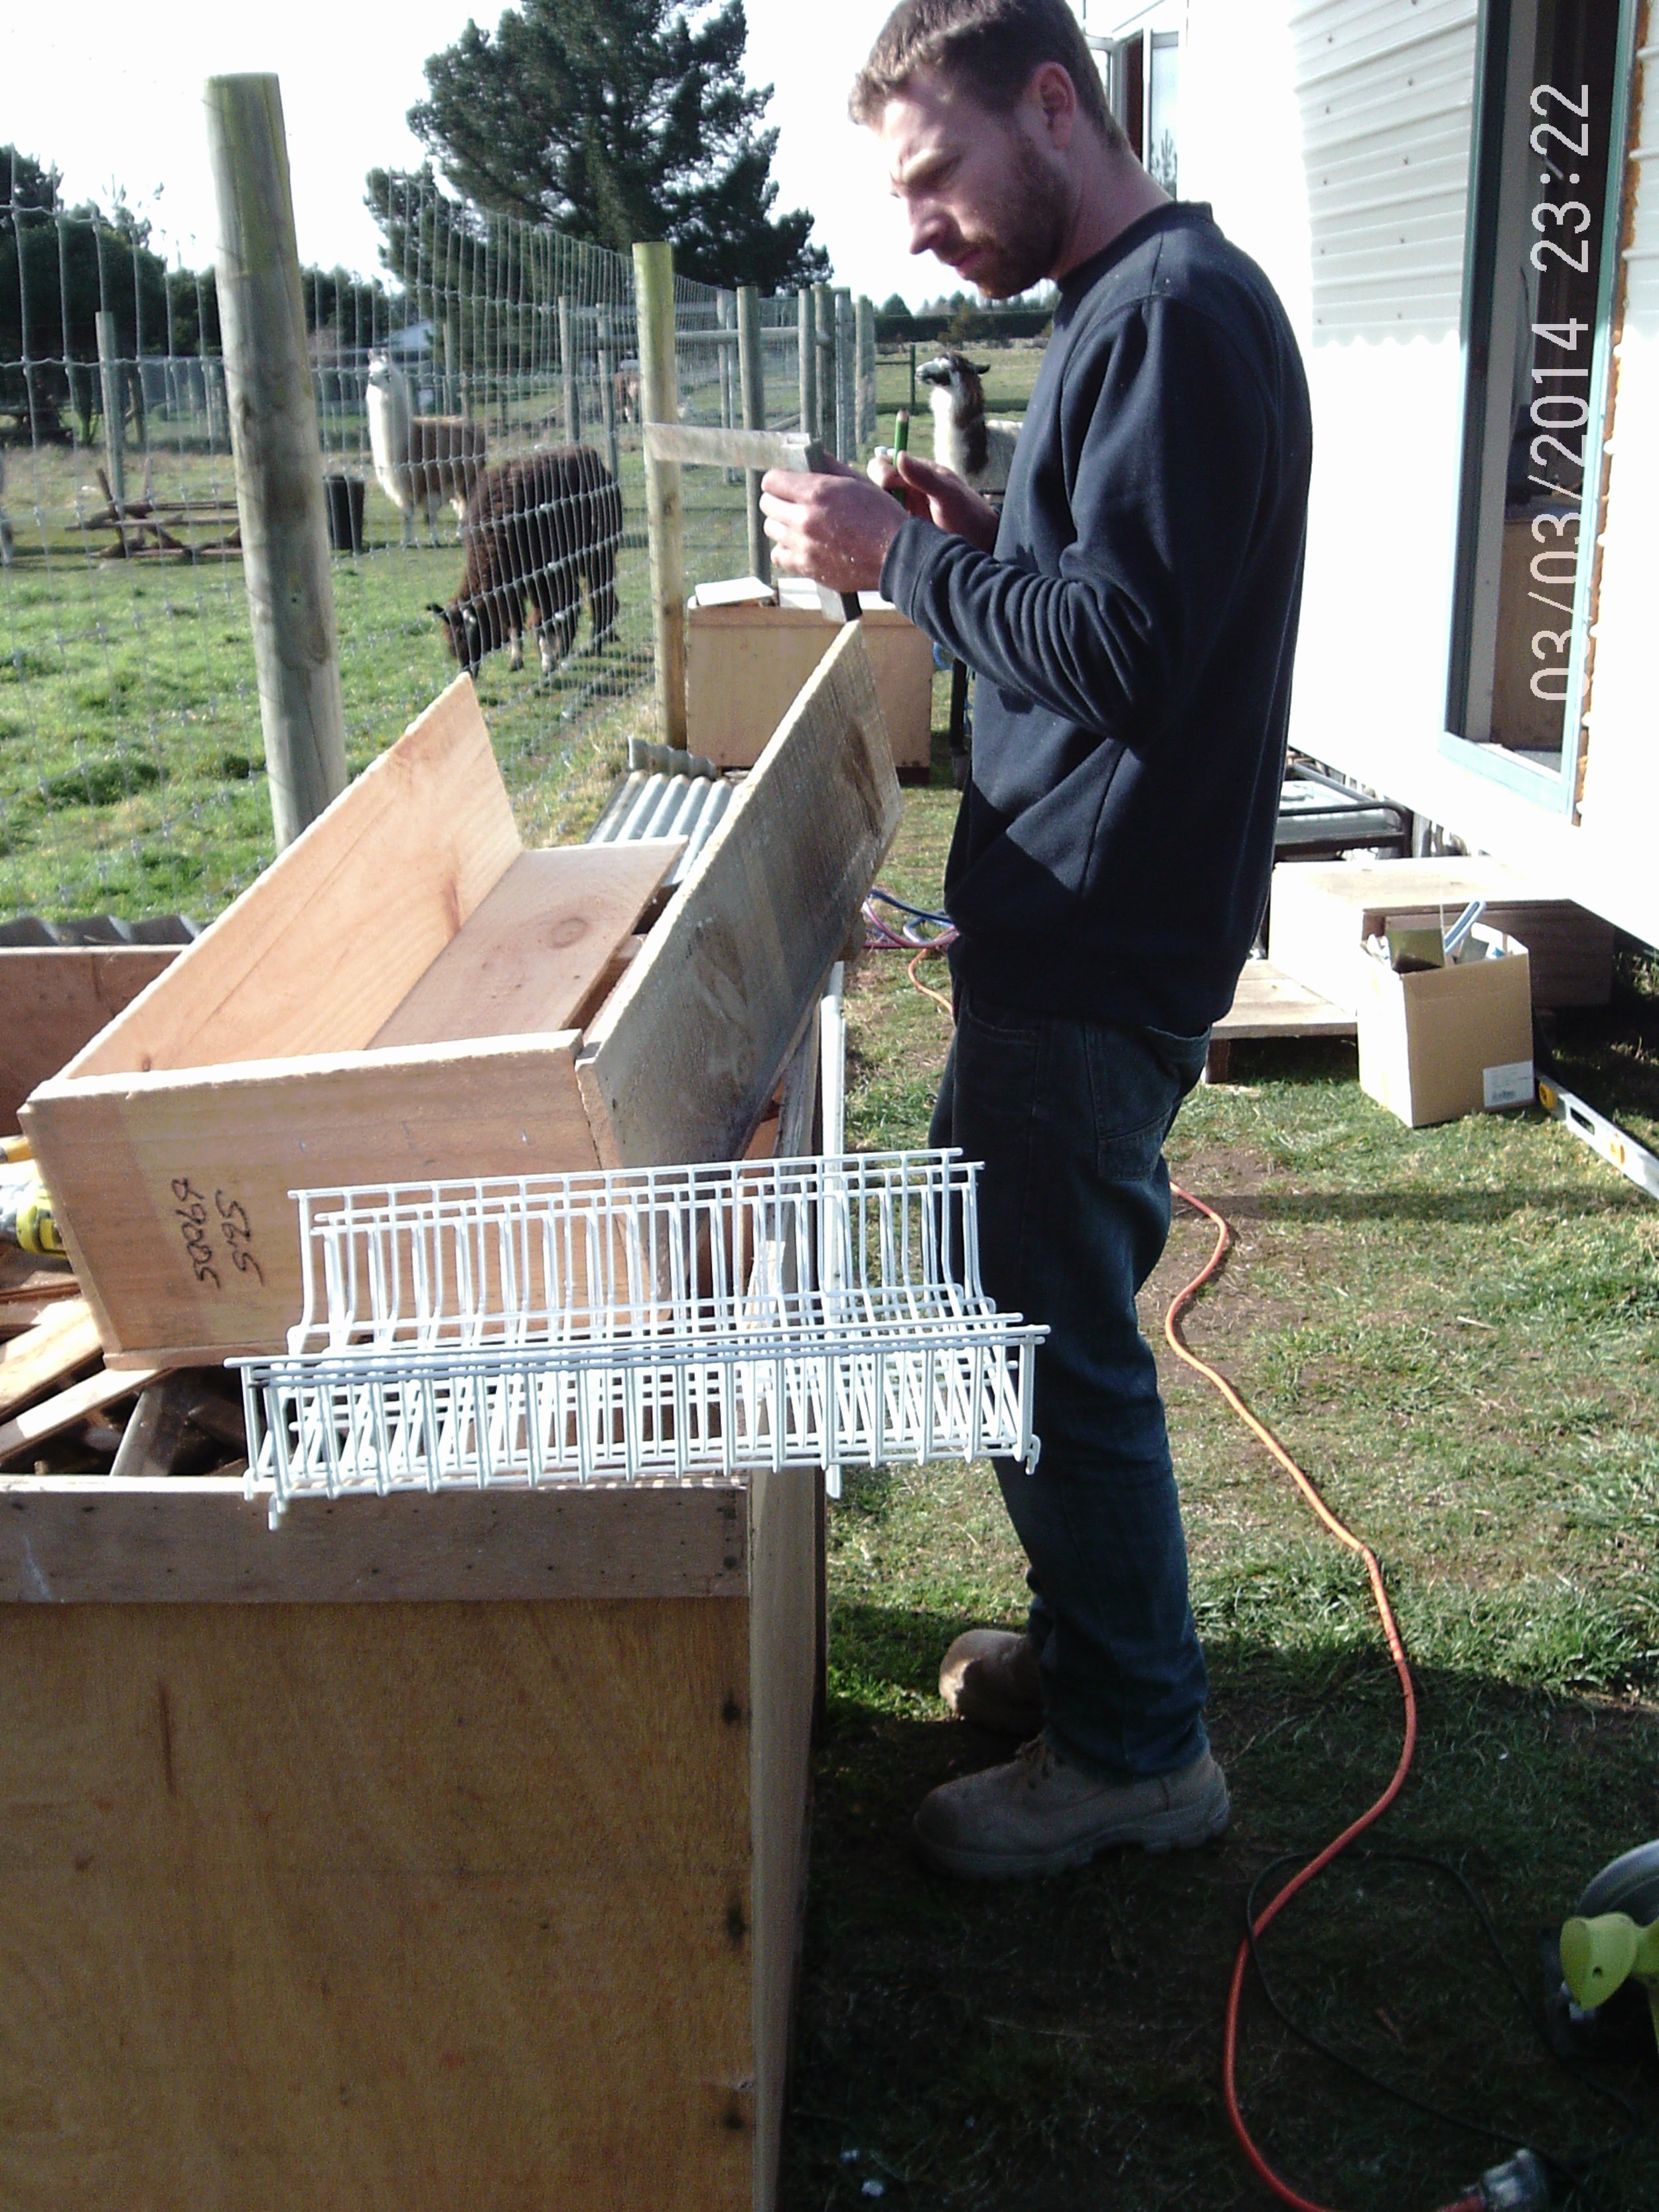
We had a very nice guy from a company called custom crating build us our bench seat/ storage that will be our main seating bench in the tiny house. The top will be removable so that we can store blankets and things inside. I really had to modify it to fit around the wheel wells but it fit good. I also built a very sweet cabinet out of old crates that was going to be smashed up and thrown away.


Here's the cabinet i am making!

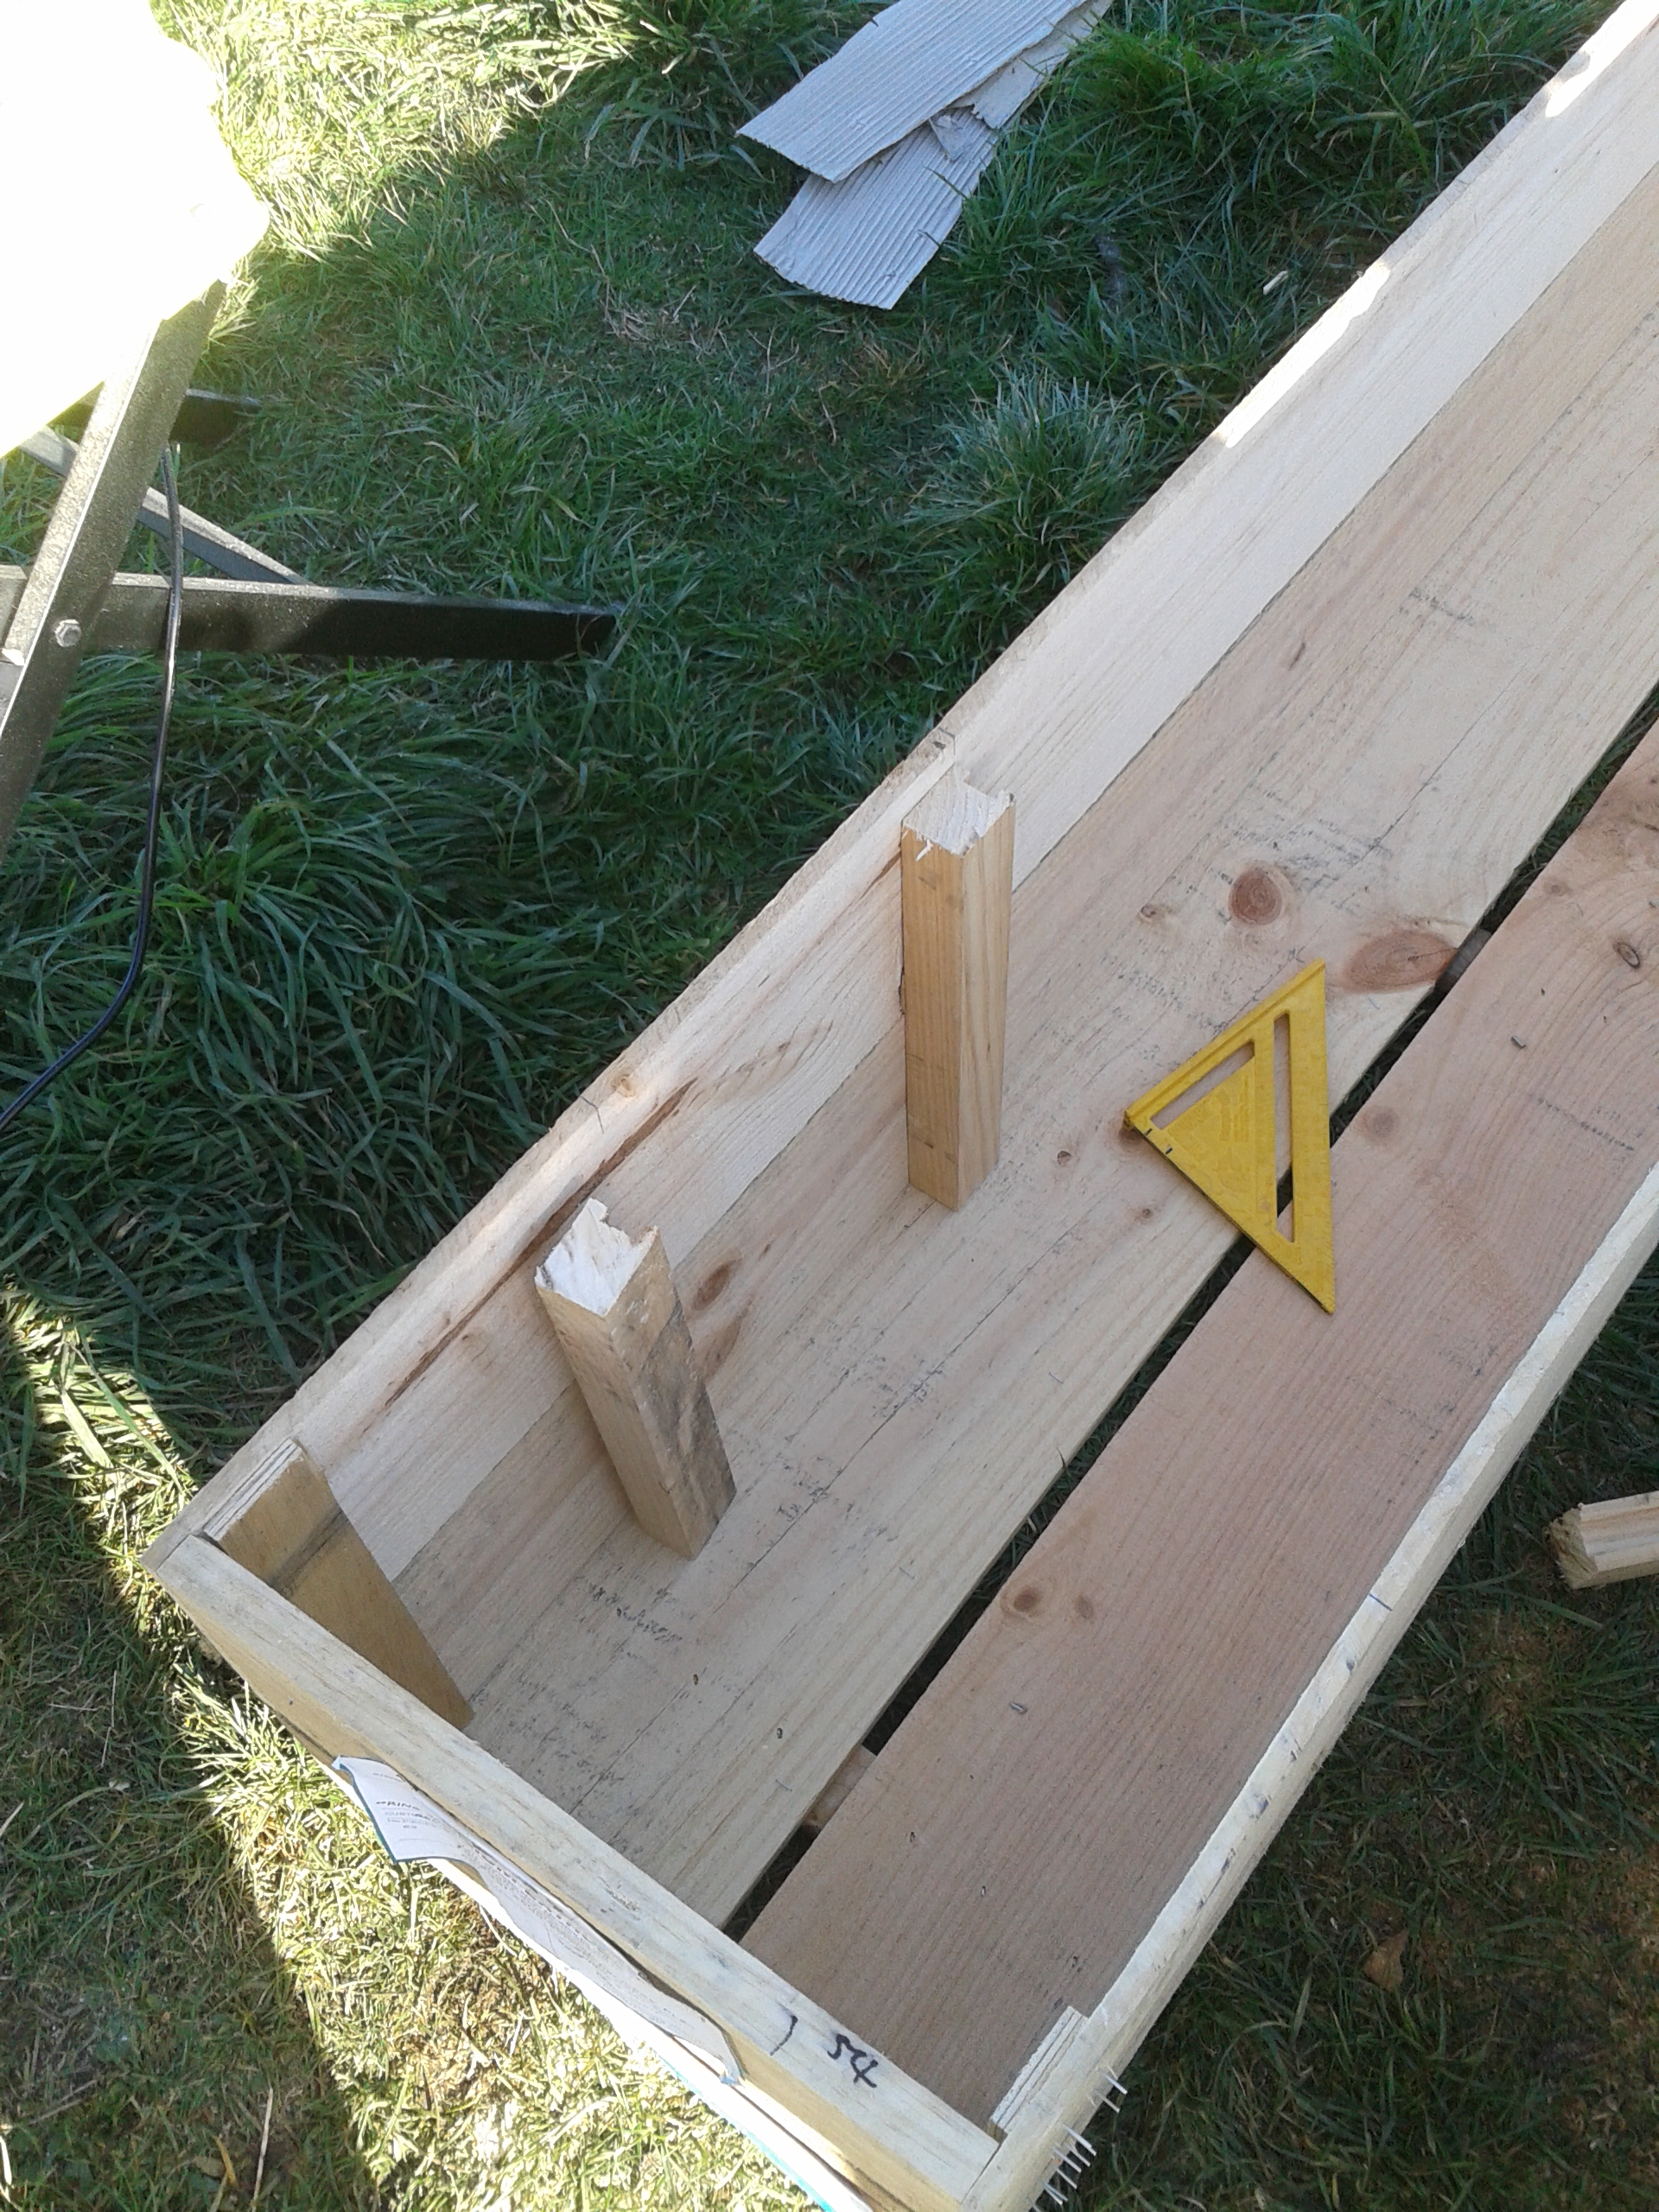


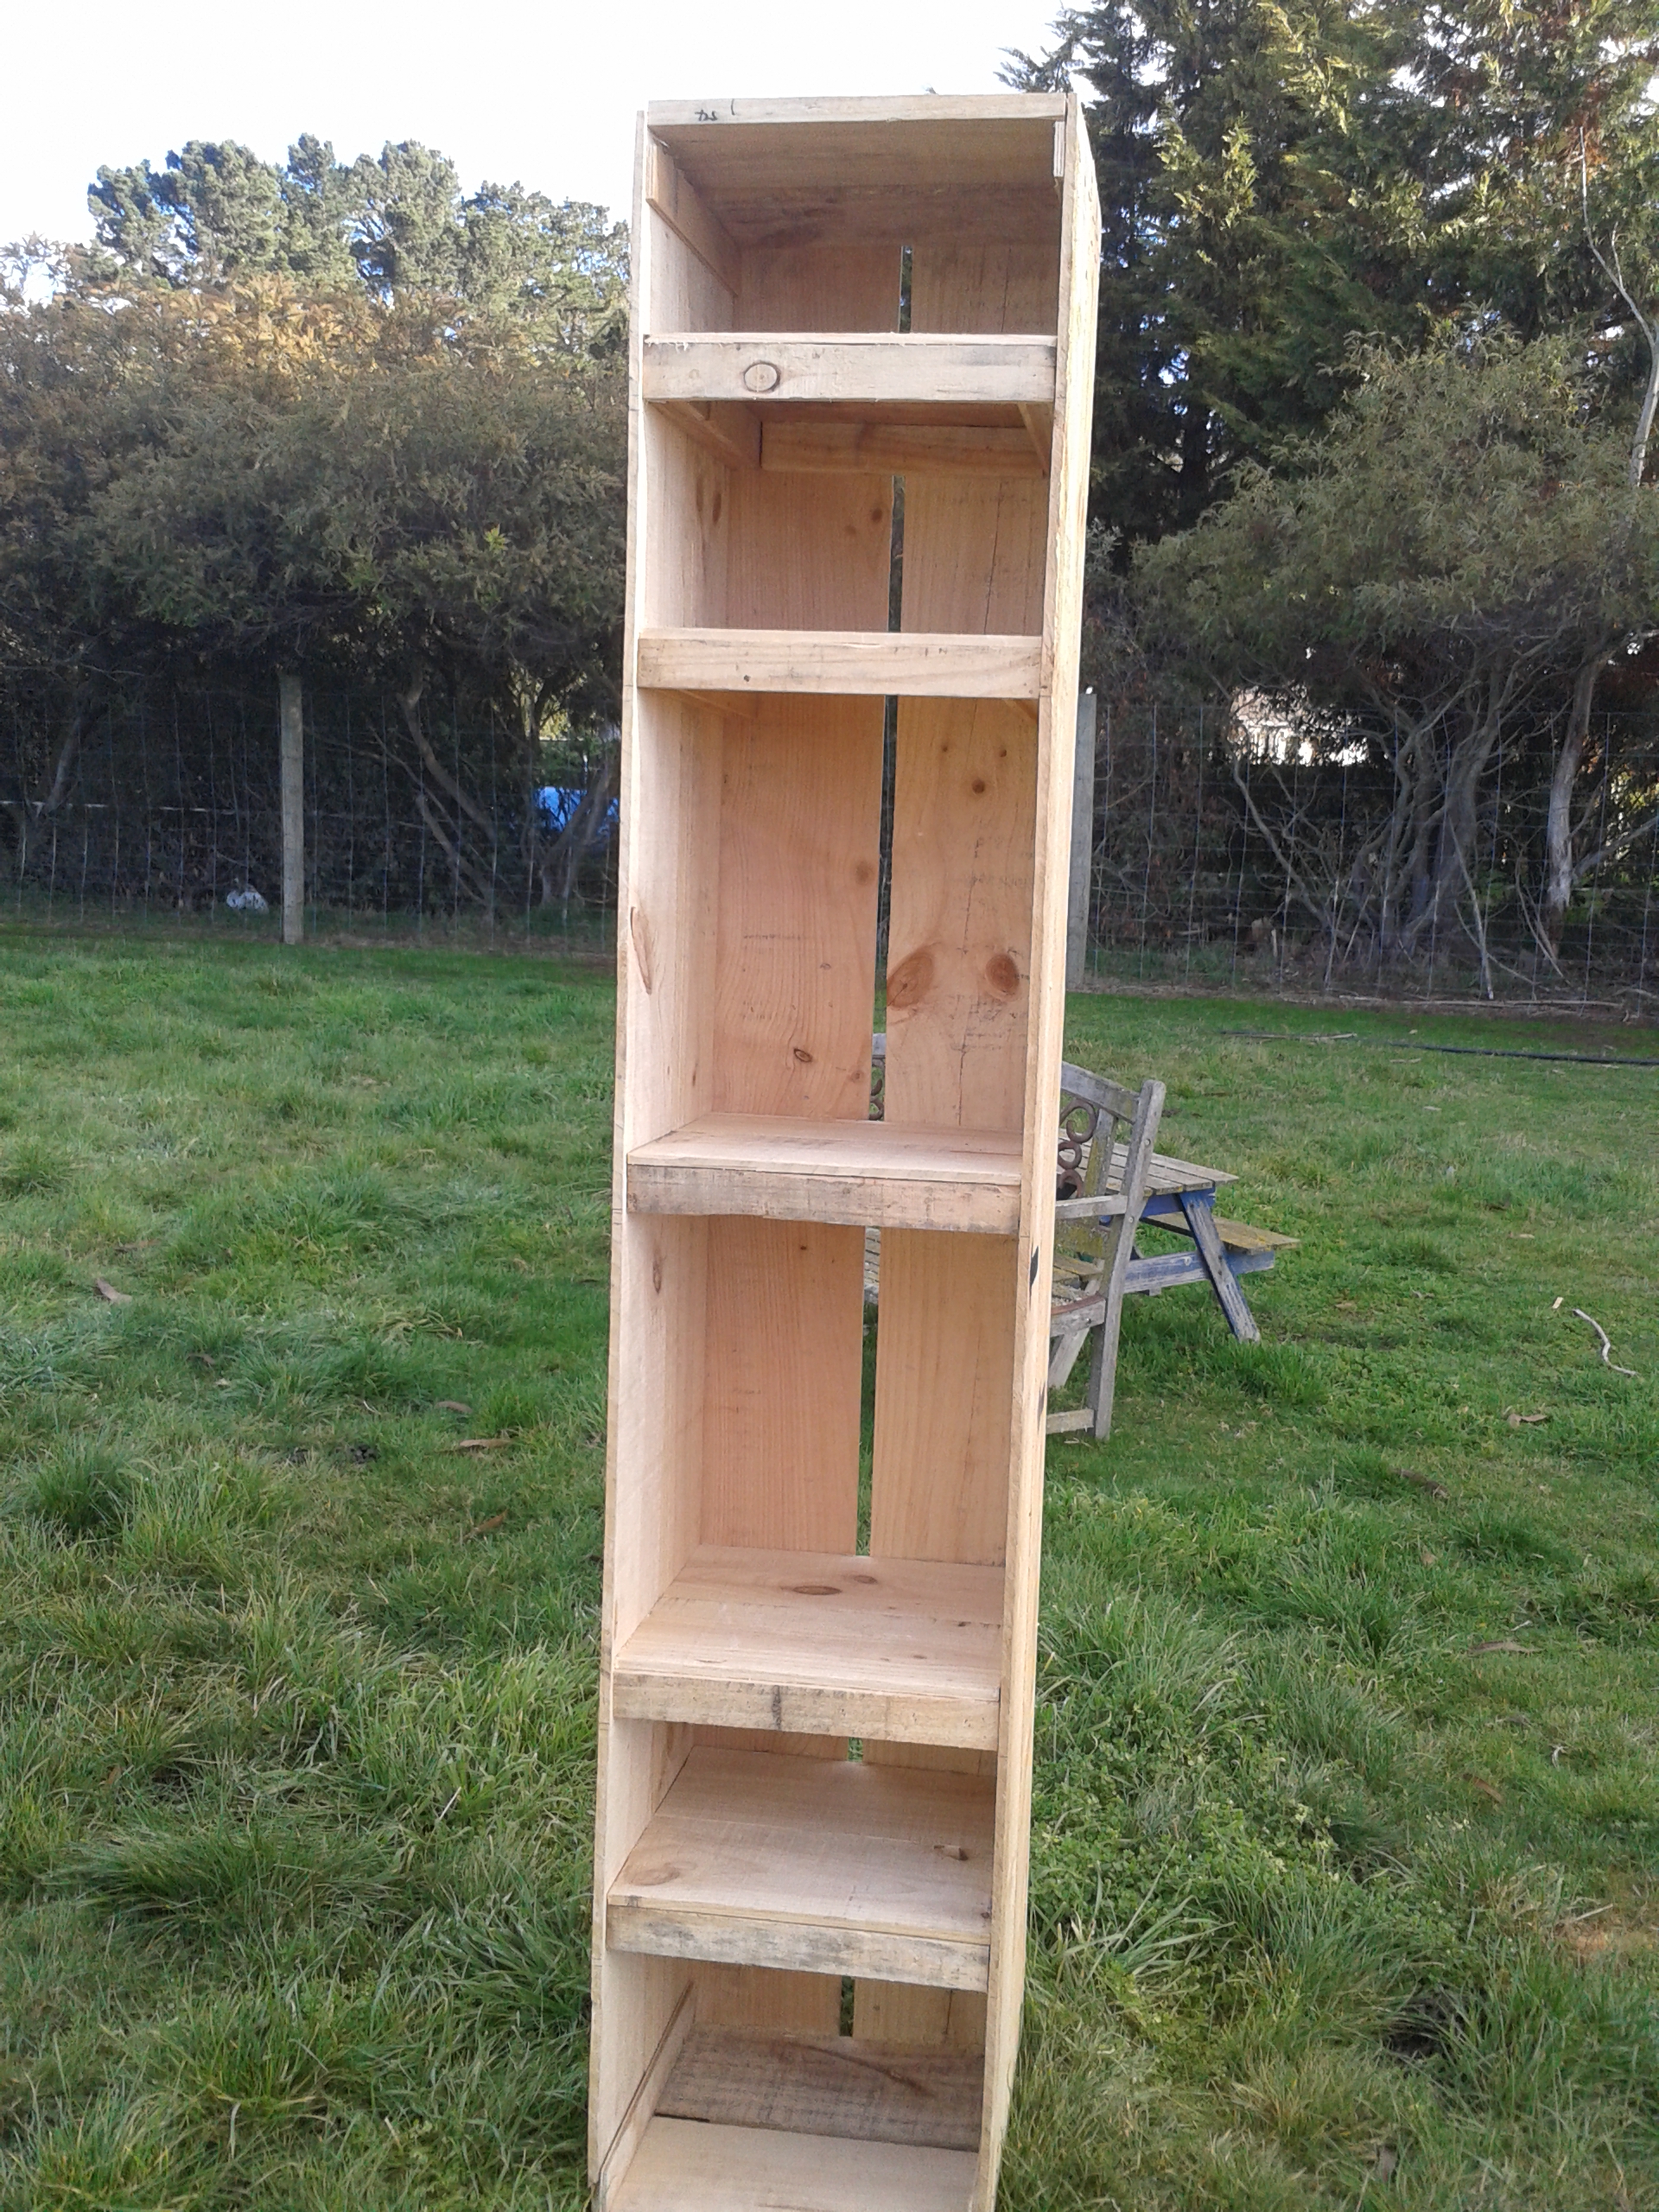
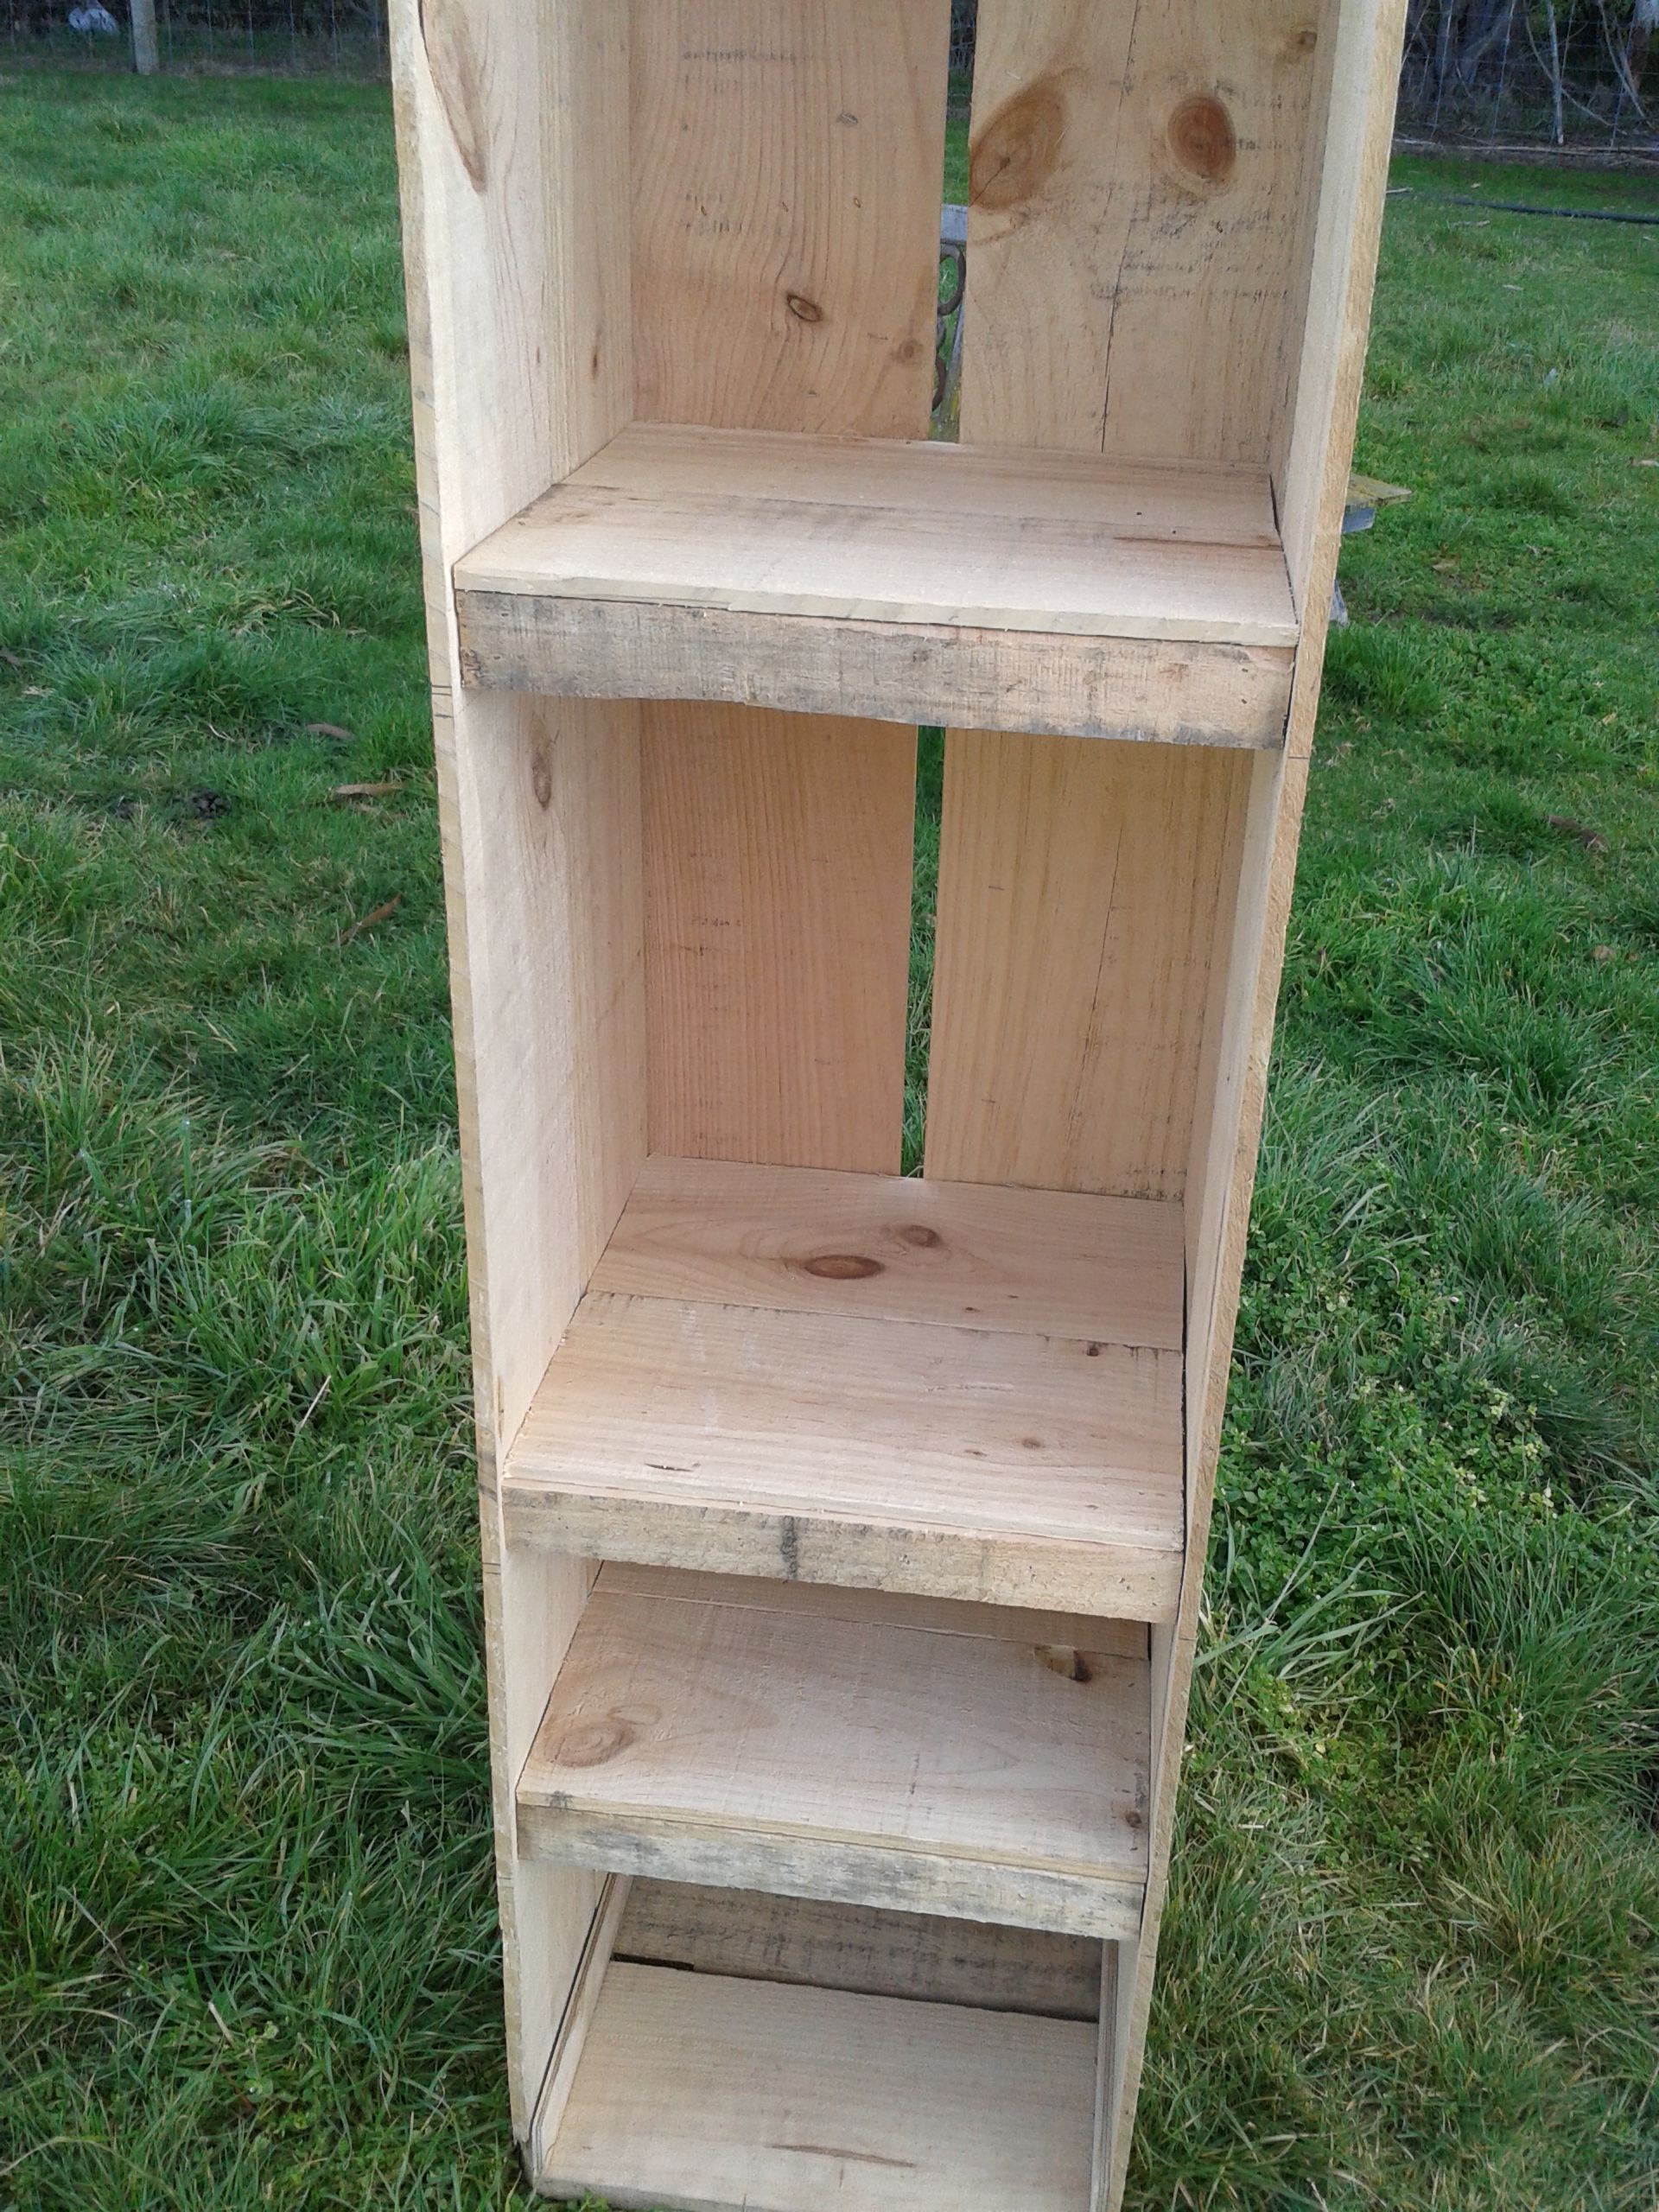

The cabinet and the lockers are not attached yet because they both need to be modified a bit more. See you next time!
Hello Everyone,
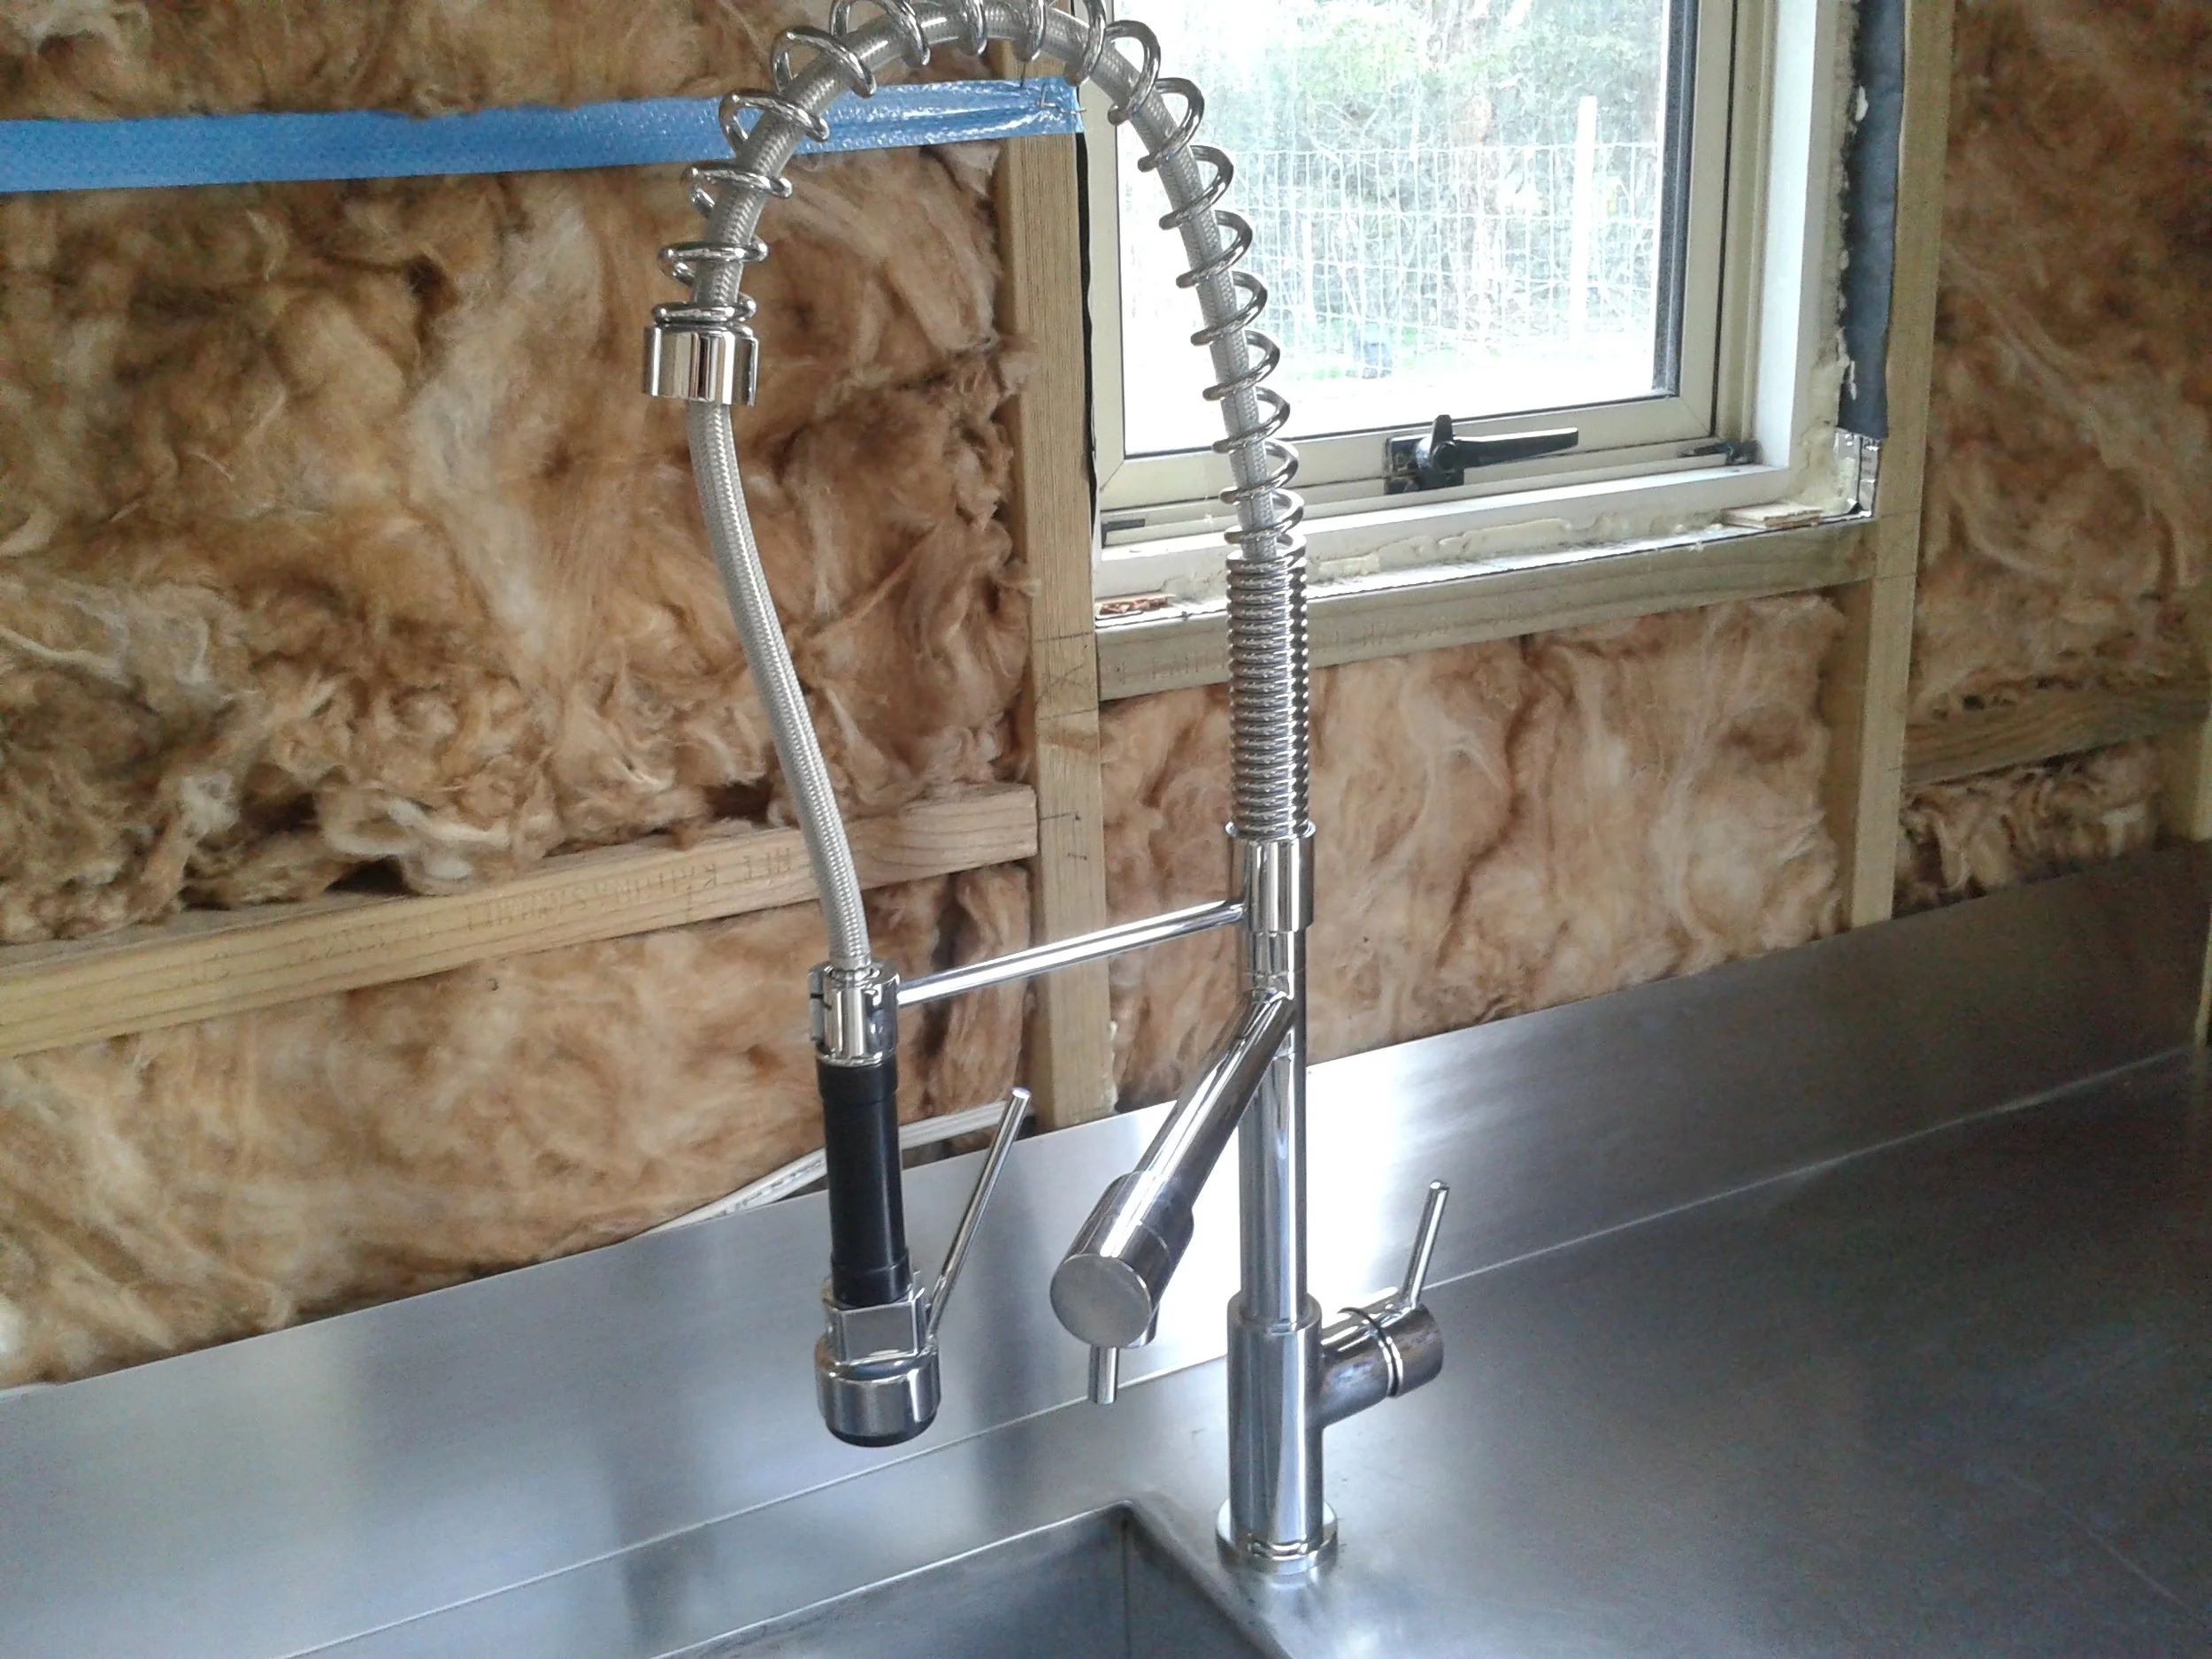
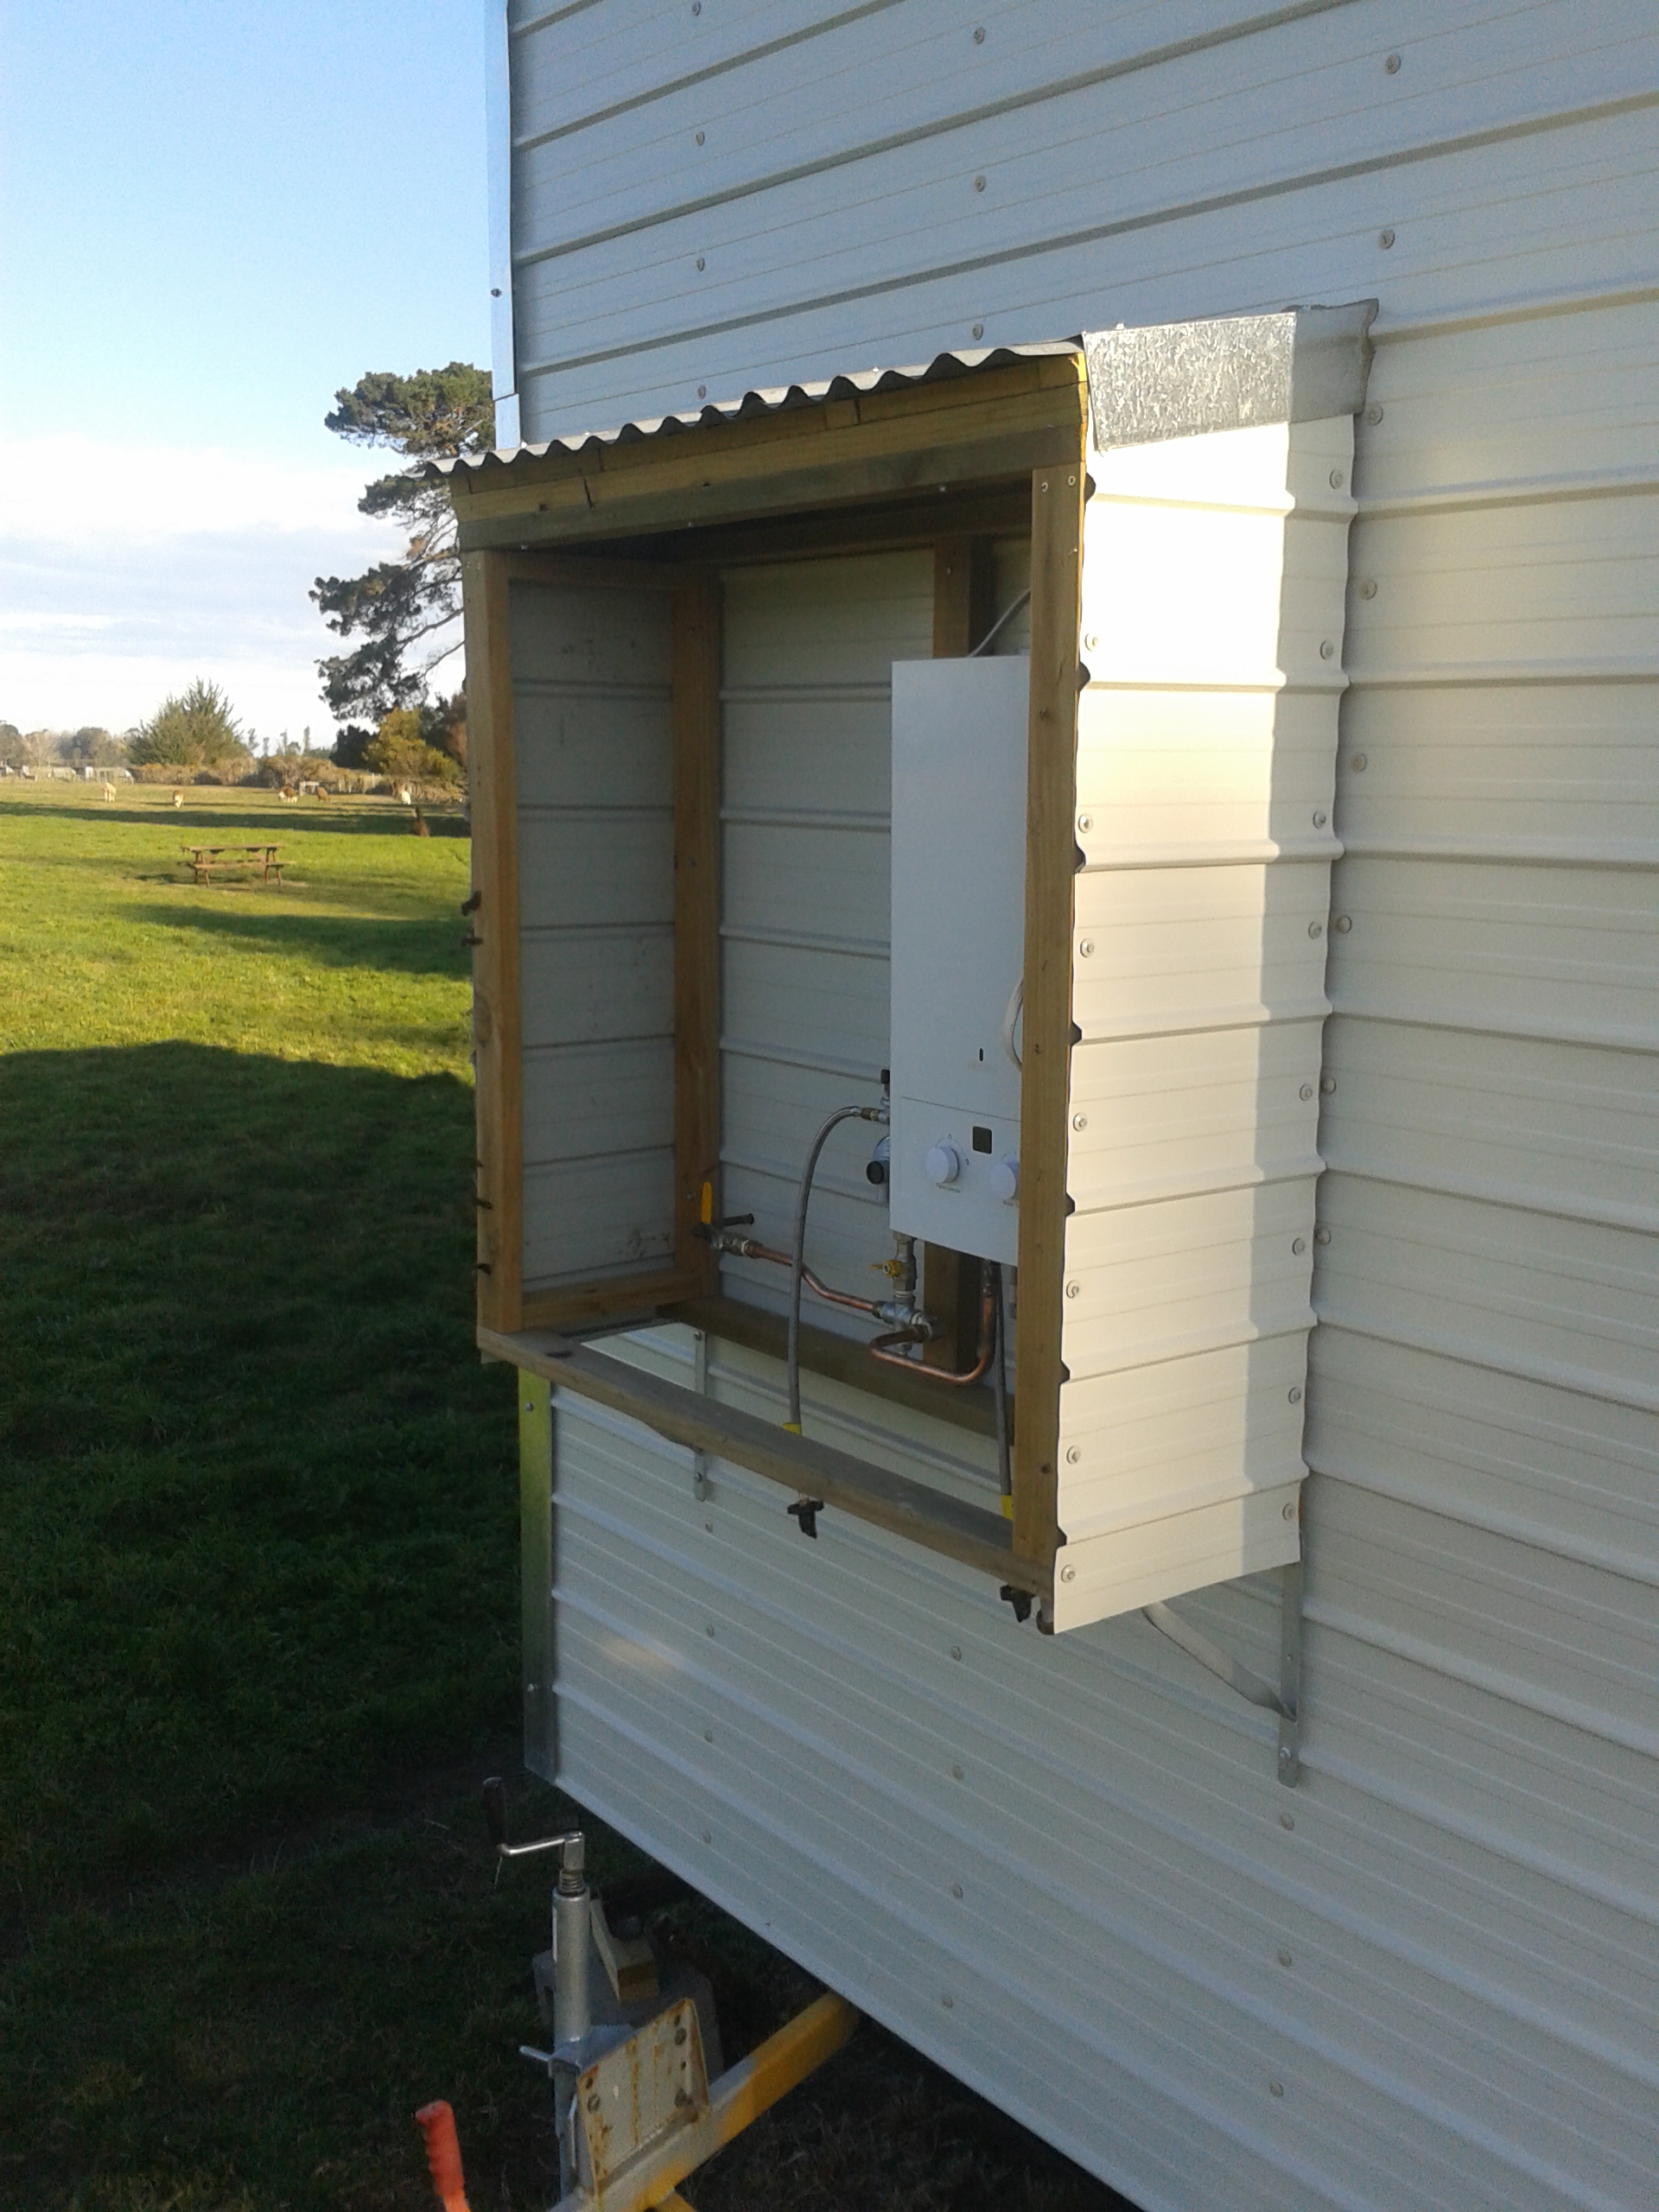
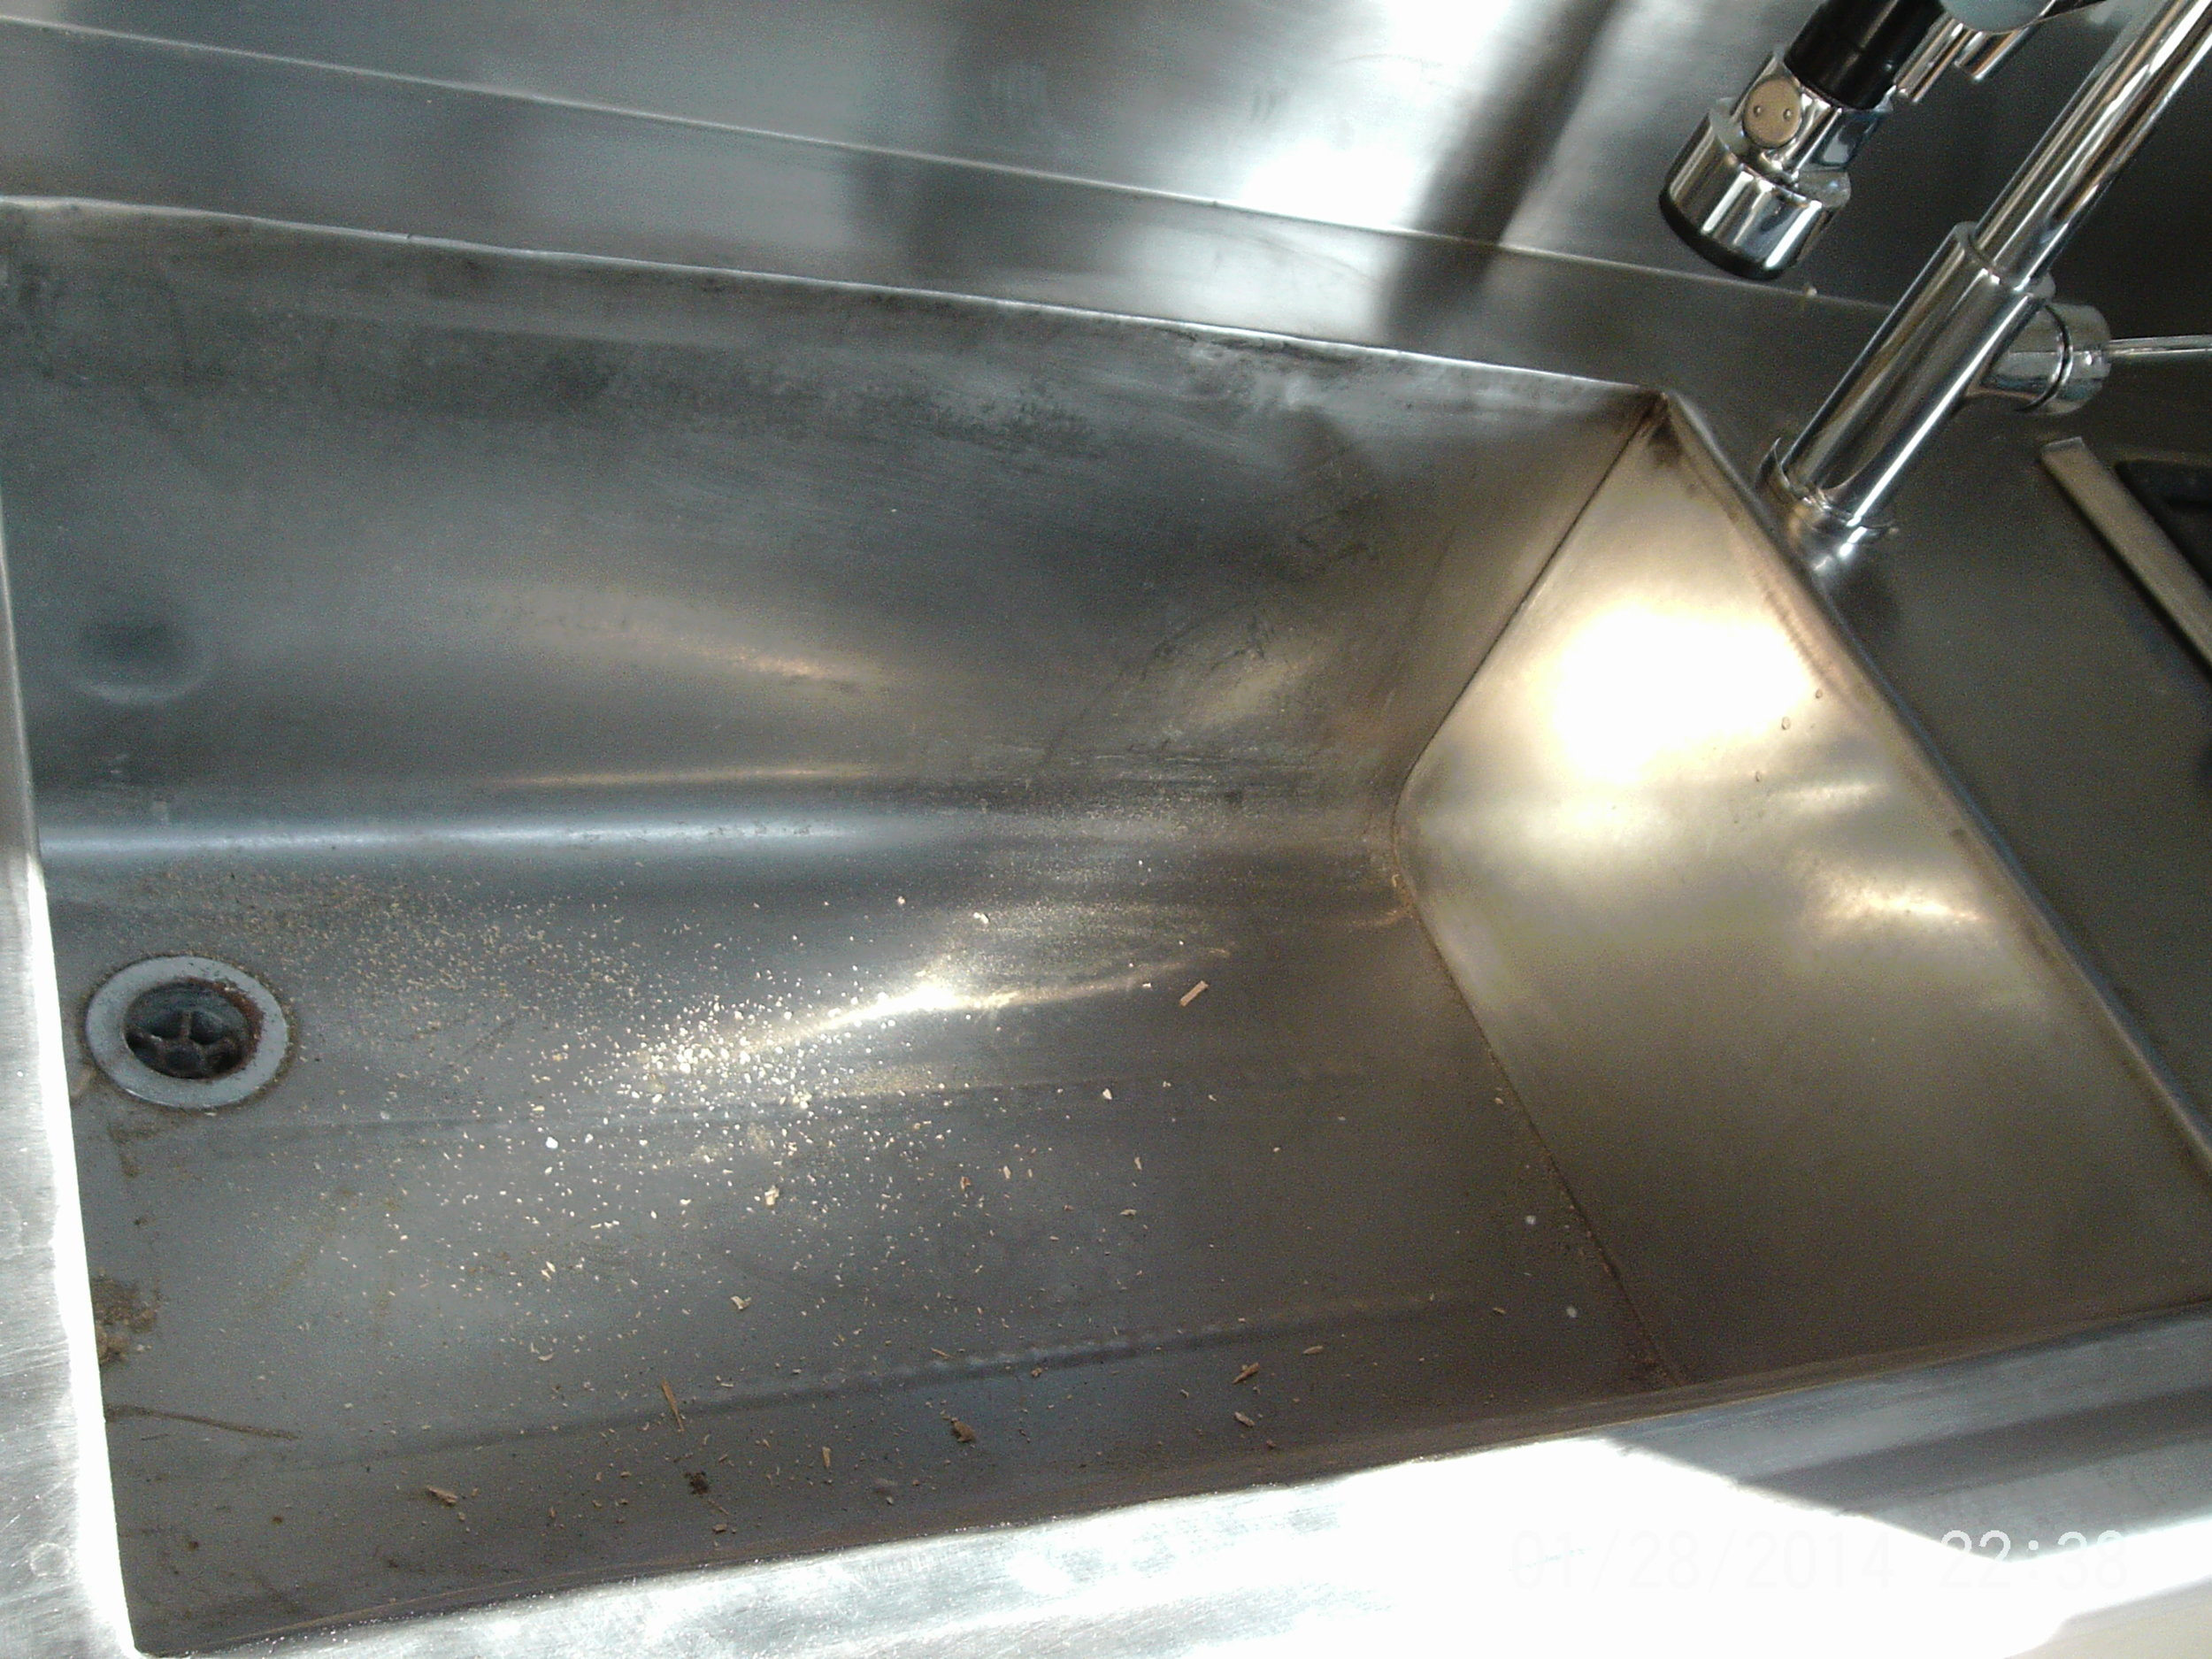
Today I installed the instantaneous hot water heater that will be powered by LPG. It also has a automatic igniter switch powered by two D batteries, instead of having main power run to it. I finished some more cladding on the outside of the utilities box and installed our kitchen faucet which we got a amazing deal on. I also added two photos of the shower. enjoy!!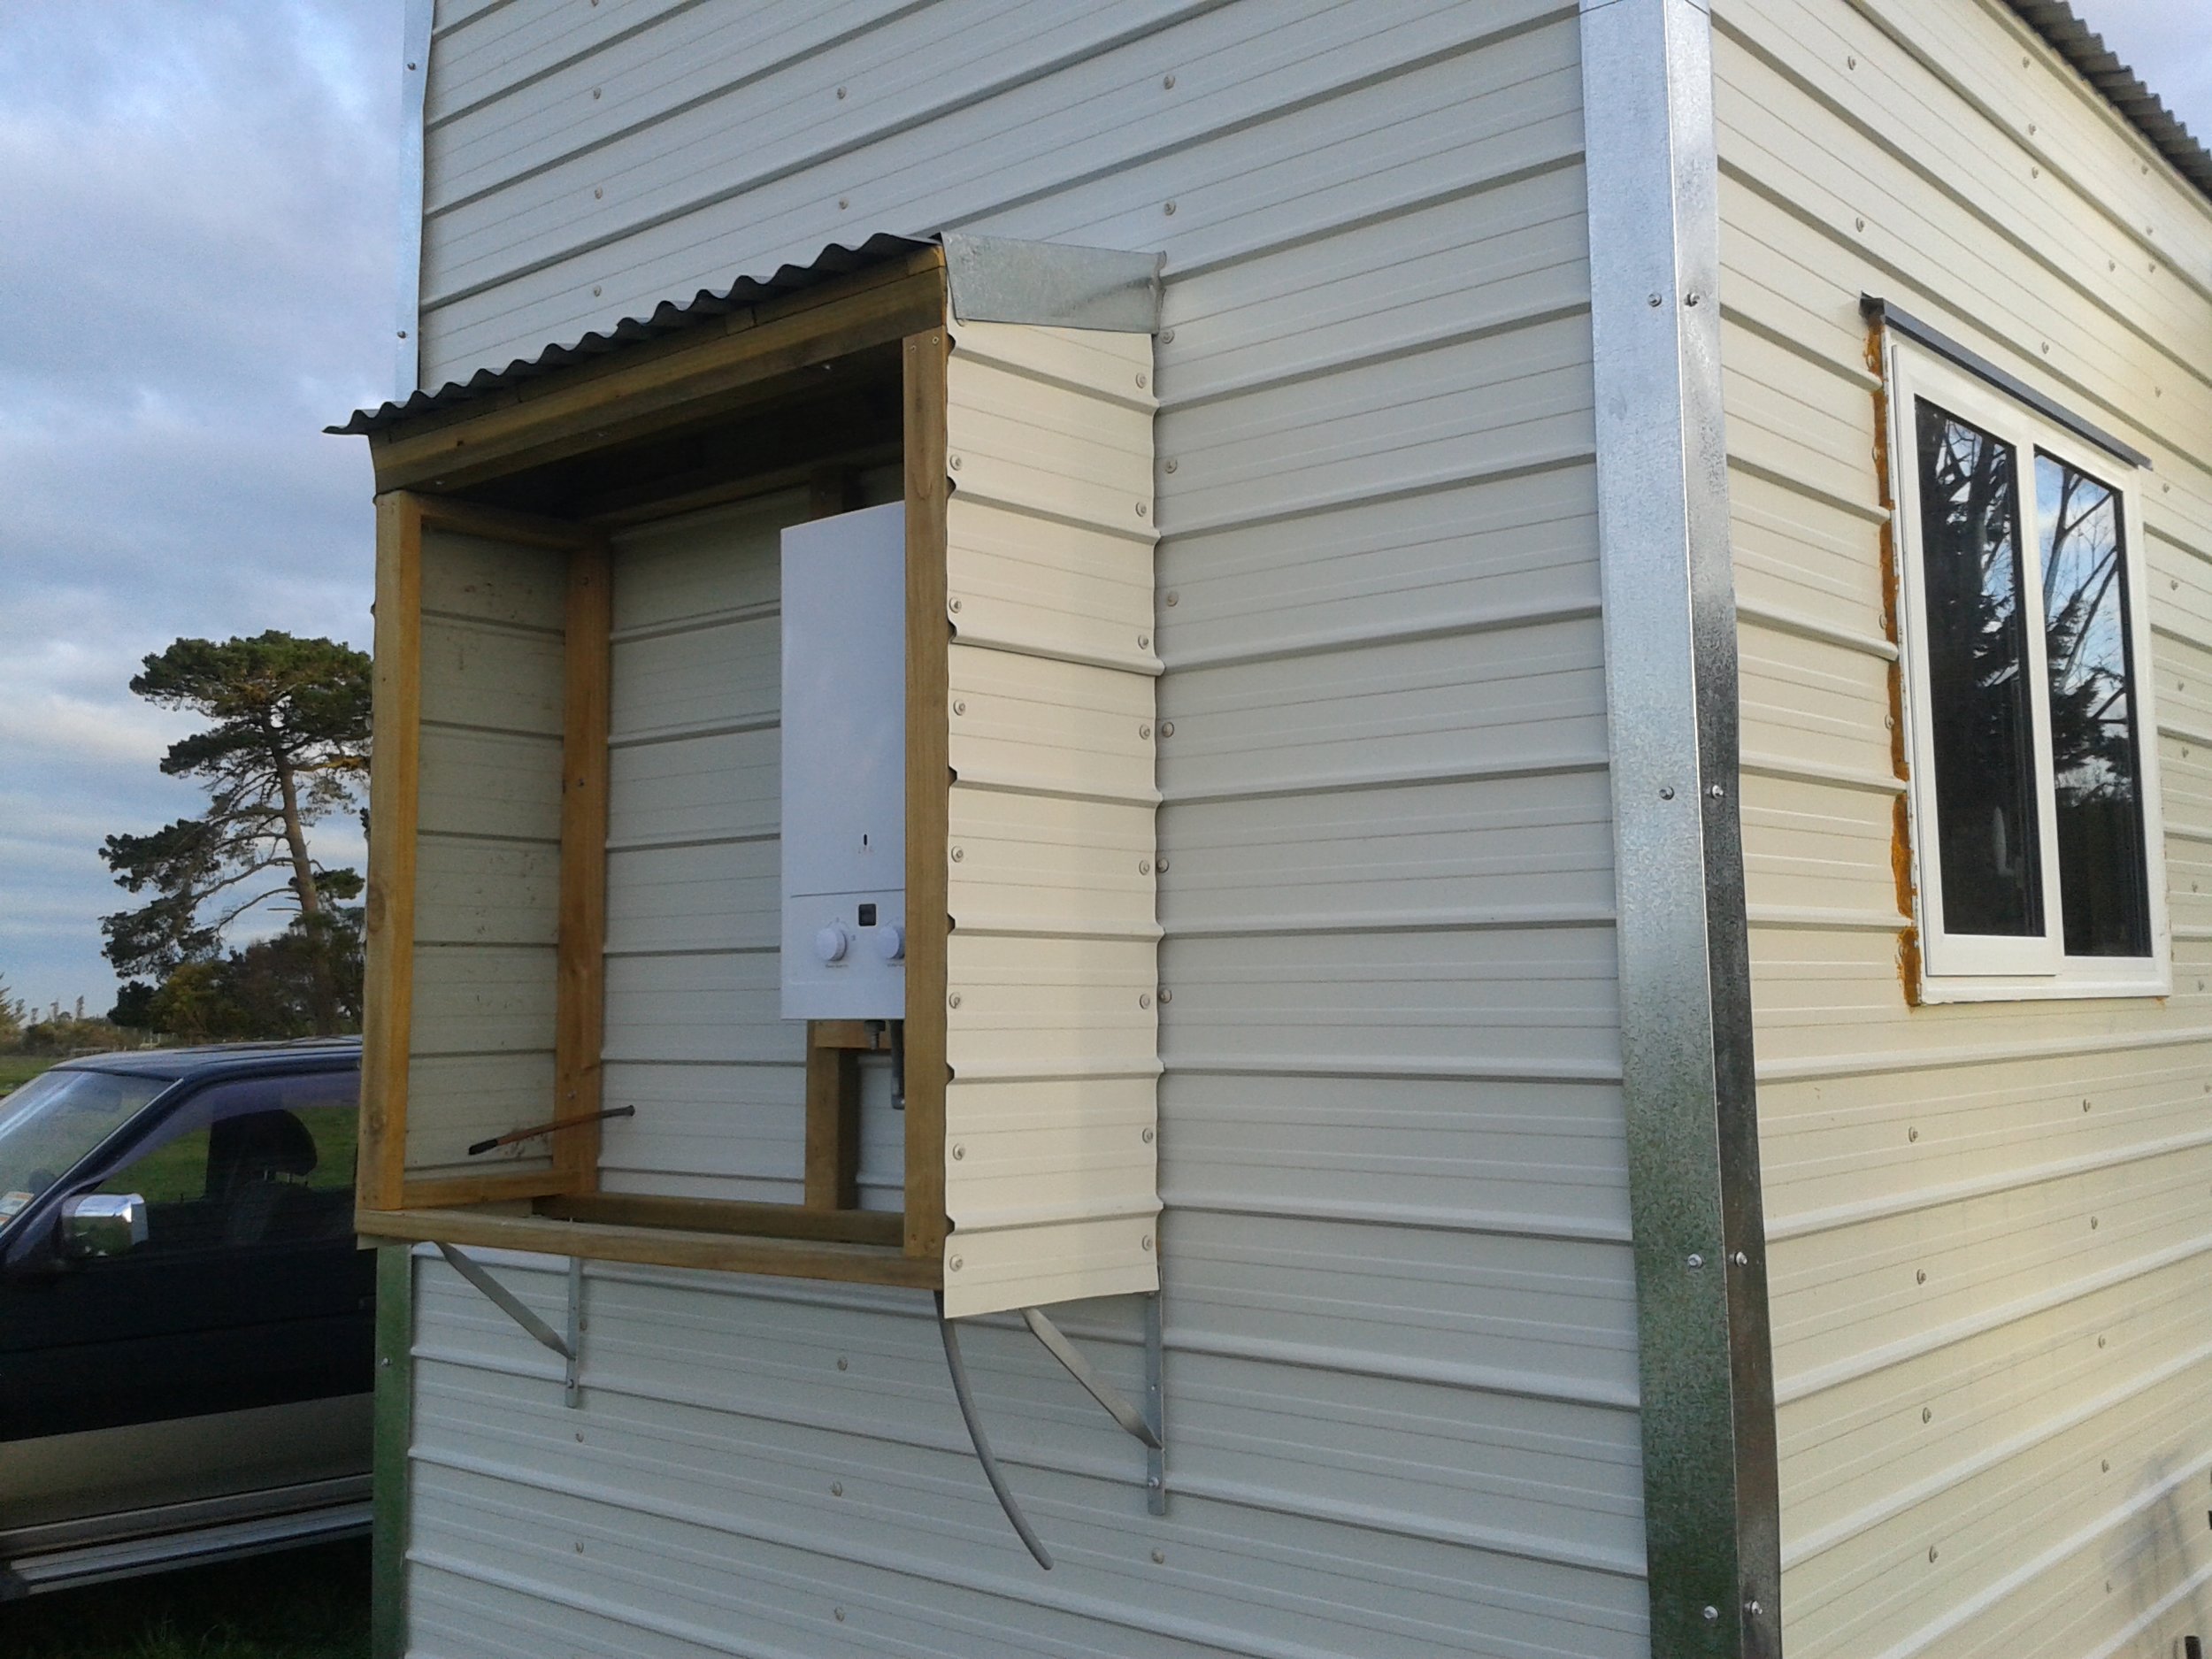


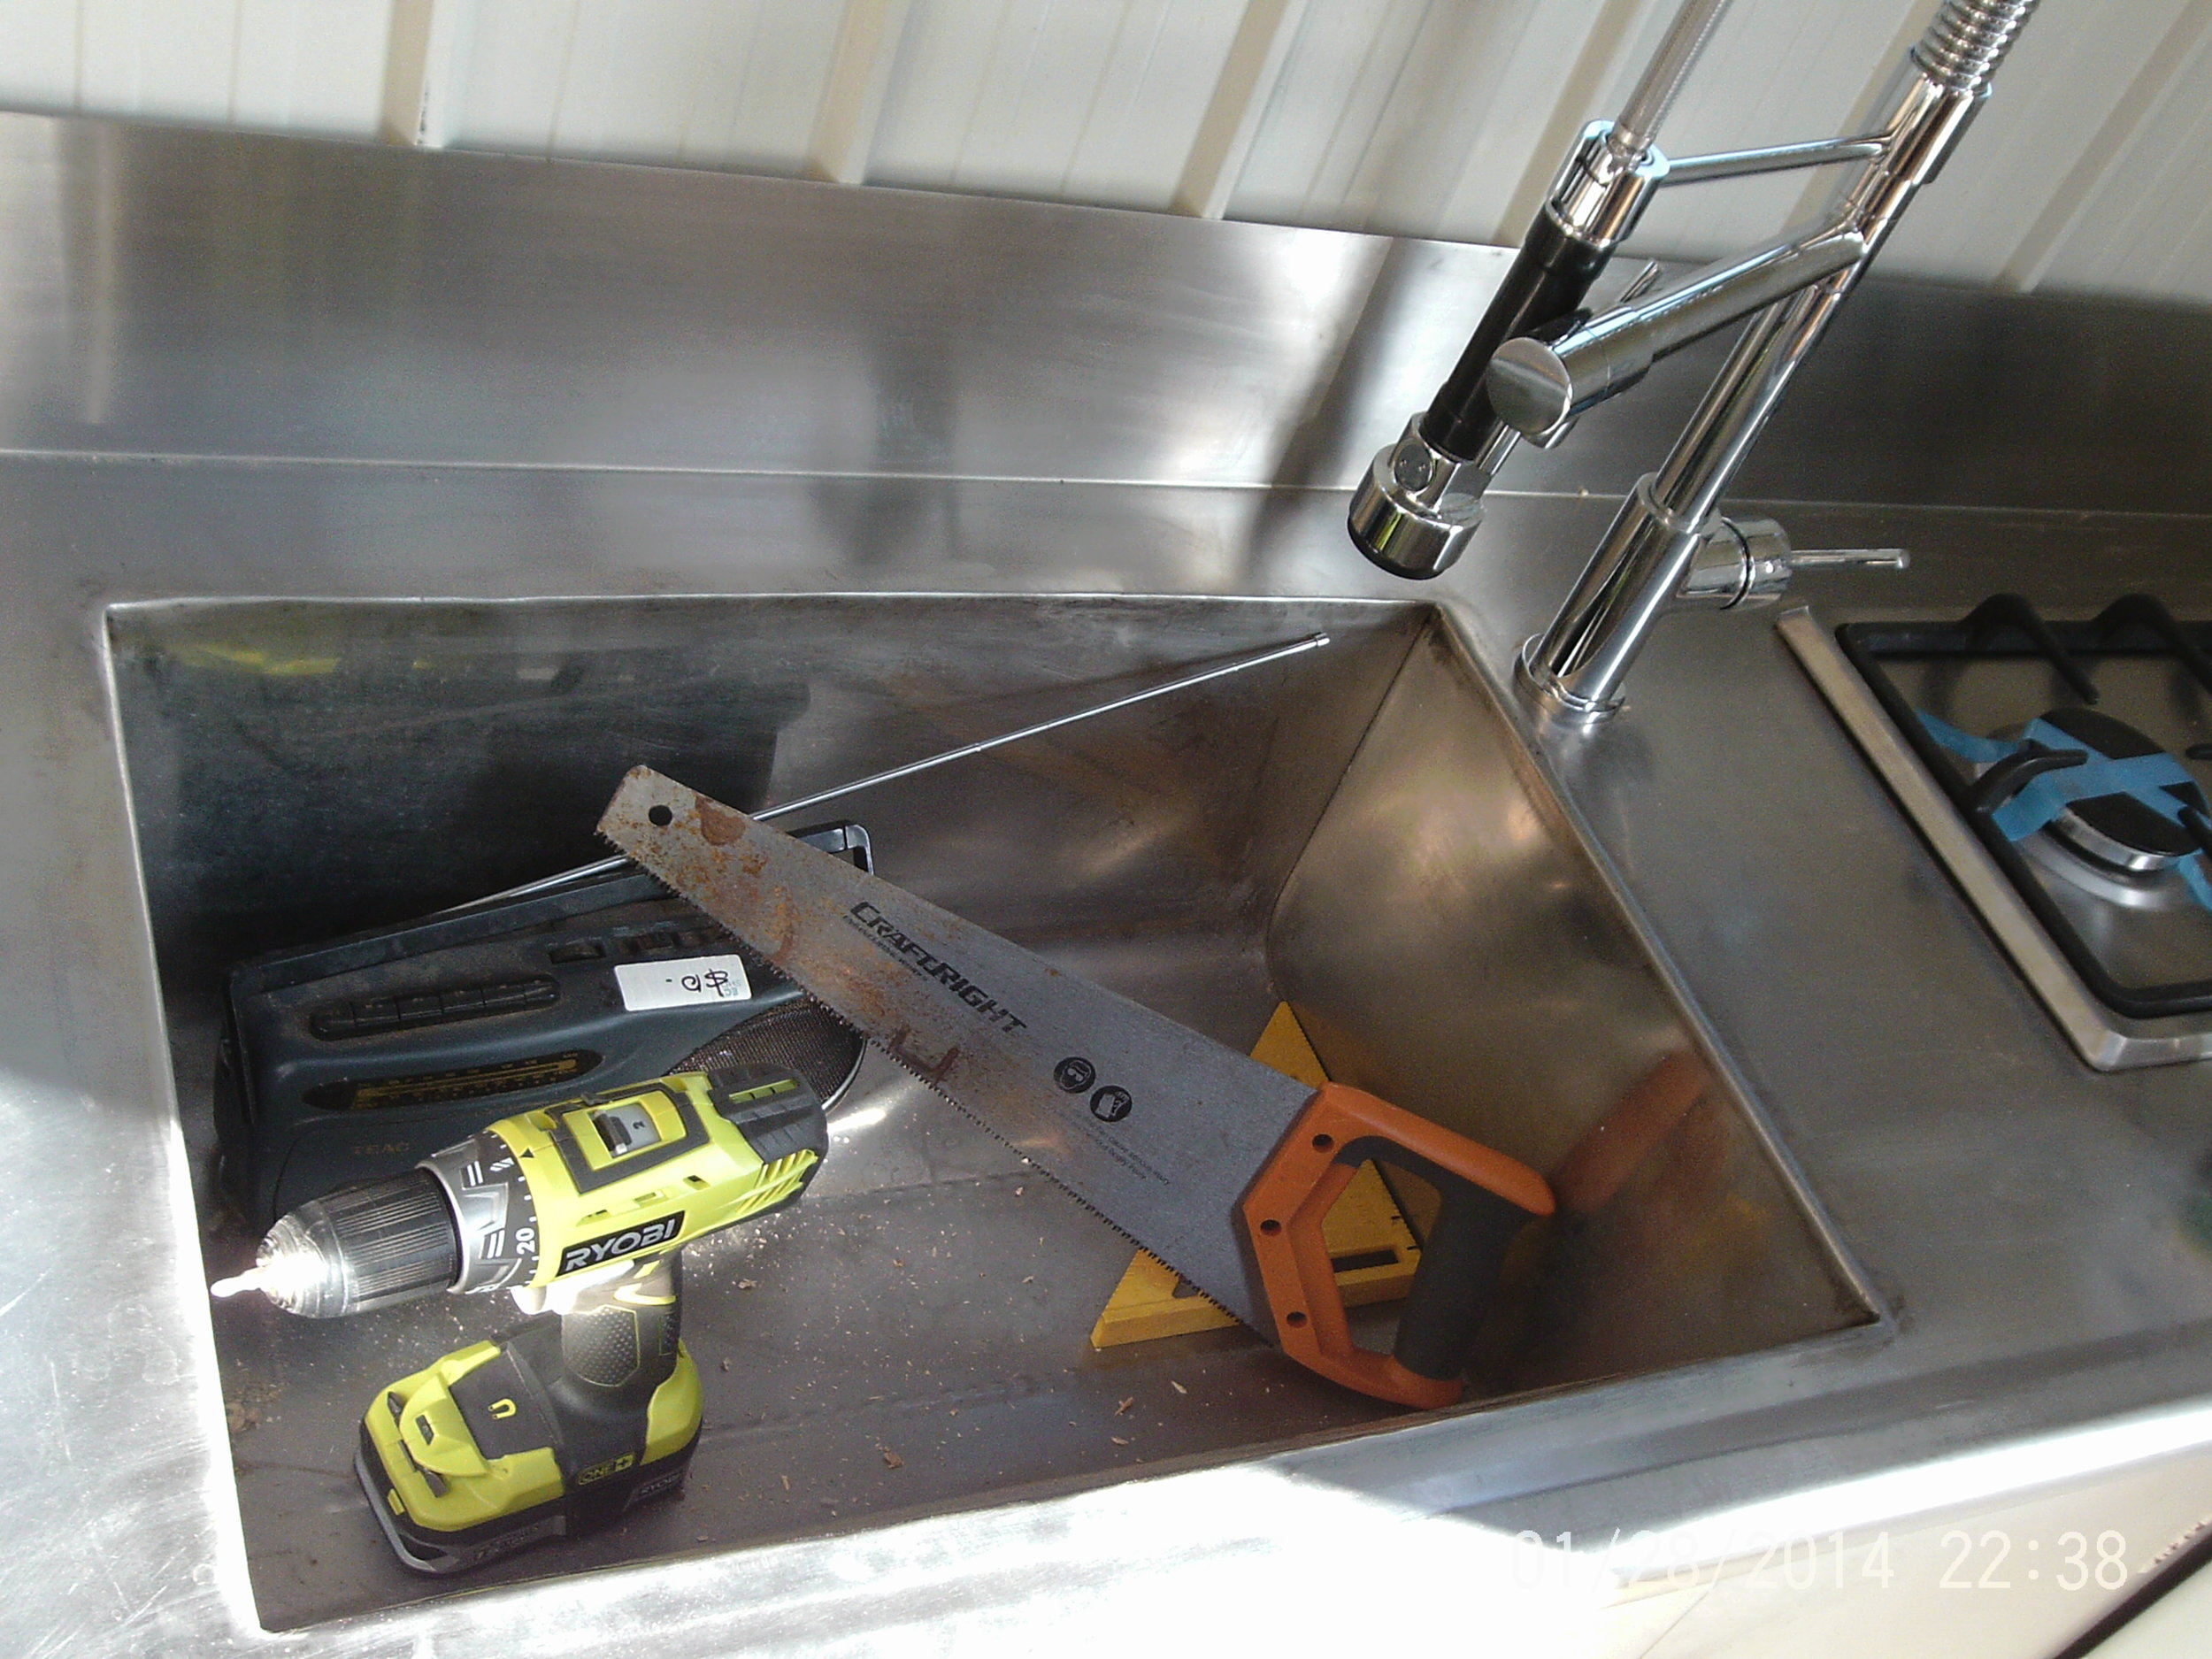
Hello out there, We decided to do a blog post on tools you need to purchase to complete a tiny house from beginning to end. You may think the list would be huge, but you don't have to spend a fortune on tools. You may need to borrow from friends or family here and there to get by but the main tools you need to purchase to do the bulk of the building are on this list.
1: Cordless drill with two good rechargeable batteries- Buying a good battery drill from the beginning will save you lots of time on recharging batteries and less hassle of dealing with extension cords. It's worth buying name brands and spending the extra money when it comes to buying your drill.
2: Circular Saw- This will come in handy during framing, finishing and general building. Every nog (dwang- look it up) in our house was cut with this incredible tool!
3: Hammer- Self explanatory.
4: Measuring tape- Make sure you have a few of these lying around where you are working, because when you need one they are never there.
5. Table saw- This tool can be pricey but it necessary near the end of your build. We held off as long as we could, but it has already proven itself in terms of usefulness for finish work. In our last post we were only able to install tons of wall boards because of the table saw.
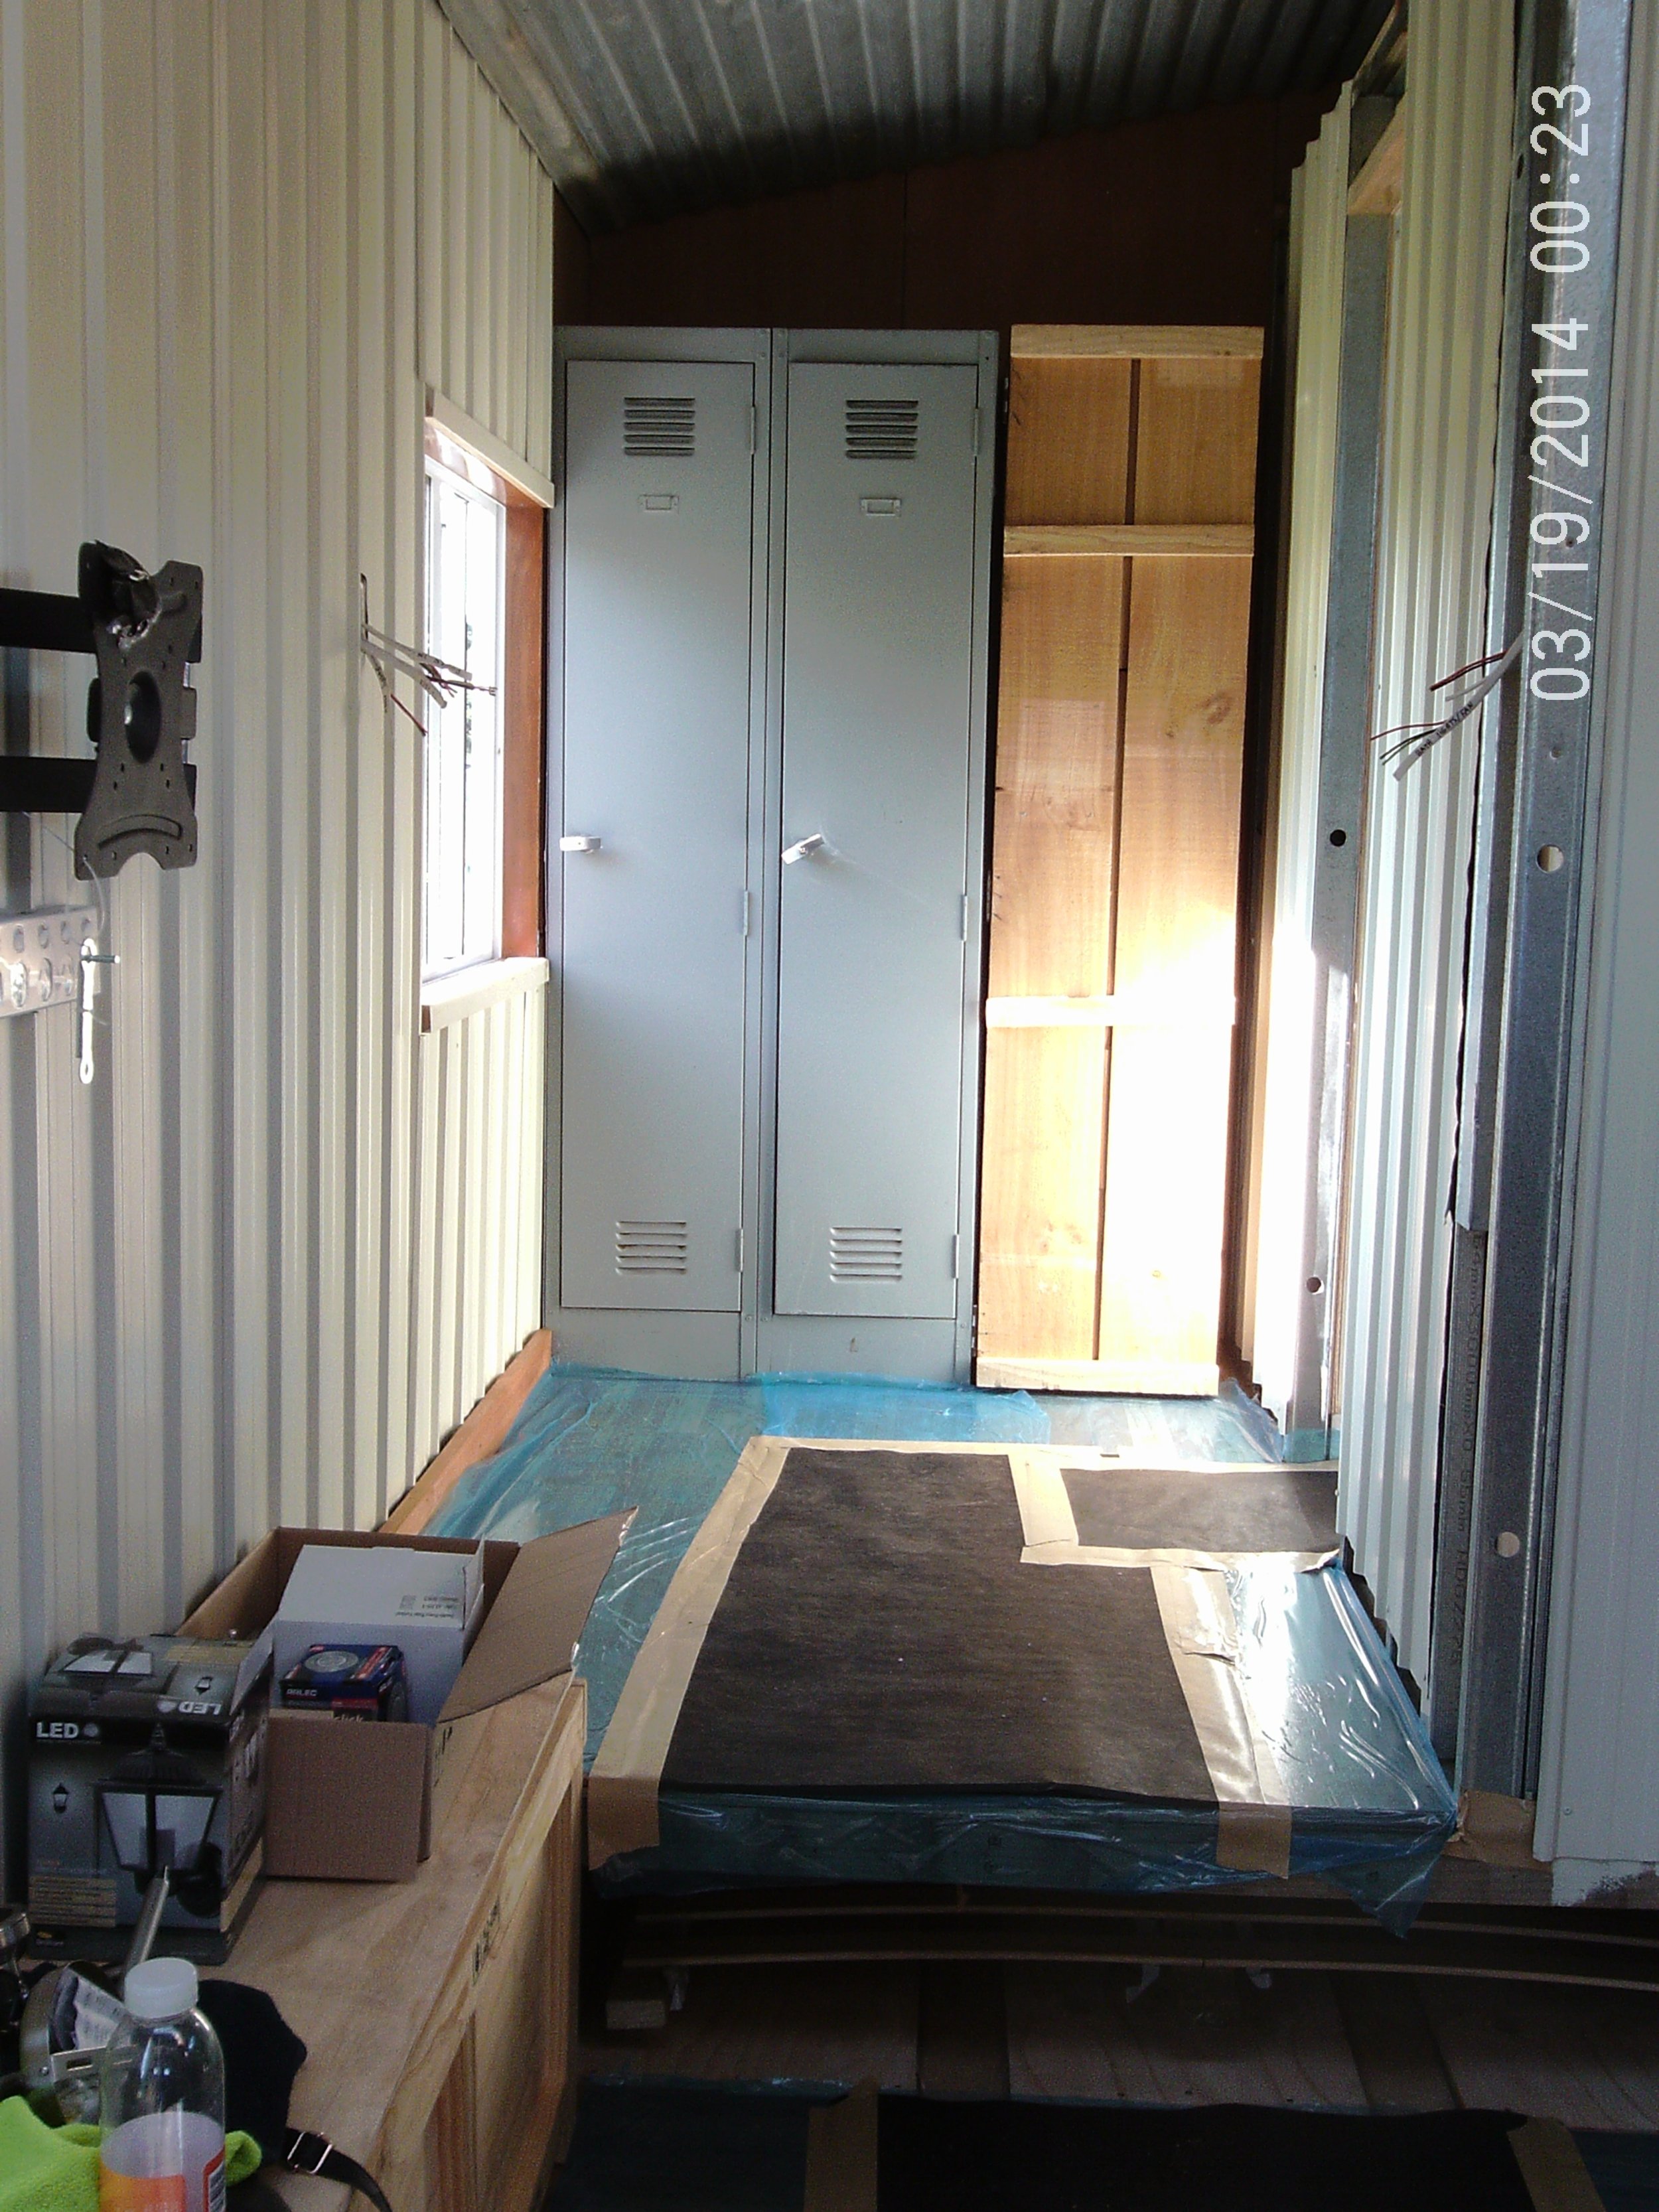
We had a productive weekend again. Finally installing the lockers!